Page 22 of 24
Re: My "Special" toy
Posted: Sat Jan 15, 2011 11:01 pm
by EKSPCL
Thanks
Sputzwagon. I'm undecided on the interior colors still.
It will either be mostly white with yellow touches here and there, or a tan color throughout

That's some useful info
jake08. I'l give that idea a crack. Thanks

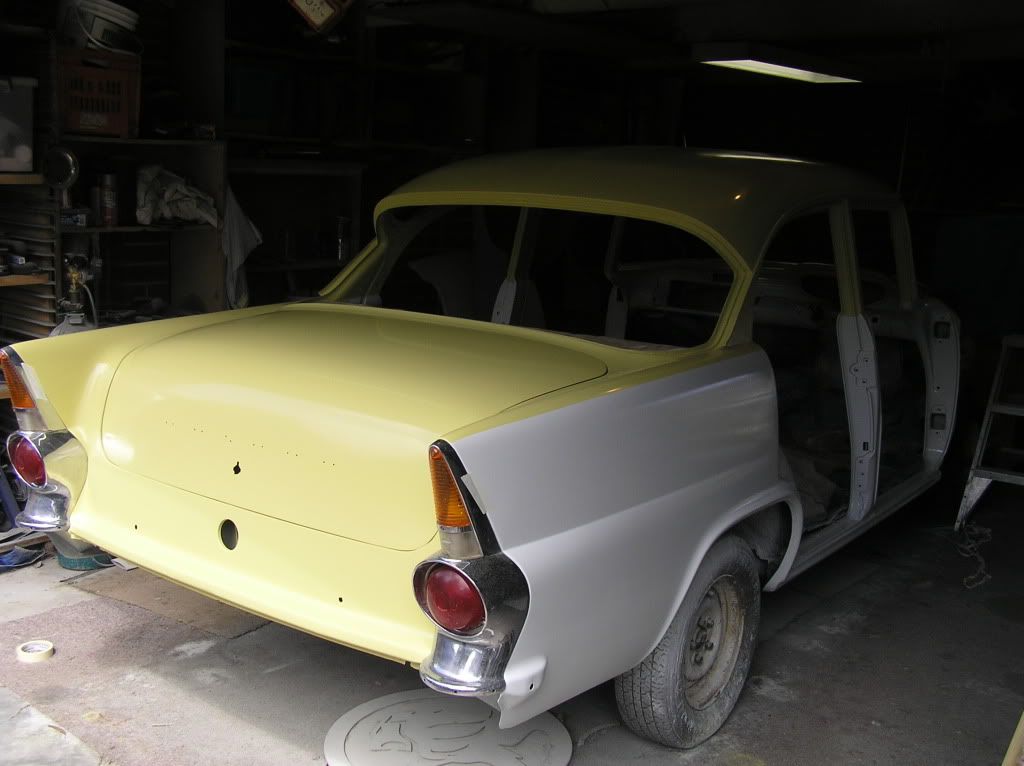
Got some more color done today

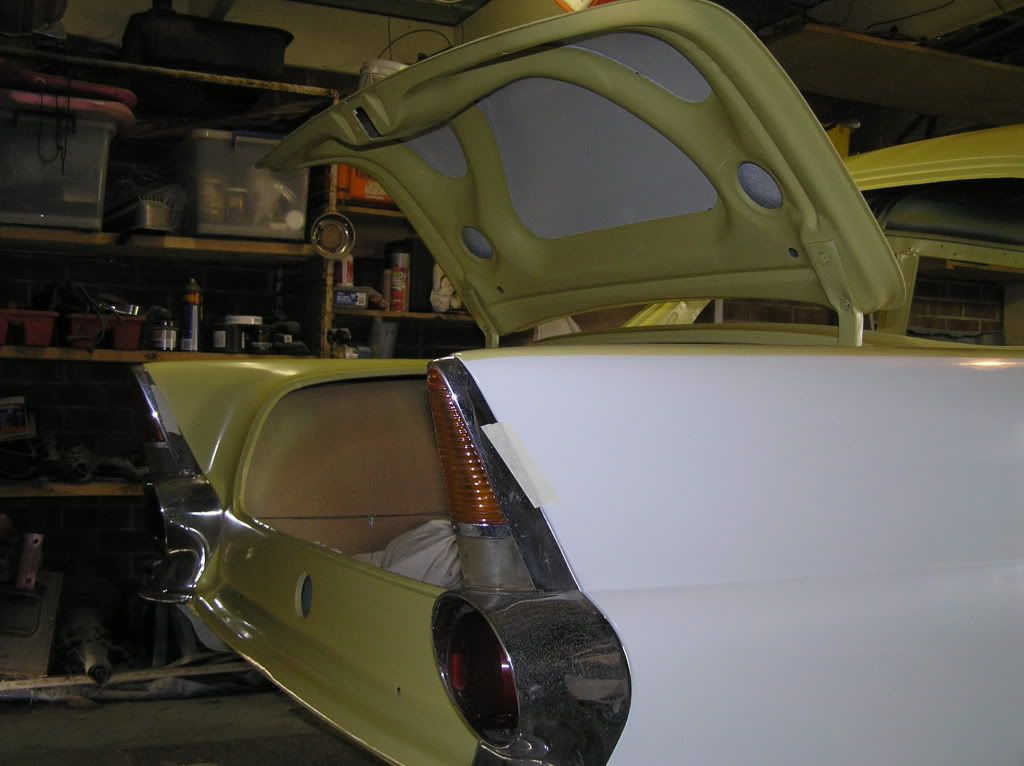
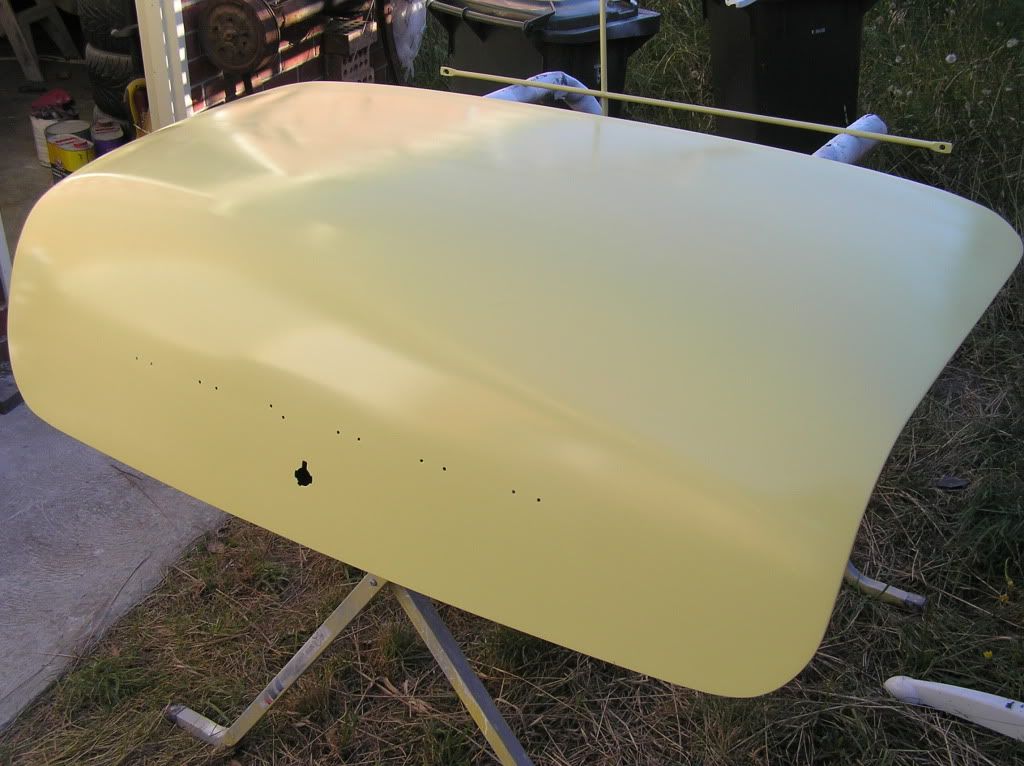
The boot lid........

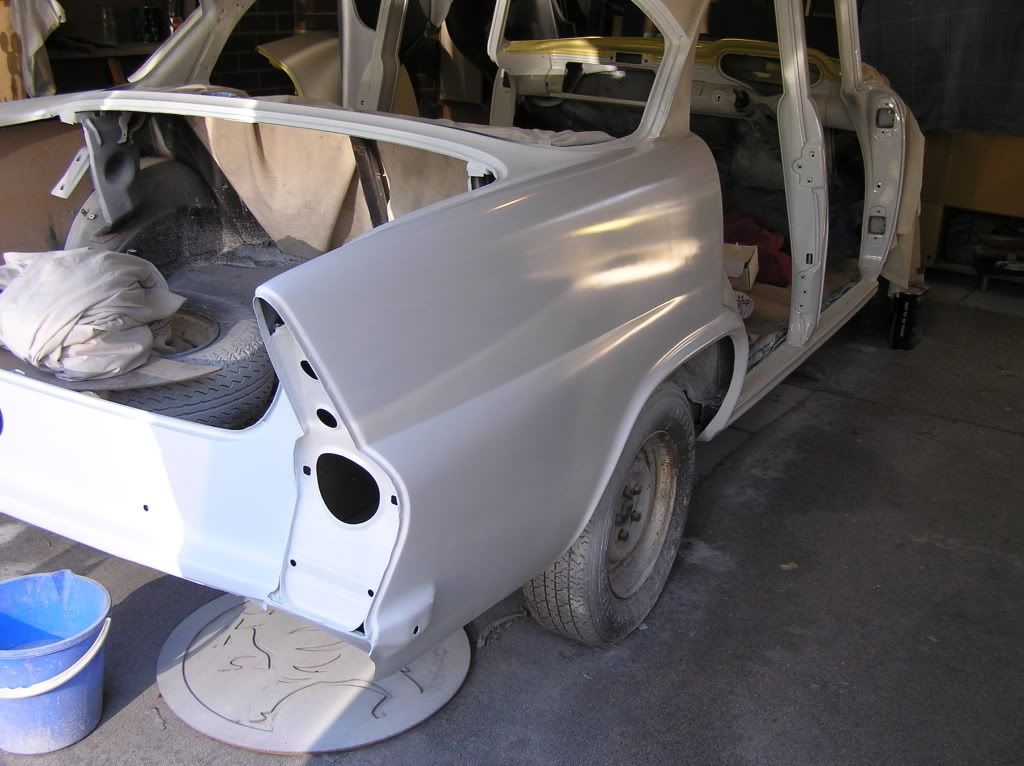
Grecian White on the body........
And the Satellite Yellow top half........
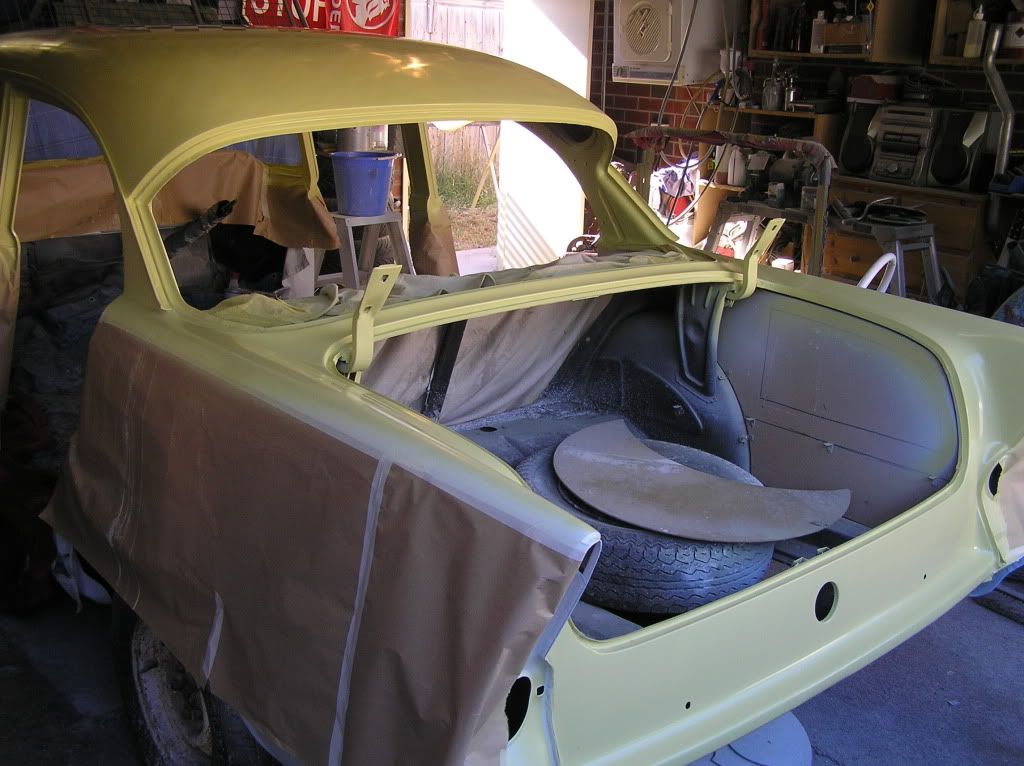
The yellow is short of it's final height at the moment.
I'll adjust this with the final coats when the doors are on and I can work out the pinstripe line.
It's looking like a car again


Re: My "Special" toy
Posted: Sun Jan 16, 2011 11:44 am
by rosco
You must now be starting to reach the point where you just don't want to stop....... the hard, laborious work underneath what is seen in your pix cannot be appreciated unless having gone through the process........
As each "project" component is attached - so too does the magnitude of the project......
You're getting to the "want to complete" stage - patience, young grasshopper..... stop every now and then and just take it in for a spell..... it will "taste" even better.......and may prevent some eager regrets......
frats,
Rosco
Re: My "Special" toy
Posted: Sun Jan 16, 2011 12:05 pm
by EKSPCL
Thanks again
Rosco
All of these parts have been waiting for around 12 months to be painted, so it was about time to get them done
It will slow down again after today. I go back to work tomorrow


Re: My "Special" toy
Posted: Sun Jan 16, 2011 12:15 pm
by EKSPCL
Re: My "Special" toy
Posted: Sun Jan 16, 2011 12:55 pm
by rosco
I can almost imagine a "praying mantis" positioning itself with boot-lid in hands, Wayne - have you had to fit a boot-lid rubber yet? There's a bit of a trick to getting the lid to pull down with neat gaps around the periphery..... if not, probably put a few evenly spaced short lengths of soft rubber block in the channel to support it - don't want to "chip" the paint after all that work.....
Yes, I can appreciate return to work - but on the positive, during breaks you can spend more time planning the next step - and consider alternatives...... work also serves as an opportunity to step back a bit ..... not to mention the coupon aspect.....
Won't be too long before this project comes to fruition, Wayne - I have been watching this build since you joined the forum..... brings us all a lot of personal appreciation as it progresses.....
frats,
Rosco
Re: My "Special" toy
Posted: Sun Jan 16, 2011 1:04 pm
by rosco
Oops forgot,
red raw fingers...... ah yes, I remember.
If it helps at all, I used very firm (but just slightly bendable) rubbing blocks and velvet soap (sludgy) to block back my paintwork. It seemed to work better if I left the paint to cure out for some time..... I can't recall what system you are using, but believe it to be acrylic.....? The thinners will take ages to find their way out and leaving it unprotected in a warm, well vented location seemed to speed up the process.
Blocking back too soon will most likely result in it requiring another at some point in time..... if you are after a "plate" finish......
I further found that it was important to keep finger nails short (the wet and dry will do this to some extent).... when you cut the surface of the paint, the softer newly exposed layers underneath will not be as resilient to that which you are trying to break through........
And, change the paper regularly - if you feel any sensation of rolling balls under your hands or finger-tips - stop immediately. If the paper is at all clogged, change it.
That hard paint you have just cut will "gouge" into the soft layers below.
For flat panels (not many on and FB/EK) I used a metal plate adhered to the bottom of a rubbing pad.
The remainder, I used as stiff a block as I could "just" bend over the curve.
My "cuts" were all done at 90 deg angles to each other - this, I found - was the most efficient way of bringing down the surface evenly with minimum removal and paper clogging......
I tried to rinse over my work as often as possible and dry it to (hopefully) find an absolutely dull surface without any dimples (or breakthrough into the primer!!!).
Arggghhhh... just broke my first NYR - no long posts - or novels............. Arrgggghhhh bugga! - roll on 2012!
Pix please of your progress, Wayne...... this is the stage I take great enjoyment from.... I love "working" paint...
frats,
Rosco
Re: My "Special" toy
Posted: Sun Jan 16, 2011 1:14 pm
by rosco
I'm on a roll now!.......... on your doors, the concave lines through the door above the door handles - I used wooden dowel with the paper tightly but evenly wrapped around it. Make absolutely sure that your round off the very ends of the dowel...... guess you can appreciate this was one of my earlier "unfortunates"....?
I found that by rotating the dowel in opposing directions on each pass whilst running it along the channel worked well. The ends where it comes out of the channel had to be hand worked with small rubber blocks.... "feathering" the blend between channel and convex curvature of the door.
On convex curves, I learned not to rub over (across) the curve (crown) as this quickly wore through to primer. My method was to roll with the curve very slightly as I passed along - slow laborious work.... but certainly much more forgiving than having to rub back and re-spray......
In its dried state, it is possible to look along the panel with some reflected object beyond it to gain observation of how my work was progressing...... after all - this is exactly how the panel will look when the finish is compounded and buffed.... that's how some of us look at paint/panel work..... not simply by the colour, paint and reflection of our discerning faces viewed at right angles to it....... having revealed this, I guess there will now be a lot of people reading this who I will have "ruined"..... vehicles will never look as "good" again as they had previously believed them to be......... some prefer the "rat" look...... can almost hide "chequerplate" under a flat finish........
only a shorty, this time.... beware - I may get "involved" as you update...
frats,
Rosco
Re: My "Special" toy
Posted: Sun Jan 16, 2011 6:38 pm
by EKSPCL
Thanks
Rosco.
The red fingers came from rubbing back with many grades of primer on all the door jambs and finicky bits.
I use a rubber block and a timber plasterers sanding float, with a handle and rubber on the base. (a third of a sandpaper sheet)
The paint won't be blocked back for a while now.
Got the doors painted in white and re-fitted this arvo.........
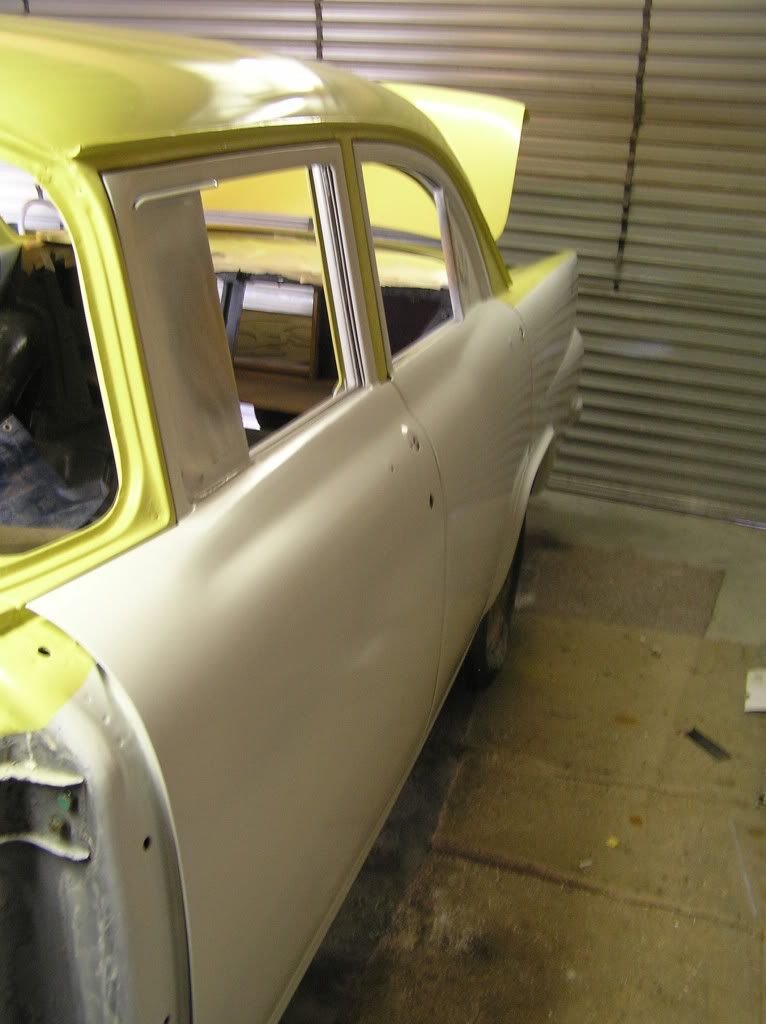
That's the end of a solid two week stint on the old girl.
Back to work tomorrow.
Fenders and bonnet next

Re: My "Special" toy
Posted: Sun Jun 12, 2011 9:50 pm
by EKSPCL
Almost 5 months since my last post

Work is wearing me out at the moment

No more pics because nothing has happened to the old girl.
Hopefully this marks the start of some more progress.
Re: My "Special" toy
Posted: Tue Jun 14, 2011 10:16 am
by matches
EKSPCL wrote:Hopefully this marks the start of some more progress.
awesome, i've been waiting for you to get the time to get back into it. this really is my kind of build.
cheers, luke.
Re: My "Special" toy
Posted: Tue Jun 14, 2011 10:24 pm
by EKSPCL
Thanks. Trying to cut the work back and get in the shed.
I got the motor in on Sunday
(Thanks Trev
)
The old girl has a heart beat again!
Had a crack at the wiring loom on Monday.
Laid it out on the bench and followed the wiring diagram in the manual.
It's now laying in the car with the dash all hooked up.
Wasn't as hard as I thought, seeing as I've never worked with wiring before, let alone a tangled mess of wires unlabelled.
I'm sure I'll come across some snags and have questions as I start to power things up!
Re: My "Special" toy
Posted: Wed Jun 15, 2011 7:46 am
by Trev
EKSPCL wrote:
I got the motor in on Sunday
(Thanks Trev
)
The old girl has a heart beat again!
Good to hear, how did she fire up?
Re: My "Special" toy
Posted: Wed Jun 15, 2011 8:35 pm
by EKSPCL
Fired up no worries Trev.
The old "Diet Coke" fuel tank worked a treat again!
Re: My "Special" toy
Posted: Thu Jun 16, 2011 9:19 am
by Trev
EKSPCL wrote:Fired up no worries Trev.
The old "Diet Coke" fuel tank worked a treat again!
You should see how it runs on real coke
Re: My "Special" toy
Posted: Fri Jun 17, 2011 12:51 am
by J
this is looking great!
Cant wait to see the paint with all the sheet metal on (great idea with the lines).
I am assuming the doors aren't staying completely white.