Page 3 of 24
Posted: Sat Apr 05, 2008 9:22 pm
by rosco
It has "issues' which most people find by not following instructions to the letter.......... people with "no" experience get the best results...... the rest of us have to "fix" our mistakes.........
Yes, expensive - but done once...................and forgotten.
frats,
Rosco
Posted: Sat Apr 05, 2008 9:30 pm
by EKSPCL
Thanks for the replies Rosco. You seem to be main man here, must have very similar ideas
Posted: Sat Apr 05, 2008 9:45 pm
by rosco
I come and go in "spells" I'm afraid - will go missing for days...... there are many, many excellent people on this forum who will more than help with just about anything about your vehicle you can throw up............ and more...
I do a lot of writing, and spend half my life in the garage - but you'll be disappointed when the time comes for you to eyeball both of us...............
thanks for your kind words, EKSPCL
frats,
Rosco
Posted: Sun Apr 06, 2008 4:14 pm
by EKSPCL
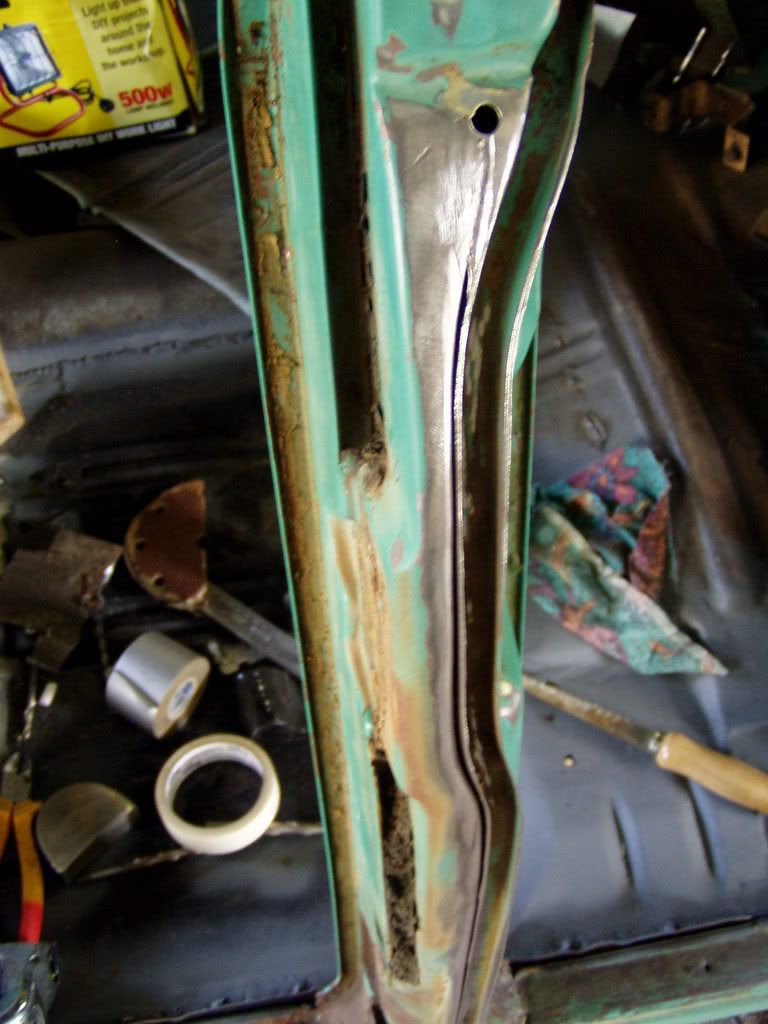
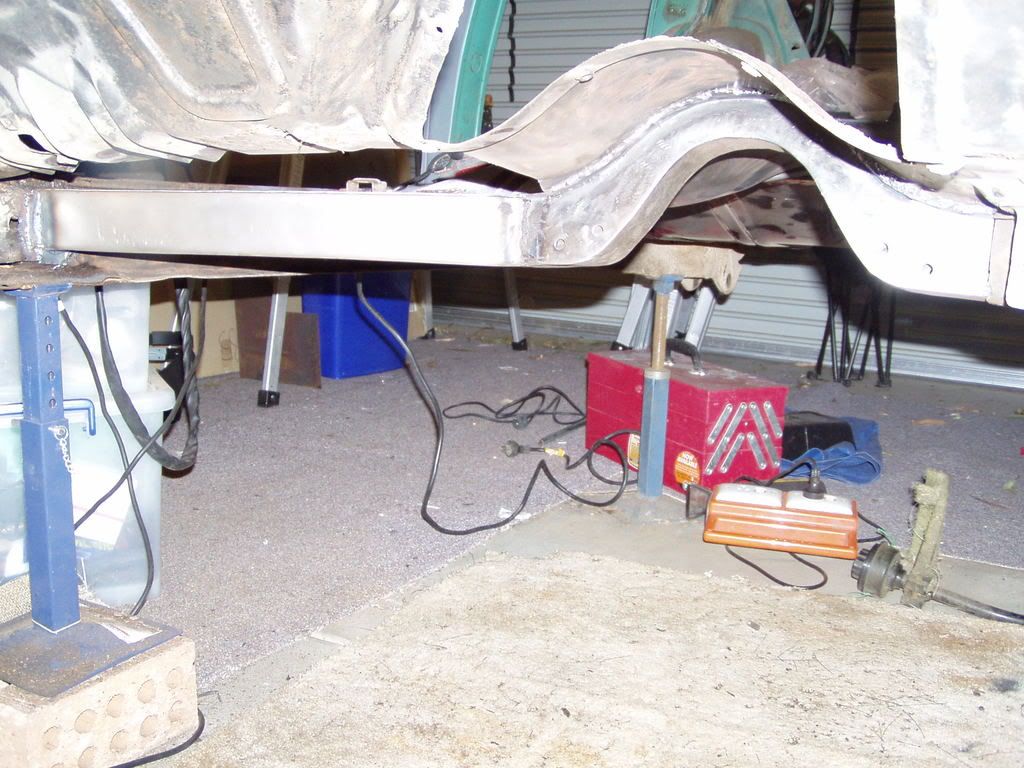
Decided today to attack the floor again.
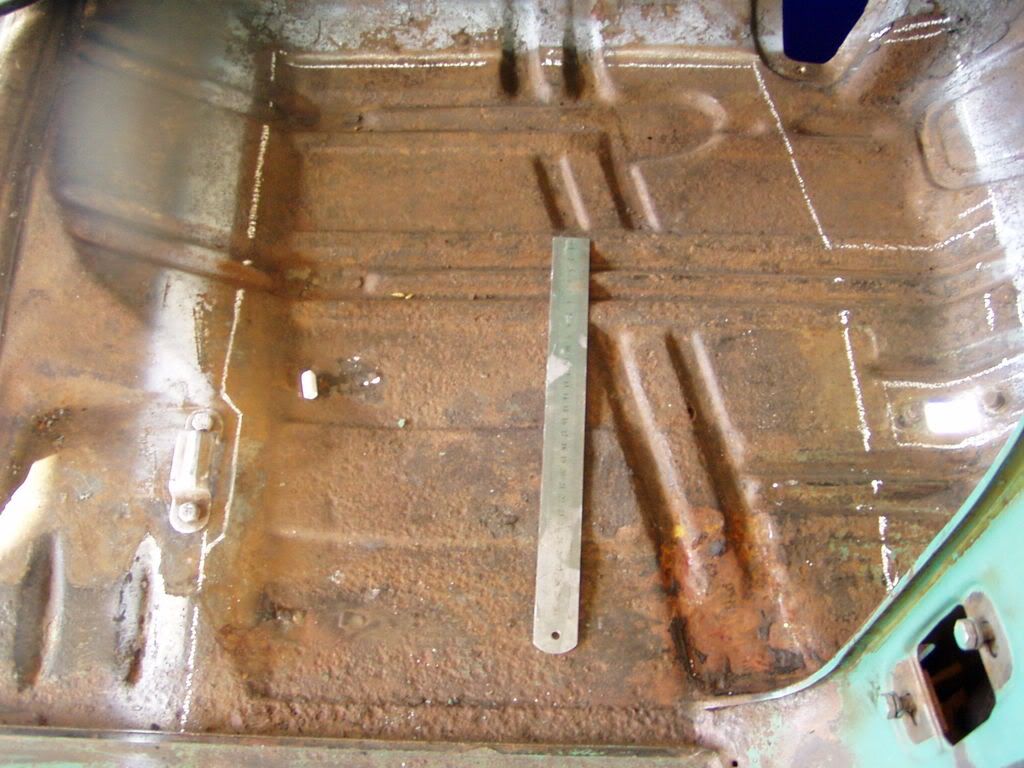
Found this...
and this.......
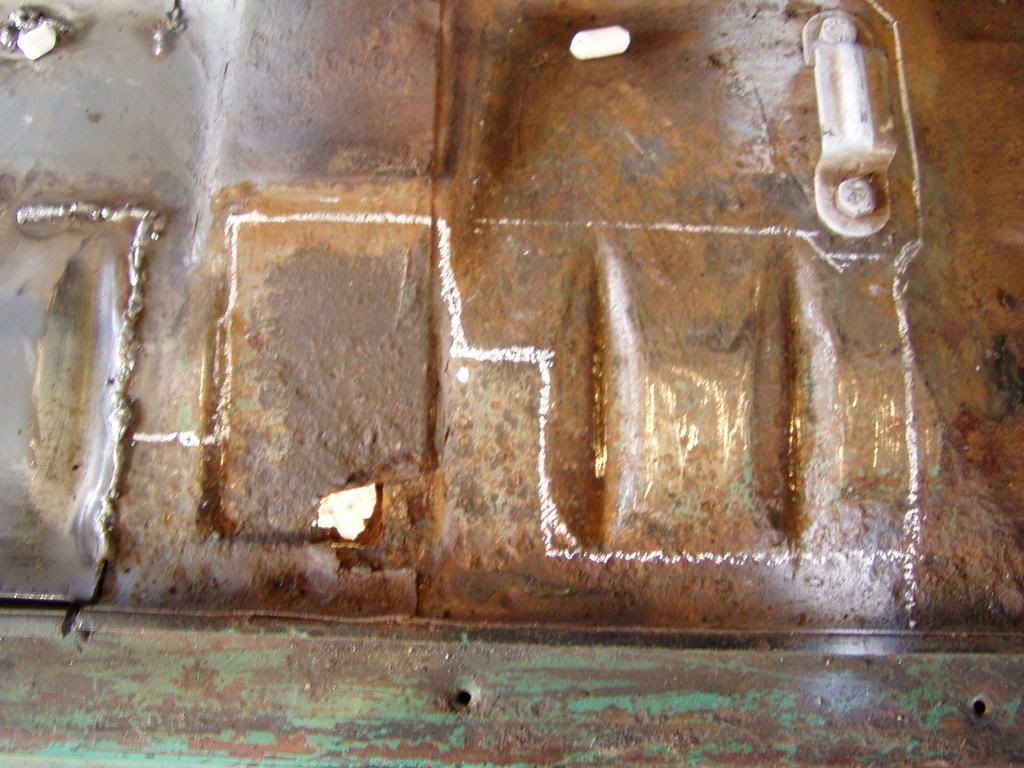
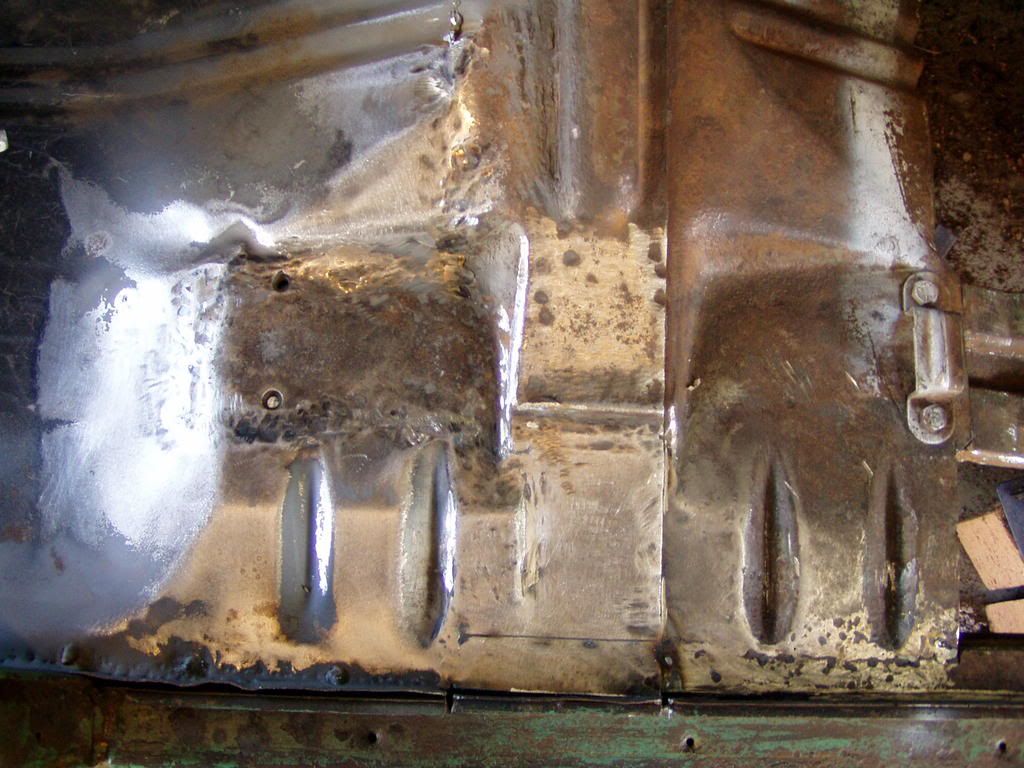
New piece of this....
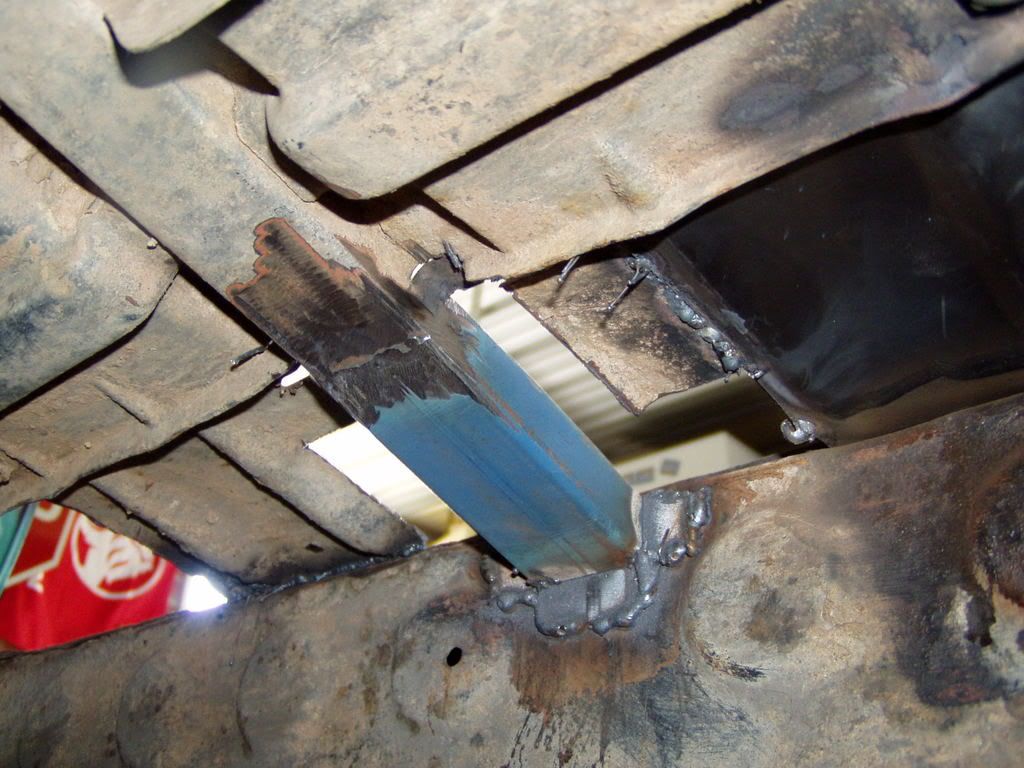
then this bit new.......
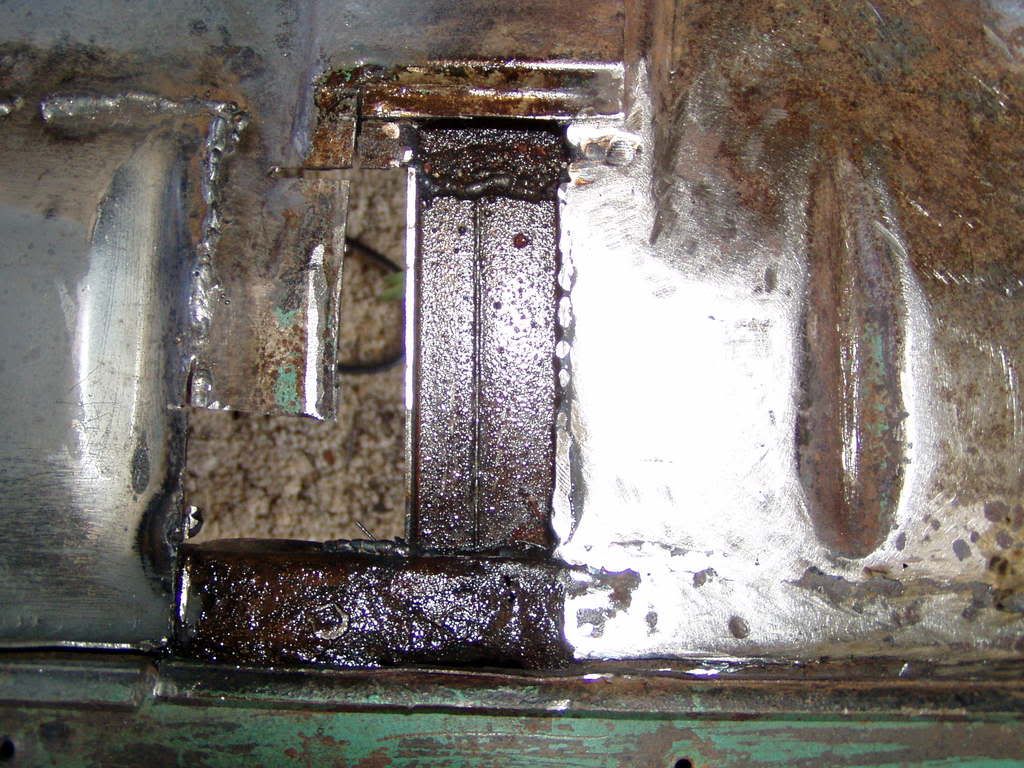
all done......
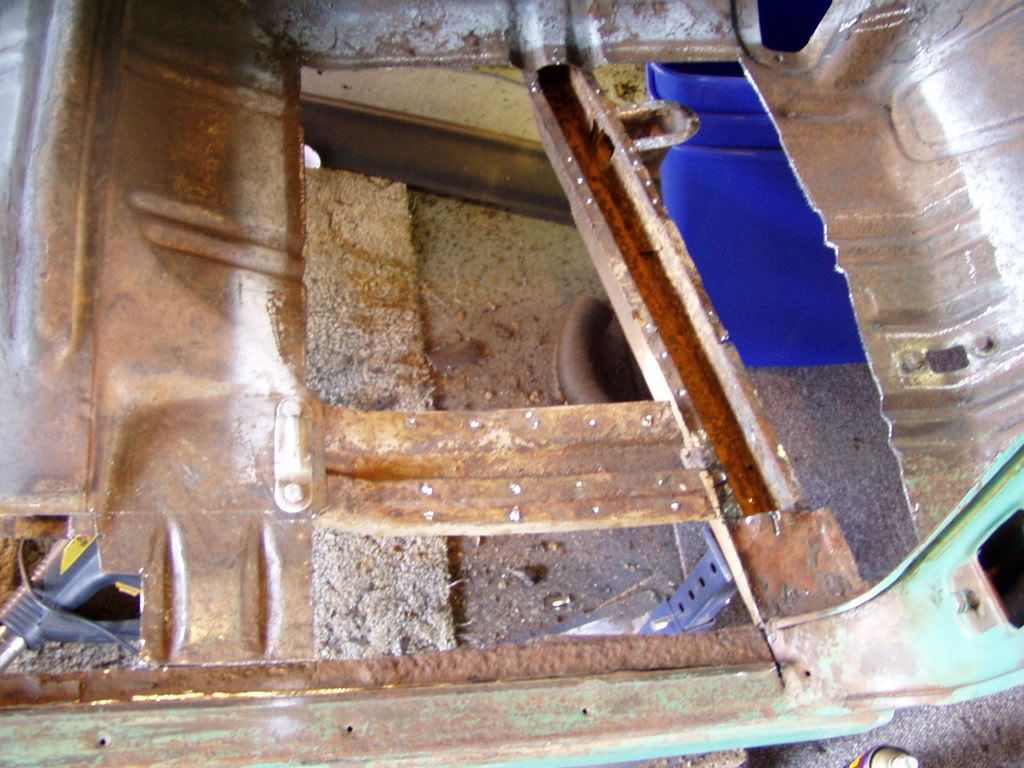
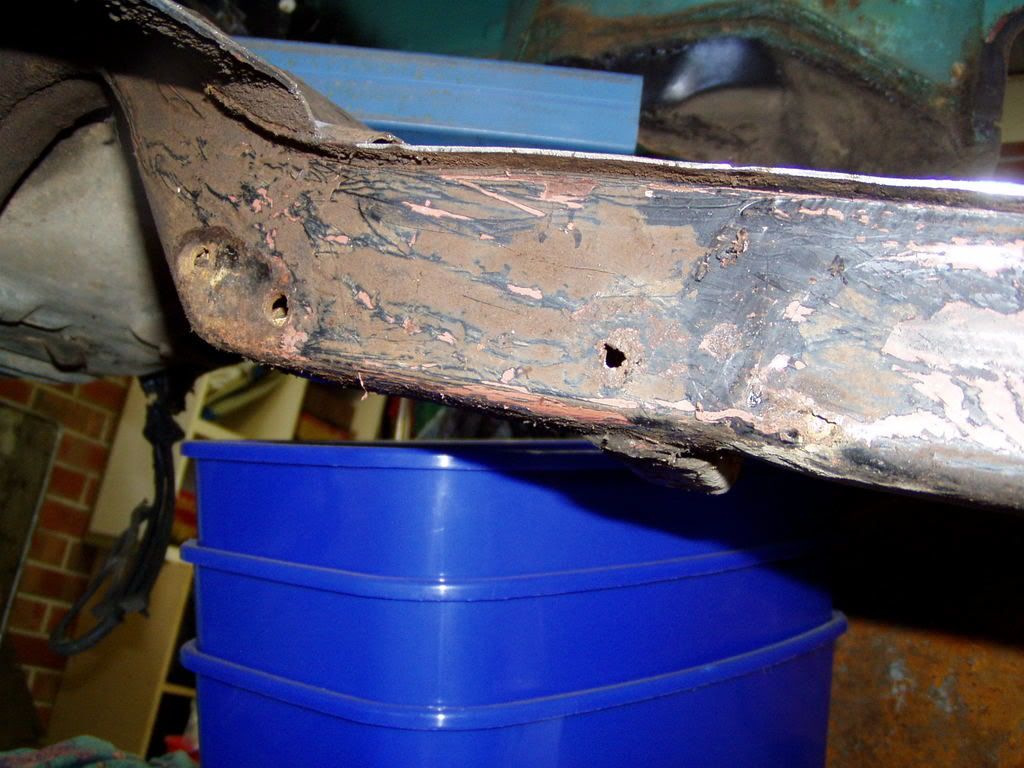
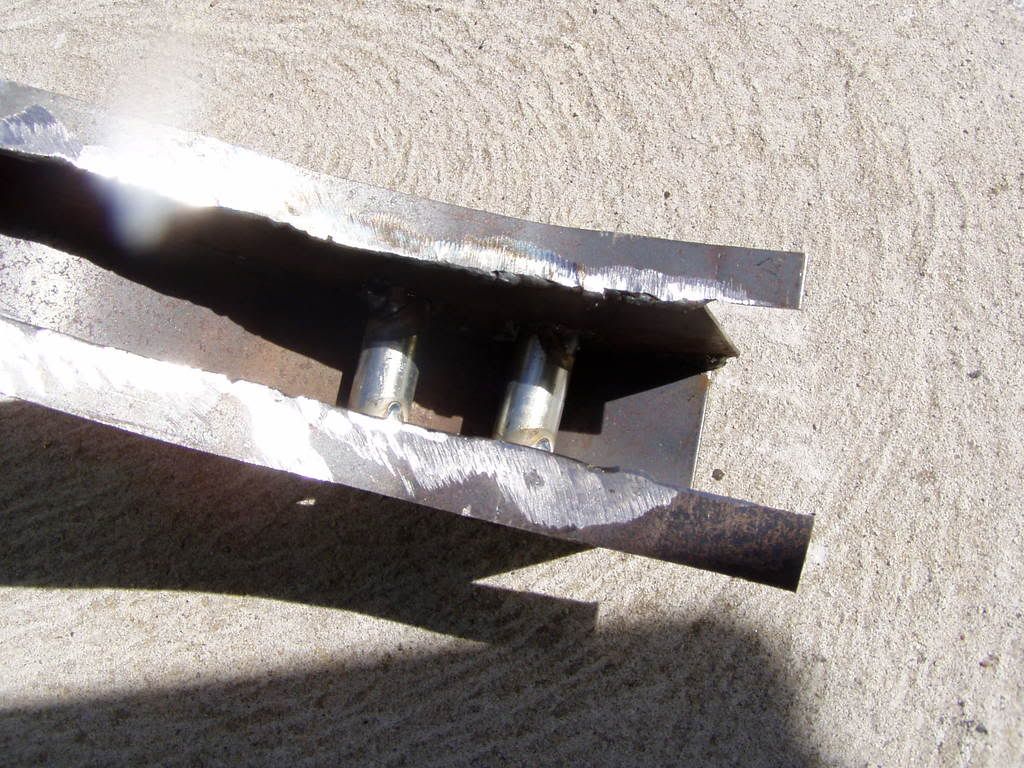
How do I fix the subframe here? I don't think there should be a hole here!
Do I replace it all, and how? Or only pieces?
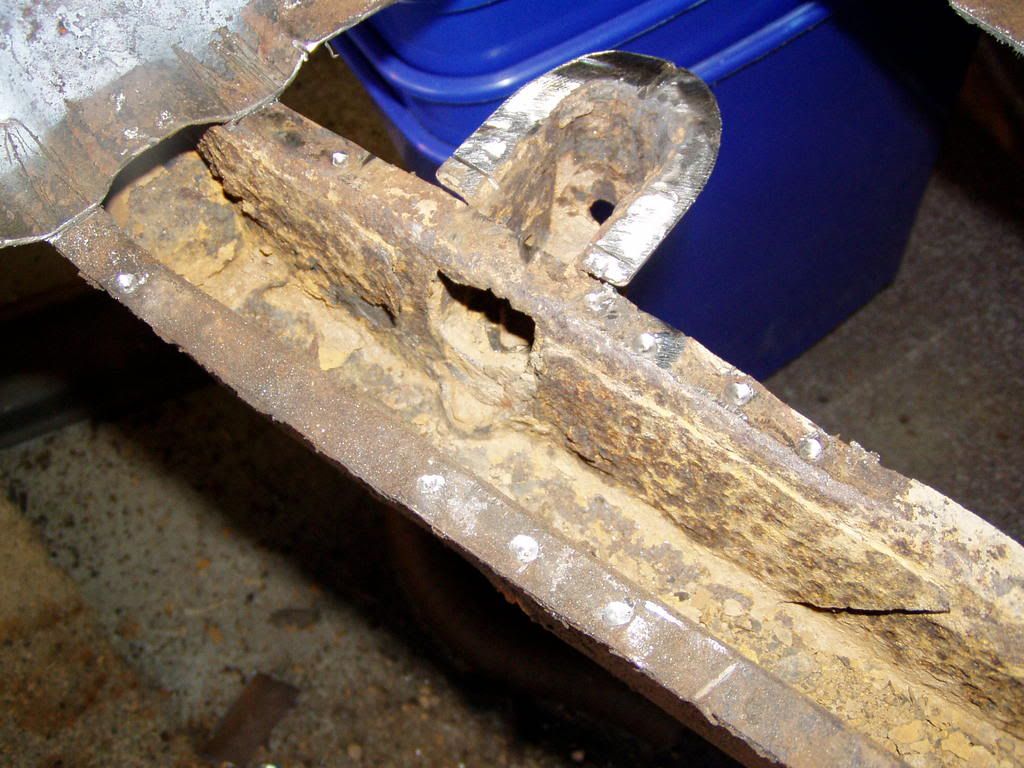
Shouln't be holes here either.......
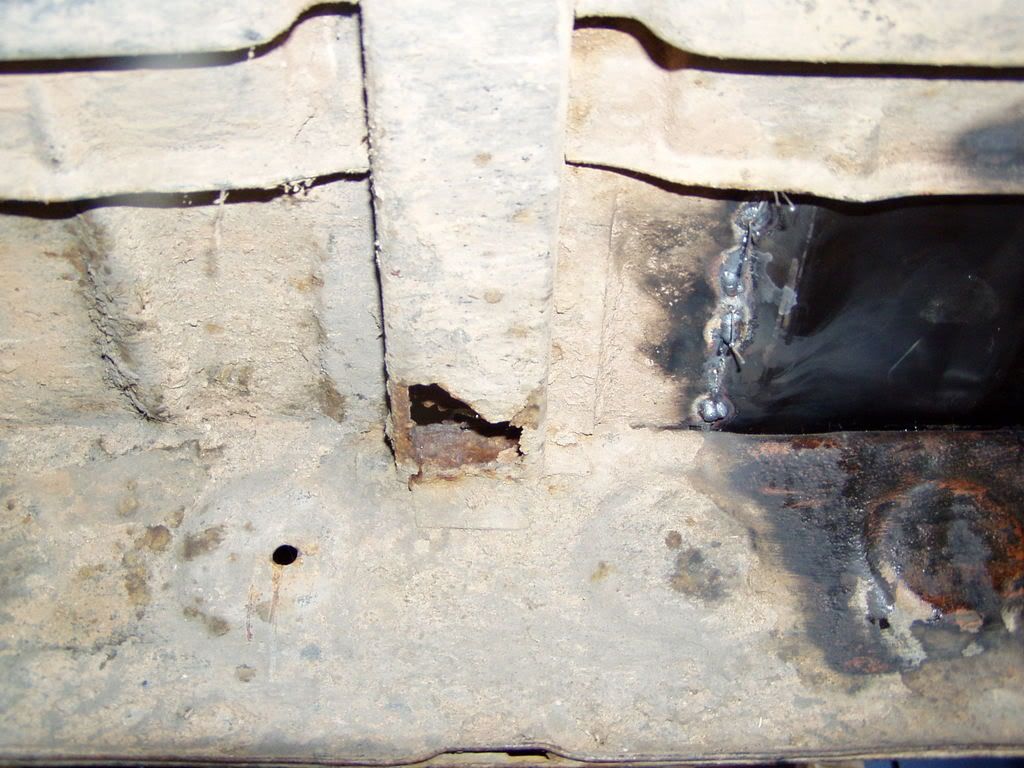
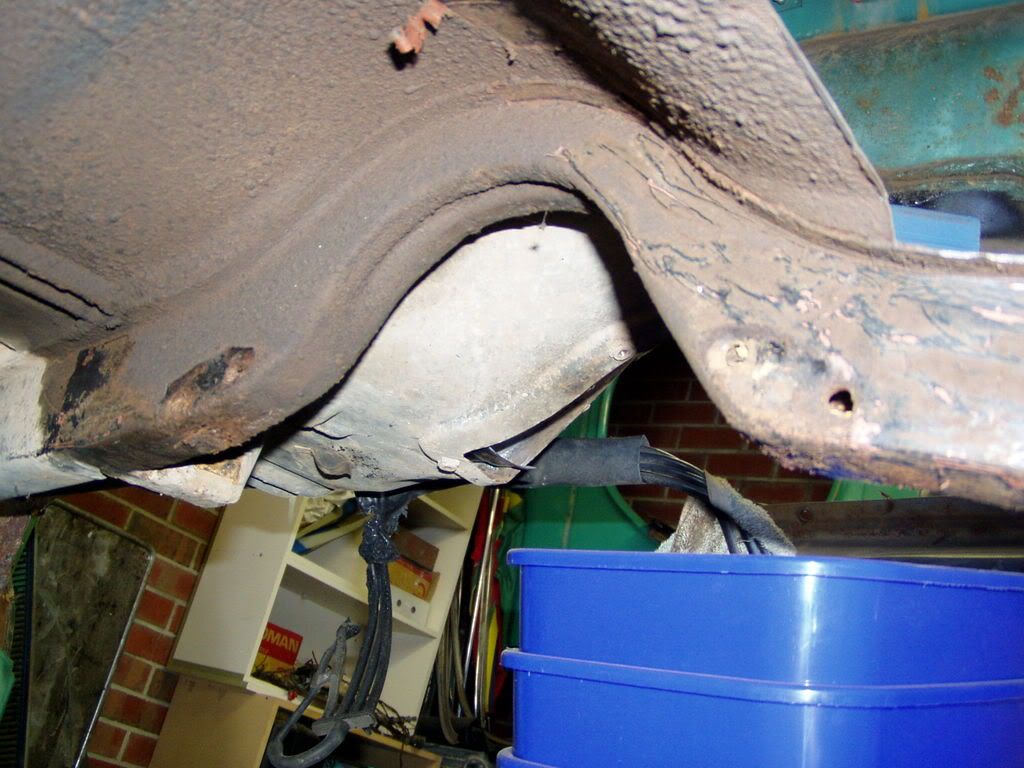
The corners here on the gearbox mounts are all soft from rust!
Has anyone replaced these corners before? How?
Sorry for the novel

, but I'd rather ask and get it right before i go and stuff it up
Thanx heaps

Posted: Sun Apr 06, 2008 8:32 pm
by rosco
Just my tired old line here EKSPCL - you can weld a lot better than I - I haven't had to weld trans mounts - I fabricated an "arch" and welded that into where the removed tunnel support was cut from.
You are going to look back at these in time to come and see just how far you've come - it may be usefull to print some selected pix as you work through - for presentation - many people like to see parts of builds like yours - when you join in on displays..................
frats,
Rosco
Posted: Sun Apr 06, 2008 8:33 pm
by FB MAD
Go to
www.fefcholden.org.au/forum and click on restoration help section and look under post called crossmember fabrication.
Some photos there on how to fabricate a new trans hump floor brace might be of help.
Terry.
my special toy
Posted: Sun Apr 06, 2008 8:42 pm
by Malcolm
Hey mate,
coming along nicely, when I did my trans tunnel I made up the panel in pieces. A bit more stuffing around but it come up OK. And I ended up using a heavier guage metal.
Keep up the good work and pickies
Posted: Sun Apr 06, 2008 9:52 pm
by EKSPCL
Thanks peoples

FB Mad that was exactly what I was looking for
That should be posted on this site for our guys to see
Very simple when you see it like that. I'll give that way a go myself and post some pics when it happens.
As for the straight part of the crossmember, a mate of mine has a sheet metal folder at his place.
He's going to fold me up some channel for this area.
Posted: Sat Apr 12, 2008 12:41 pm
by EKSPCL
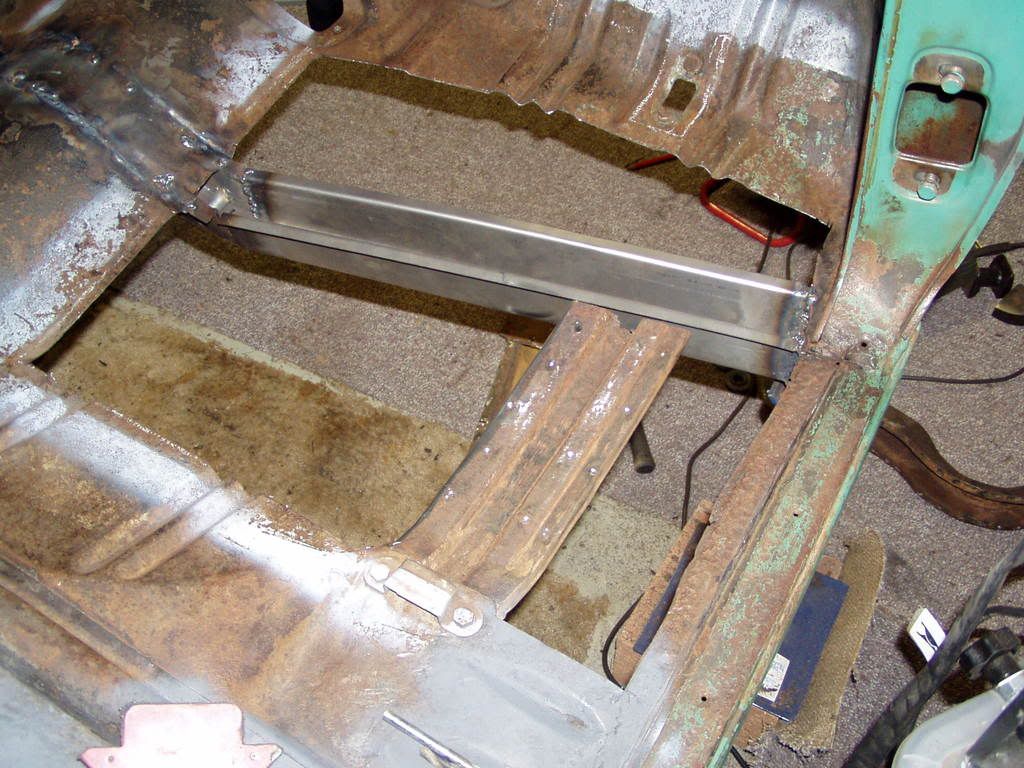
I've now done the Crossmember Fab.
Here's a few pics...
Drilled out the spot welds and cut out the old one...
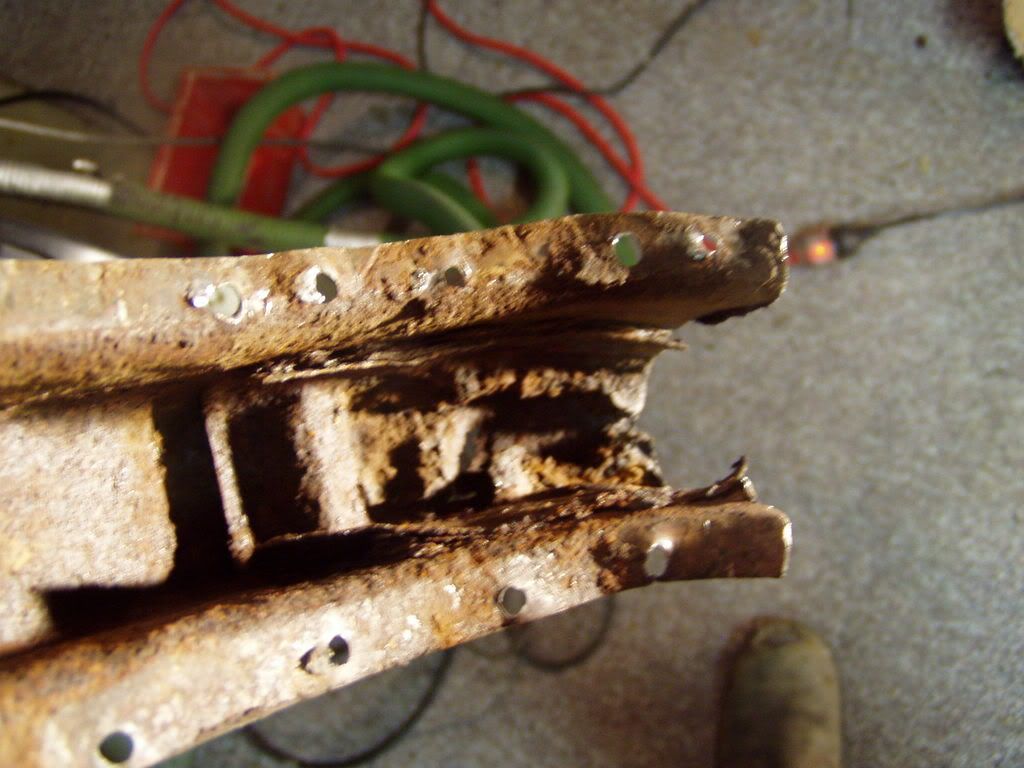
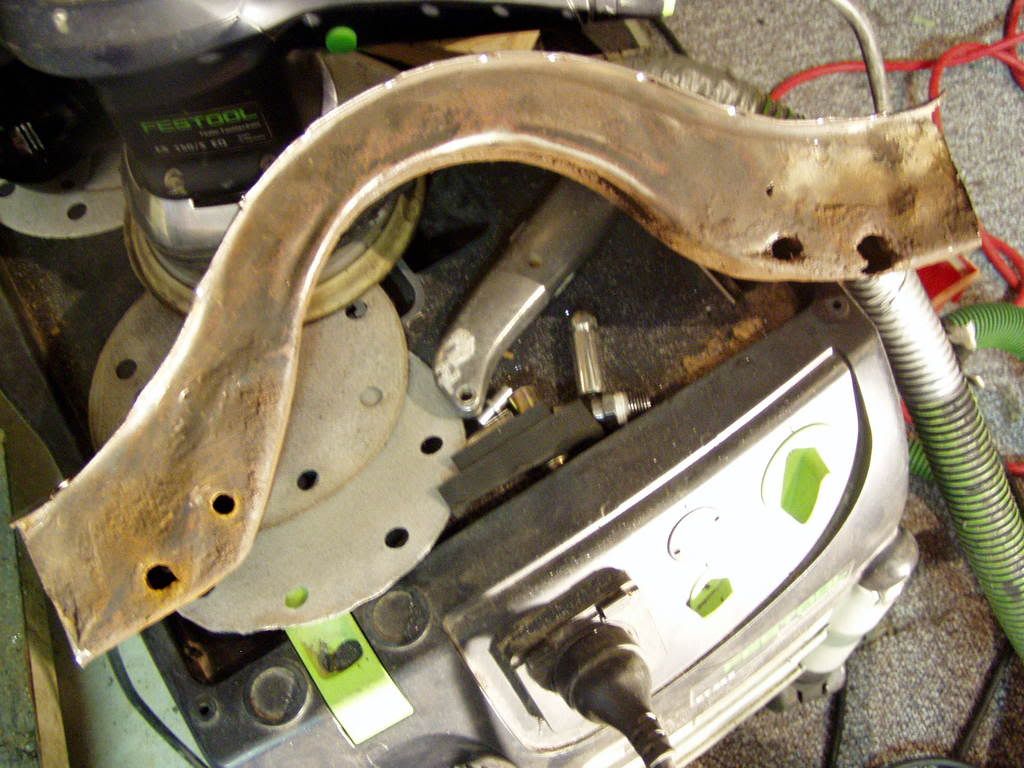
Marked out onto sheet metal....
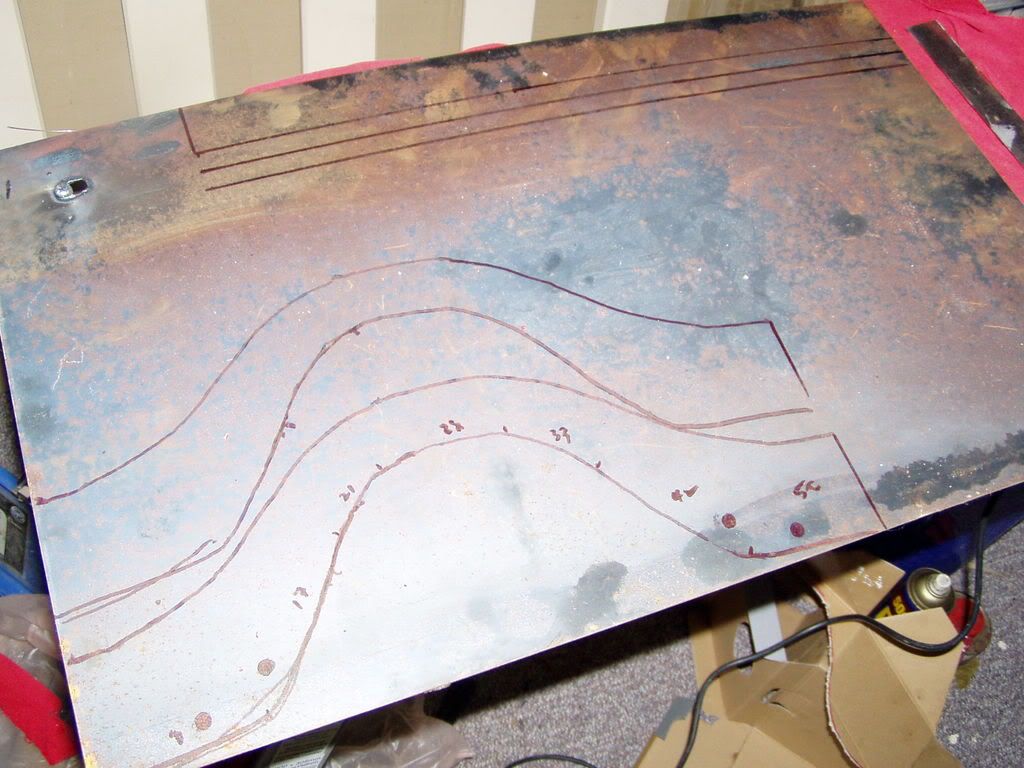
Cut out with a jig saw....
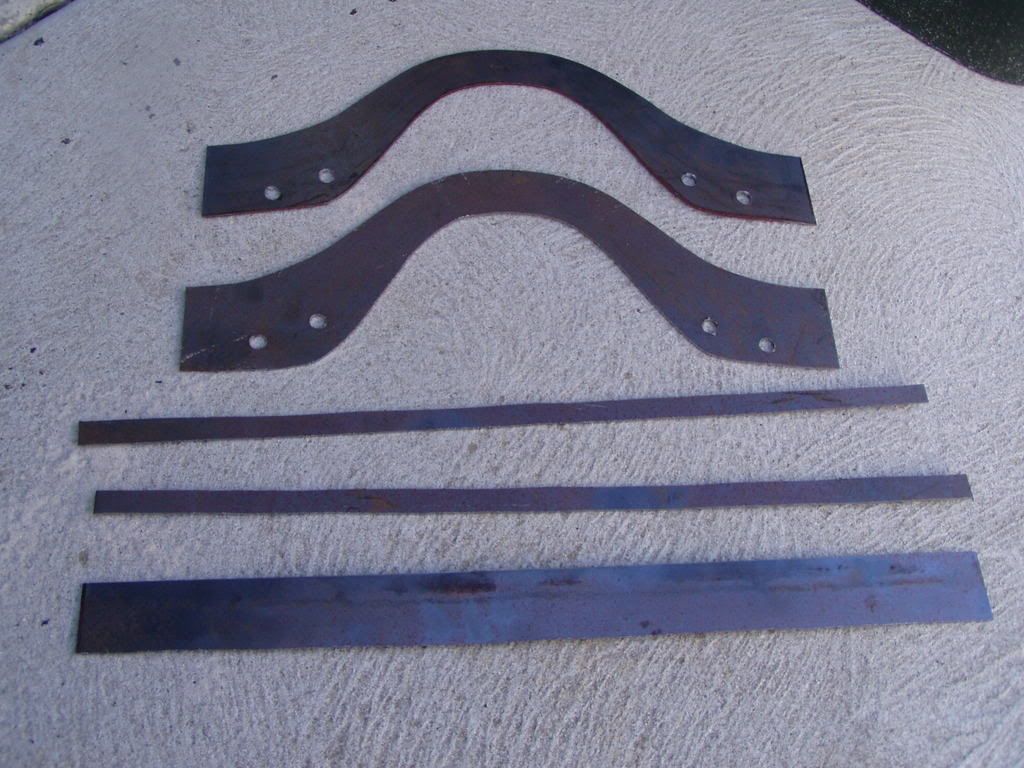
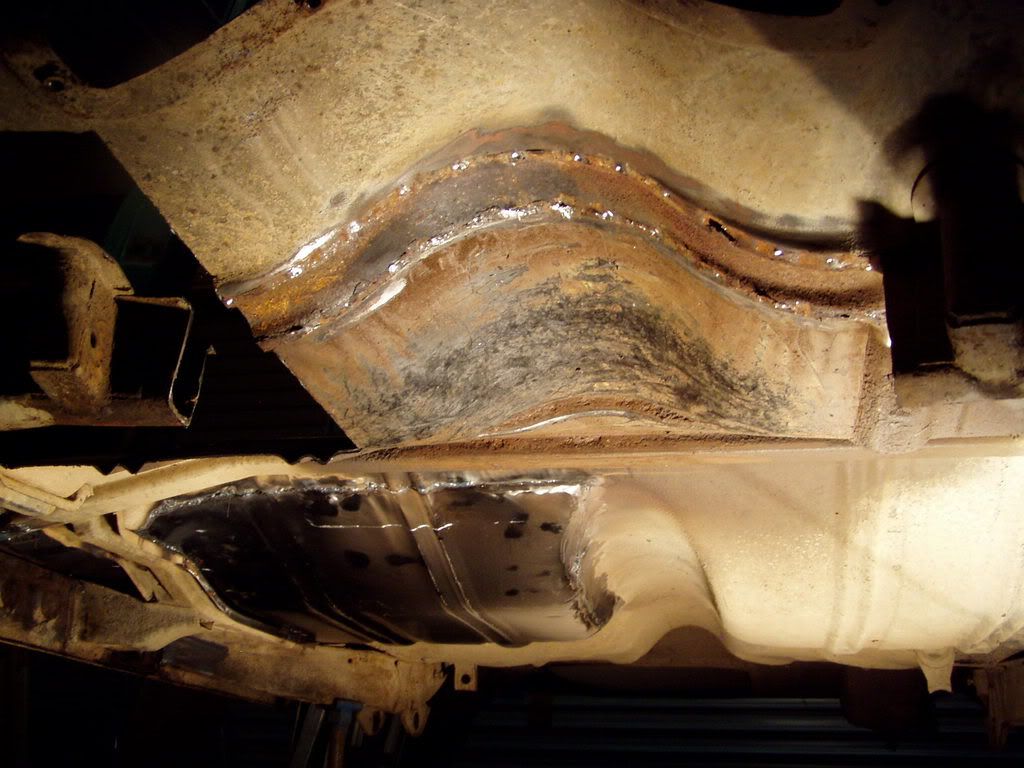
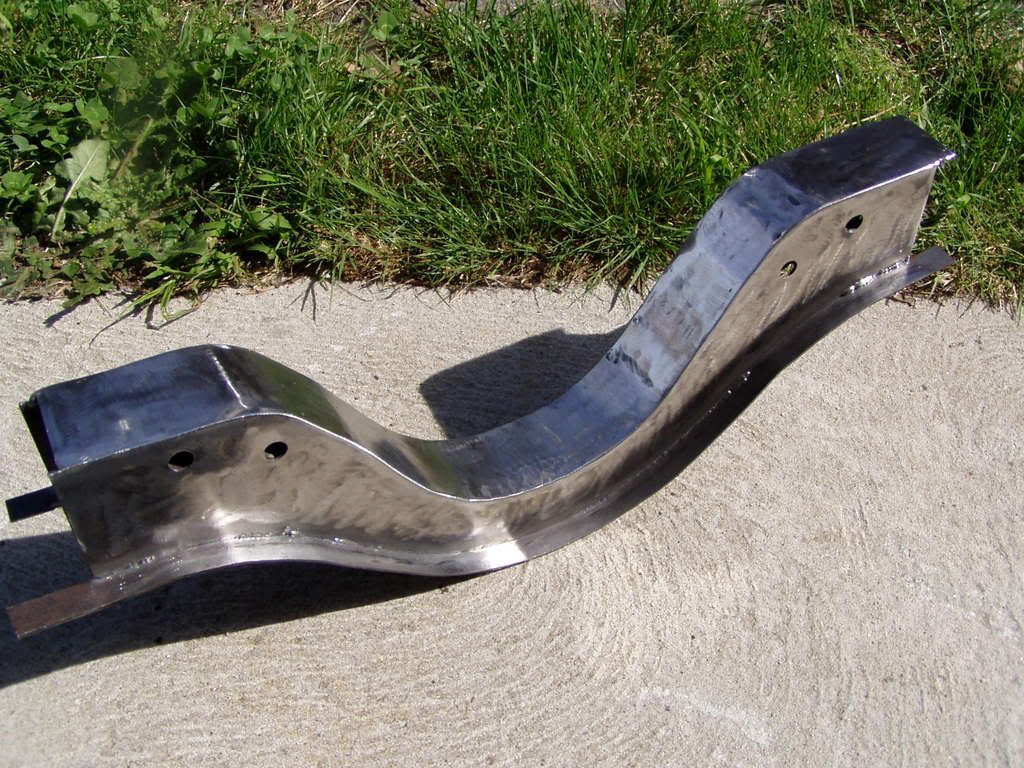
Welded on 15mm attatching strips....
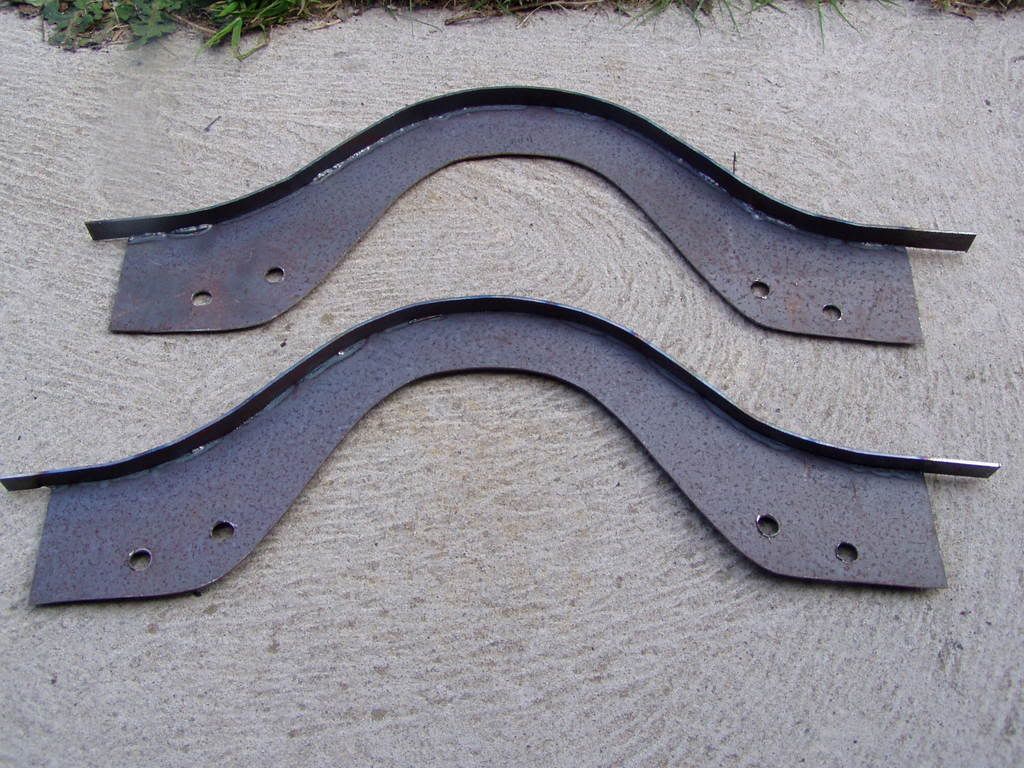
Welded together with another 40mm strip and some crush tubes....
A bit of grinding etc.....Hey Presto!
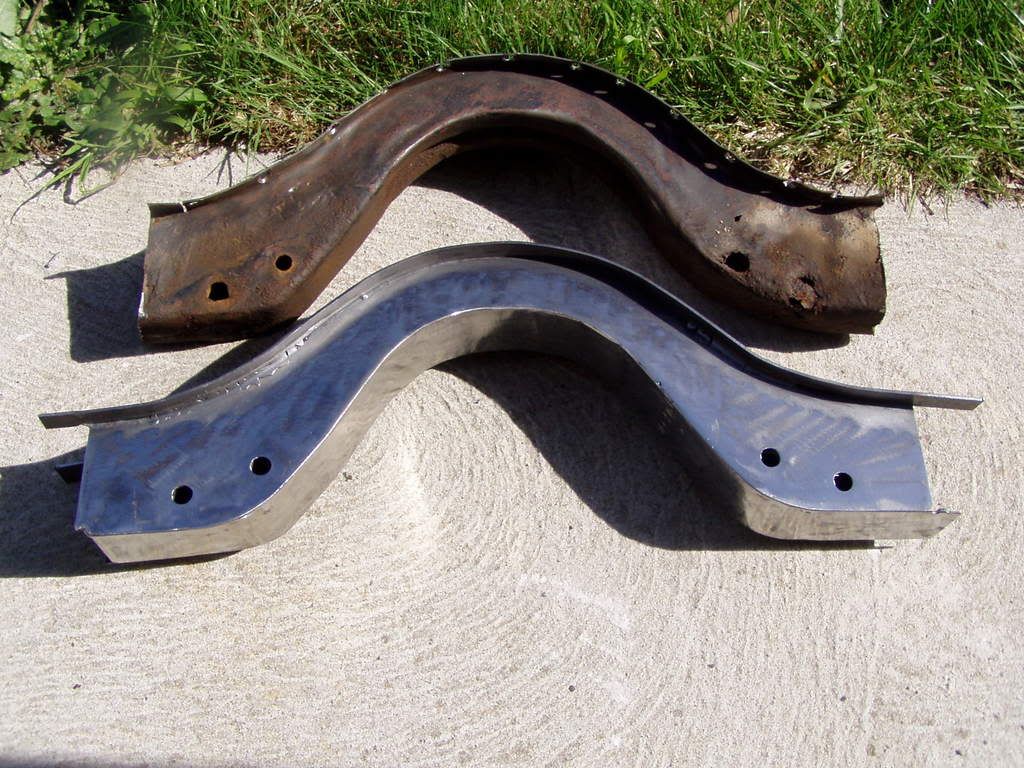
Old and New....
Happy with this mornings efforts. Just now have to get the rest of the crossmember folded up and then I'll put it all back together.
A bit o' lunch now and out to play once again

Posted: Sat Apr 12, 2008 3:10 pm
by Craig
Mate Top work looks good
Posted: Sat Apr 12, 2008 5:04 pm
by EKSPCL
More from today
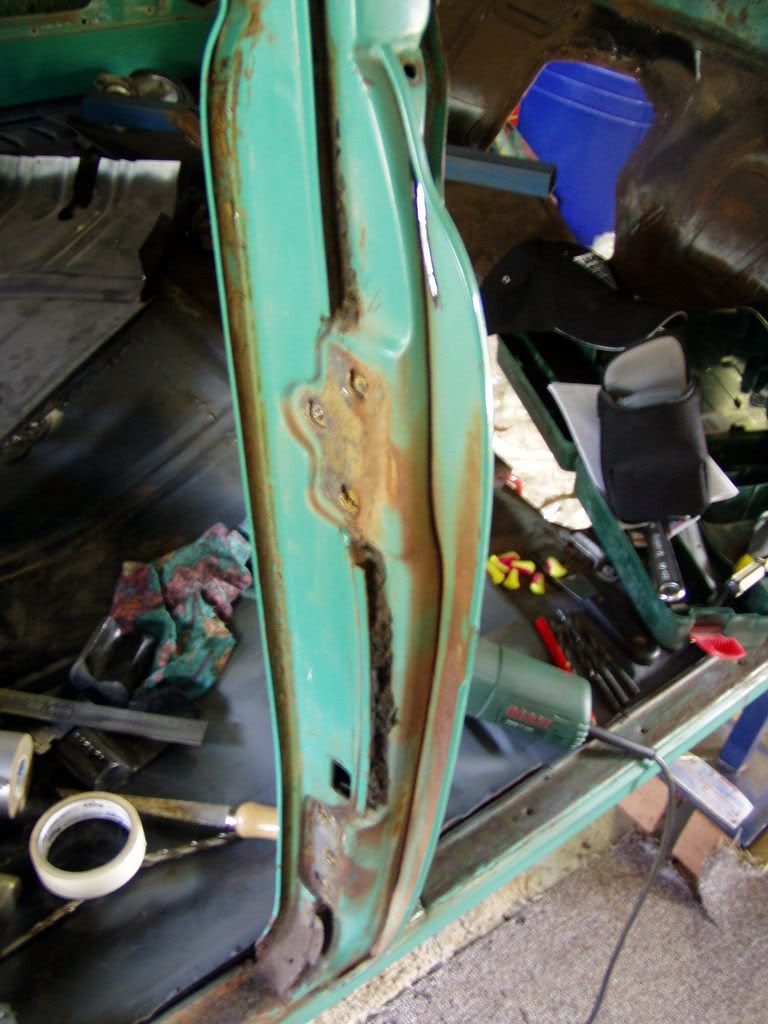
Thanks to Malcom's yellow machine, looks very neat, I've decided to take off the dividers between the doors this arvo....
Before, During and After.......
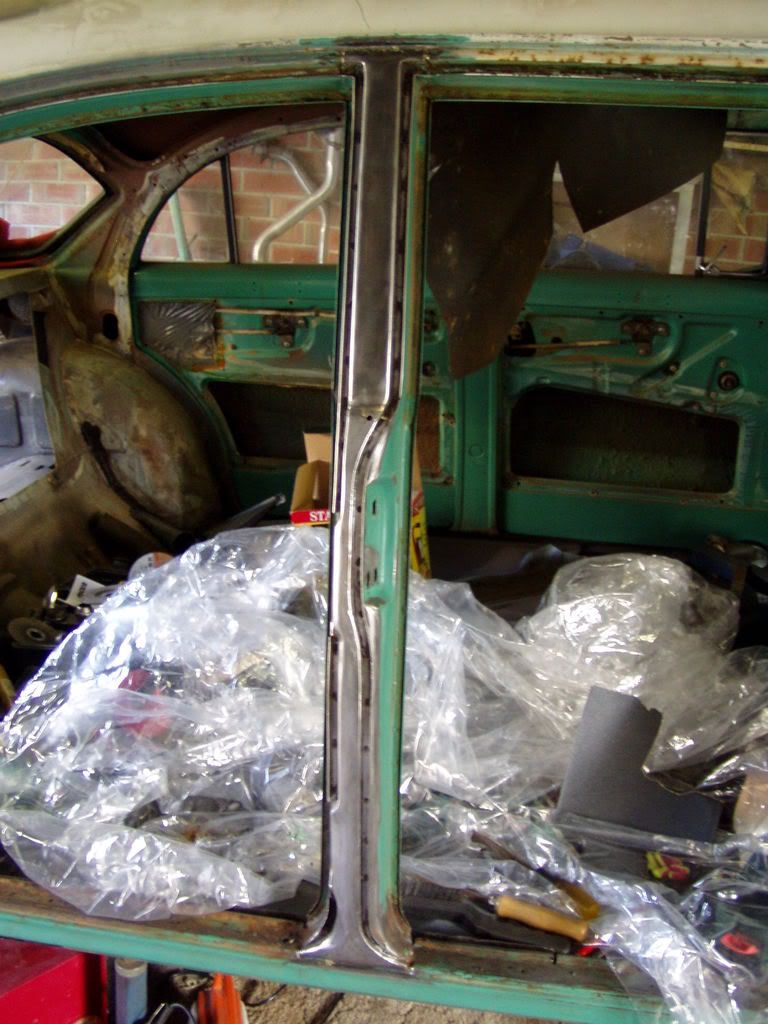
I'll get to extending the front doors another day. Thats me done for this weekend
my special toy
Posted: Sat Apr 12, 2008 8:03 pm
by Malcolm
Mate, very nice work
Thats exactly how I did my crossmember.
You're doing a top job, just keep plugging away at it and before you know it you'll be finished
Keep up the great work
Mal
Posted: Sun Apr 13, 2008 9:34 am
by Devilrod
Awesome!!! great how to for replacing a crossmember.
Posted: Sun Apr 13, 2008 10:47 am
by EK283
NIce work,
That part of the car always cops the rust for some reason!
Dont mean to be picky but its called a floor brace.
The section that holds most gearboxes is the crossmember.
Regards Greg
Posted: Sat Apr 19, 2008 8:30 pm
by EKSPCL
Today I got hold of some sheet steel and went over to my mates place,
he has a 'folder', and folded myself up a couple of new crossmember sections

Here's the drivers side in.......
Along with the new arch I made previously in this post.......
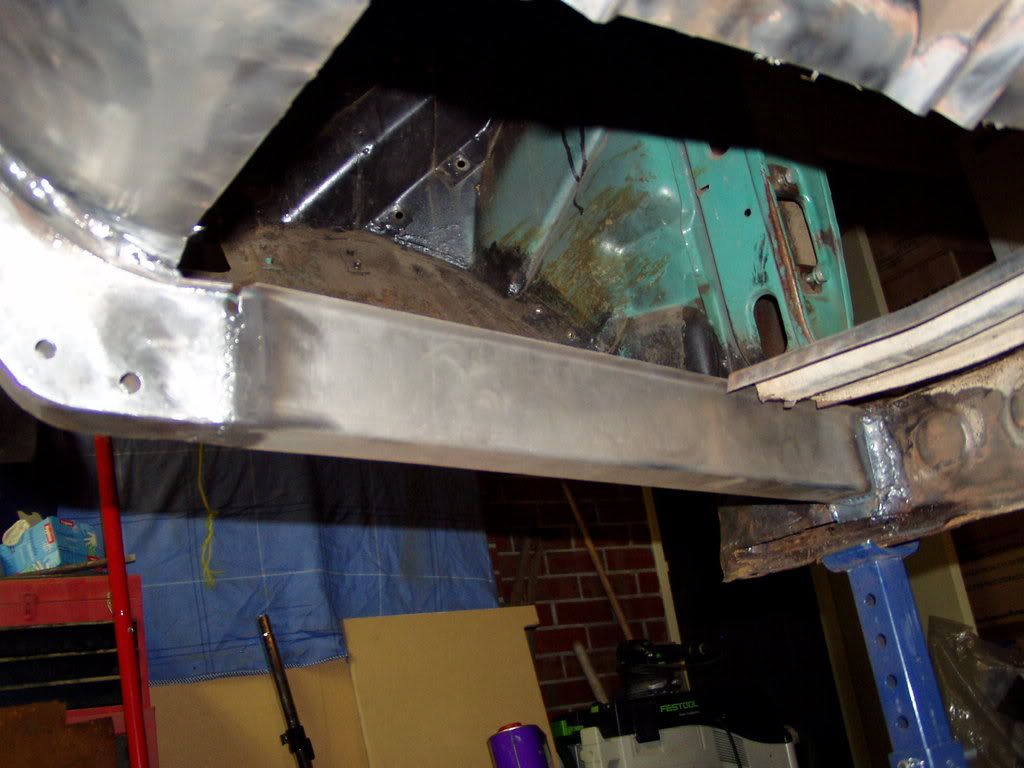
Now to work out how to get the mounting point on for the front end to bolt to
Then I think the drivers floor will come next, and all over again on the passengers side.