V8EK4us- 383 SBC,4 link,Torana f/e - 12 months on...

Post photos of your pride and joy, or updates on your rebuild!

Moderators: reidy, Blacky

User avatar
J
Posts: 1692
Joined: Wed Mar 05, 2008 8:42 pm
State: WA
Location: Perth
Contact:

Post by J »

Devilrod wrote:
V8EK4us wrote: :roll: :roll: :roll: :roll: :roll: :roll: :roll: :roll: :roll: :roll: :roll: :roll: Devilrod you must try reading and not just look at the pictures, it's not Playboy or Penthouse :lol: :lol: :lol: :lol: :lol: :lol:
:oops: :oops: :oops: :lol: :lol: :lol: :lol:

I like pics better than words.... Not enough pics in either of those mags :shock: :shock: :shock: :roll: :lol: :lol: :lol: :lol:

devilrod and i are in the same class trev, next we move onto pop up books :D
Image
RAT138
Posts: 132
Joined: Fri Aug 22, 2008 6:55 am
State: NOT ENTERED
Location: Gold Coast

Post by RAT138 »

that interior is insane! I can't wait to see the finished product. :shock:
puttin dirt next to shine since 59
User avatar
Devilrod
Posts: 7394
Joined: Fri Apr 30, 2004 12:55 pm
State: VIC
Location: Beaconsfield, Vic

Post by Devilrod »

J wrote:devilrod and i are in the same class trev, next we move onto pop up books :D
Nah I'm one ahead, Pop ups rule!!! :lol: :lol: :lol: :lol: :lol:
Speed and Style........... One day I'll get the speed bit.
User avatar
V8EK4us
Posts: 1541
Joined: Sat Feb 09, 2008 12:12 am
State: NOT ENTERED
Location: Mildura - Vic

Post by V8EK4us »

Thanks for the post guys 8) . More work on the console........ I have recessed the centre panel down about 8mm, the red leather will be stiched at this joint and cover the recessed top panel, the sides will be contoured and fibreglassed (as per the door panels) and painted black, covering the join where the red leather and paint meet will be the "rear door trims" (spare ones I had) that I "reshaped" after removing some dents. The rear of the console will be cut to take 2 x A/C vents that will be ducted from the front. I have decided not to put the centre mount handbrake in, would look too cluttered. The section between the shifter and the arm rest/storage area will have the controls for the power windows. Curved section in front of shifter will house the sound system and two recessed polished alloy drink holders. The storage area has a large area for sunny's, wallet etc and a small shallow area for loose change.


Braces to fix recessed panel to:

Image


Panel for storage/arm rest:

Image


Storage area:

Image

Image


Jig to hold trims while bending them sideways (bloody things don't like bending sideways! :roll: ):

Image

Image

Image


Ready to fibreglass, the black part of the shifter cover will end up being fibeglassed to the console and used as one of the point to secure the console in the car.

Image

Image
Last edited by V8EK4us on Thu Jan 15, 2009 10:35 pm, edited 2 times in total.
EKSPCL
Posts: 794
Joined: Sat Mar 15, 2008 11:36 pm
State: NOT ENTERED
Location: Langwarrin, Victoria

Post by EKSPCL »

Cool as cucumbers 8) 8) 8)
My 6yr old daughter said
"Dad your car's looking great! Which end is the front?"
User avatar
V8EK4us
Posts: 1541
Joined: Sat Feb 09, 2008 12:12 am
State: NOT ENTERED
Location: Mildura - Vic

Post by V8EK4us »

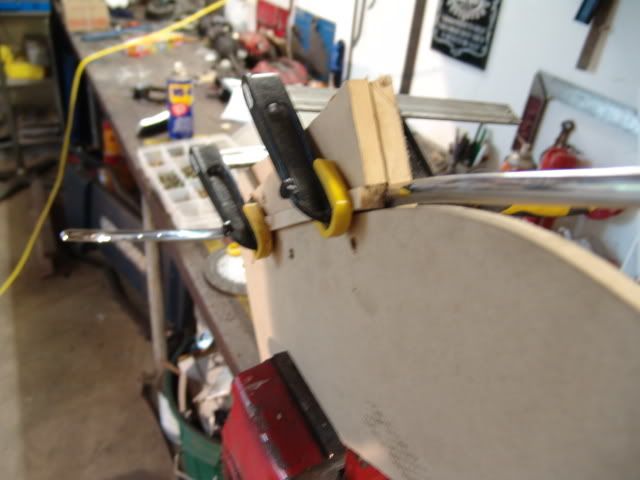
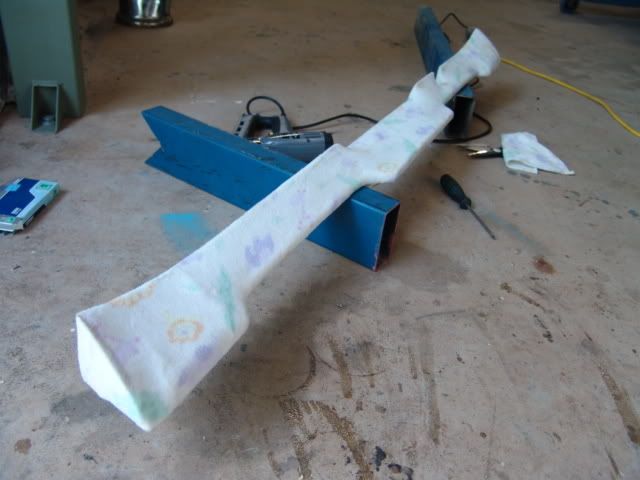
Hi guys, got the fibreglassing done on the console and A/C ducting panel. Posted a couple of pics of applying the material, it really does not matter what the back looks like because it gets cut off about 10 - 15mm in from the edge once the resin has set, main thing is to try and keep the material tight on the front side and reasonably flat on the back for the 10-15mm. I start by brushing the fibreglass resin on the back first until it is soaked through the material, then turn it over and do the main sections, it will need about 4-5 coats (two wet on wet, let it tack off then apply another fresh batch of resin wet on wet).

Once it has set (leave it until the next day) sand it smooth, orbital sander with 80-120 grit works good, be careful not to sand too much on the sharp edges, it the material "fluffs up" then just apply a bit more resin on that spot and re-sand. I will post pics when I trim and sand tomorrow :D

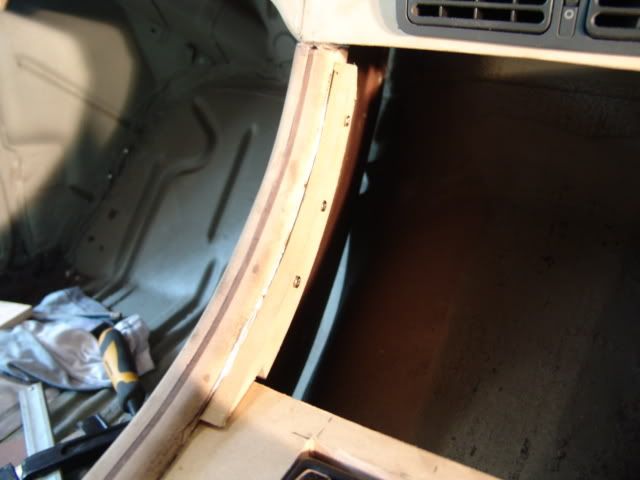
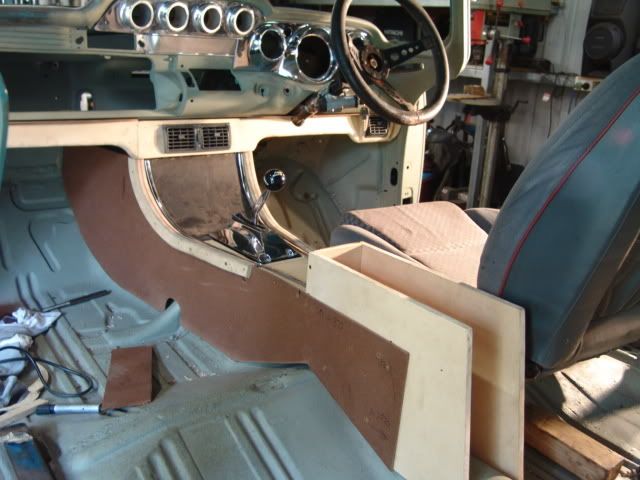
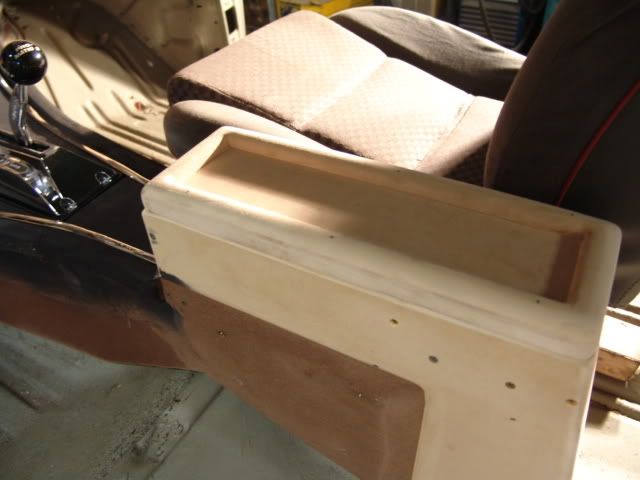
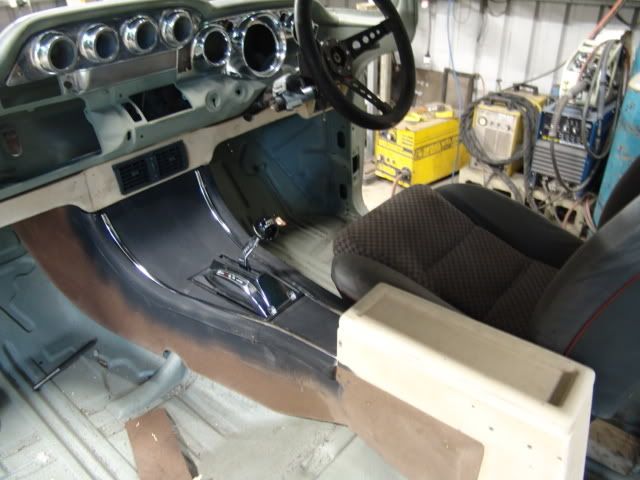
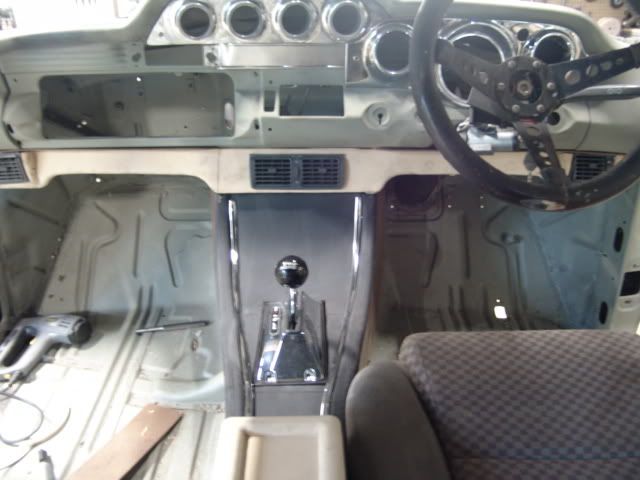
I will post up some pics when the fibreglassed parts are primed which will give a good idea of the contoured effects.


First cut the material to suit (go bigger than needed):

Image


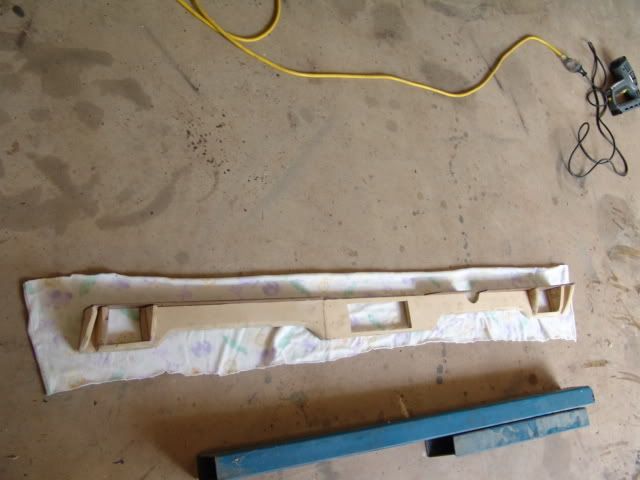
Staple in the middle first then stretch firmly to each end and staple, then work along the entire side with the stapler (I got a Stanley electric stapler from Mitre-10 for $50, works great).

Image


Next stretch the material over the part firmly and staple, starting in the middle and work your way out stretching the material as you go:

Image


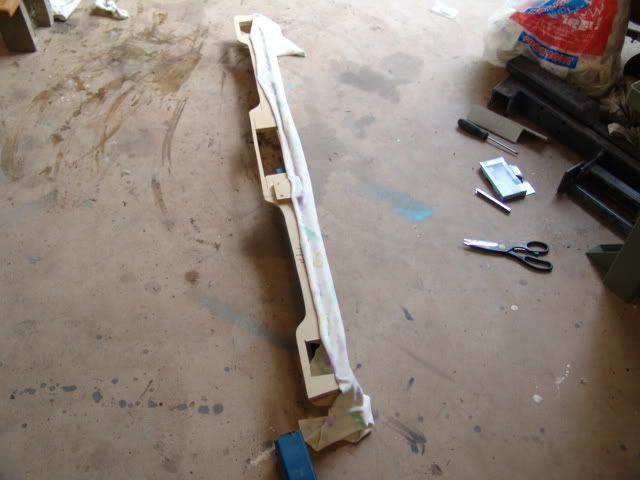
A/C ducting panel ready for application of resin:

Image


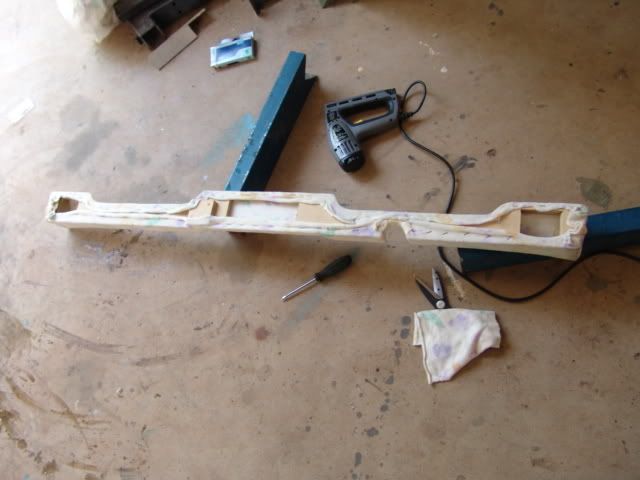
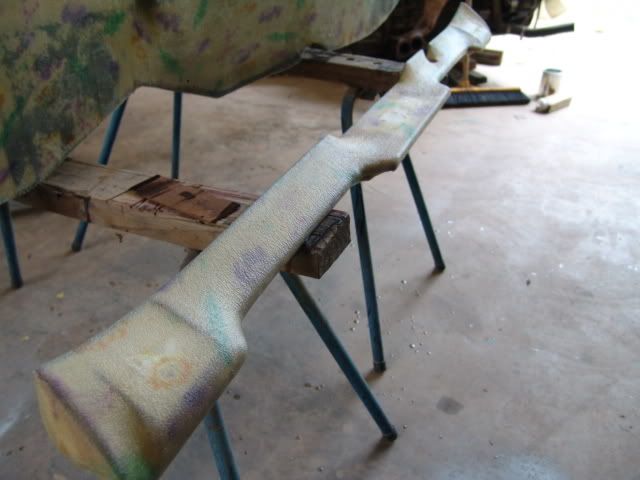
A/C ducting panel coated with resin, the areas for the A/C vents will be trimmed out and sanded when the resin has cured properly:

Image


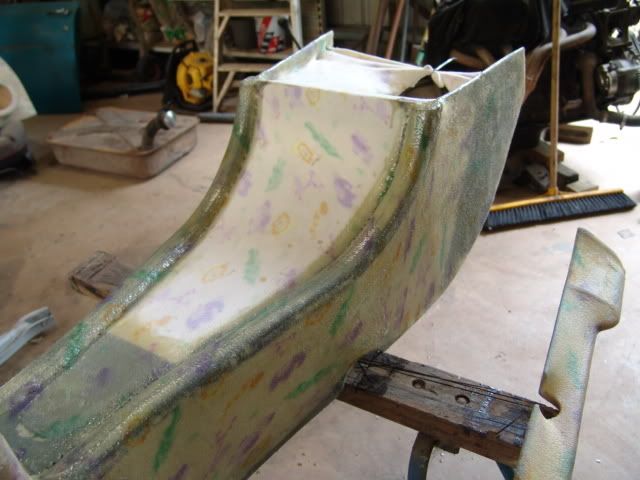
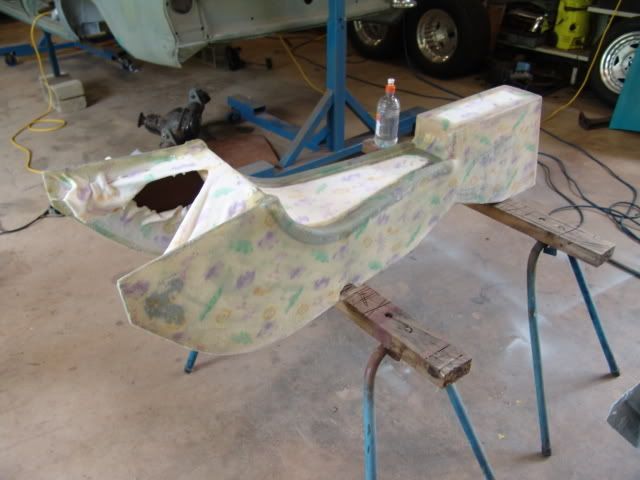
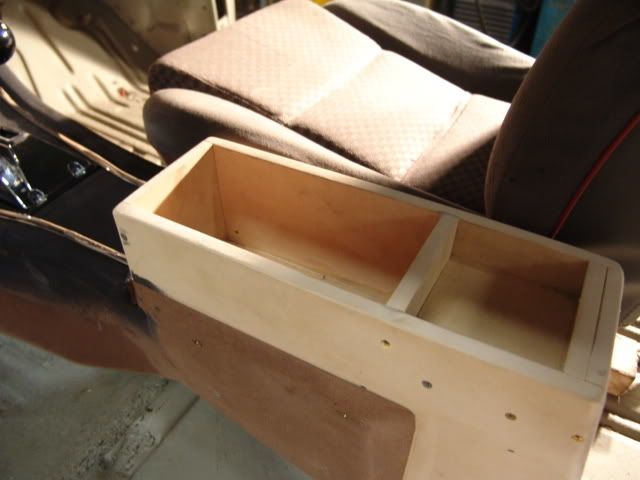
Console fibreglassed, light coloured areas are not glassed as they will be trimmed out:

Image

Image
Last edited by V8EK4us on Mon Jan 19, 2009 8:13 pm, edited 1 time in total.
User avatar
V8EK4us
Posts: 1541
Joined: Sat Feb 09, 2008 12:12 am
State: NOT ENTERED
Location: Mildura - Vic

Post by V8EK4us »

Hi guys, really been undesided lately re: blower. I hear what Mal said and we do want to drive this car and not have "too many dramas", still want good hp (500hp + would be good). I have checked out a few ideas that will stay under the bonnet (I am conserned that the blower hanging through the bonnet will detract from the overall apperance of the EK ..... any thoughts????

Here are some of the options I have been looking at:

Image

Image

Image

Image

Image
Blacky
Posts: 13365
Joined: Tue Jul 20, 2004 8:58 am
State: WA
Location: up in the Perth hills

Post by Blacky »

V8EK4us wrote:
Image
That looks the goods. 8)
I started with nothing and still have most of it left.


Foundation member #61 of FB/EK Holden club of W.A.
STANLEY
Posts: 367
Joined: Tue Sep 23, 2008 9:16 am
State: NOT ENTERED
Location: SYDNEY, AUSTRALIA

Post by STANLEY »

Go with one of those under bonnet B&M blowers. They work very well.
leweydafly
Posts: 96
Joined: Wed Jan 09, 2008 6:48 pm
State: NOT ENTERED
Location: dandenong victoria

Post by leweydafly »

Blacky wrote:
V8EK4us wrote:
Image
That looks the goods. 8)
Im with you Blacky,

That setup looks awesome!!

Im not really a fan of sh*t hanging out the bonnet, does take away from the overall shape of a car.

Cheers

Mick 8)
EKSPCL
Posts: 794
Joined: Sat Mar 15, 2008 11:36 pm
State: NOT ENTERED
Location: Langwarrin, Victoria

Post by EKSPCL »

Same as Blacky and Lewey.
Very 8) 8) 8)

If you can't fit it under the bonnet it doesn't belong there
My 6yr old daughter said
"Dad your car's looking great! Which end is the front?"
Dave
Posts: 107
Joined: Mon Nov 14, 2005 4:53 pm
State: NOT ENTERED
Location: Perth W.A.

Post by Dave »

Man, loving your build. I agree with Blacky - looks the goods.
Regards
Dave
My Band.....
www.myspace.com/thesuperdextas
User avatar
NoMAD
Posts: 1993
Joined: Thu Sep 29, 2005 5:07 pm
State: WA
Location: Perth, WA

Post by NoMAD »

and me to that list i'm with sheppard blacky and the rest of his flock...

they look the goods

cheers
NoMAD
mrs ratbox

Post by mrs ratbox »

V8EK4us wrote: Image
how can you go past this, so long as you can get yor clearance, you'll make yor 500HP much easier with this and still be real driveable

2 mates recently dynoed cars one injected 383 with a small fortune spent on it 400ish at the wheels
car 2, turboed (simular effect to supercharger) 383 only 8 pounds boost easily capable of WAY more 530HP at the wheels
basic.green
Posts: 367
Joined: Wed Sep 19, 2007 2:31 pm
State: NOT ENTERED
Location: adelaide.sa.

Post by basic.green »

Hi Garry i am with ratbox 8) 8) 8)
building the dream Rick
Post Reply