Stainless Grill refresh.
Picked up a set of FB stainless grill bars from Brett a while back. These are in pretty good condition but most tabs that hold them on to the vertical supports are missing. Anyway these 3 and in a better state than mine.
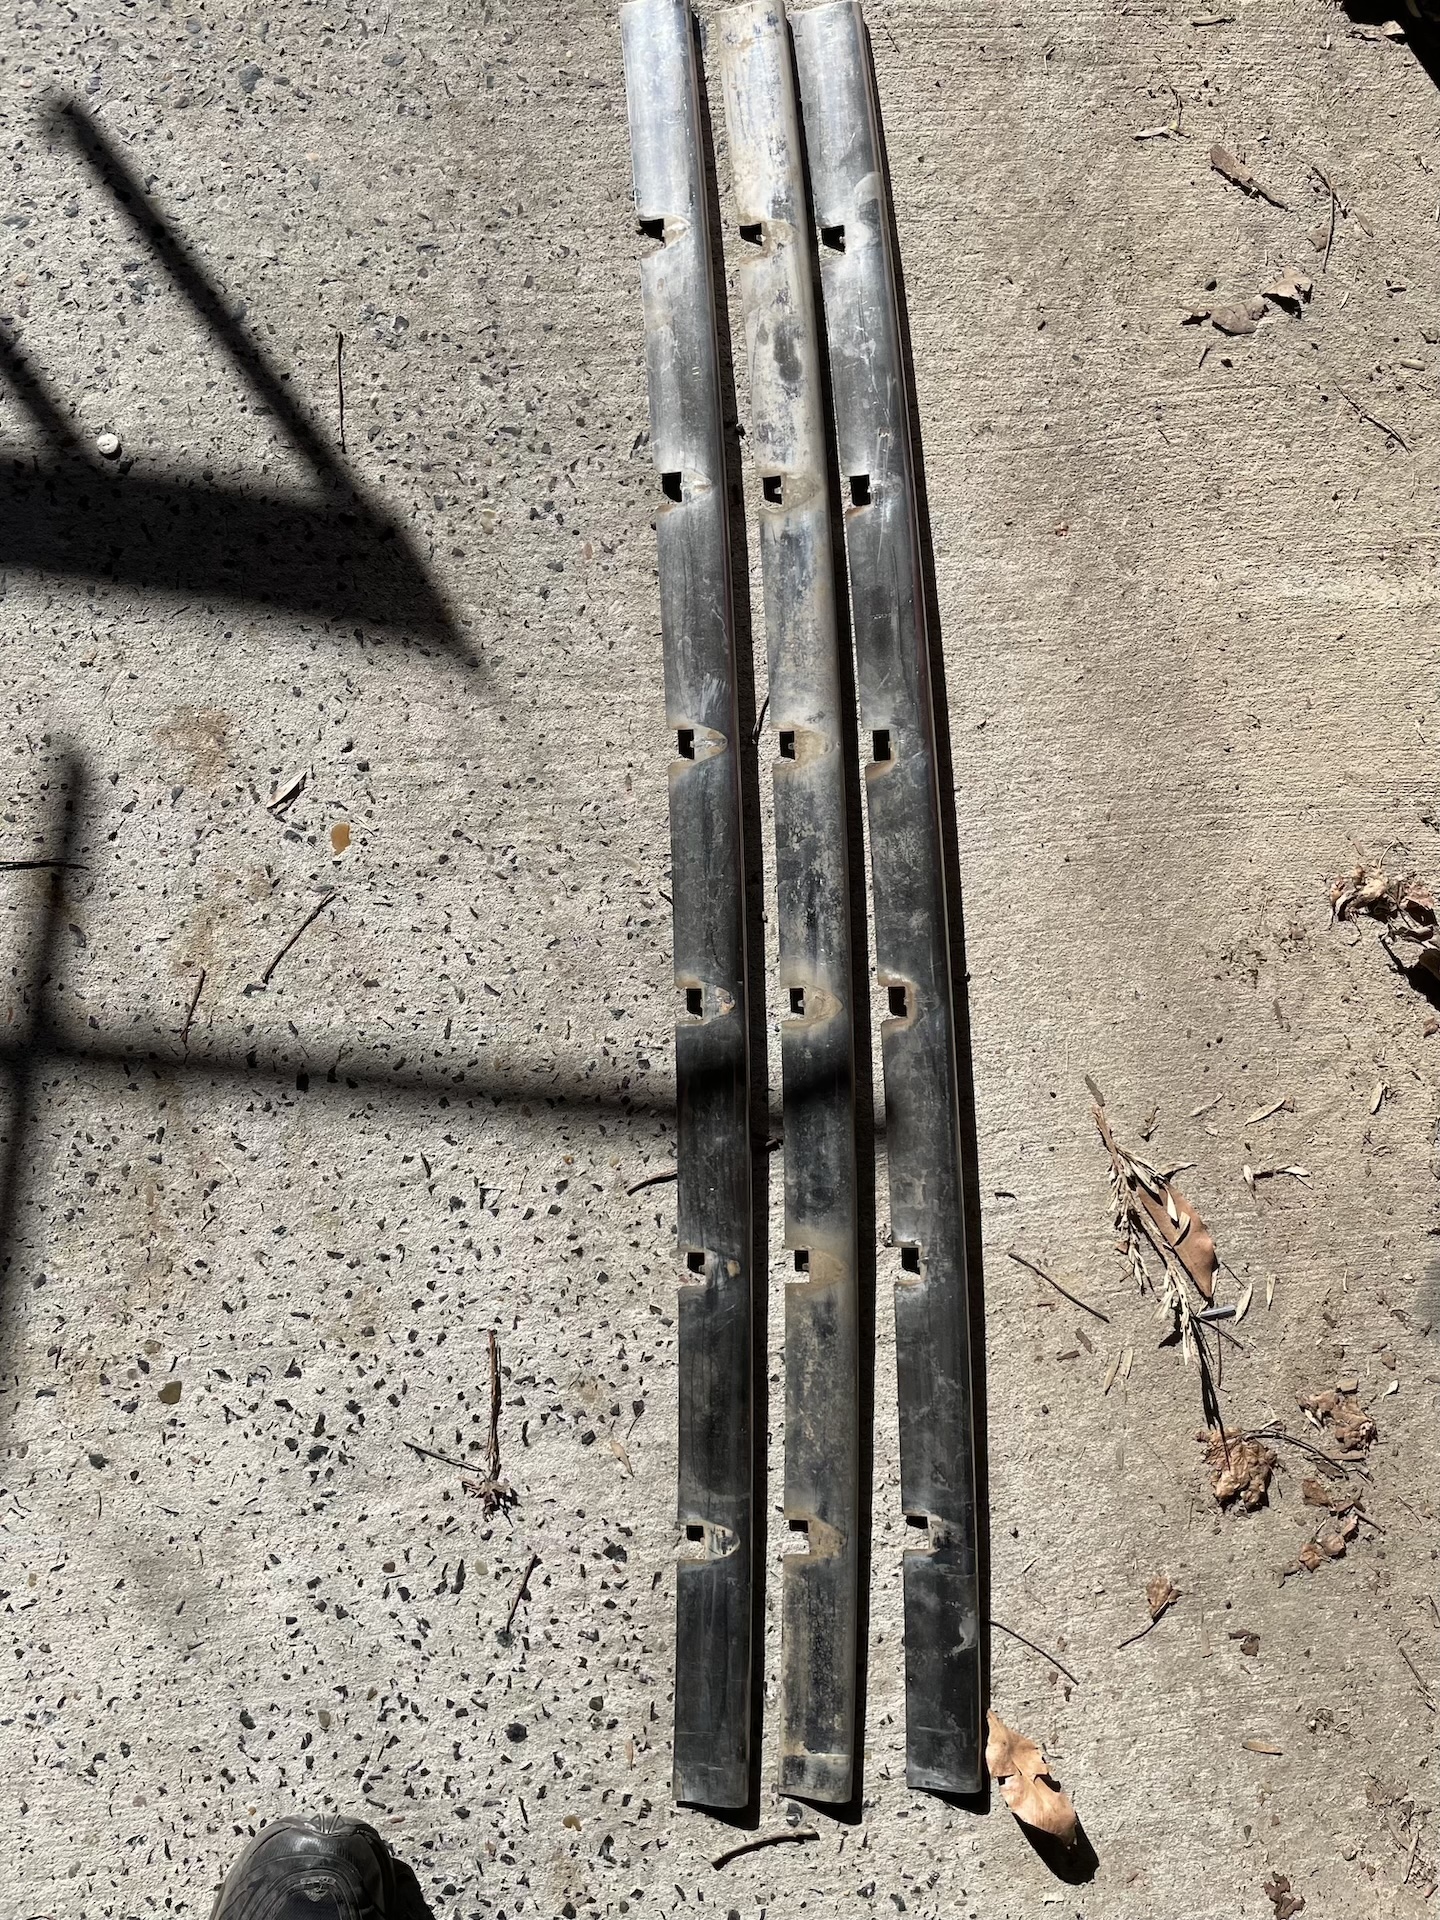
- IMG_7188.jpeg (1.76 MiB) Viewed 2309 times
Only one major issue of the 3 is this mark which after a quick sand, looks like a grinder has gone through it.
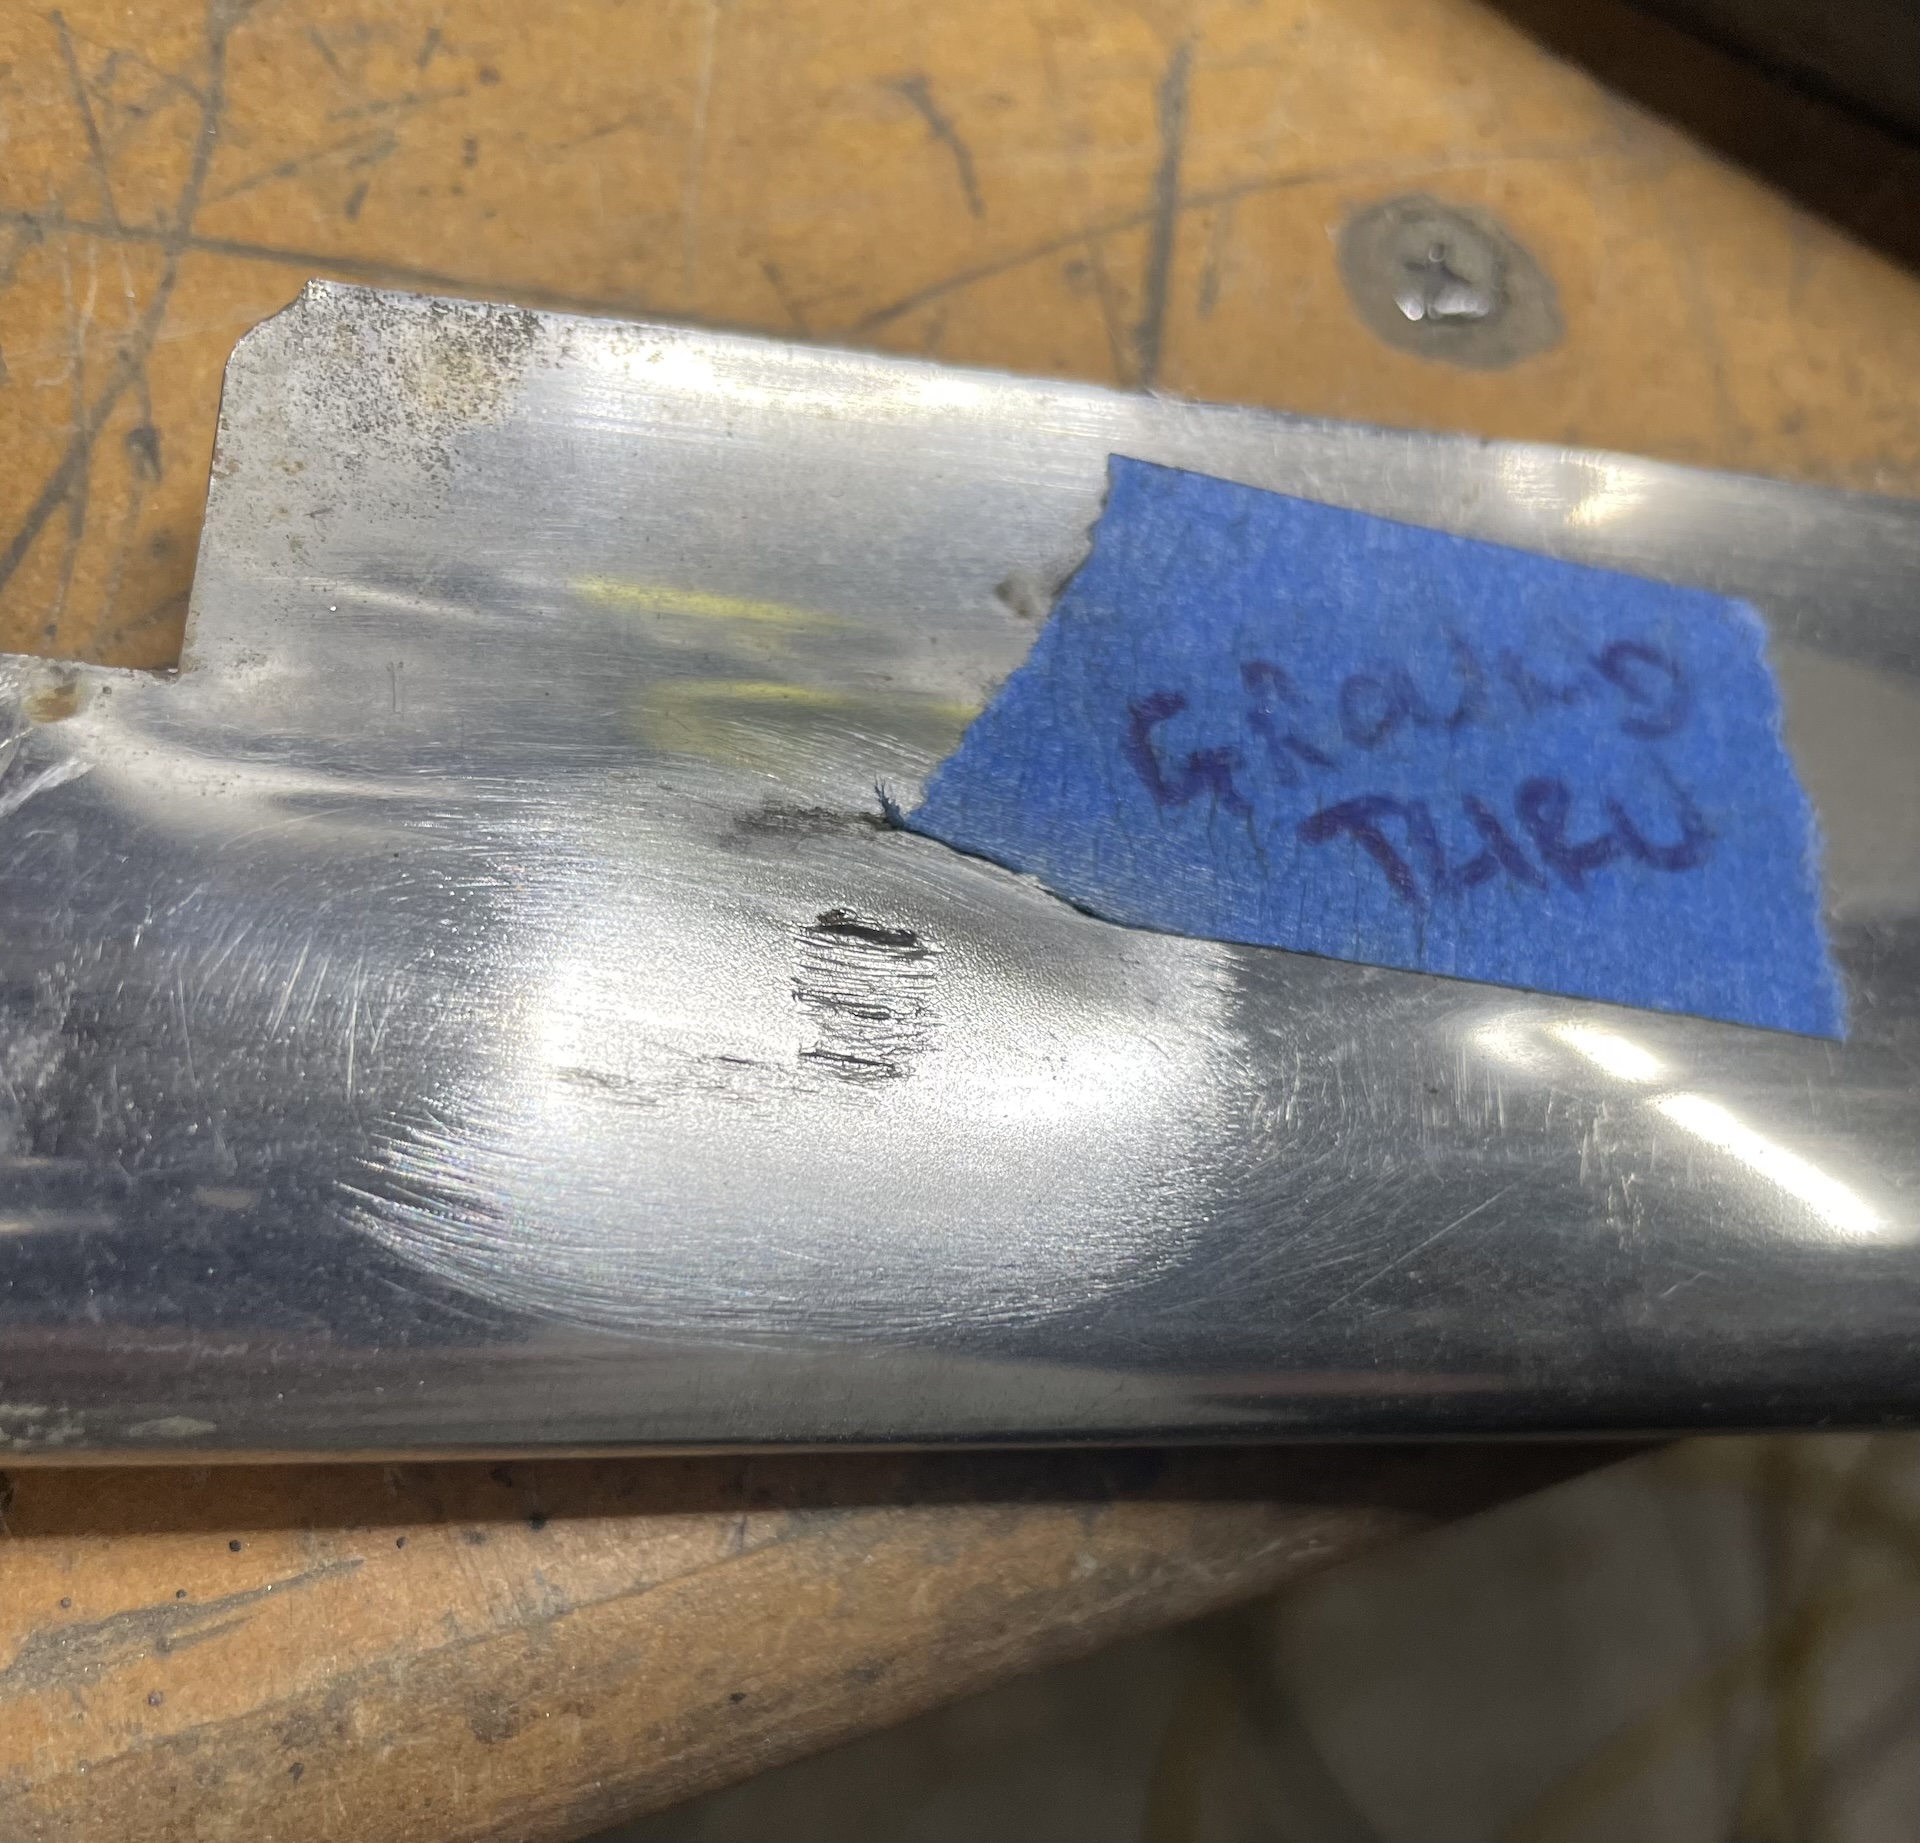
- IMG_7305.jpeg (910.58 KiB) Viewed 2309 times
Out with the 316 mig wire for a quick repair. Note this was before I got the 309 which might have been a better match. The internet tells me that the original is most likely 430 stainless. Should have probably done my research before this.

- IMG_7311.jpeg (859.08 KiB) Viewed 2309 times
Much grinding and filing and sanding later, it looks okay from most angles, and a bit like a water stain from others like in this picture.
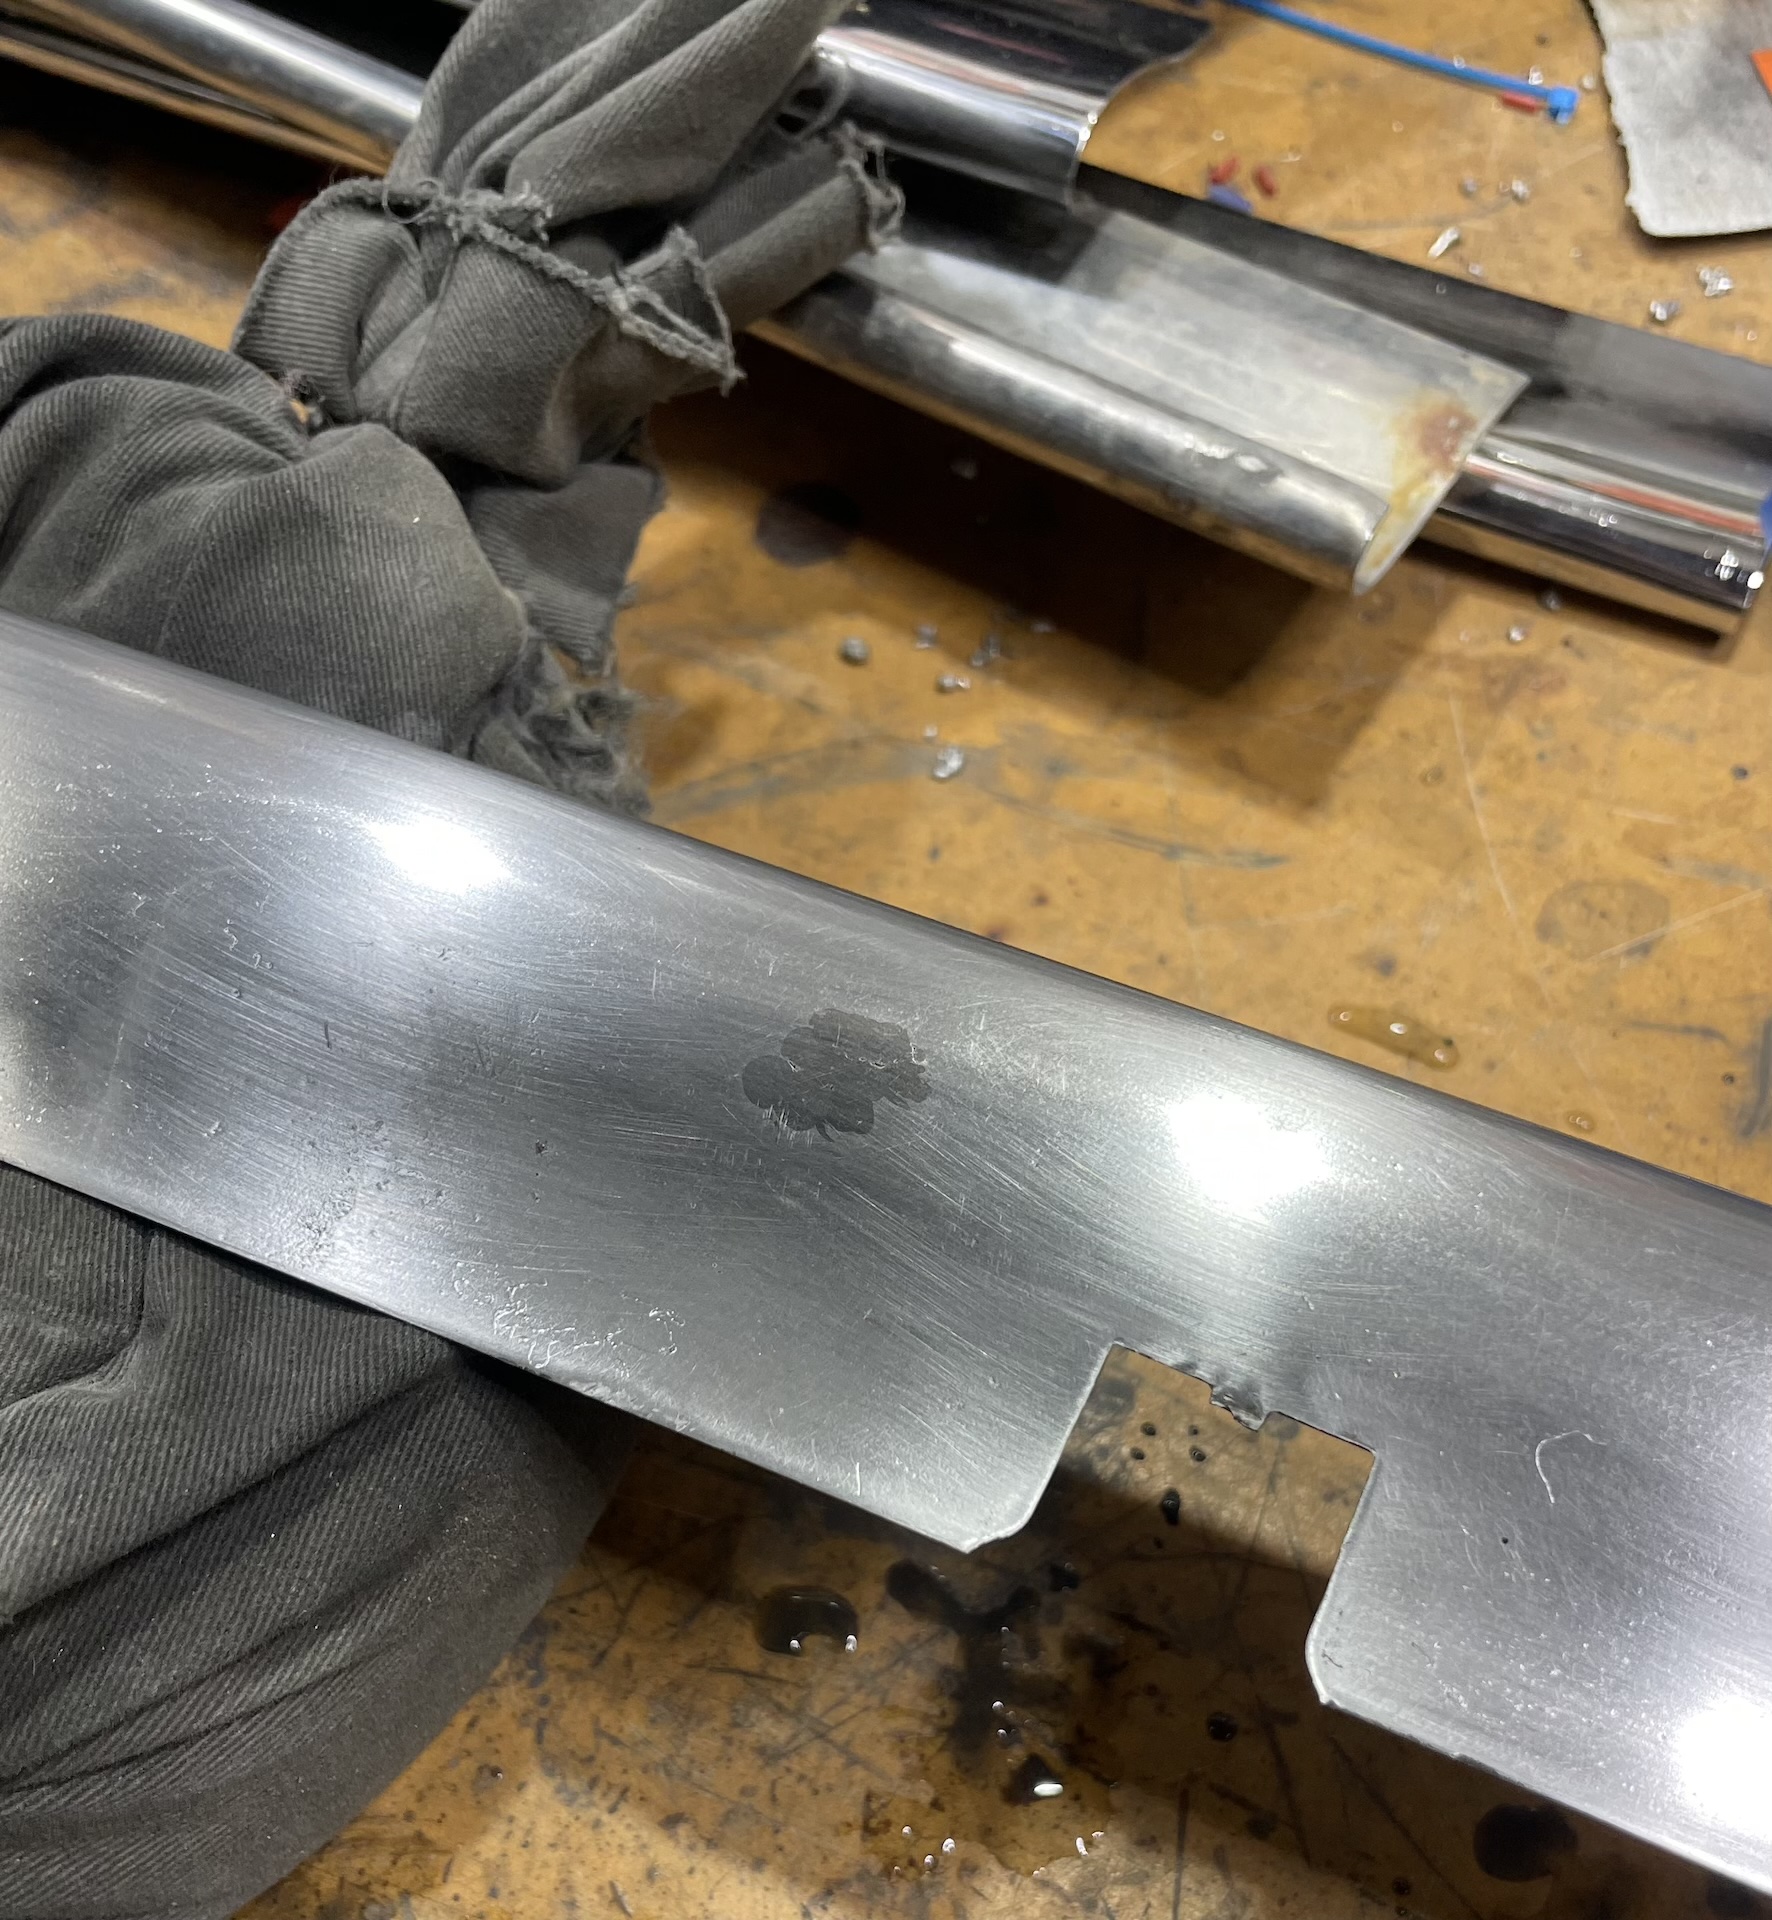
- IMG_7345.jpeg (963.31 KiB) Viewed 2309 times
Next got some 4mm 316 stainless steel screws, cut slots in the heads and ground most of the rest off. 18 of those was not fun.
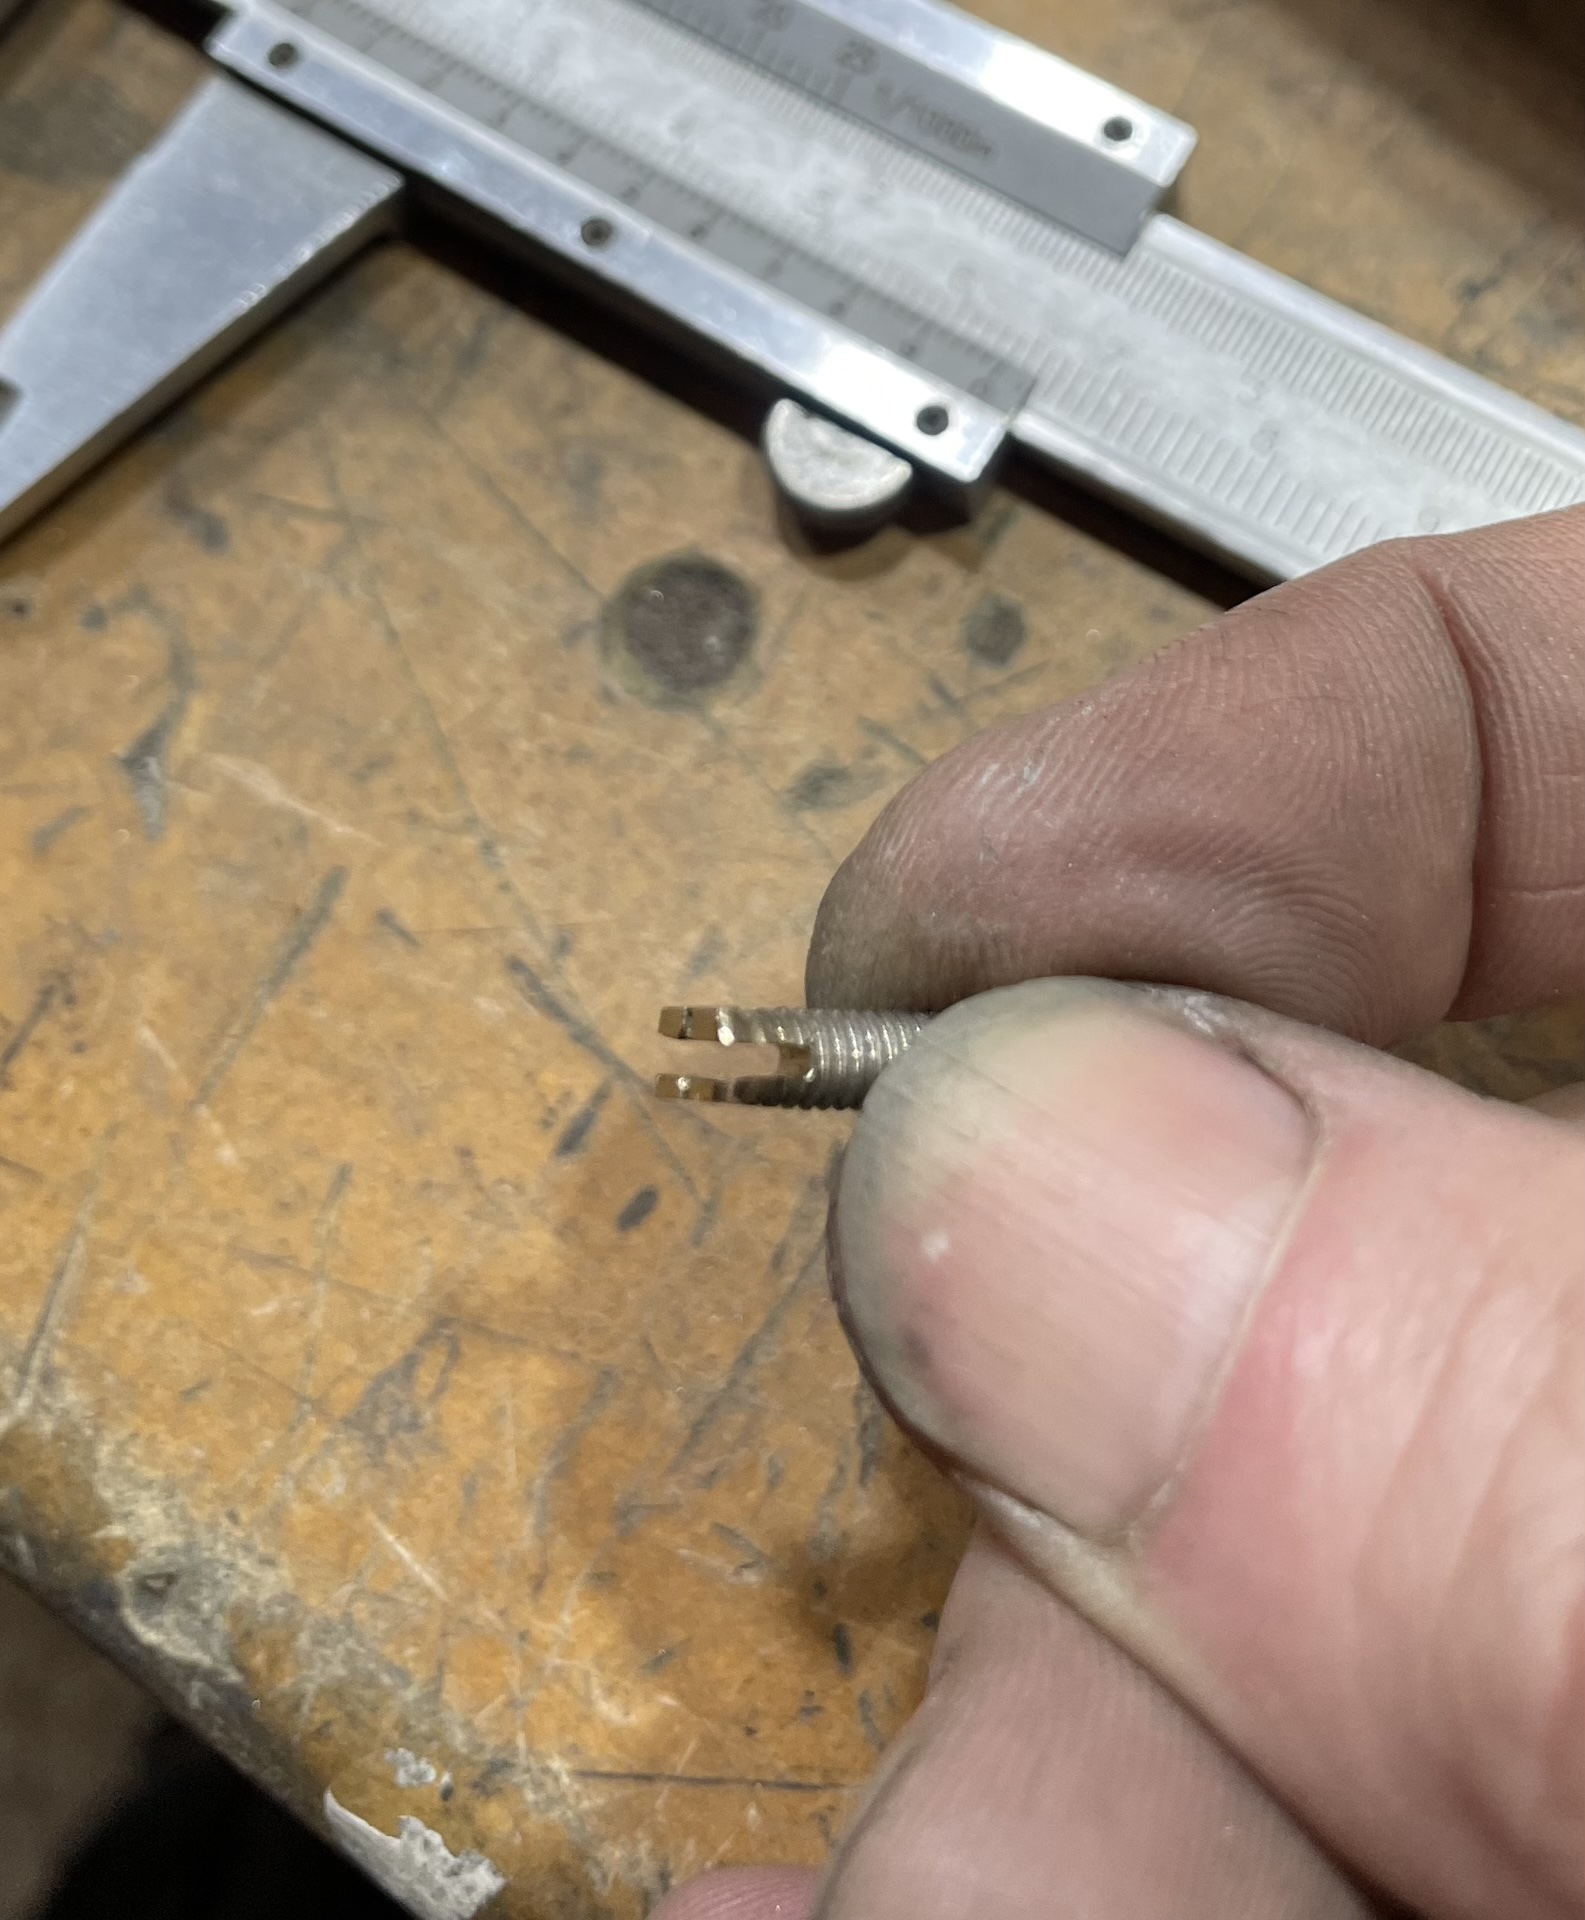
- IMG_7353.jpeg (618.14 KiB) Viewed 2309 times
Held the screw in place with a bit of flat bar to keep everything ‘square’. Welded both sides.
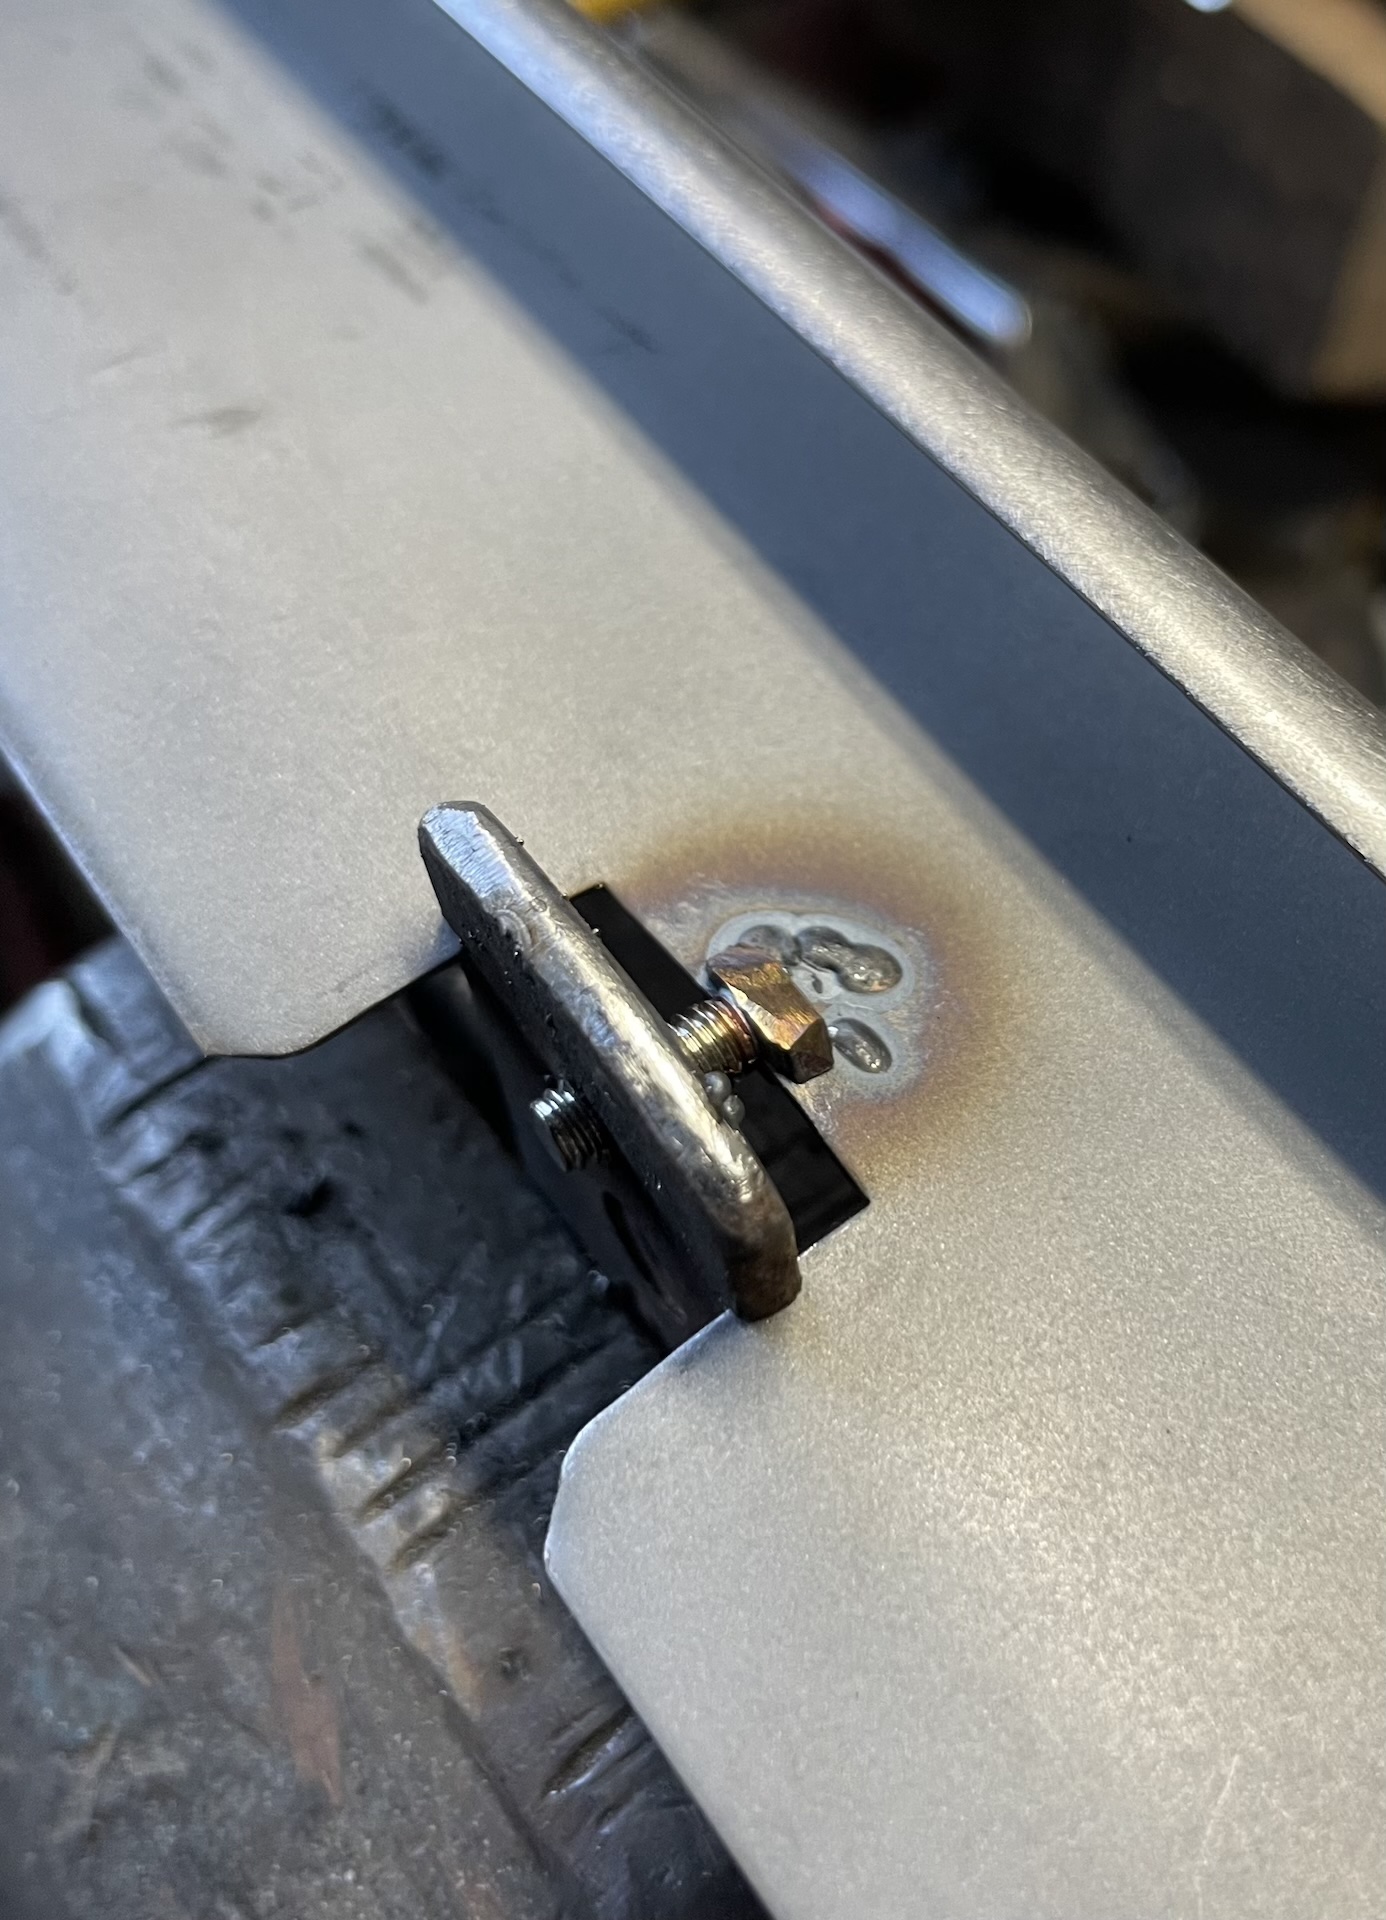
- IMG_7359.jpeg (635.56 KiB) Viewed 2309 times
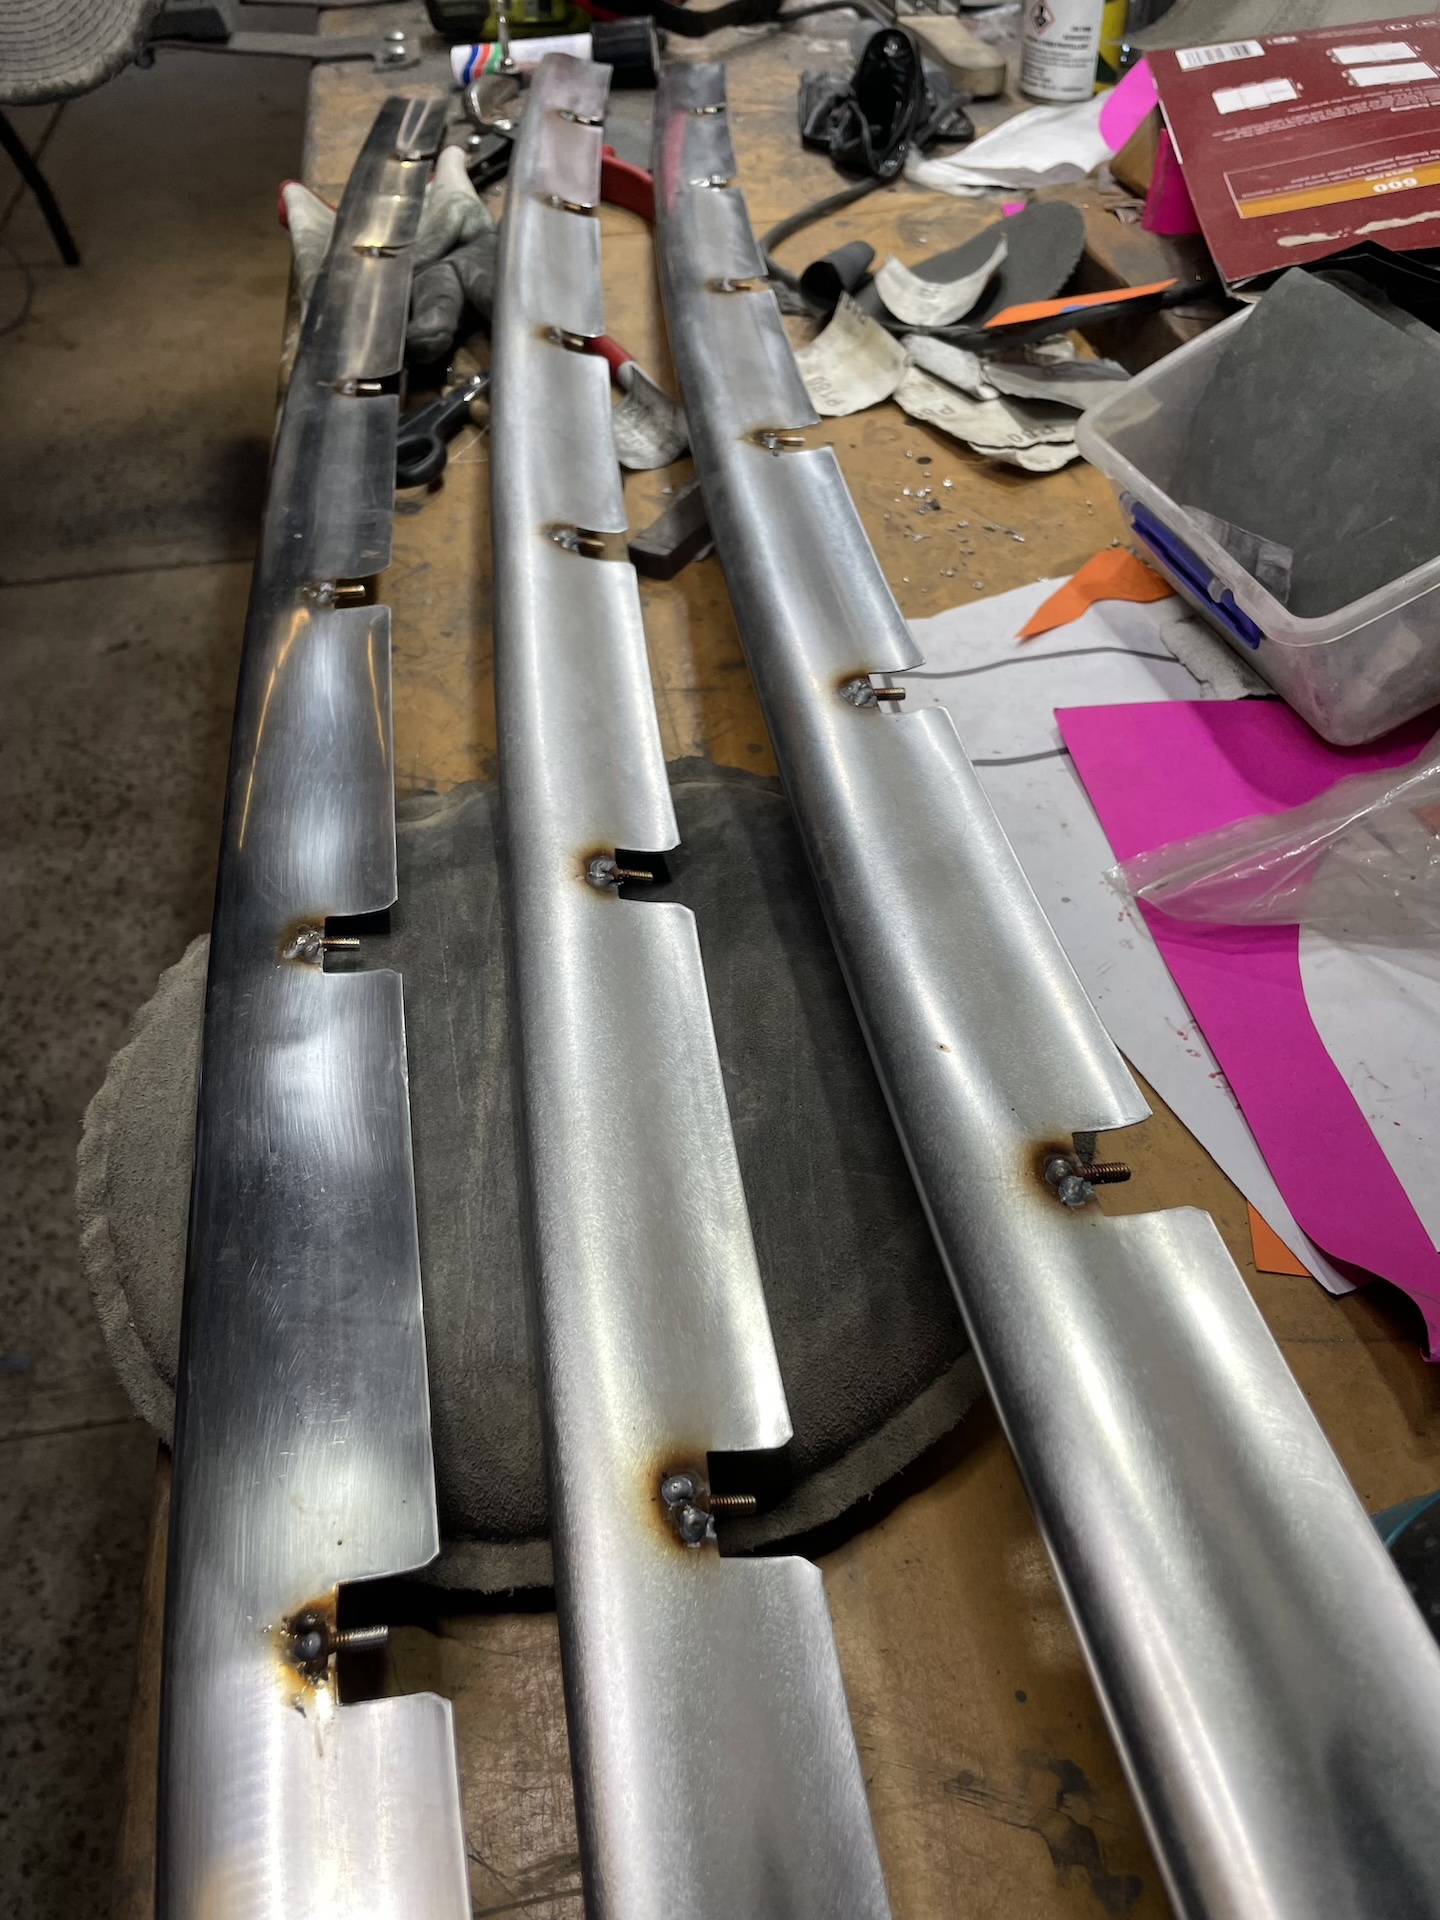
- IMG_7360.jpeg (689.64 KiB) Viewed 2309 times
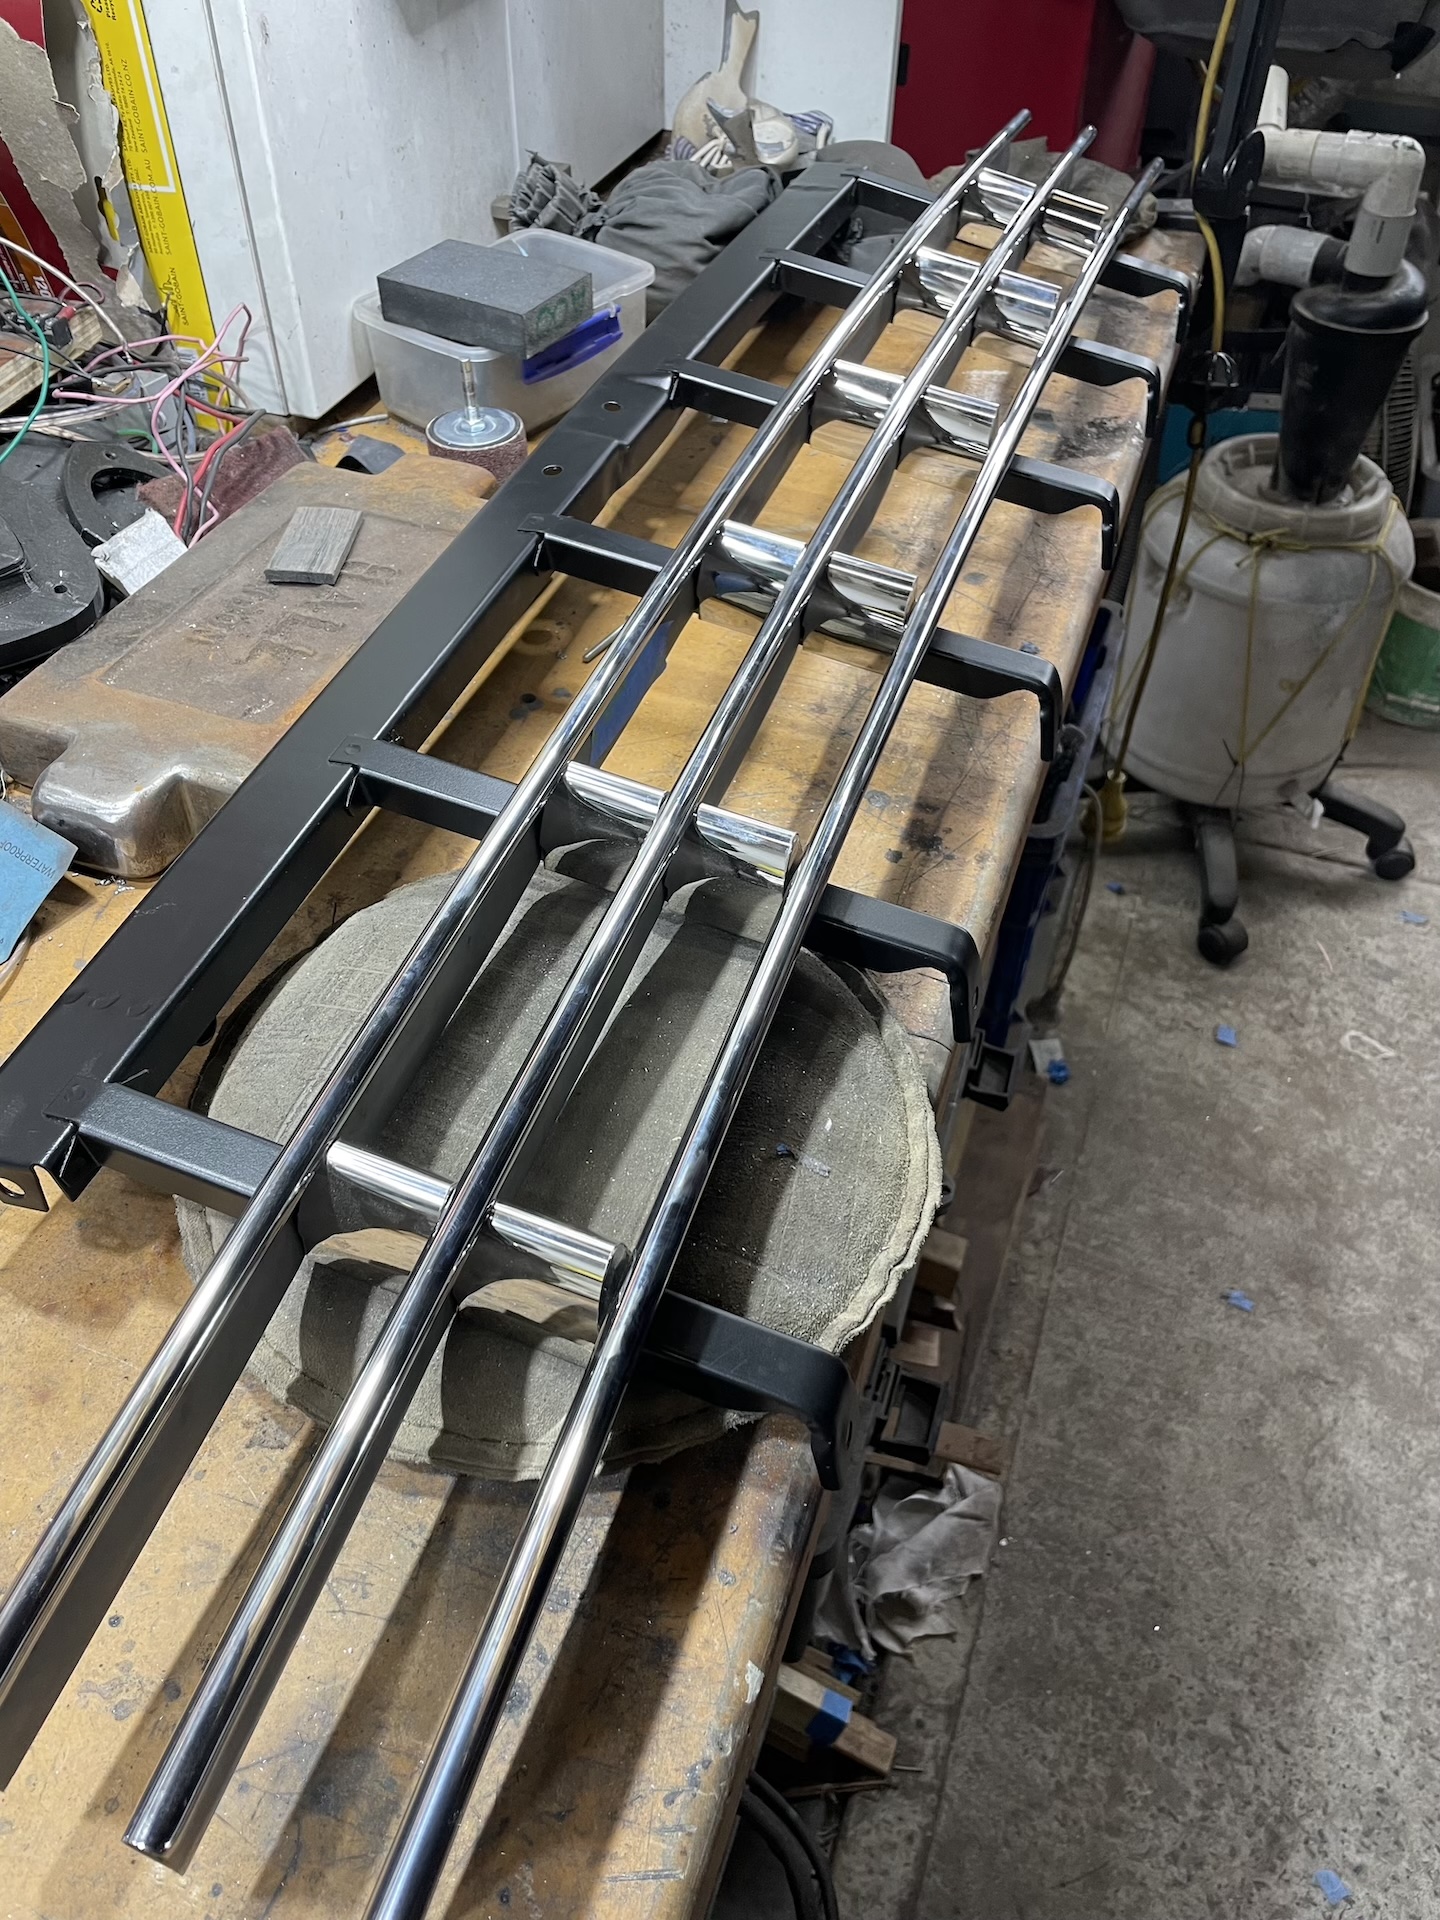
Drilled out the slots in the vertical supports for the 4mm bolts. Used nyloc nuts to hold them on. Had to bend the bolts to get it lined up better, but and as you can see, the bottom bar is not up flush with vertical grill pieces. Close enough, and hardly visible when look at it from a normal angle.
- IMG_7534.jpeg (1006.87 KiB) Viewed 2309 times
Now I can remove the grill more easily if I want to replace/modify the vertical grill pieces in the future.


