So back in May the plan was to reco my EH steering box using a rares kit.
Ordered an adjustable hand reamer (23 - 27.5mm) and asked my old man to source a large tap to assist the bushing removal. (4 month later and I’m still waiting on that tap.)
Rares kit arrives and after comparing it to what I pulled from the HR box I am now thinking I don’t need the kit. The bearings and races are in really good condition, and the bushes in the EH box are not sloppy with the HR sector shaft roughly fitted.
Only one way to find out and that will be to rebuild the EH box with the HR internals and see how it feels on the car for play. Won’t be able to test it in anything other than the vice for now but curious to know.
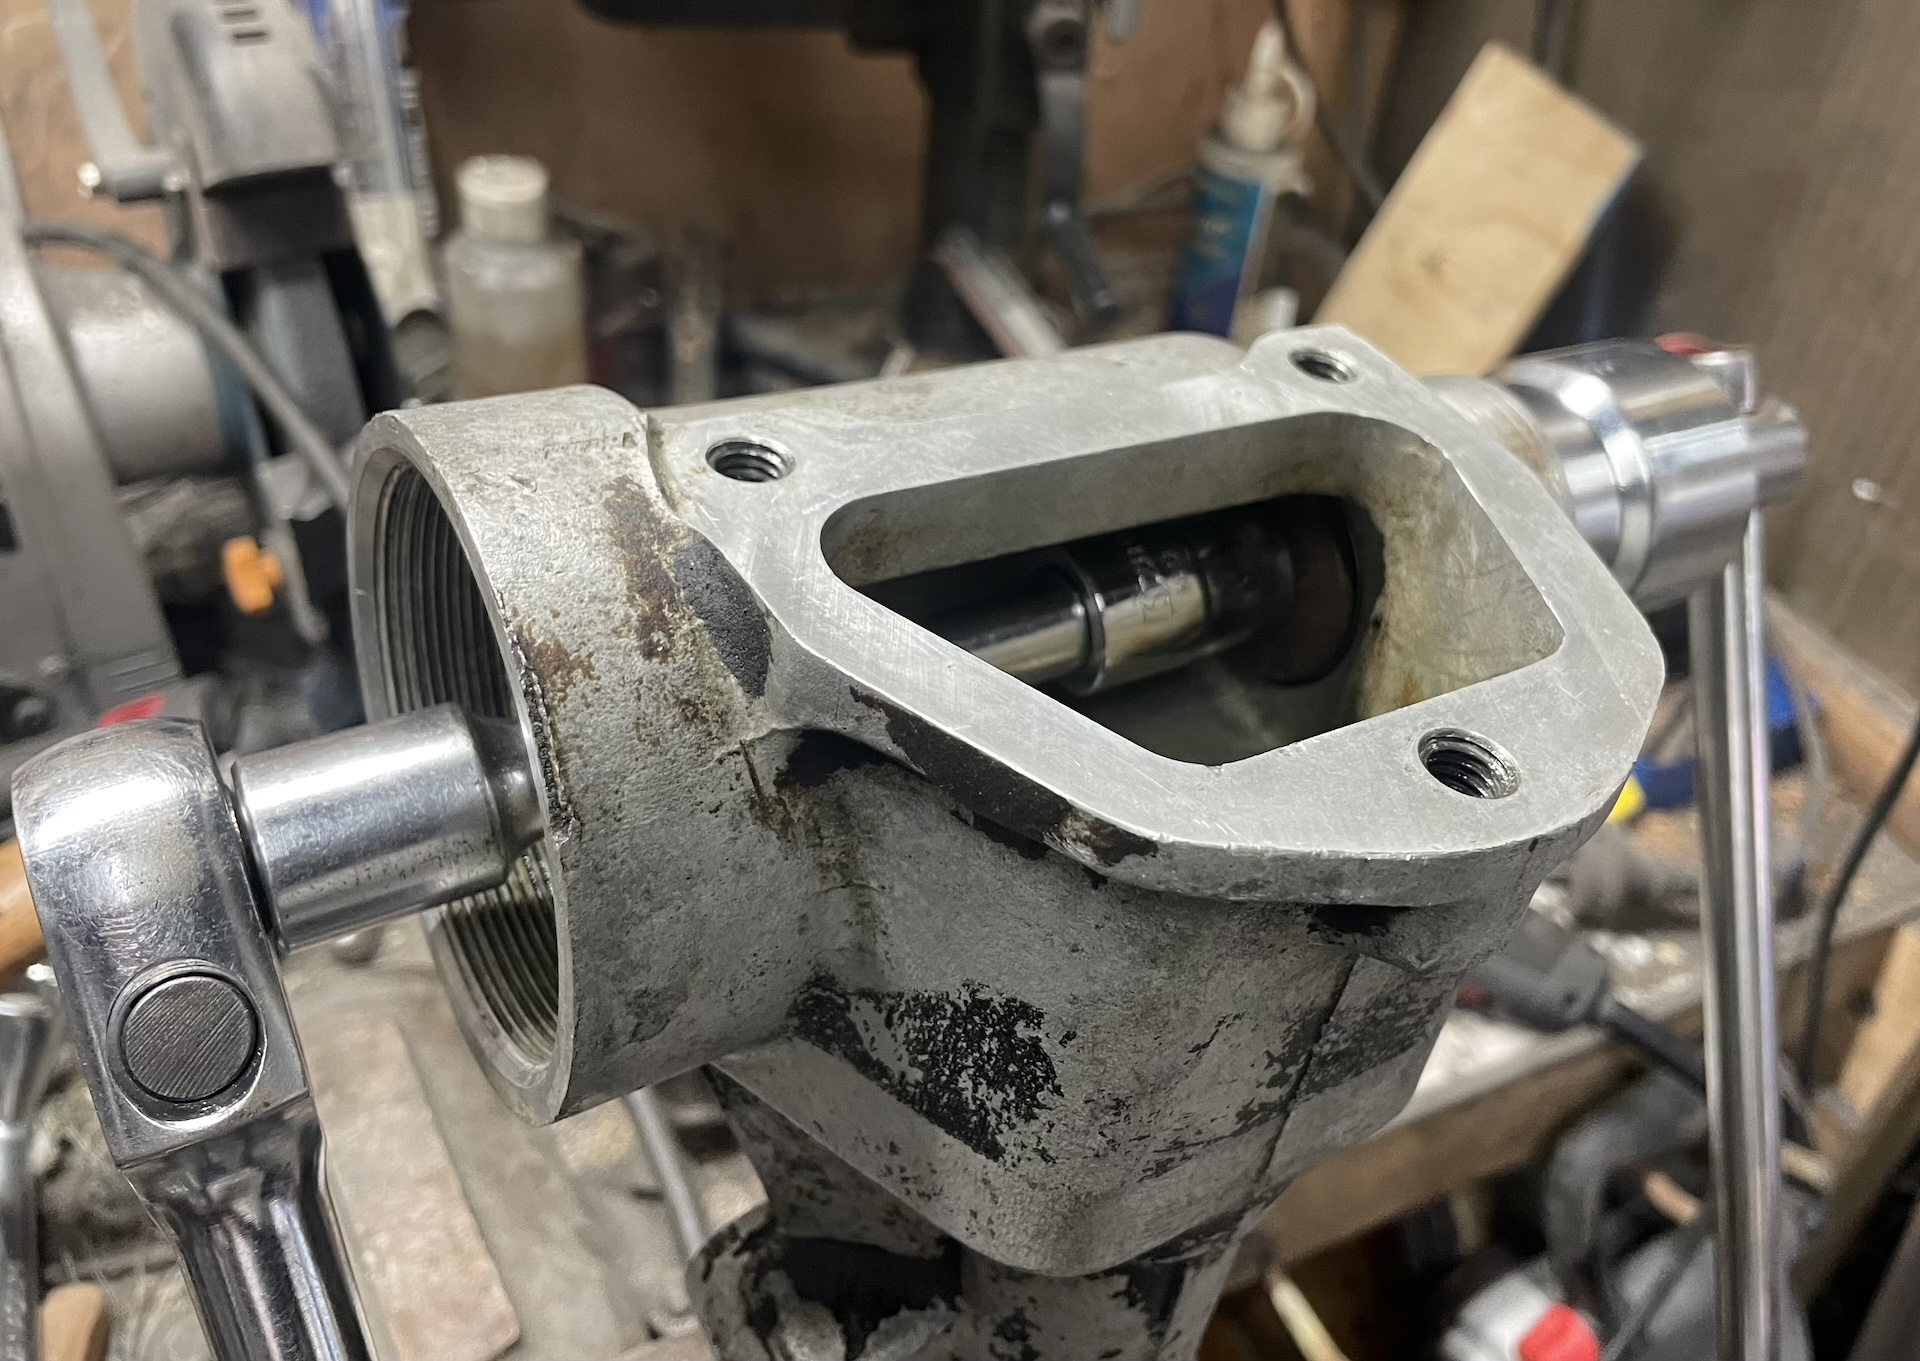
The ends of the splines on the shaft have been mashed a bit and are preventing the my pitman arm from fitting very well.

- 4515.jpg (636.76 KiB) Viewed 9868 times
So out with the file for a quick chamfer.

- 4517.jpg (557.06 KiB) Viewed 9868 times
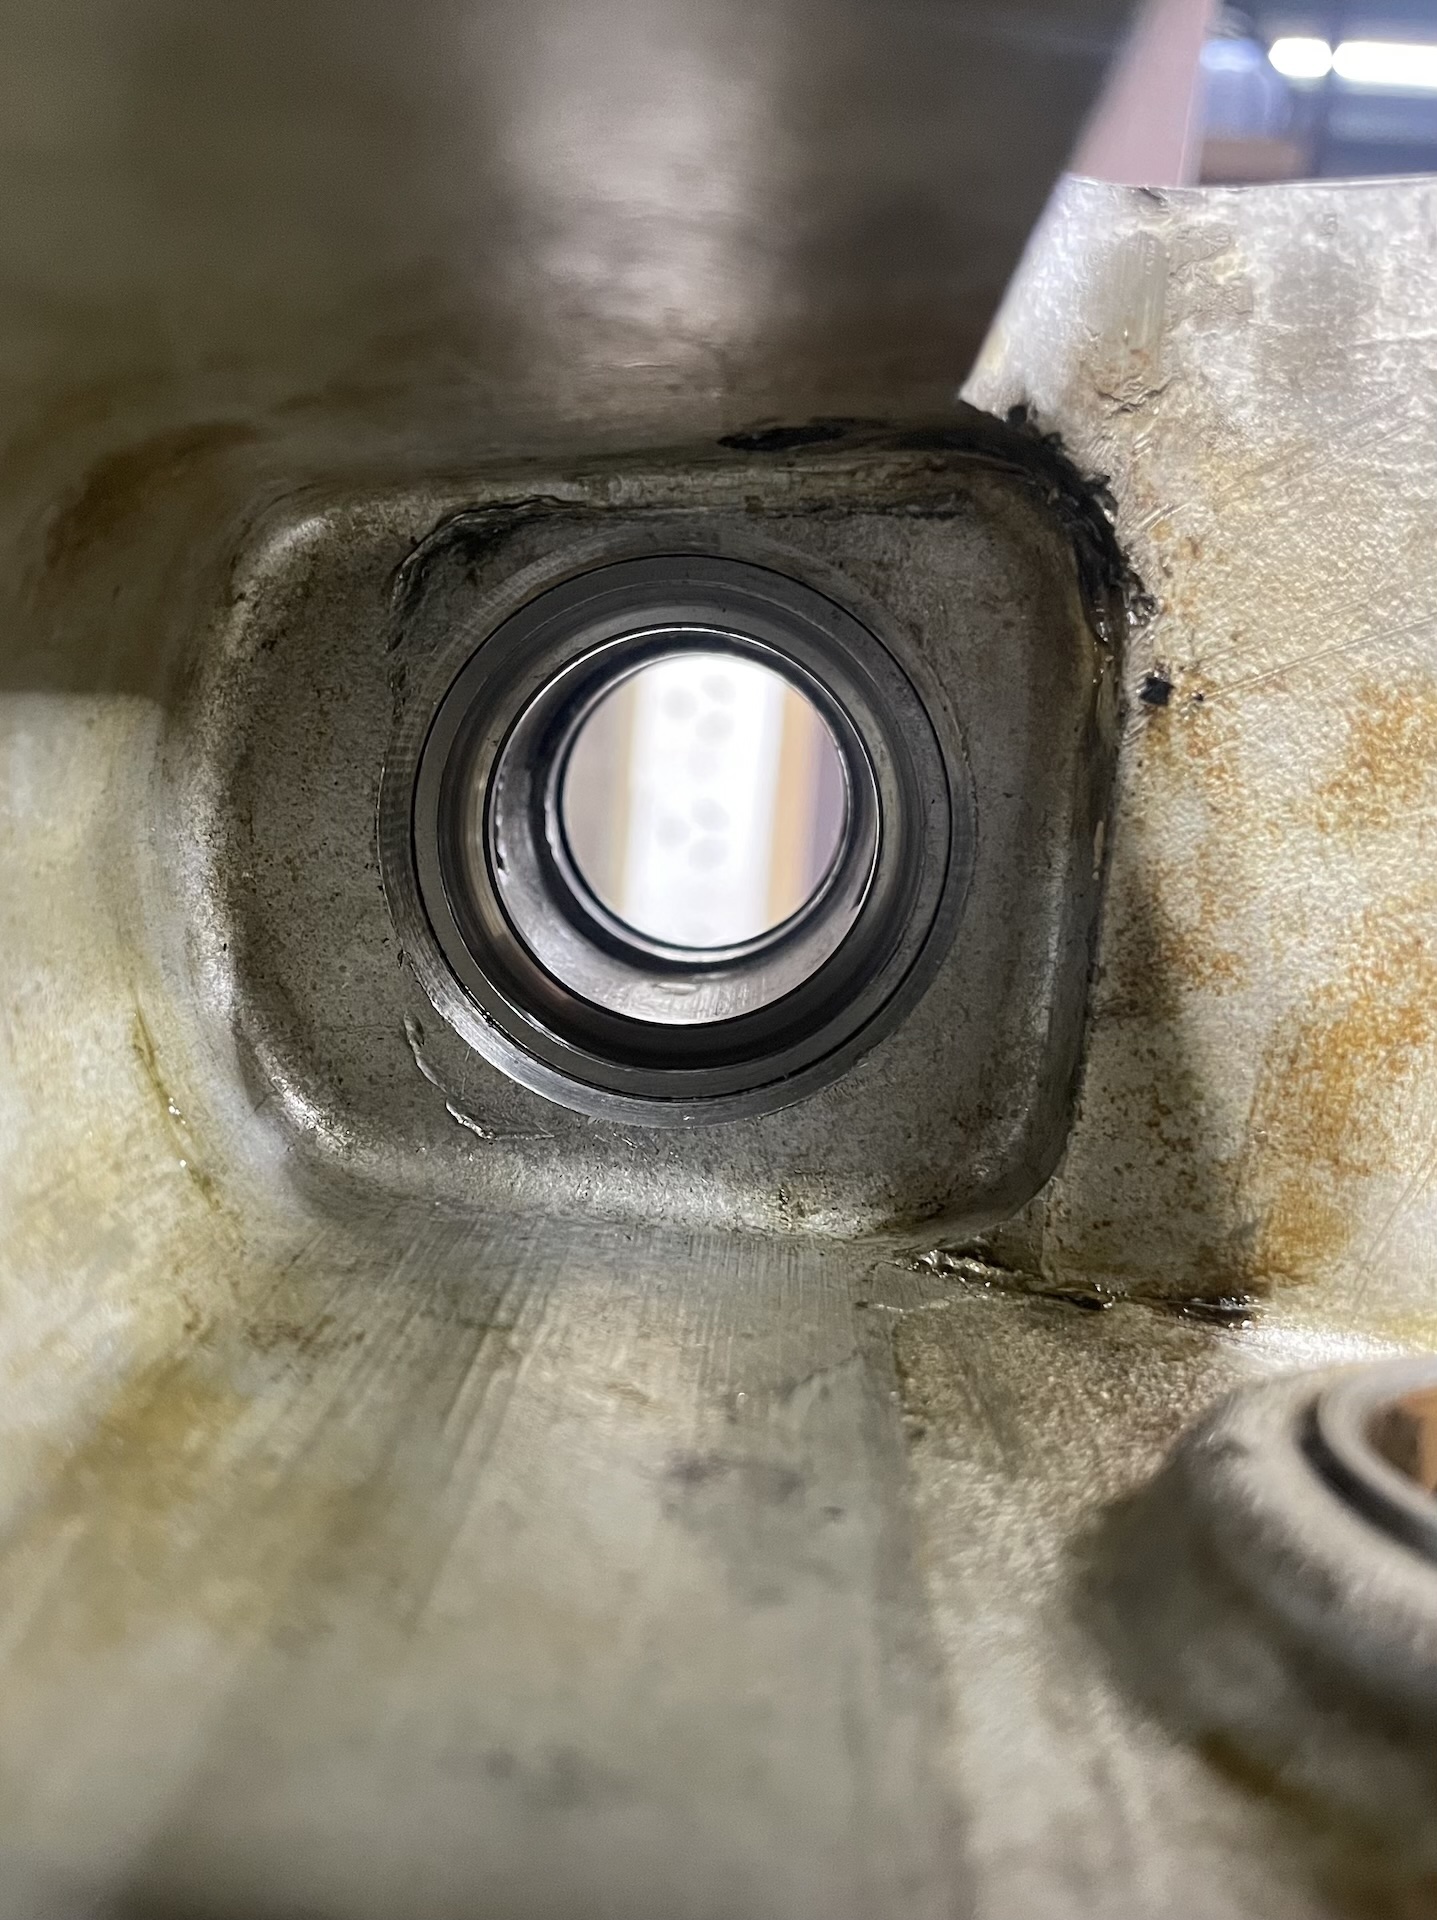
Used a flat bladed screwdriver to tap out the HR bearing cup. These two recesses in the steering box are your friend when removing.

- 4508.jpg (747.78 KiB) Viewed 9868 times
Everything into an ultrasonic kero bath. Monitored temperature so as not to let it get too hot (google says flash point of kero is between 37-65C). I stop when it gets to 35 C. Clearly not a risk taker!

- 4521.jpg (1.01 MiB) Viewed 9868 times
Initial fitting of the bearing cup into EH box.

- 4522.jpg (681.14 KiB) Viewed 9868 times
In my ‘lathe’ I turned a washer down to the OD of the bearing cup.

- 4525.jpg (596.28 KiB) Viewed 9868 times
Final fitment with bolt/washer/socket combo pulling the bearing cup into place.
- 4523.jpg (736.11 KiB) Viewed 9868 times
Result
- 4526.jpg (764.01 KiB) Viewed 9868 times
Then it was just a matter of greasing everything and fitting. No photos as this was all dirty work.
Putting all the balls back in the nut was not as hard as I thought it was going to be.
Left the bearing cup in the HR adjusting nut and swapped it for my EH one.
There was minimal slop between the HR sector shaft and EH bushes, and the shaft moved freely so for now I’m going to leave it at that. Got the overhaul kit for future Scott if he needs it.


