Ol' Rusty - FB/EK Sedan

Post photos of your pride and joy, or updates on your rebuild!

Moderators: reidy, Blacky

User avatar
funkyscooter
Posts: 628
Joined: Wed Aug 16, 2017 8:12 am
State: NSW
Location: Sydney

Re: Ol' Rusty - FB/EK Sedan

Post by funkyscooter »

Cleaned up the top side of the frame.
Ran over all of the spot welds with the cutting disk and knocked out the metal in between with a cold chisel. Also did a quick test in the middle with a combination of power file followed up by wire wheel. Bit of pitting but solid.
Safety note #1 - When using angle grinder, make sure that you either 1./ wear a welding jacket, or 2./ face the grinder so the sparks are not slamming into you. Small fire on self extingushed with frantic hand slapping. Welding jacket put on.
IMG_8803.JPG
IMG_8803.JPG (599.78 KiB) Viewed 865 times
Action shot - stainless wire knocking the rust scale off the drivers side. Safety note #2 - Don’t let the wire come out the end of the area being cleaned. Always wear leather gloves. Attempting to catch the now 90 degree to the drill wire is fruitless and will further destroy the wire and give you a decent slap on the wrist for your trouble.
IMG_8805.JPG
IMG_8805.JPG (541.48 KiB) Viewed 865 times
Some time later, after flap disk (40 grit) on spot welds, power file (60 grit), and finally wire wheels.
IMG_8811.JPG
IMG_8811.JPG (579.26 KiB) Viewed 865 times
IMG_8812.JPG
IMG_8812.JPG (821.51 KiB) Viewed 865 times
Scott
(Not so rusty) Ol' Rusty - FB/EK Sedan
User avatar
Brett027
Posts: 2410
Joined: Thu Apr 18, 2019 4:14 am
State: NSW

Re: Ol' Rusty - FB/EK Sedan

Post by Brett027 »

It'll be better than new. Have you tried a good German steel spot weld drill and a pneumatic chisel? An unbeatable combination for that job. I pulled my whole K frame apart and then reassembled with different aprons and new bits in fairly quick time. Just watch out for the Spot weld drill - they can re-design a finger in a fraction of a second😳
Keep up the fantastic work.
Sucker for a rusty bomb
EK283
Posts: 2507
Joined: Thu Mar 16, 2006 9:51 pm
State: NSW
Location: SYDNEY NSW

Re: Ol' Rusty - FB/EK Sedan

Post by EK283 »

Good work Scott,

That subframe looks real good now, another tick towards finishing !!!

Greg
So many cars so little time!
User avatar
funkyscooter
Posts: 628
Joined: Wed Aug 16, 2017 8:12 am
State: NSW
Location: Sydney

Re: Ol' Rusty - FB/EK Sedan

Post by funkyscooter »

Thanks Greg- getting there

Hey Brett- got a spot drill brand you would recommend? I got 2 Sutton 8mm drills. Great the first 10 spots but need heaps of pressure to get them to bite now. Was careful too - slow speed , even tried cutting fluid to keep things cool.
Would like a better option for when I do the sill


Scott
Scott
(Not so rusty) Ol' Rusty - FB/EK Sedan
User avatar
Brett027
Posts: 2410
Joined: Thu Apr 18, 2019 4:14 am
State: NSW

Re: Ol' Rusty - FB/EK Sedan

Post by Brett027 »

I've tried a few including USA brands and Sutton, but these ones are standouts. Surgical even! You can sharpen them too if you are handy that way.

My technique (such as it is) is to drill them until you see rust dust from the next layer or feel it drill through. Then run along with my el cheapo Ryobi (or could be Ozito!) Pneumatic chisel. It works a treat. Then tidy up with flapper disc.

There, I have no restoration secrets leftImage.ImageImage

Sent from my SM-G975F using Tapatalk

Sucker for a rusty bomb
62ekute
Posts: 644
Joined: Thu May 23, 2019 6:58 pm
State: ACT

Re: Ol' Rusty - FB/EK Sedan

Post by 62ekute »

Hi Scott, I've been happy with the ones I got from Sydney Tools (11 double sided heads - from memory I just used one for that whole front section)
Screenshot_20210808-192129~2.png
Screenshot_20210808-192129~2.png (162.52 KiB) Viewed 804 times
Patrick
User avatar
Brett027
Posts: 2410
Joined: Thu Apr 18, 2019 4:14 am
State: NSW

Re: Ol' Rusty - FB/EK Sedan

Post by Brett027 »

A significant reason I am a fan of the one I have suggested is because of the tip. The tips on these ones bite into the weld spot and the bit then stays centred in the hole. I found that the ones with punch like/spring loaded tips can move about as you start drilling - particularly on welds that are angled or difficult to align with. Like all tools, you just have to try them all until you settle on what suits you best. That's what I tell Kate anyway, when she asks why there are soooo many🤗
Sucker for a rusty bomb
User avatar
funkyscooter
Posts: 628
Joined: Wed Aug 16, 2017 8:12 am
State: NSW
Location: Sydney

Re: Ol' Rusty - FB/EK Sedan

Post by funkyscooter »

Thanks Patrick - interesting to hear a positive story about those type of spot weld removers. I was put off by a lot of negative reviews and the sheer number of copycat sets available online. As they are pretty cheap I might give them a try.

I do like the concept of being able to re sharpen the drill type bits Brett. I even made one out of a 8mm drill following instruction off the internets. Third attempt yielded a decent result, so of course I tried to improve it, messed it up and could not get anywhere close to what I had working in any further versions. Gave up. Bought Sutton. Maybe with a decent profile already there I can get these sharp again.
Scott
(Not so rusty) Ol' Rusty - FB/EK Sedan
ardiesse
Posts: 1135
Joined: Thu Jan 19, 2017 9:57 am
State: NSW
Location: Sydney

Re: Ol' Rusty - FB/EK Sedan

Post by ardiesse »

Scott,

Sydney Tools also have an 8 mm HSS spot weld drill, which I've found quite good. The part code is DCOALT.

Rob
User avatar
funkyscooter
Posts: 628
Joined: Wed Aug 16, 2017 8:12 am
State: NSW
Location: Sydney

Re: Ol' Rusty - FB/EK Sedan

Post by funkyscooter »

So the joy of the Rares Repair sections was short lived. If I line up the bolt hole, the bottom (as it appears on the bench in the photo) folded section that will be plug welded does not sit flush. Same on both sides.
IMG_8820.JPG
IMG_8820.JPG (491.99 KiB) Viewed 732 times
IMG_8818.JPG
IMG_8818.JPG (430.52 KiB) Viewed 732 times
My thinking is to line up flush (well I have to ) and weld and re drill the bolt hole.

Also, do I plug weld these folded tabs at the top? Previous repair was stitched together. Don’t think that would have had much strength. Figured I’d plug weld, and as its off the frame, flip it and stitch inside. Probably overkill but got the wire and gas.
IMG_8819.JPG
IMG_8819.JPG (606.29 KiB) Viewed 732 times
And now after reading how Drew fitted the subframe before welding in the front tie member, is it crazy talk to do it off the car. At the moment the legs are clamped to a 50mm angle section, with 25mm packers on the inner legs. Did this before I started cutting and nothing has moved (famous last words).
Scott
(Not so rusty) Ol' Rusty - FB/EK Sedan
Blacky
Posts: 13437
Joined: Tue Jul 20, 2004 8:58 am
State: WA
Location: up in the Perth hills

Re: Ol' Rusty - FB/EK Sedan

Post by Blacky »

I would think as long as its clamped down straight it will be fine - they aren't the stiffest things in the world when they are off the car so they have a fair amount of give when refitting

Bloody Rare Spares - I can't understand why if you are going to go to the trouble of getting parts remade why not get them made the right shape ????? Do they have no quality control at all ????? :evil: :evil:
I started with nothing and still have most of it left.


Foundation member #61 of FB/EK Holden club of W.A.
User avatar
Harv
Posts: 5500
Joined: Mon Oct 08, 2007 2:00 pm
State: NSW
Location: Sydney, Australia

Re: Ol' Rusty - FB/EK Sedan

Post by Harv »

Its not great that the parts don't fit, but I reckon you would have a good chance of getting them to fix the issue. Takes some input from end users (like us) though to help.

In the past, I've fixed ill-fitting Rares bits through contact with Les McVeigh (sadly passed away) and Dave Ryan (great bloke, but no longer a Director) and Lance Corby (now the Managing Director).

If you are game to help make the change, I can try to hunt down a contact with Lance? Been a while since I last spoke to him (from memory it was the drillings on the crashbox input shaft that we fixed) but willing to give it a go.

Cheers,
Harv
327 Chev EK wagon, original EK ute for Number 1 Daughter, an FB sedan meth monster project and a BB/MD grey motored FED.
ardiesse
Posts: 1135
Joined: Thu Jan 19, 2017 9:57 am
State: NSW
Location: Sydney

Re: Ol' Rusty - FB/EK Sedan

Post by ardiesse »

Scott,

Bolt holes in the Rare Spares repair sections are for indicative purposes only, I've discovered. They always need to be shifted, and that's where Mister MIG, the grinder, and a drill come in very handy. Let's not forget the round file either.

Rob
User avatar
Errol62
Posts: 10910
Joined: Sat Dec 06, 2014 2:44 pm
State: SA
Location: Adelaide

Re: Ol' Rusty - FB/EK Sedan

Post by Errol62 »

Bash weld grind drill repeat. Throw In some swearing now and again.

FB ute driver, EK van project

getting my FB ute on the road
EK van on rotisserie
User avatar
funkyscooter
Posts: 628
Joined: Wed Aug 16, 2017 8:12 am
State: NSW
Location: Sydney

Re: Ol' Rusty - FB/EK Sedan

Post by funkyscooter »

Spent some time running cavity wax up inside the frame while the front was off. Also did all the legs. The cheap schutz gun I got off ebay was not doing it for me. The 360 degree nozzel seemed to only want to work in 180 degrees no matter what I did to compressor, the gun, or the hose/nozzel. Cavity wax was warmed in water.
Solution was to pass it through areas twice, twisting the hose 180 degrees. Tested in a bit of PVC pipe to confirm coverage.

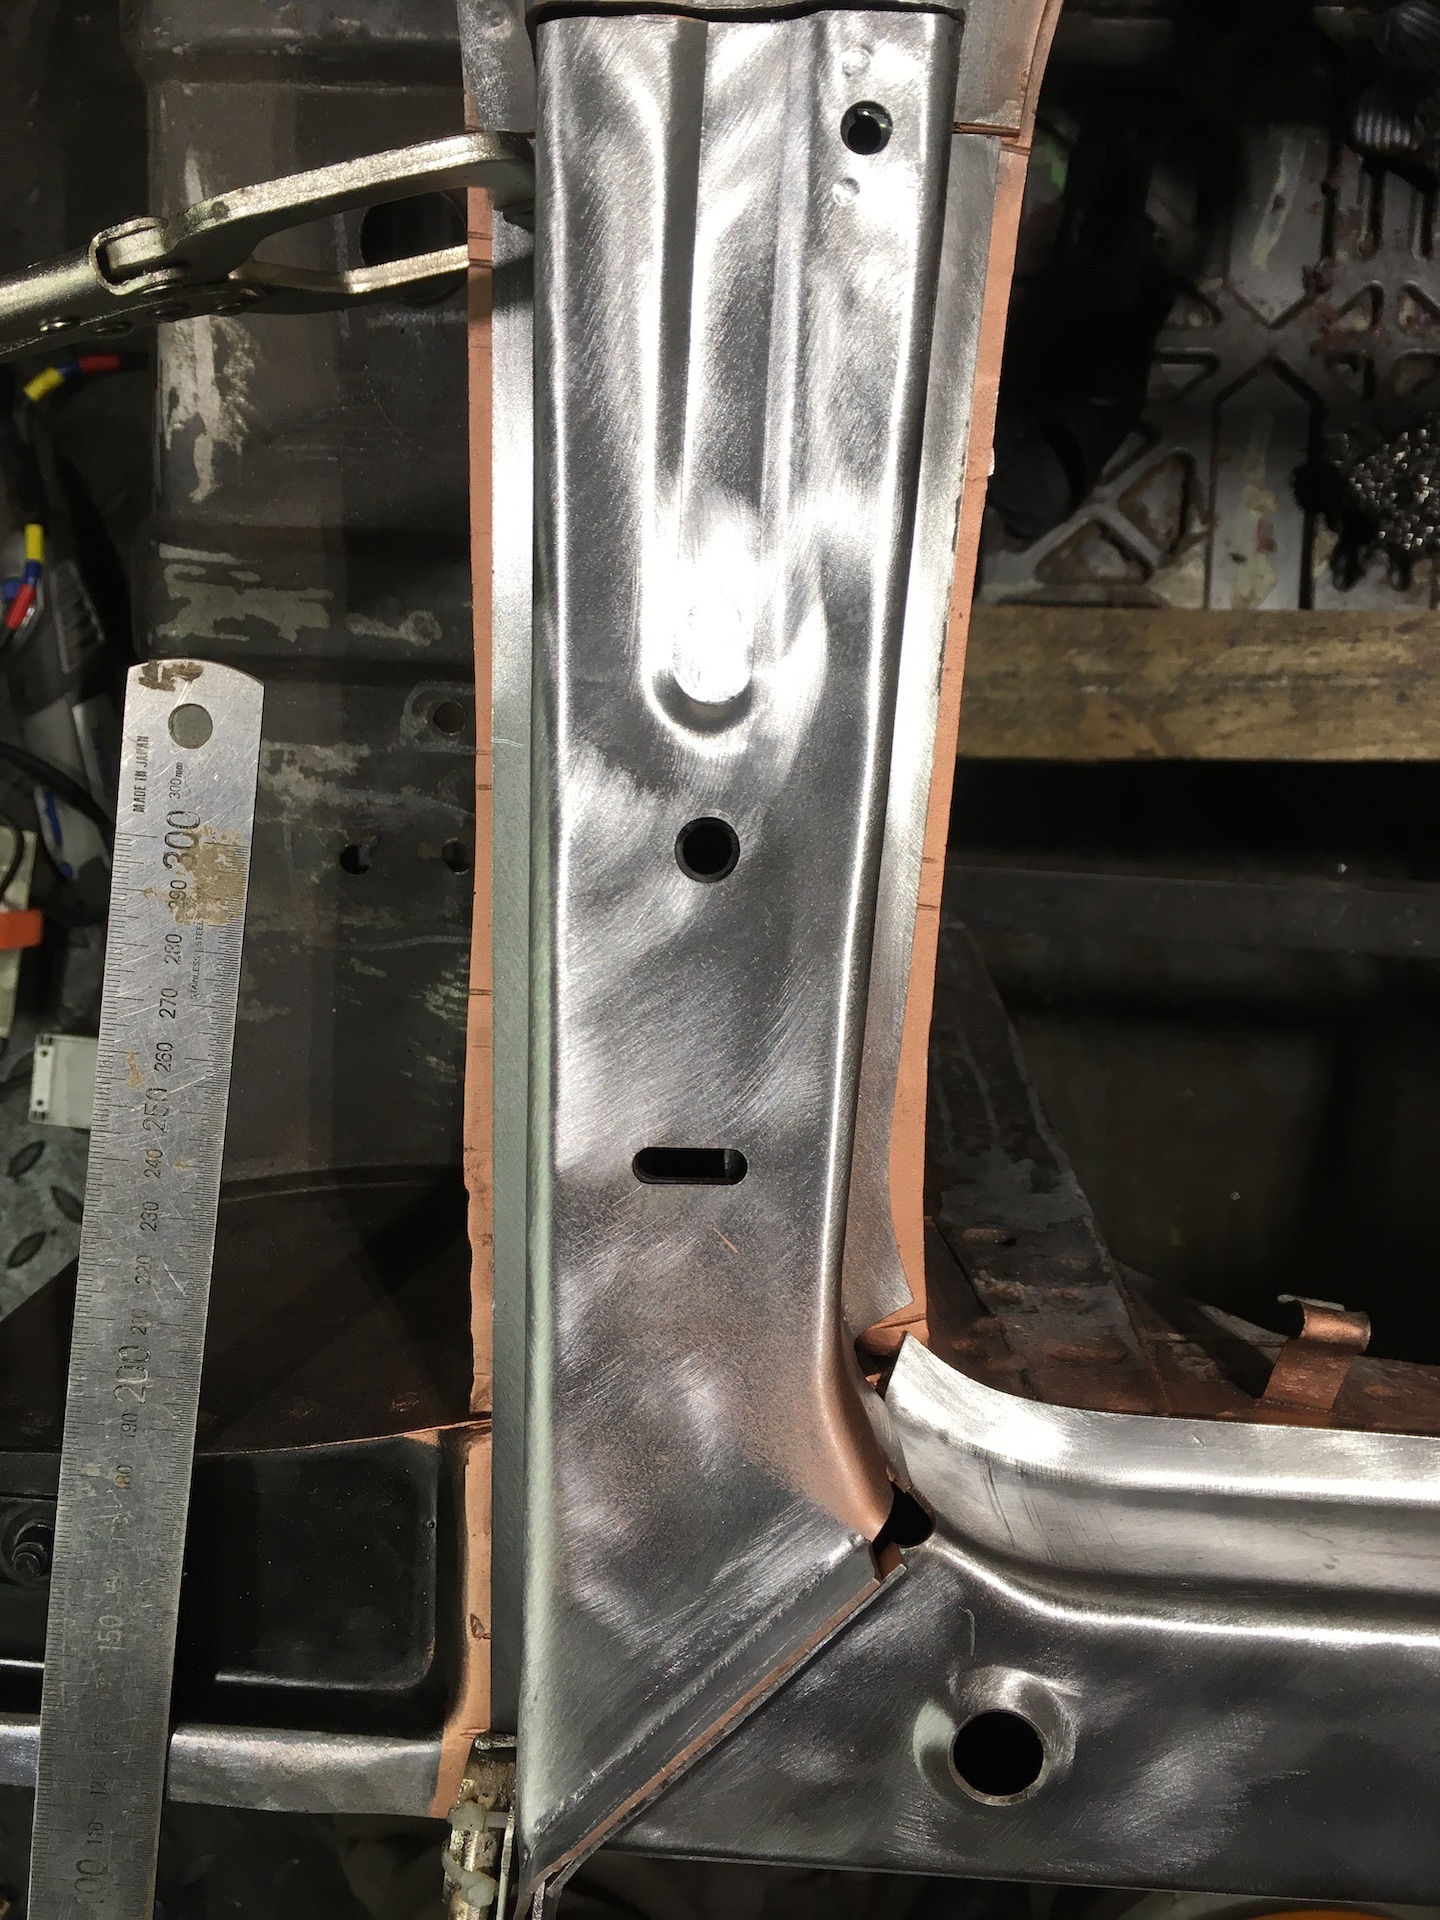
More fun with Repair sections. Seems like they ran out of metal when they made the sides. The base has about 5mm less on it than the existing. This is compounded by it being a little skinny as well. Makes plug welding a little more of a challenge.
IMG_8833.JPG
IMG_8833.JPG (832.17 KiB) Viewed 928 times
Final position shows how well the holes (don’t) line up.
IMG_8834.JPG
IMG_8834.JPG (469.58 KiB) Viewed 928 times
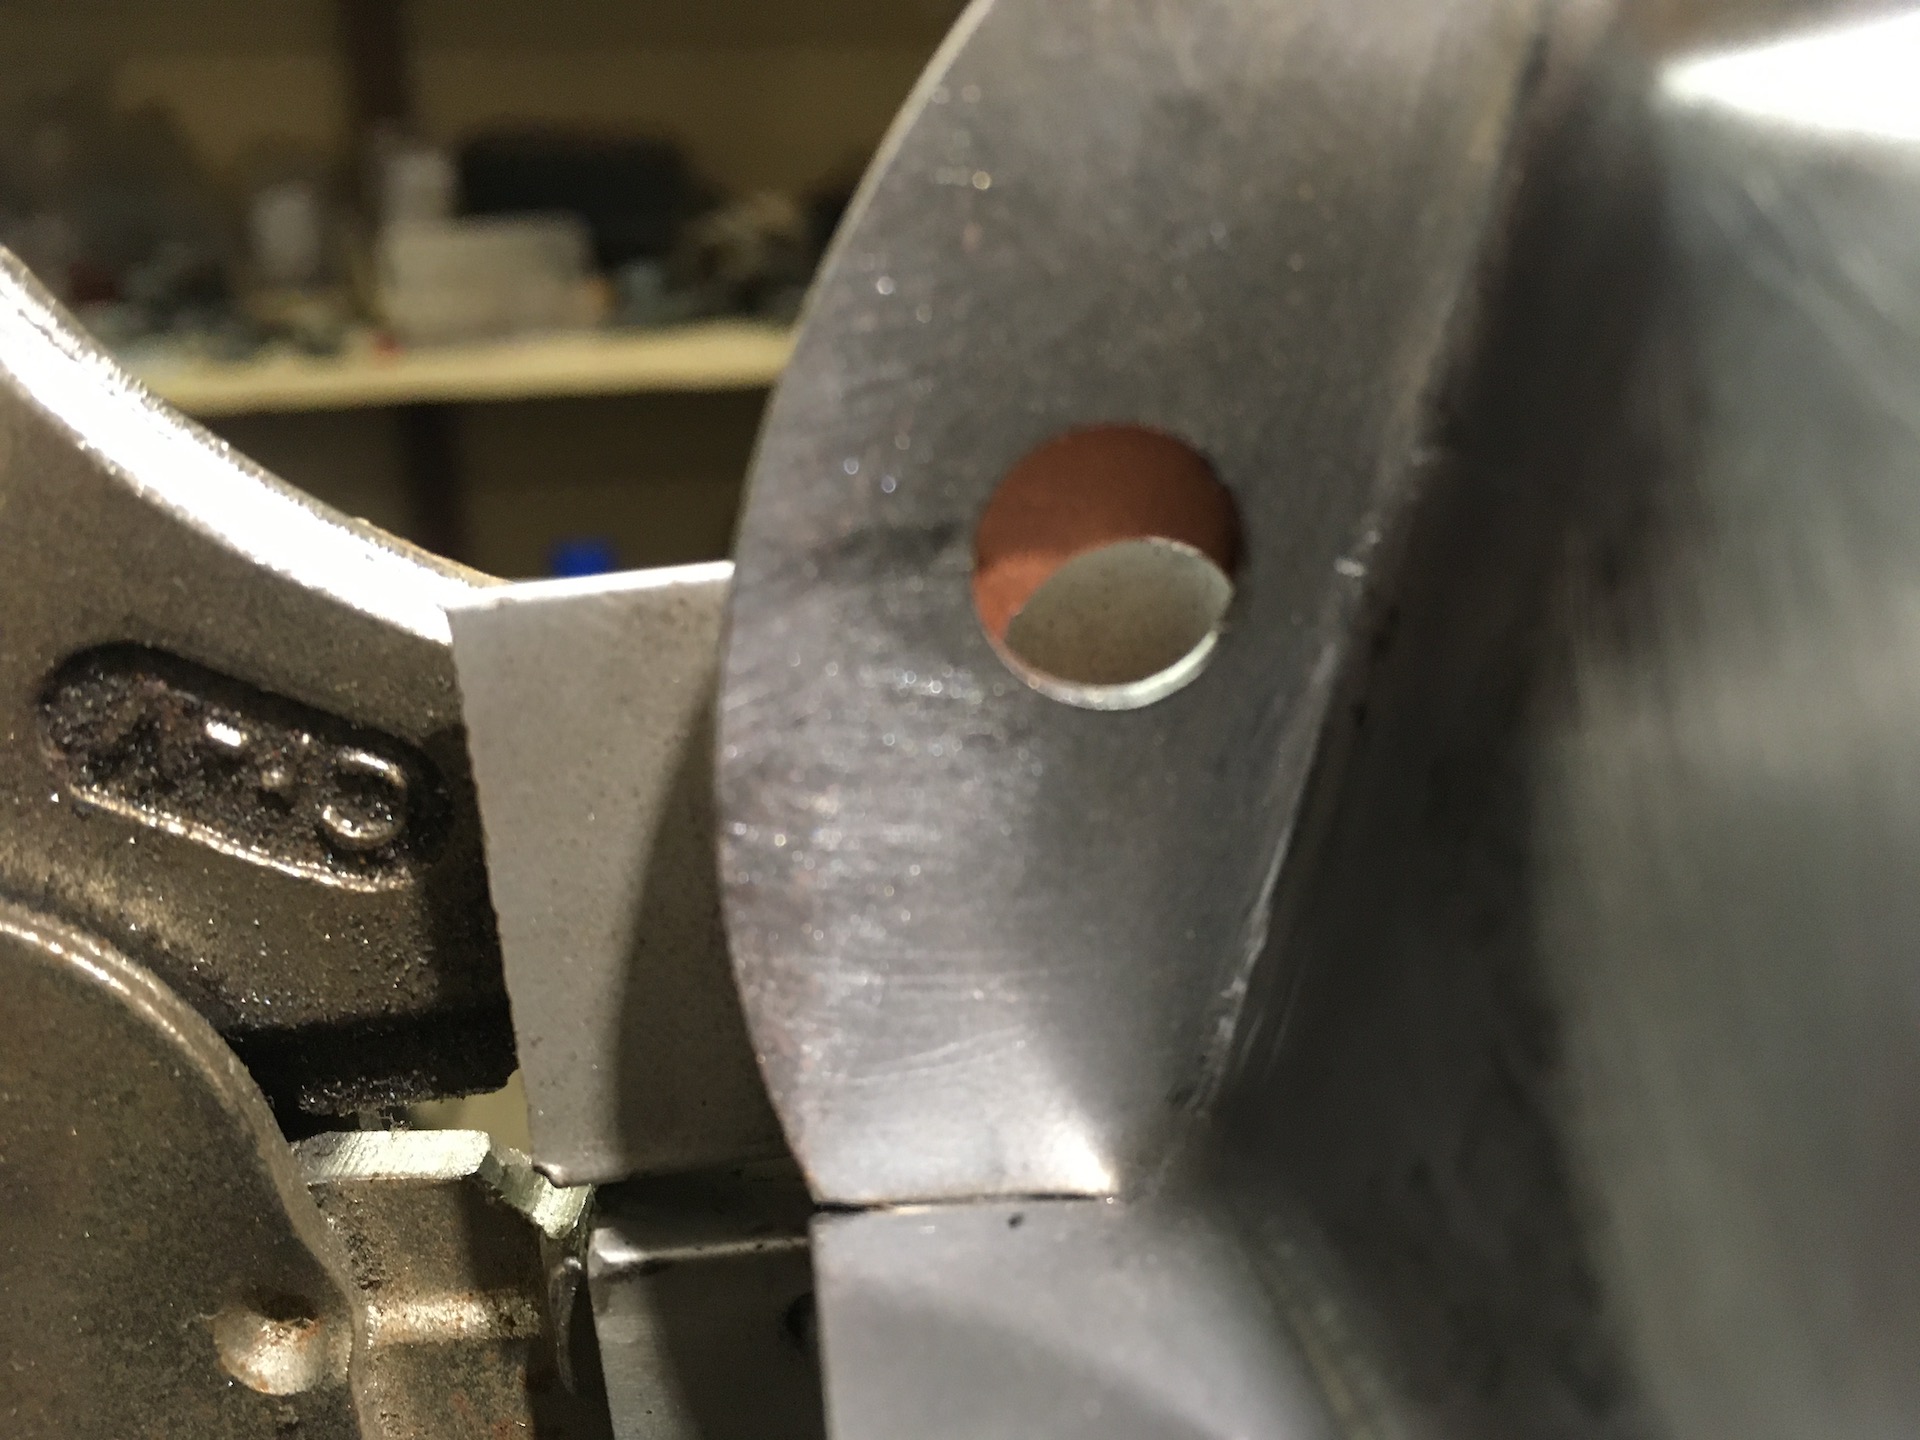
Decided to give the legs a little spread to help the fit.
IMG_8838.JPG
IMG_8838.JPG (500.21 KiB) Viewed 928 times
Which opens this up.
IMG_8839.JPG
IMG_8839.JPG (492.16 KiB) Viewed 928 times
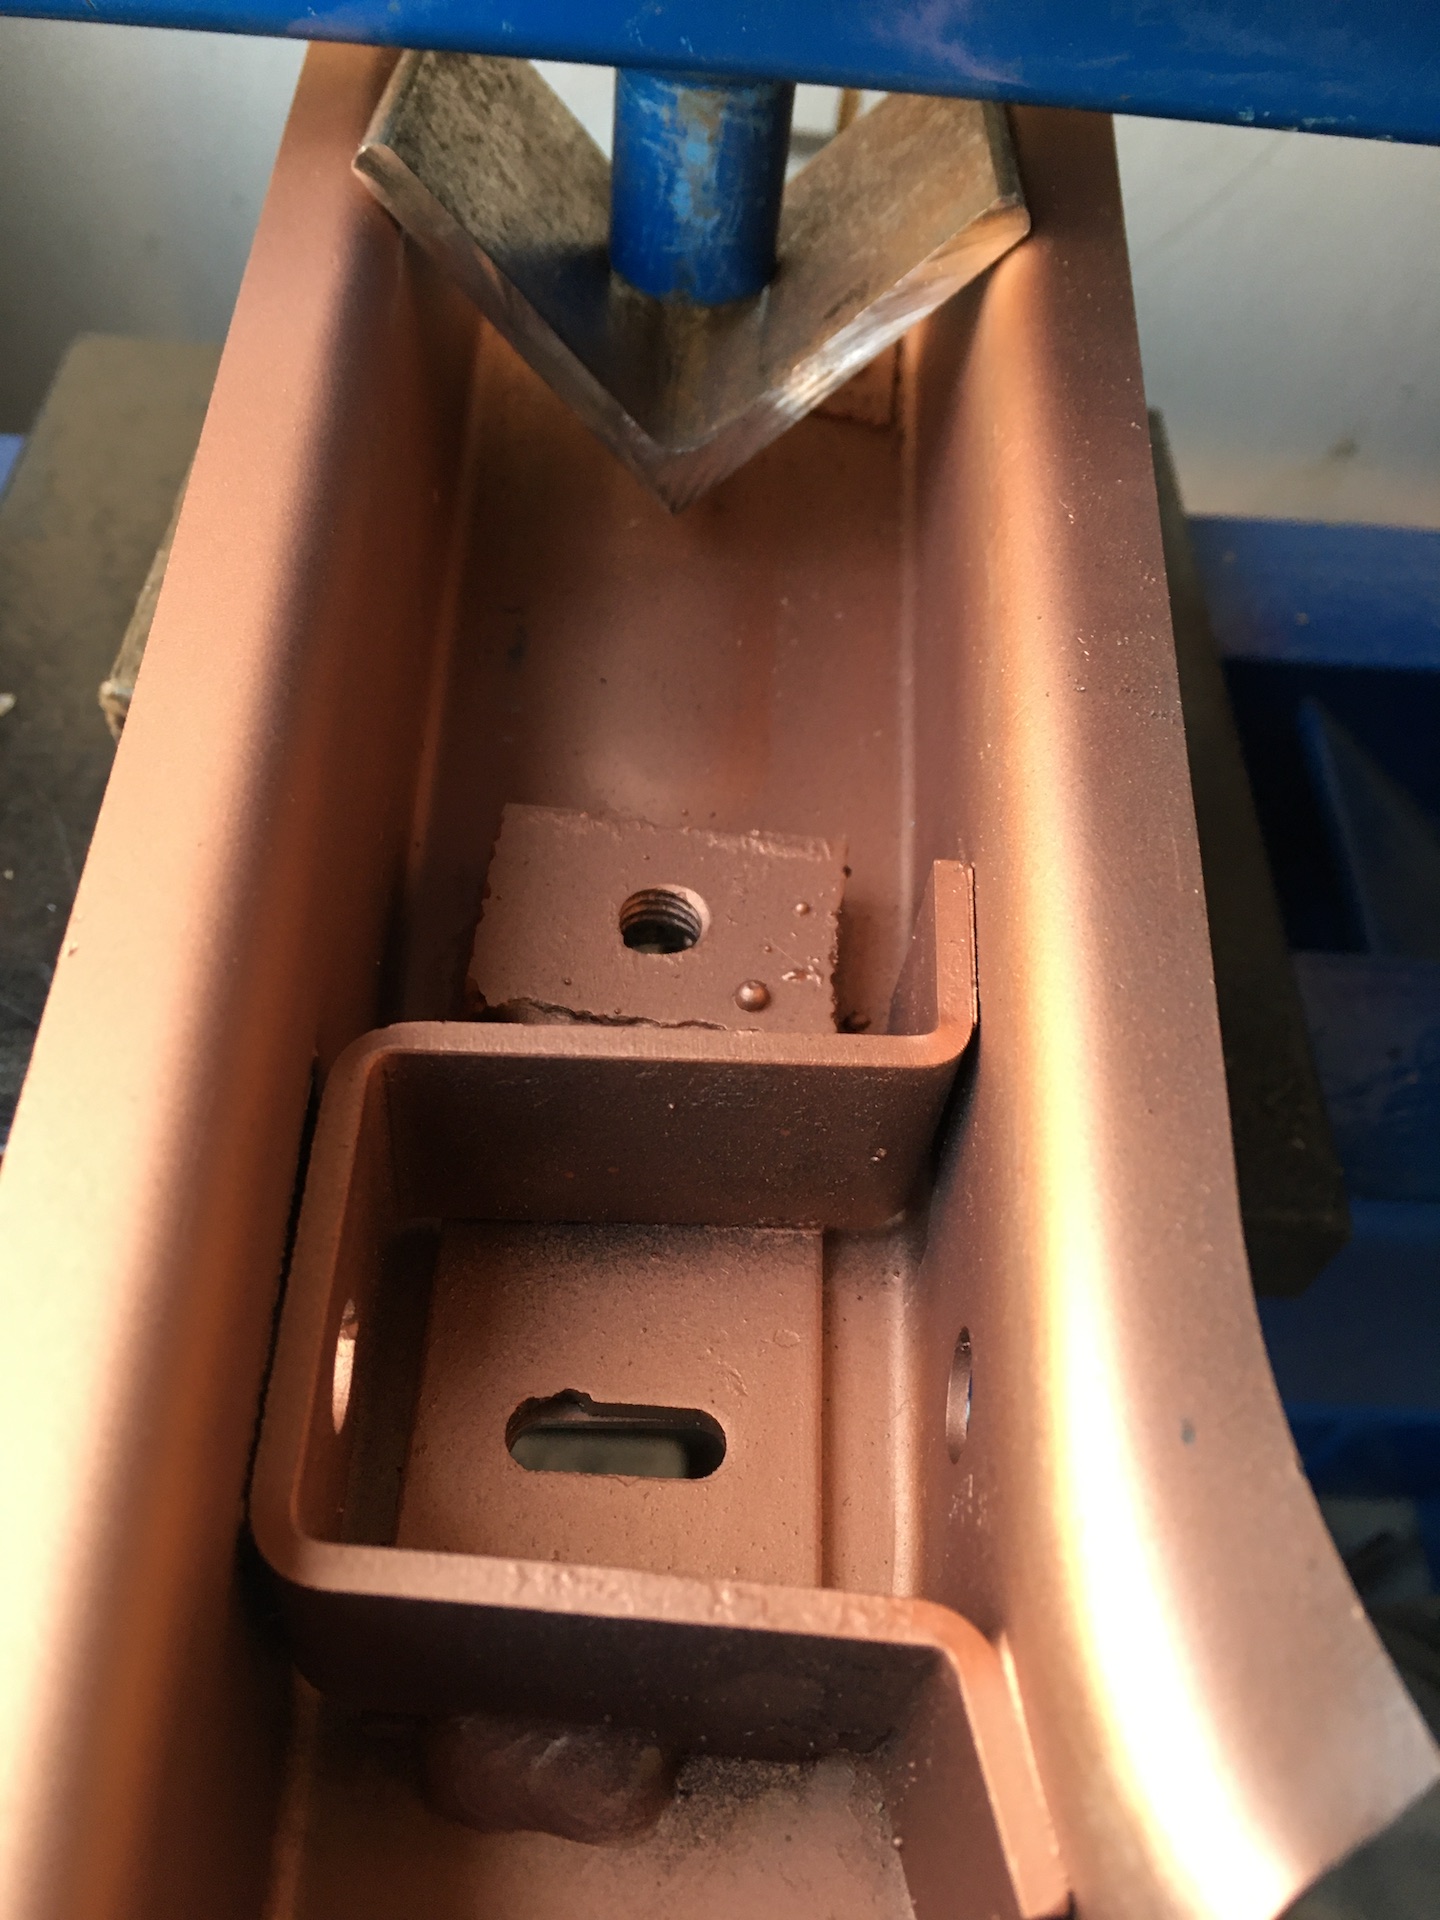
So I did my best to hammer the metal back around the bolt hold keeping the gap at the top and welded it up.
IMG_8844.JPG
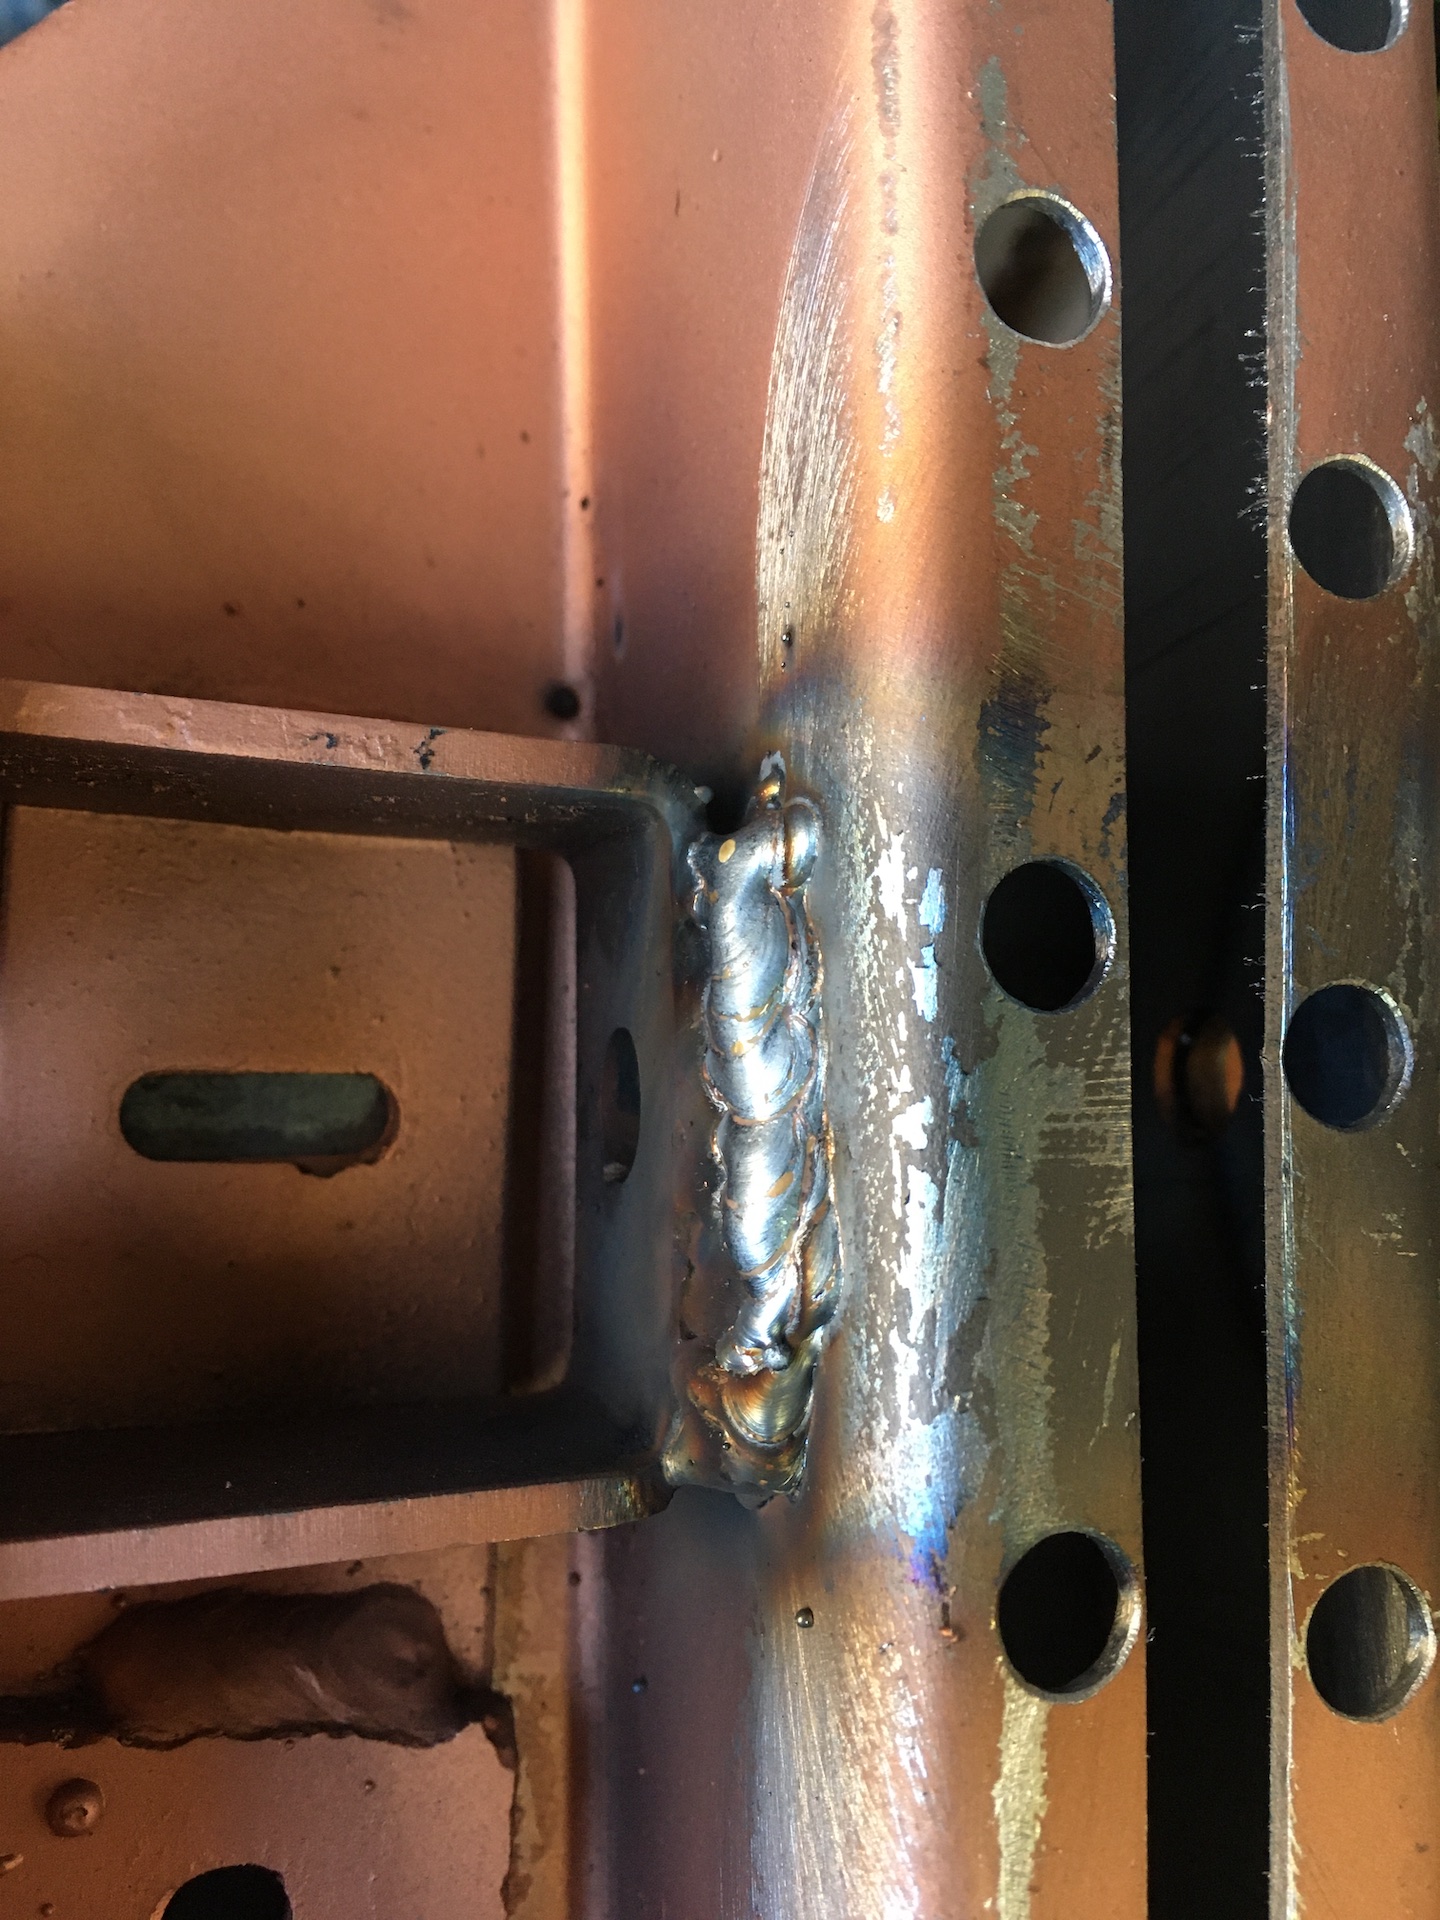
IMG_8844.JPG (681.78 KiB) Viewed 928 times
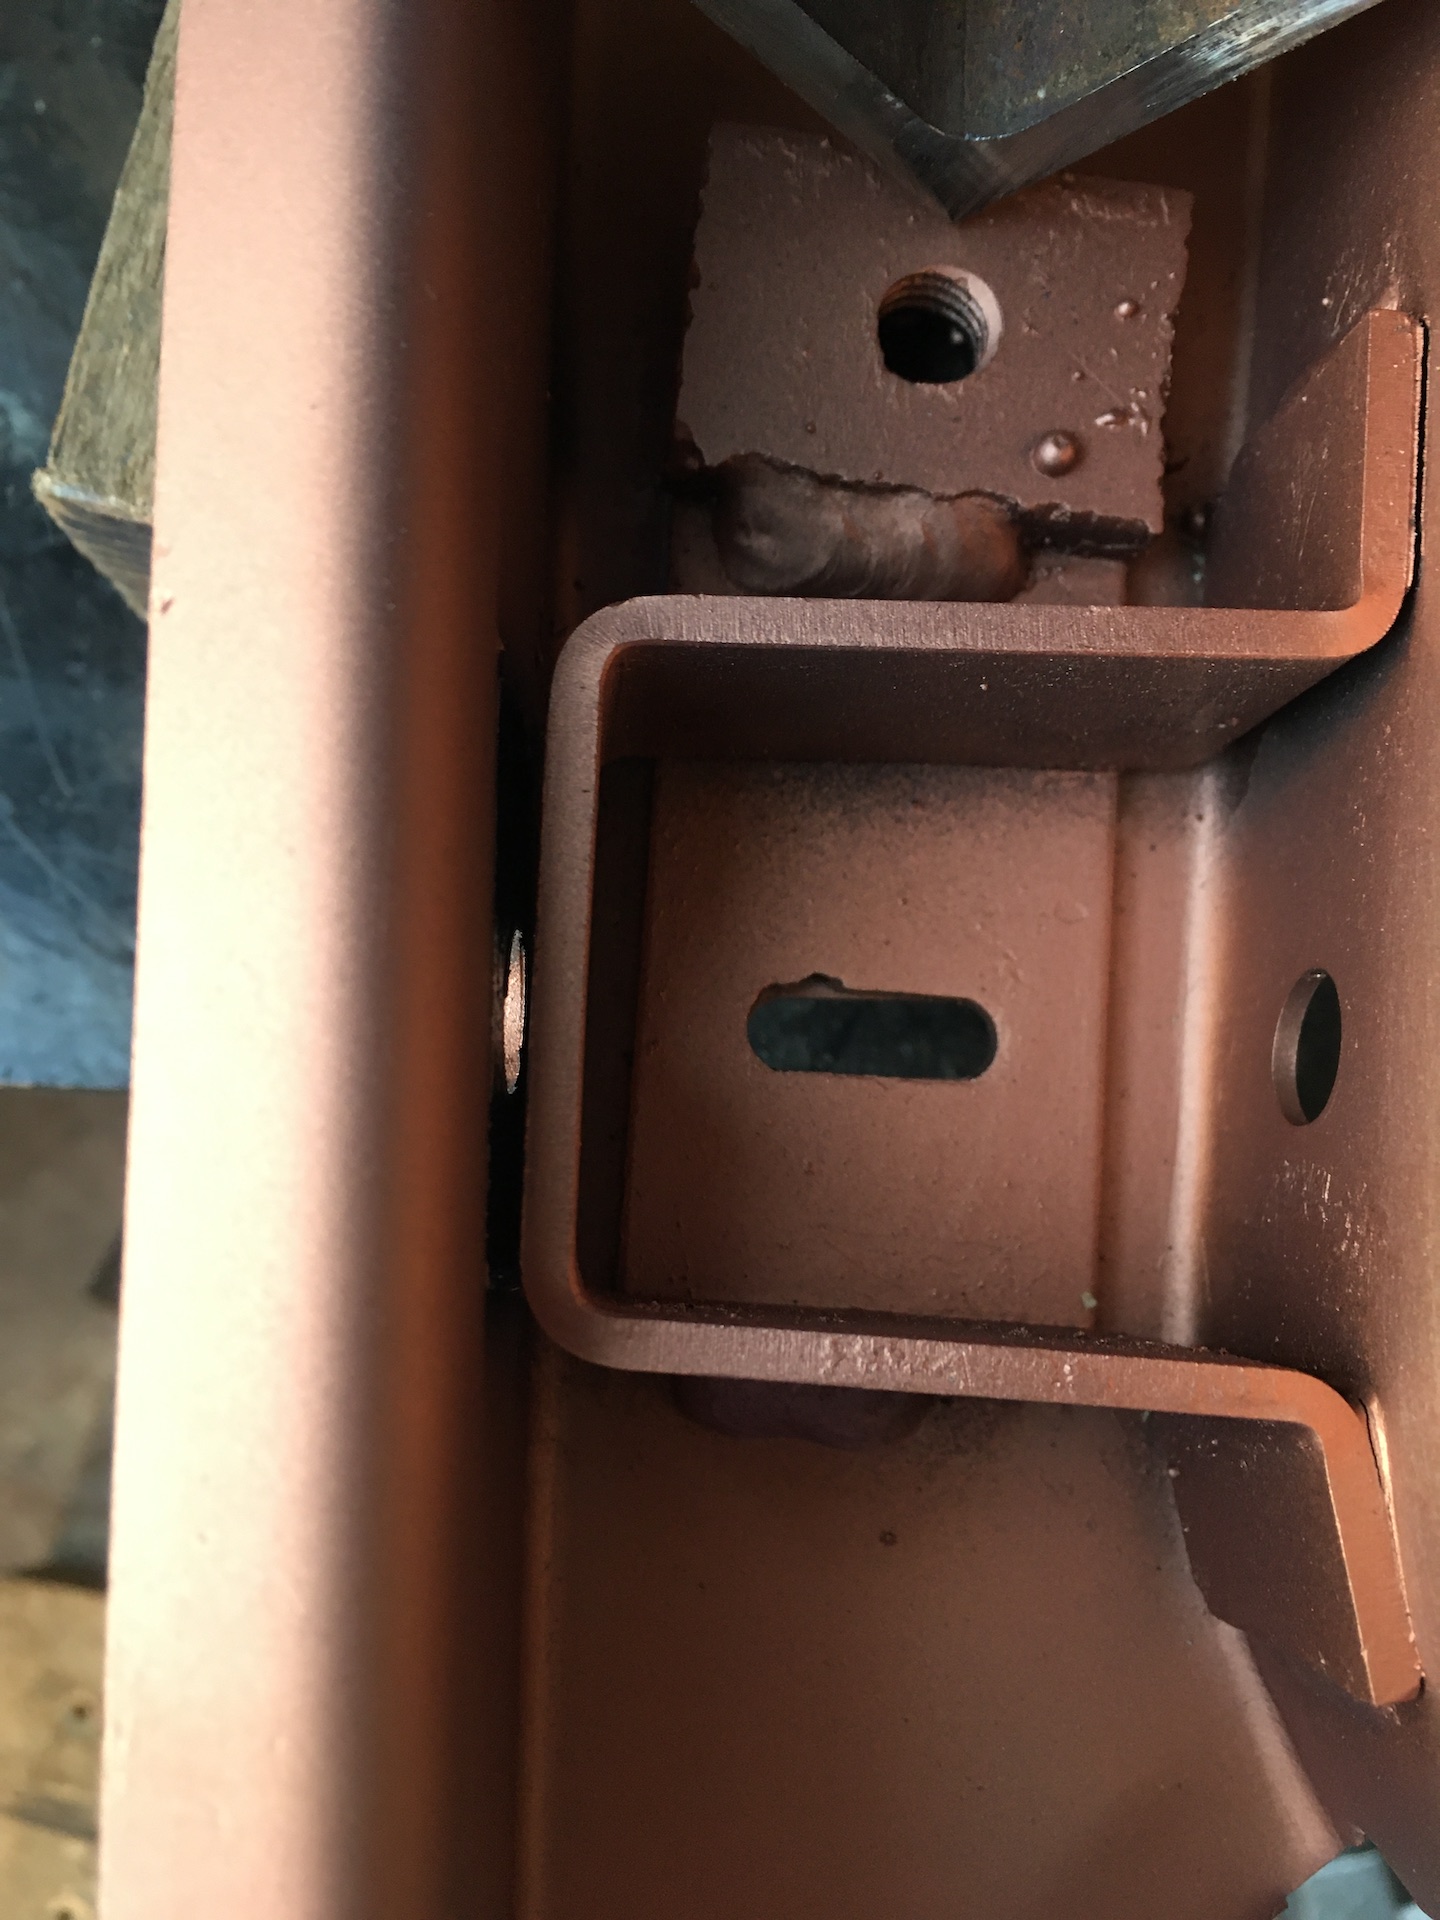
Front tie member was a little wide so I squashed it in the vice to make sure all plug welds had some metal to weld into.
IMG_8845.JPG
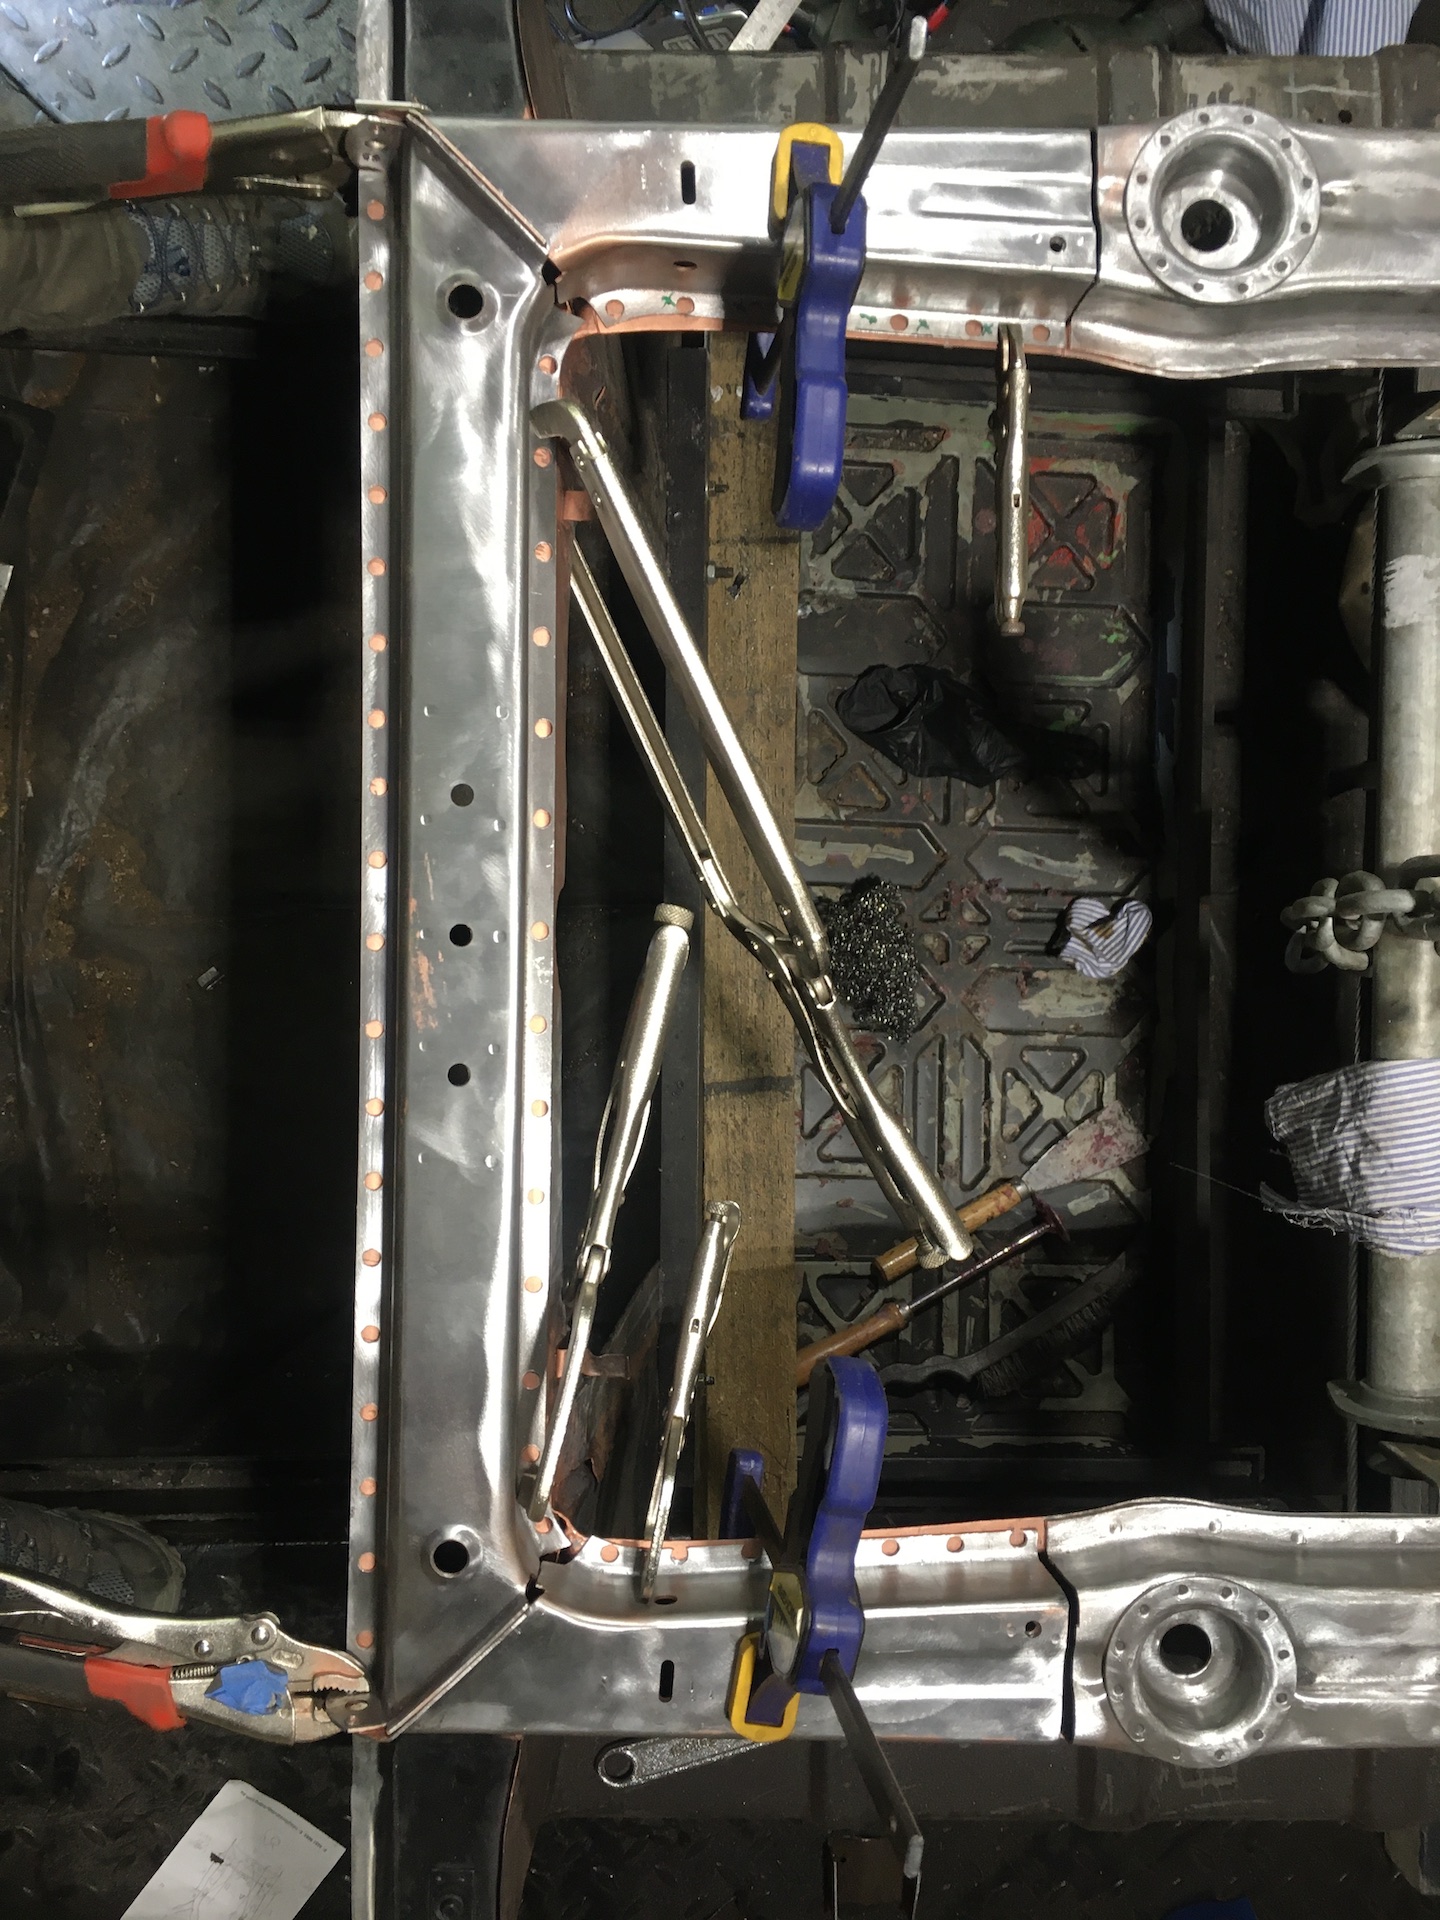
IMG_8845.JPG (715.06 KiB) Viewed 928 times
All welded up.
IMG_8846.JPG
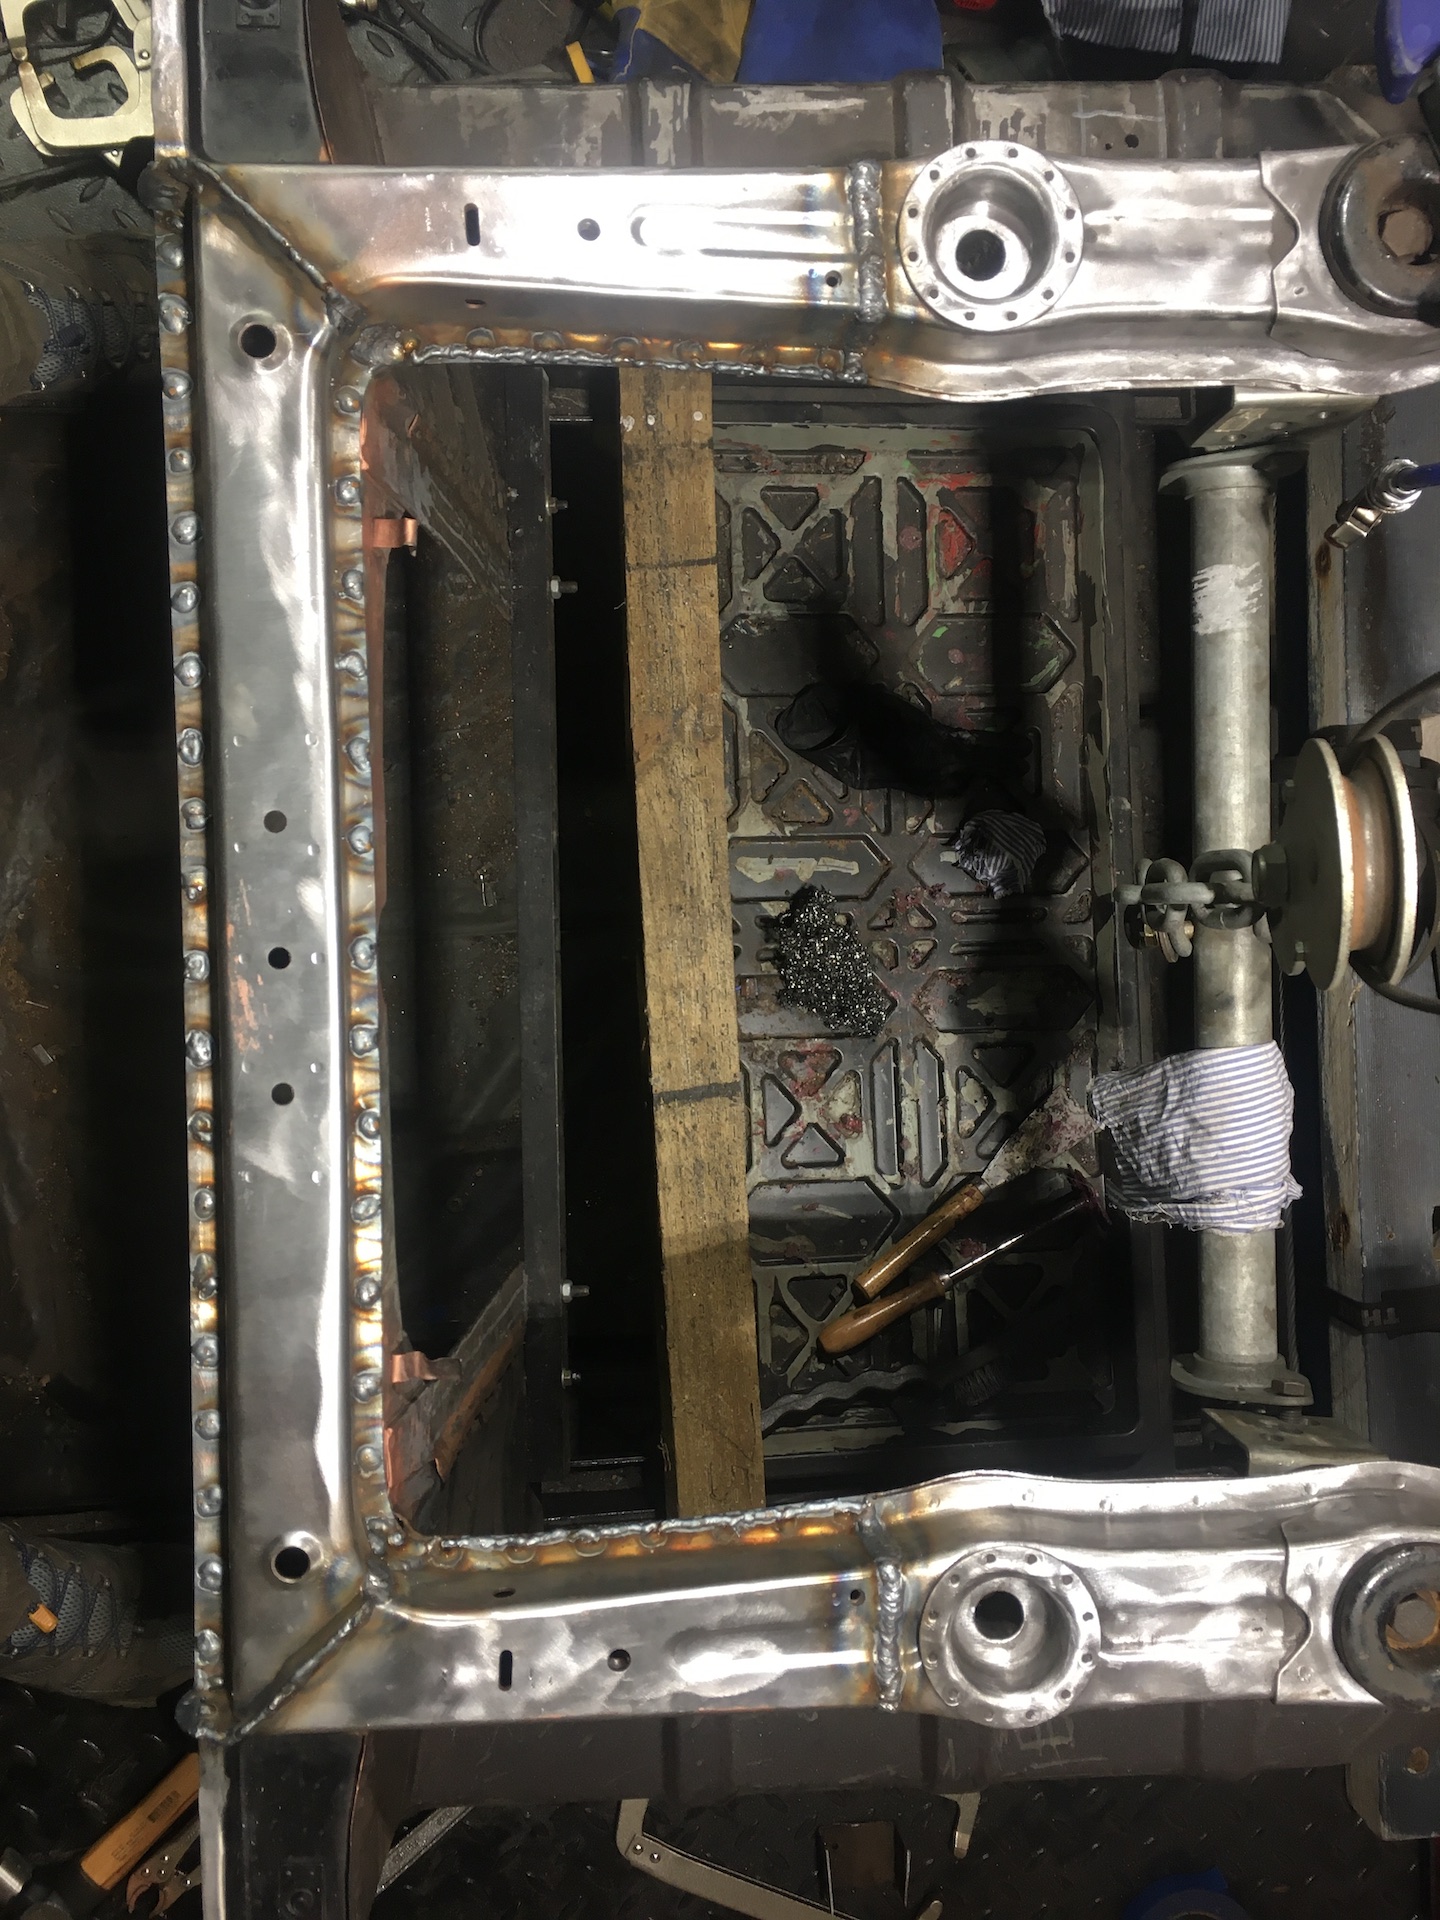
IMG_8846.JPG (719.6 KiB) Viewed 928 times
IMG_8847.JPG
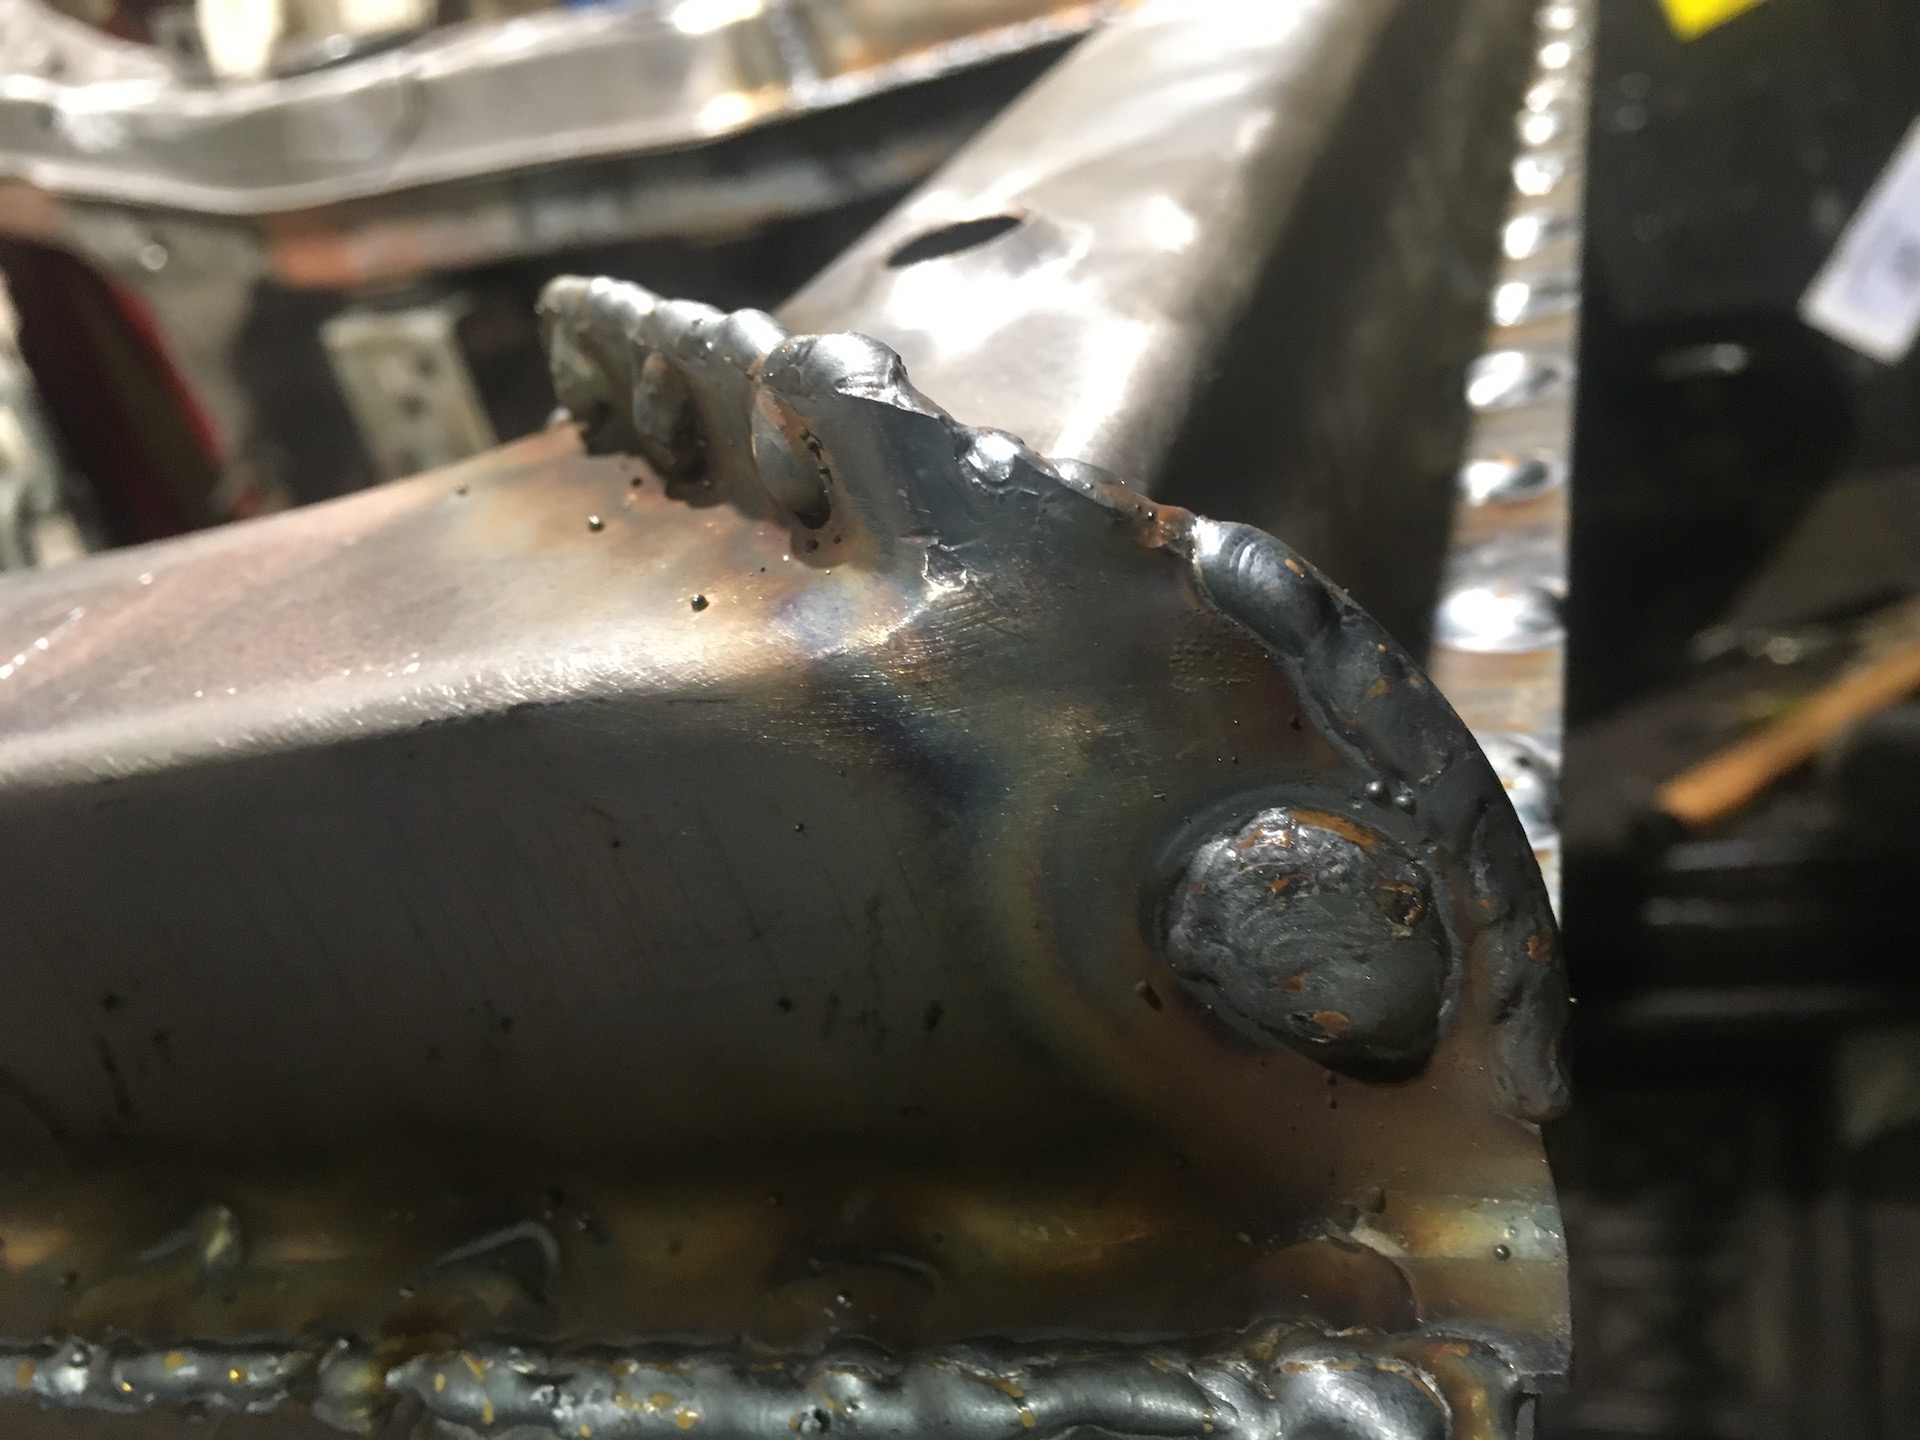
IMG_8847.JPG (489.14 KiB) Viewed 928 times
Lessons learnt. 1./ Clean the back side of the area being welded. I didn’t, and the toxic fumes floating straight up into the welding mask made for a fun afternoon. Was clearing the fumes after each weld with a blast of air on the weld then a blast of air up inside the face mask. 2/. Hoods on welding masks are great for keeping light out, and great for catching sparks. Had a few bounce in from time to time, but this one bounced in my ear - not fun and freaked me out a bit even though it was just a little one. I have read a horror story about molten weld in ear. :shock:
Scott
(Not so rusty) Ol' Rusty - FB/EK Sedan
Post Reply