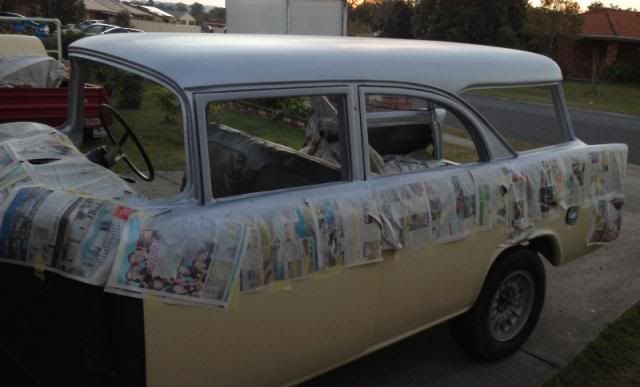
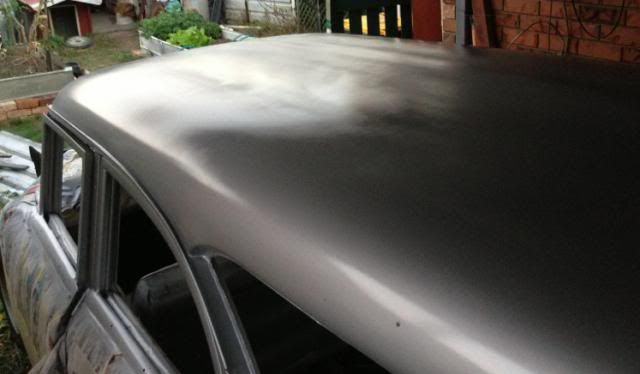
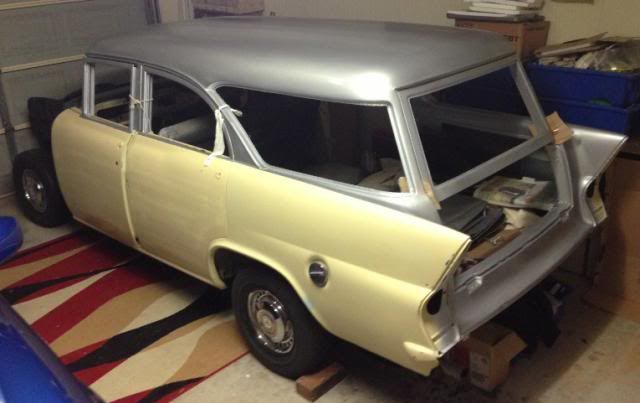
Finny wrote:As a spray painter I need a lot more practice.
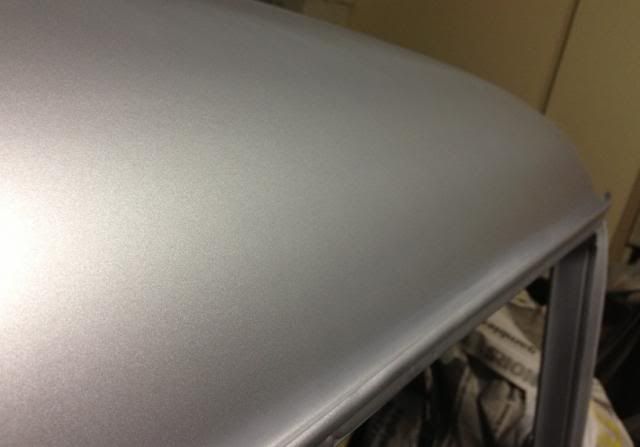
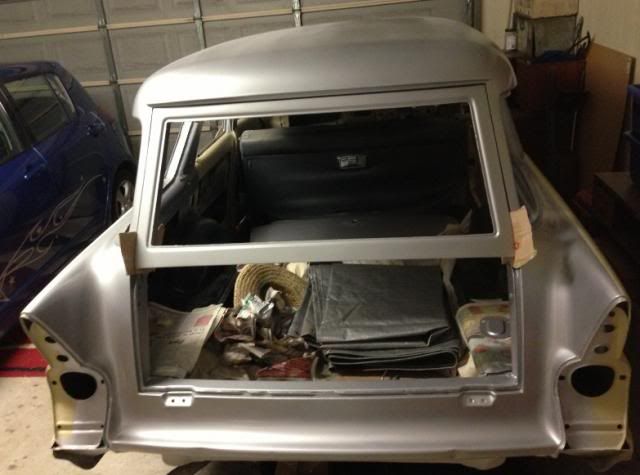
Struggled to get the gloss laying down on the roof, most of the other areas (thinner areas) went well, but the roof

Just not wet enough, always had dry overspray on both sides of my paint area, just couldn't get a nice wide wet strip.
Any ideas on the best way to adjust the gun ?

Or do I need to get another one.


Hi Finny,
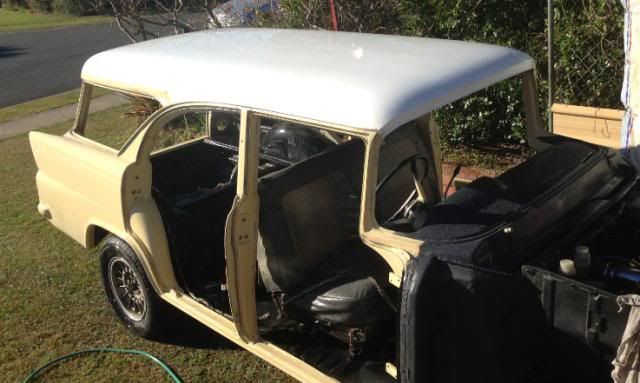
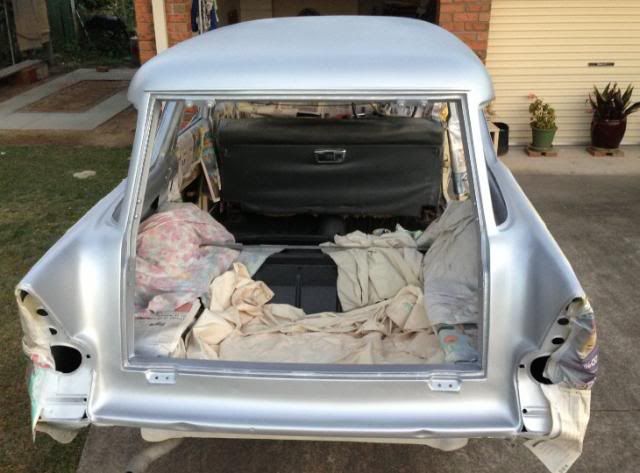
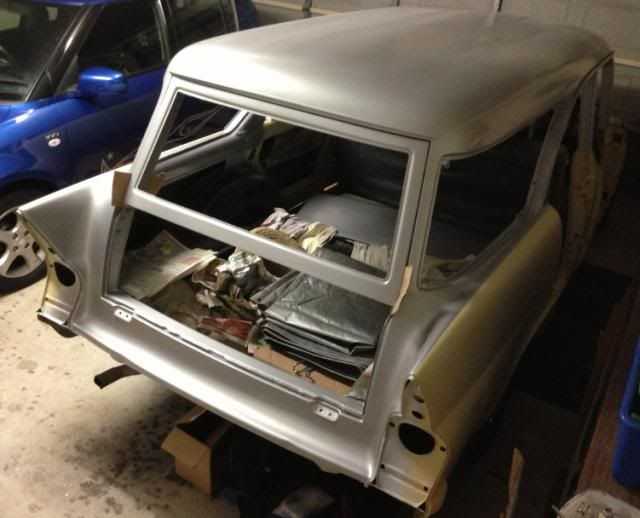
I wouldn't get another, that gun should be pretty fine to use, as by the look of previous painting done looks pretty good. I have used lots of el-cheapo guns and had pretty good results.
You can pull them apart pretty easy give the needle a polish with steel wool and clean the air passages out, with a bit of de-burring, and maybe use some Oxy cleaning tips to ream and clean the nozzle jets. Now remember you only want to clean and debur, not resize.
Just with the setting, the adjustment at the bottom near connector is the air flow and would adjust this to max air flow (screw out)and have your pressure setting only done on the regulator( generally set at 40 psi)
The adjuster at the rear of trigger is the paint flow and set this with the fan adjustment on the left side of the trigger. In these adjustments you want to aim for a nice cigar shape, and definitely not hour glass or comma looking, (Which lots of cheaper guns do), Mind you I had a Sata gun which wasn't machined properly, and fixed it with the use of set of jet drills. The pattern has to be pretty uniform. Test this on piece of white card before spraying so you can see exactly what it should look like, and you want around 6 to 8 inches of spread, with good paint build in the center gradually fading to outer edges. If your fan is not even then the outer holes in the nozzle may need a good clean, not so much in paint wise but poor machining and cleaning marks, these can be cleaned up by the method above.
If you screw the fan setting in on the side to reduce the spread the shot of paint should be stream round, if it's not then maybe your needle is not clean, and may need a little wet and dry then steel wool, to get a good finish. Make sure the hole in the center of the nozzle is perfectly round as well.
Just check the size of the Nozzle when your at it, it might be 1.5 or 1.6 mm you can use up to to 2mm. when I have used small nozzles you can open the flow up a lot more without the fear of excessive paint application.
Now I'm no painter, and there are plenty of painters on here, that might say different, but this has worked for me all the time and I painted quite a few in all types of paints.
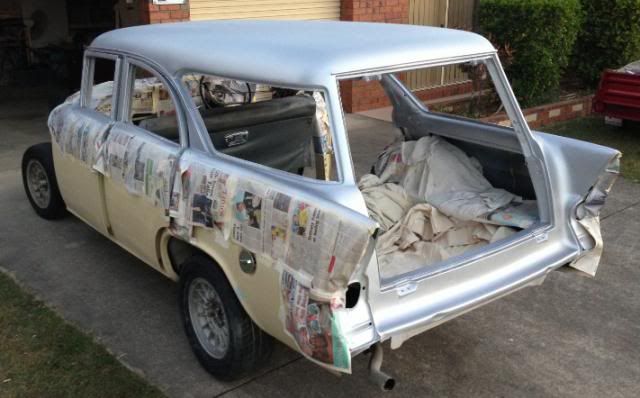
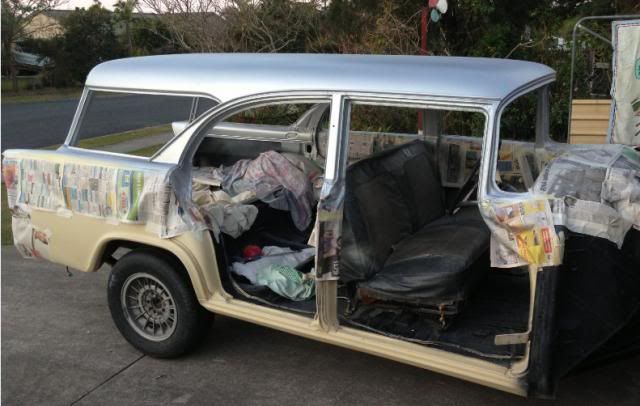
Looking good though. Cheers John
I forgot to mention, make sure your vent at the cap is not blocked, as you will get uneven, splatter or no coverage.