kustomizing dash... not finished
Posted: Tue Nov 06, 2007 10:32 pm
ok guys,
thanks to DR, ekv8ute & a few others, I've attempted to
customising my own dash... below are the steps taken to
creat a dash with a new look...
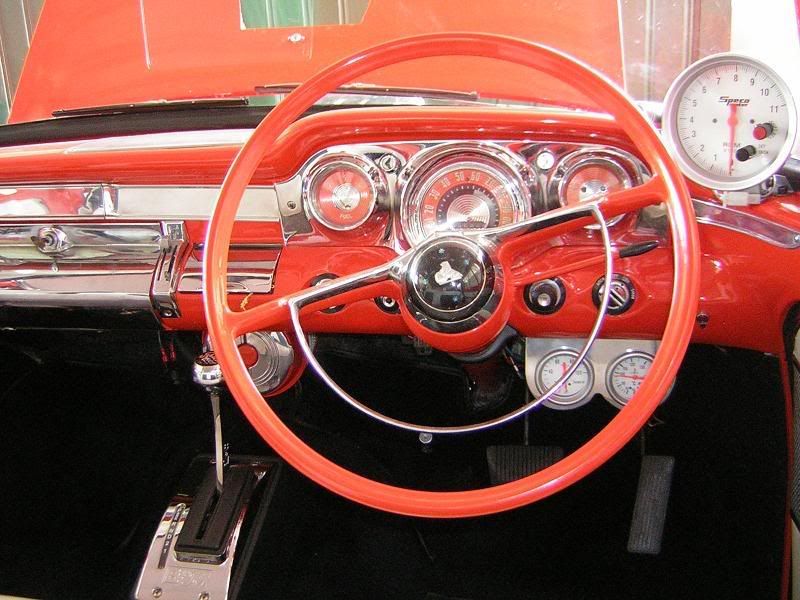
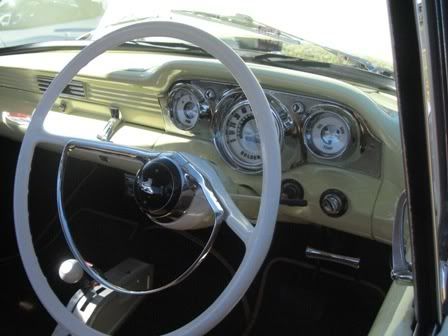
the plan...
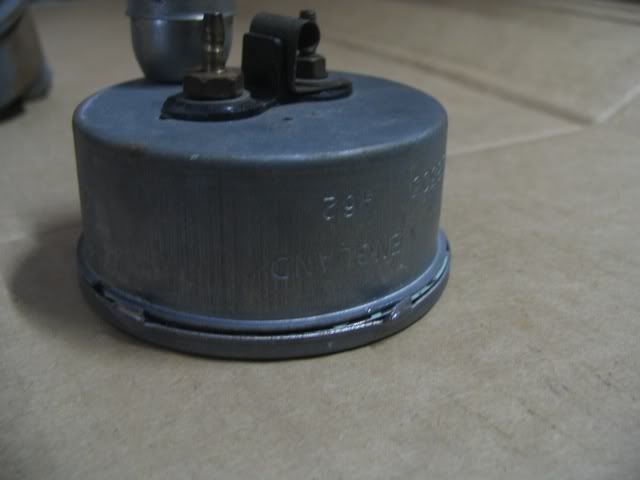
i started buy removed the gauges form the chrome
housing, buy unscrewing the screws that held held the gauges
in place...
then very carefully bent the cliped over metal on the back
of the gauge, over eniugh that it was free of restriction...
before
after
then i just let the gauge fall out into my palm carefully...
to see what i have got...
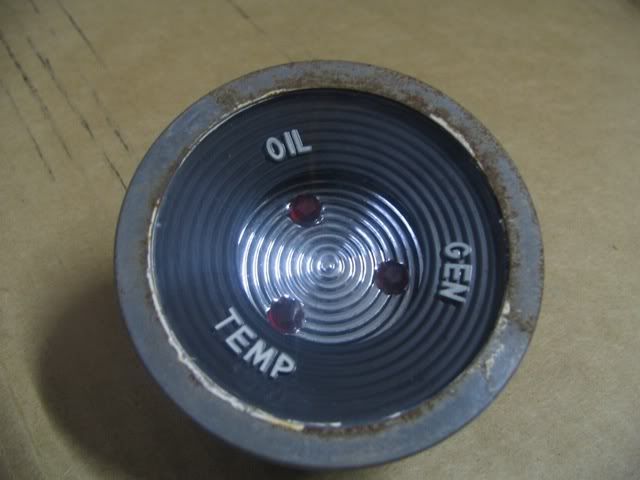
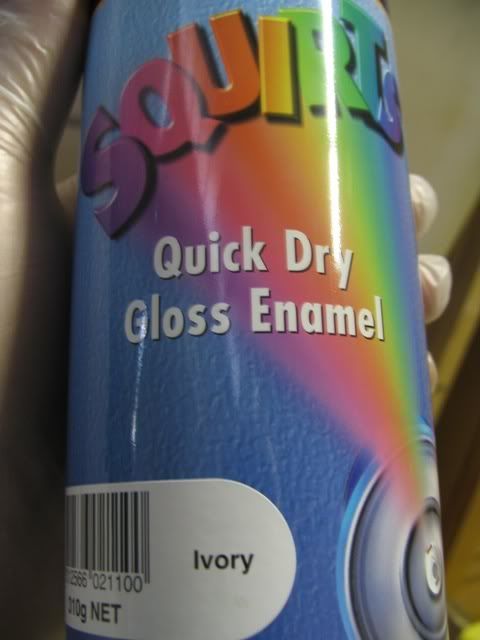
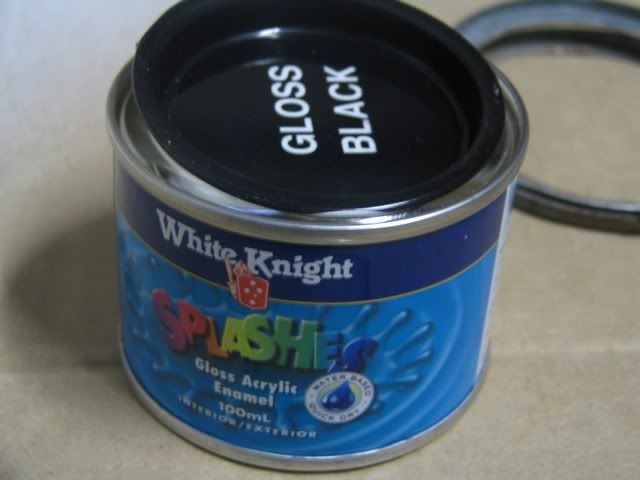
then i cleaned all peices thoroughly, let them dry & hit the black
face with an antique white colour (SQUIRTS, Ivory...).
colour...
before
after (the first coat)
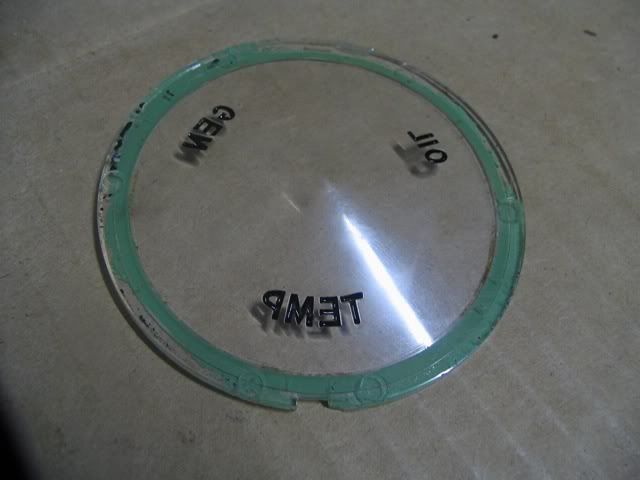
while the paint was drying, i sprayed oven cleaner onto the
face of the gauges. because i want the numbers black, i
need to get the old light green colour off...
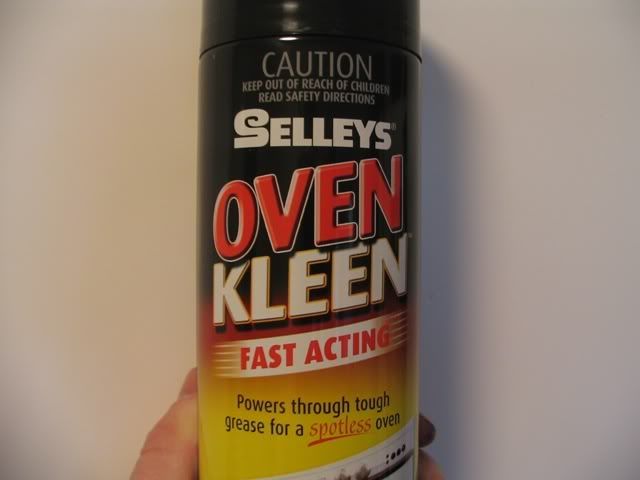
DevilRod, said to use oven cleanier as it more gentle
on the the glass than trying to scratch out the paint from
the numbers... (make sure you where gloves it burns alot)
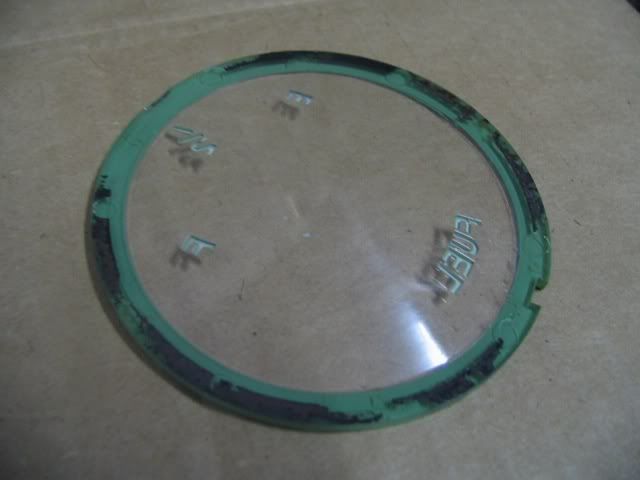
before
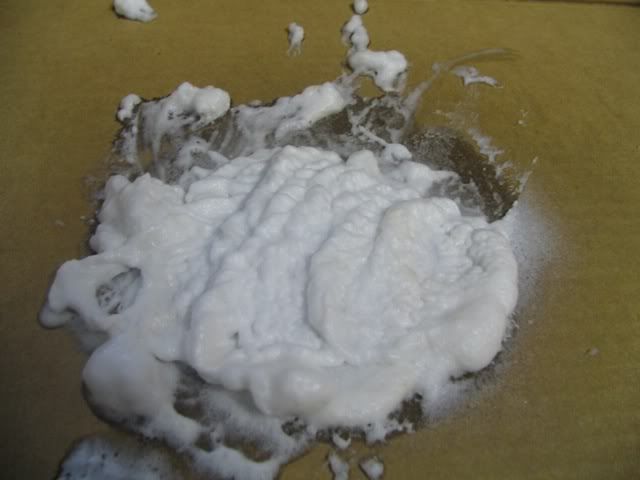
during, (the oven cleaner needs to be left on for
at least 30 mins, i left it on for about 45mins then just
rinsed off with water & the old paint just wash straight off...
no scrubing needed)...
after
then put another coat on the faces, i will do three coats in total...
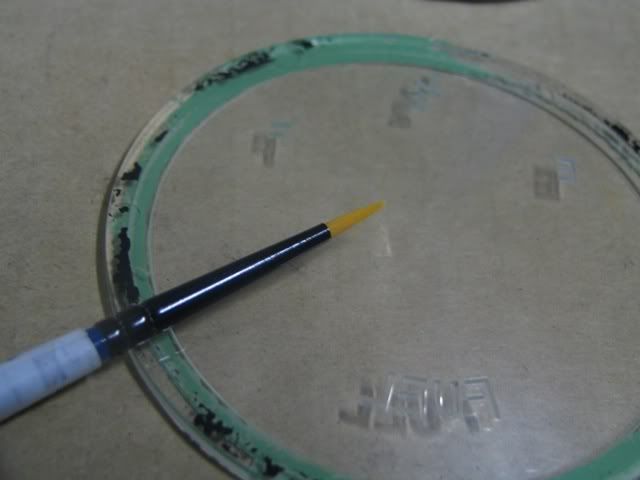
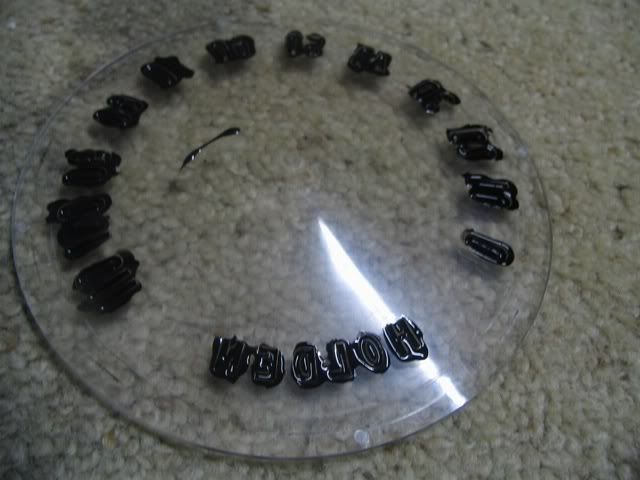
while they where drying i cracked the paint for the numbers...
applied paint with a very small paint brush & put enough to fill the numbers with paint...
then I waited 30mins & wiped the surface with a rag with some turps to get rid of the over flow...
now i just have to wait till the faces dry... & bingo...
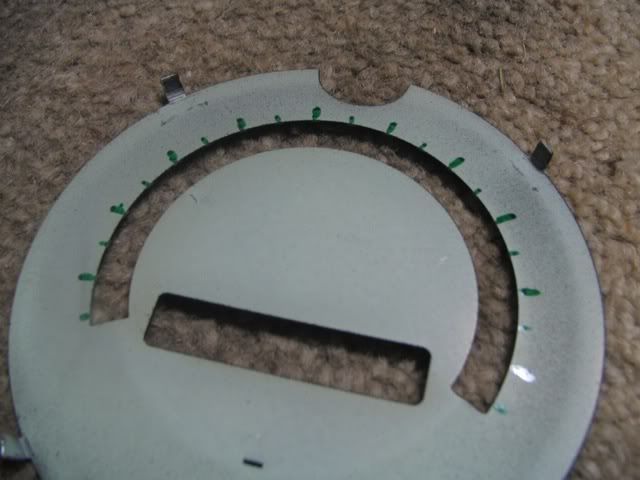
the speedo...
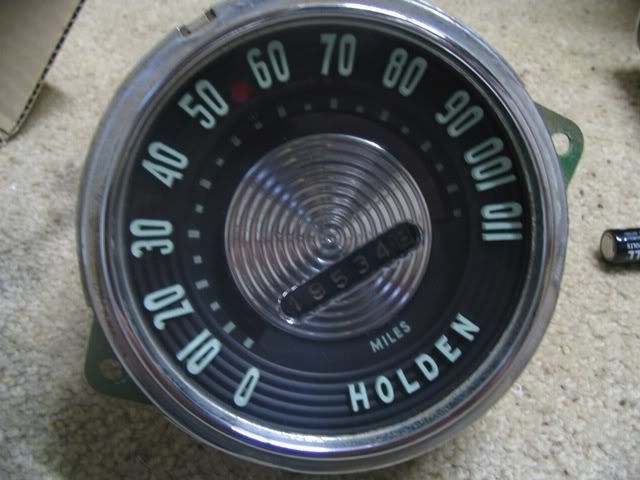
all the same steps as taken before, just different with the speed indicator lines...
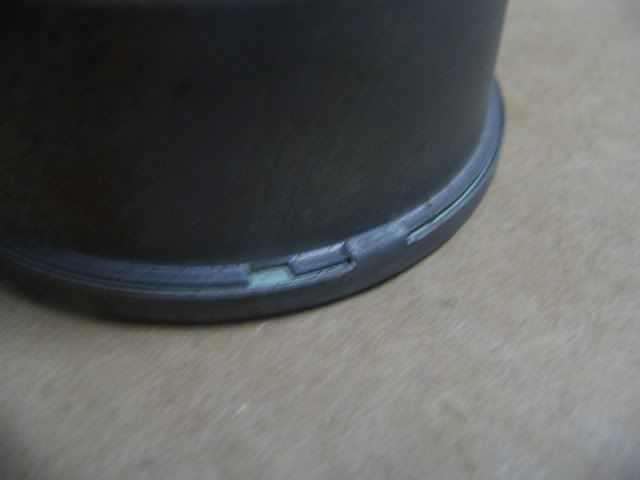
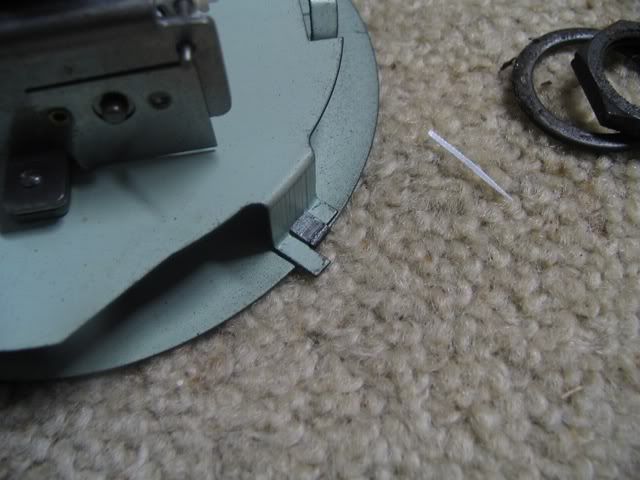
step 1. dismantle, buy bending the clips & unscrewing
the nut on back...


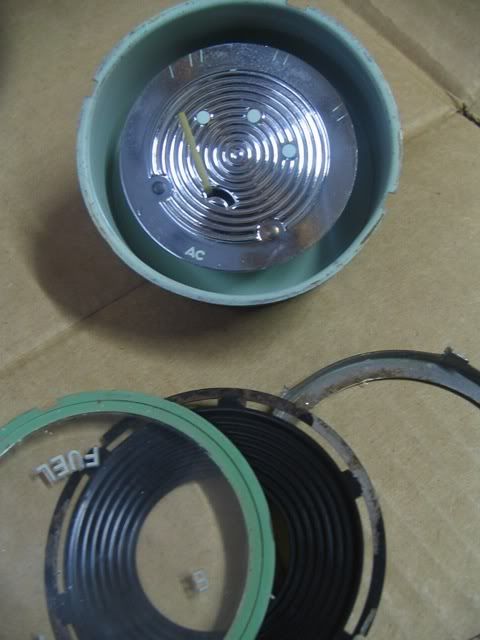
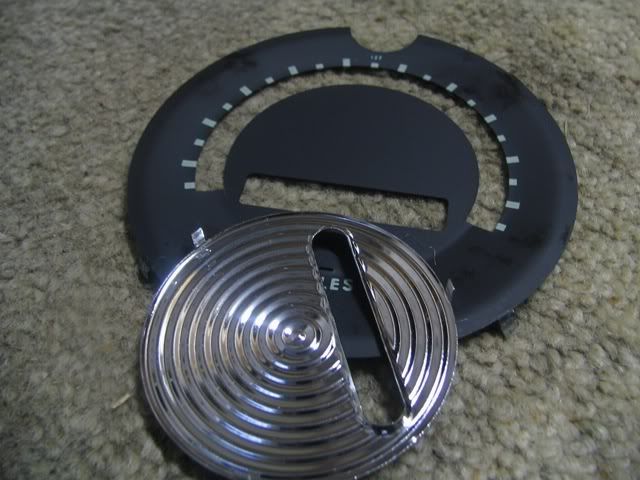
then unclip the inner face, with the speed indicator lines... then the chrome center...
IMPORTANT... BEFORE YOU PAINT, COPY WHERE THE SPEED
LINES ARE, ON THE REVERSE SIDE...
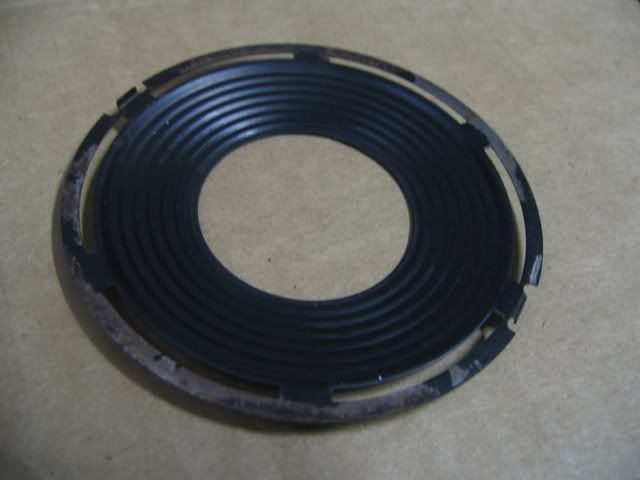
& then the numbers
the next steps are the same as the previous gauges...
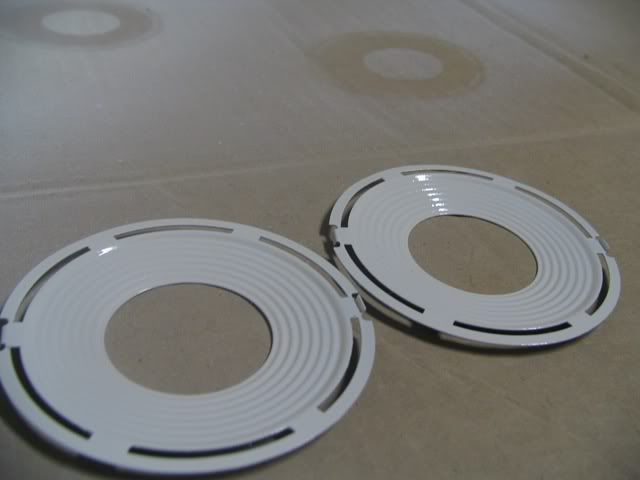
these are all the faces painted, making sure that they all matchup in colour & density...

once faces have dried over night & lettering/ numbers have been painted & cleaned, reassemble...
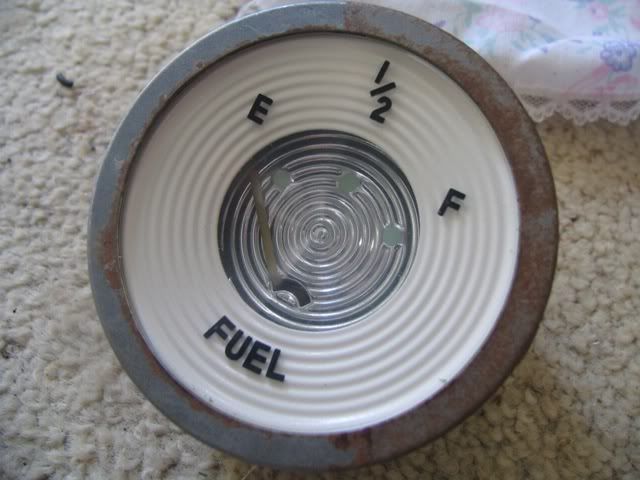
place back in surrounds to get a feel...
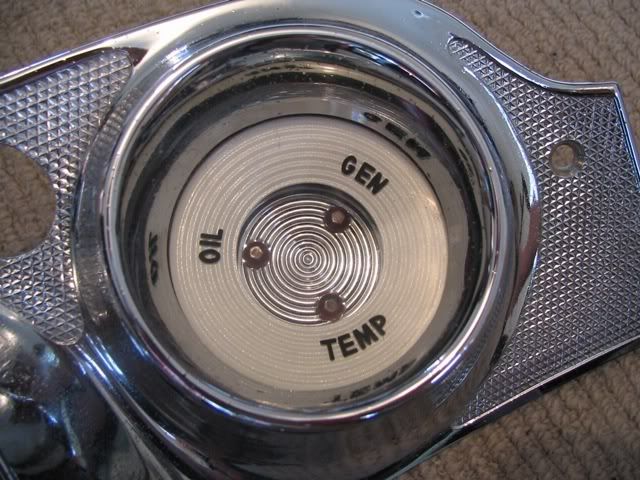
nioce... hey?
still have finished speedo lines yet...
this is unfinished... to be completed
thanks
matty martin
thanks to DR, ekv8ute & a few others, I've attempted to
customising my own dash... below are the steps taken to
creat a dash with a new look...
the plan...
i started buy removed the gauges form the chrome
housing, buy unscrewing the screws that held held the gauges
in place...
then very carefully bent the cliped over metal on the back
of the gauge, over eniugh that it was free of restriction...
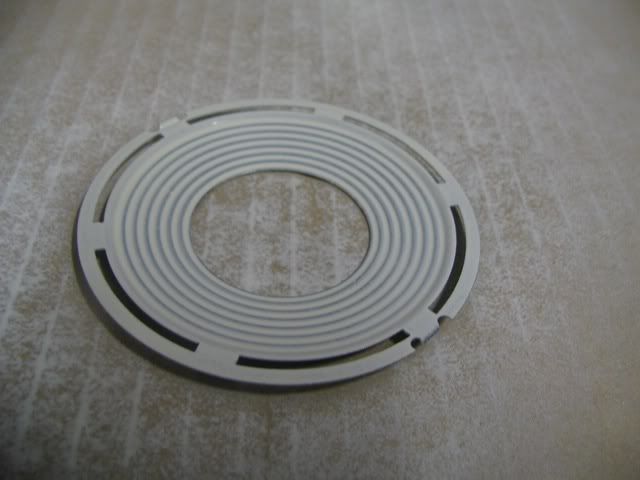
before
after
then i just let the gauge fall out into my palm carefully...
to see what i have got...
then i cleaned all peices thoroughly, let them dry & hit the black
face with an antique white colour (SQUIRTS, Ivory...).
colour...
before
after (the first coat)
while the paint was drying, i sprayed oven cleaner onto the
face of the gauges. because i want the numbers black, i
need to get the old light green colour off...
DevilRod, said to use oven cleanier as it more gentle
on the the glass than trying to scratch out the paint from
the numbers... (make sure you where gloves it burns alot)
before
during, (the oven cleaner needs to be left on for
at least 30 mins, i left it on for about 45mins then just
rinsed off with water & the old paint just wash straight off...
no scrubing needed)...
after
then put another coat on the faces, i will do three coats in total...
while they where drying i cracked the paint for the numbers...
applied paint with a very small paint brush & put enough to fill the numbers with paint...
then I waited 30mins & wiped the surface with a rag with some turps to get rid of the over flow...
now i just have to wait till the faces dry... & bingo...
the speedo...
all the same steps as taken before, just different with the speed indicator lines...
step 1. dismantle, buy bending the clips & unscrewing
the nut on back...
then unclip the inner face, with the speed indicator lines... then the chrome center...
IMPORTANT... BEFORE YOU PAINT, COPY WHERE THE SPEED
LINES ARE, ON THE REVERSE SIDE...
& then the numbers
the next steps are the same as the previous gauges...
these are all the faces painted, making sure that they all matchup in colour & density...
once faces have dried over night & lettering/ numbers have been painted & cleaned, reassemble...
place back in surrounds to get a feel...
nioce... hey?
still have finished speedo lines yet...
this is unfinished... to be completed
thanks
matty martin