Page 1 of 1
Over (over)riders
Posted: Tue Aug 05, 2025 4:24 pm
by funkyscooter
I have a couple of spare front over riders. Can’t decide if I should bother to chrome them or just move them on. Instead I decided to get creative and get the textas out.

- IMG_7541.jpeg (668.74 KiB) Viewed 1446 times
Idea is to emboss a line around the top for some extra aero efficiency. Not really practical getting access inside these, and there is a long weld down the centre where they are joined so went with making new tops.
First use some layers of blue tape to create a paper pattern guide.

- IMG_7542.jpeg (665.63 KiB) Viewed 1446 times
Now cut out two pieces of 1.6mm cold rolled and start hitting. As this is too thick to shrink, stretching the centre was the only option. Layed the blue tape guide over the new piece to check that I was matching the shape as I went . One down, one to go.

- IMG_7543.jpeg (1.09 MiB) Viewed 1446 times
Trace out the new pattern on some paper and use that to mark out both tops. I used blue tape as guide.

- IMG_7547.jpeg (598.78 KiB) Viewed 1446 times
Used the power file to make a die out of a bit of steering wheel shaft. Then clamped a laser overhead so I knew where the sweet spot was when the metal was on top of it. Long flat edge was used for the straights and mr pointy for the curve at the front.

- IMG_7557.jpeg (728.15 KiB) Viewed 1446 times
At least 700 - 1000 hits later - and that would be for each one.

- IMG_7562.jpeg (874.52 KiB) Viewed 1446 times
New blue tape pattern of the tops after they were trimmed to about 6mm from the edge of the indent.

- IMG_7561.jpeg (774.56 KiB) Viewed 1446 times
Transfer the patterns to overriders using black marker and more blue tape as a guide. Each top had its own pattern as they are slightly different.

- IMG_7565.jpeg (799.77 KiB) Viewed 1446 times
Re: Over (over)riders
Posted: Tue Aug 05, 2025 4:27 pm
by funkyscooter
Weld a brace to the back of each over rider to stop it springing open/deforming with heat, and fire up the grinder

- IMG_7566.jpeg (874.95 KiB) Viewed 1444 times
First fit. There is a lot of fine tuning to do.

- IMG_7568.jpeg (847.61 KiB) Viewed 1444 times

- IMG_7569.jpeg (692.98 KiB) Viewed 1444 times
Next day, more fine tuning, then after a couple more hours all tacked up.

- IMG_7571.jpeg (909.54 KiB) Viewed 1444 times
Welding was pretty easy as it is 1.6mm thick and I got to use 9mm wire for the first time. Forgot to take photos but it was all stitch welded. Here is mid way through grinding, mainly with the powerfile.

- IMG_7573.jpeg (1.03 MiB) Viewed 1444 times
Good to get an idea of what it will look like on the car, but as I can do that, then I guess this is the next best thing.

- IMG_7579_2.jpg (1012.71 KiB) Viewed 1444 times
Re: Over (over)riders
Posted: Tue Aug 05, 2025 4:36 pm
by funkyscooter
So slept on it, intending to spend the next day sanding and polishing, but had an idea. Out with the craft paper and blue tape.

- IMG_7580_2.jpg (786.03 KiB) Viewed 1444 times
My tops are longer than the overrider, and the plan was top cut them flush, but I think a fancy curve is in order.

- IMG_7581_2.jpg (774.69 KiB) Viewed 1444 times
Doing finishing touches I noticed a slight mark on one piece, so I sanded and filed until I realised too late that the mark is thin metal, which is now a hole. All those hammer blows and filing sure thined that metal out.

- IMG_7582_2.jpg (985.2 KiB) Viewed 1444 times
Was ready to chuck it in the corner, but I have spent way too much time on these so out with the welder.
Took 1 pass from the back side then 2 from the top to fill it in. Now I am a bit paranoid of rubbing through elsewhere.

- IMG_7583_2.jpg (922.24 KiB) Viewed 1444 times
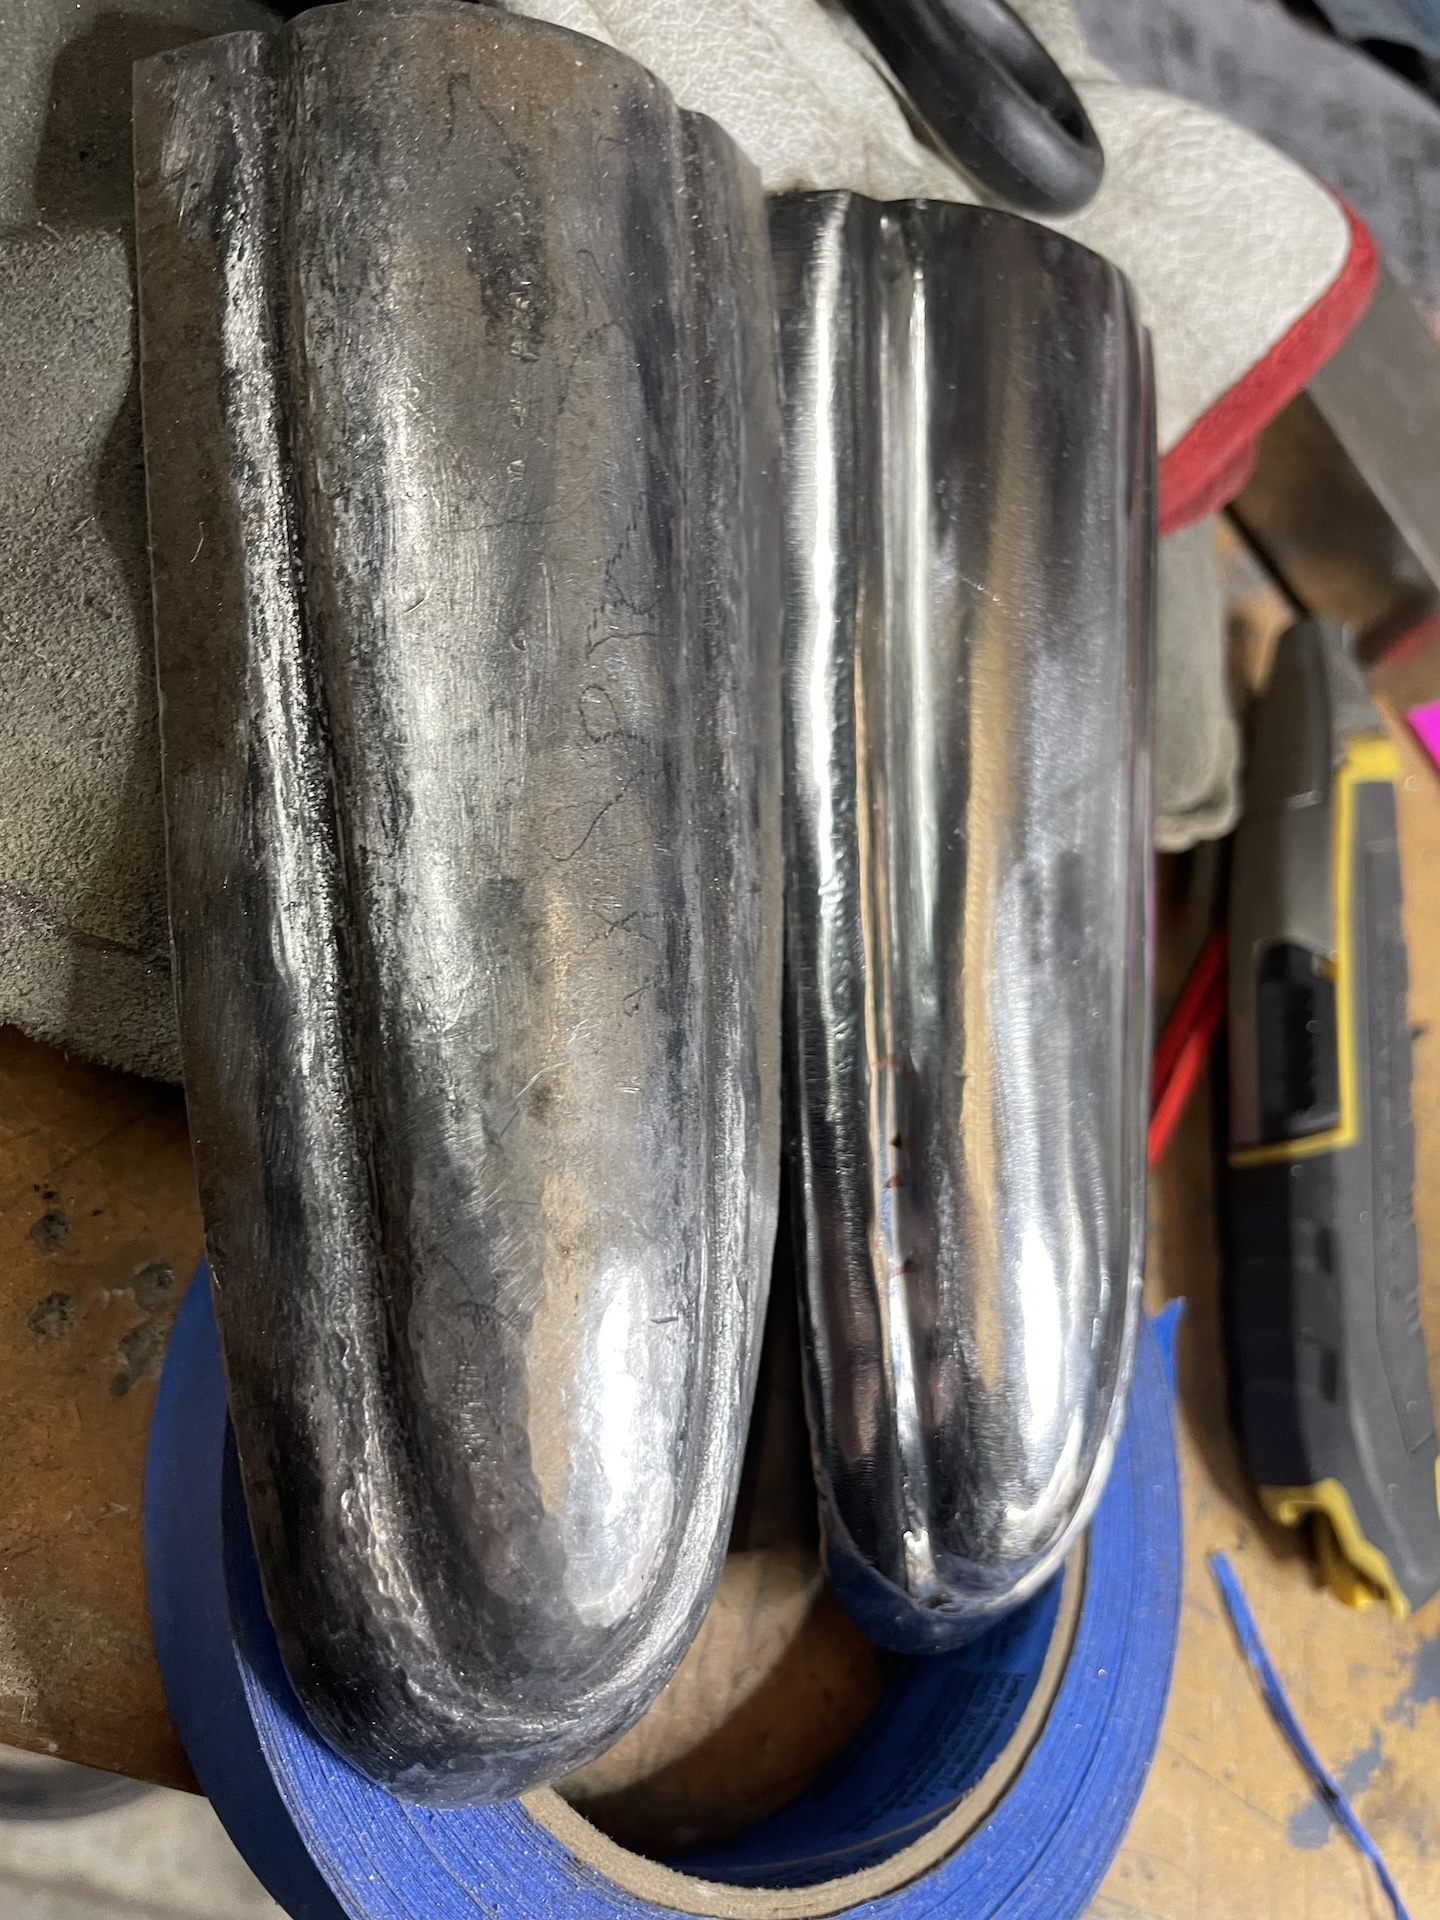
So with a more cautious approach, leaving a few marks for character, I hit them both with the DA sander (120/180), then the polisher. As the sun has decided to make an appearance, I too them out to the pool, along with a standard set, for a photo shoot.

- IMG_7585_2.jpg (1019.1 KiB) Viewed 1444 times

- IMG_7586_2.jpg (1.37 MiB) Viewed 1444 times

- IMG_7587_2.jpg (1.03 MiB) Viewed 1444 times

- IMG_7588_2.jpg (852.35 KiB) Viewed 1444 times
Really like the curve on the back and the lines are subtle enough. Won’t know till I get to put them on, and by then I probably will have decided to delete the overriders and go with the clean lines of just the 3 piece bumpers.
Re: Over (over)riders
Posted: Tue Aug 05, 2025 4:54 pm
by Blacky
I was checking out the new post on your build thread and without any context I was looking at the pics and didn't even pick up the difference
subtle .......... and now having read this post , a lot of work !!!
Re: Over (over)riders
Posted: Tue Aug 05, 2025 6:23 pm
by funkyscooter
Yeah - not sure I would do it again - a lot of testing and fitting and refitting. Fiddly stuff.
Re: Over (over)riders
Posted: Tue Aug 05, 2025 11:25 pm
by Harv
I like some in-your-face customs, but some of the nicest custom work is subtle like this. From a distance it looks almost standard, but you can feel it’s not. A lot of staring and thinking, then you realise what the change was.
Cheers,
Harv