Page 53 of 76
Posted: Fri May 15, 2009 12:11 pm
by manda_fb
SC00BB wrote:Hey V8EK4US did you do the hoodlining yourself?
It Looks great, have you got some tips on how to put it in?
I bought mine from Evilbay and was unsure where to start for fear of stuffing it up.

thanks
I got mine from ebay.....big probs with it.... (i got one for my ute so it may be different)
It didn't have enough material in it to stretch into place but it came up ok, glad i paid someone to put it in though.... reminds me i should put pics up of my interior
Posted: Fri May 15, 2009 11:05 pm
by V8EK4us
SC00BB wrote:Hey V8EK4US did you do the hoodlining yourself?
It Looks great, have you got some tips on how to put it in?
I bought mine from Evilbay and was unsure where to start for fear of stuffing it up.
thanks
I had a friend in the "upholstery industry" help me and I was basically the "upholserers bitch"

. Here is the stages:
1/ Lay the lining on the floor upside down (blanket under to stop marks or damage) and mark the centre (side to side) on the bow that is fixed to the centre roof support (the one with 2 small wires each side).
2/ Hang the linging and insert the "bows".
3/ Gather the lining like a "consetiner" and postion the centre mark on the centre roof support.
4/ Line up the centre of the lining with the roof centre line and hang the lining from the tags on the bar (this is the bar that the interior light fixes to on Sedan)., then pean over the tags on the centre support.
5/ locate the "bows" in their relevant holes.
6/ check that all is centred/lined up.
7/ spray upholstery adhesive on the edge of the rear window area and the same area on the lining, wait until it does not stick to you finger and then secure the lining, start from the centre and work your way out, keep reasonable tension on the material to remove "wrinkles".
TIP!!! ... only secure the lining on the edge so it can be easily pulled back to retention if you need to remove wrinkles.
8/ repeat the above for the rear window area, apply enough tension to remove "fore & aft" wrinkles.
9/ Do the same for each side, start from the centre and work your way out to each end (keep an eye on the material as you go so you don't have a big crease at the end!), keep reasonable tension to the side on the material to remove "wrinkles". .... remember that slowly wins the race when it comes to fitting hood linings!
10/ Once it is fitted and you are happy with the finish (no wrinkles) then proceed to fully secure the lining by folding it over edges and ensuring that it is "moulded" to the shape of the steel so your window rubbers fit correctly.
11/ After the contact glue has set for a while (a few hours) trim off the excess material and fit the internal trims and light.
TIP No 2: only roll the lining over the "opposite side" (outside) of the front and rear screens about 3-4mm, also screw the "visor screws" into postion so they are easy to locate and cut (small cut on each screw), much easier than looking for the screw hole!!
Hope it helps.....................

Posted: Sun May 17, 2009 5:38 pm
by V8EK4us
Posted: Sun May 17, 2009 5:51 pm
by SC00BB
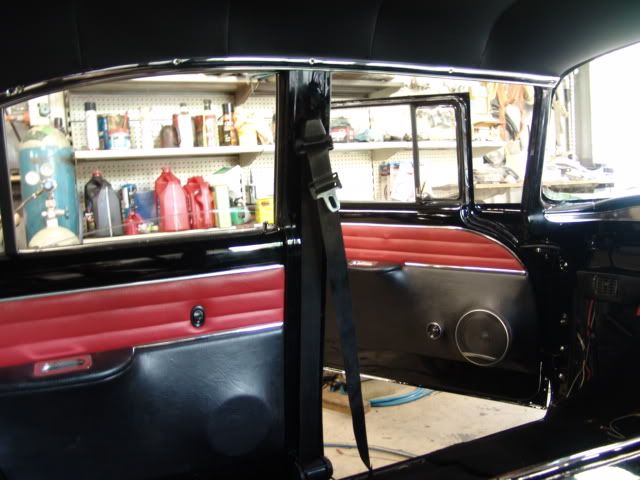
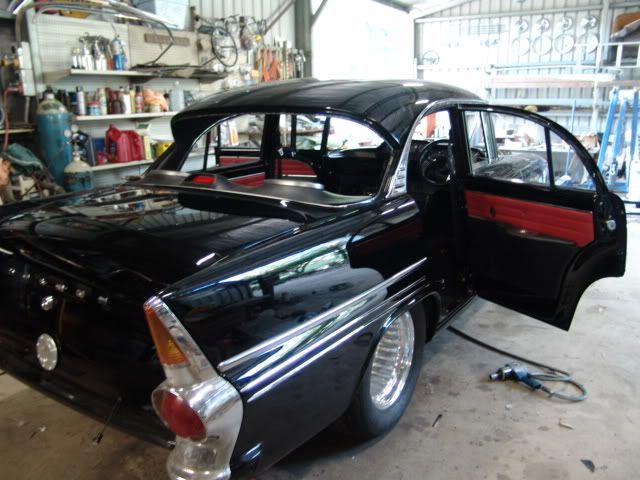
The red in the door cards really sets it off.
Nice work.

Posted: Sun May 17, 2009 6:42 pm
by J
dont the people in the back get rear speakers

?
how inconsiderate

I am looking forward to seeing it all finished
Posted: Sun May 17, 2009 6:56 pm
by (AUST)Mod
They are in the parcel shelf J

Posted: Sun May 17, 2009 7:42 pm
by J
oh duh

im going blind!
but yeh V8EK5US r u putting speakers in doors too? cos you made the hole for em
Posted: Sun May 17, 2009 8:37 pm
by Devilrod
Looking real good now. Go Go Go!!!!!!
Posted: Sun May 17, 2009 9:11 pm
by V8EK4us
J wrote:oh duh
im going blind!
but yeh V8EK5US r u putting speakers in doors too? cos you made the hole for em
I didn't put a hole there for the "speakers", your computer must be playing games with your eyes
Posted: Sun May 17, 2009 9:14 pm
by my70wg
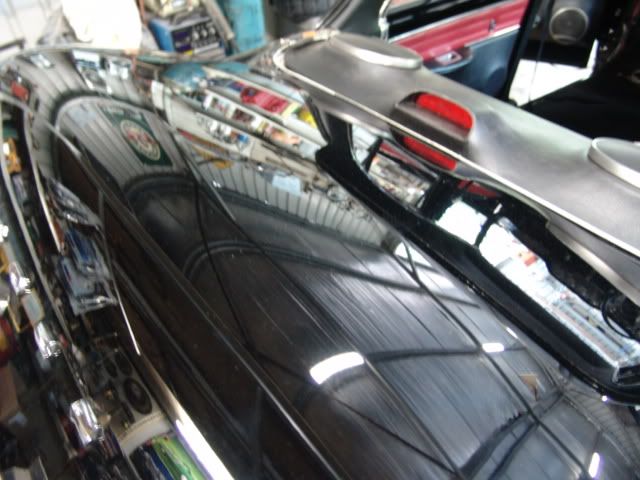
i like the brake light in the rear window...
was that hard??
aidan...
Posted: Sun May 17, 2009 9:28 pm
by blue ute
J wrote:dont the people in the back get rear speakers?
how inconsiderate
You're not paying attention J
Posted: Sun May 17, 2009 10:42 pm
by J
oh im sorry i mean the slight curvature out of the door panel in the form of a speaker screwing too/slotting in thingamajiggy covered in leather.
hope it makes sense now
Posted: Sun May 17, 2009 11:06 pm
by dave68
J wrote:oh im sorry i mean the slight curvature out of the door panel in the form of a speaker screwing too/slotting in
thingamajiggy covered in leather.
hope it makes sense now
Got to love tech terms.....

Posted: Sun May 17, 2009 11:06 pm
by matchew
J wrote:oh im sorry i mean the slight curvature out of the door panel in the form of a speaker screwing too/slotting in thingamajiggy covered in leather.
hope it makes sense now
dont worry j, i thought th same thing, surely its not just a bulge in the door for nothing

Posted: Mon May 18, 2009 8:55 am
by V8EK4us