Hey thanks all for your support!
Been scratching my head trying to come up with a place to store the spare wheel since the original position got deleted with the mustang tank upgrade.
Option 1 - The simple option. Strap it to the floor on top of the tank and put the battery box on the passenger side of the car.

- IMG_7805.jpeg (918.26 KiB) Viewed 4028 times
Option 2 - The harder option. Mount the spare wheel on a stand so that it slides up and under the lip of the boot, with the battery behind it, making sure that at no point the wheel can fall on the battery or, more importantly, touch the terminals.
Only way to find out if option two is even possible is to mock it up.
- IMG_7820.jpeg (957.24 KiB) Viewed 4028 times
- IMG_7818.jpeg (1.06 MiB) Viewed 4028 times
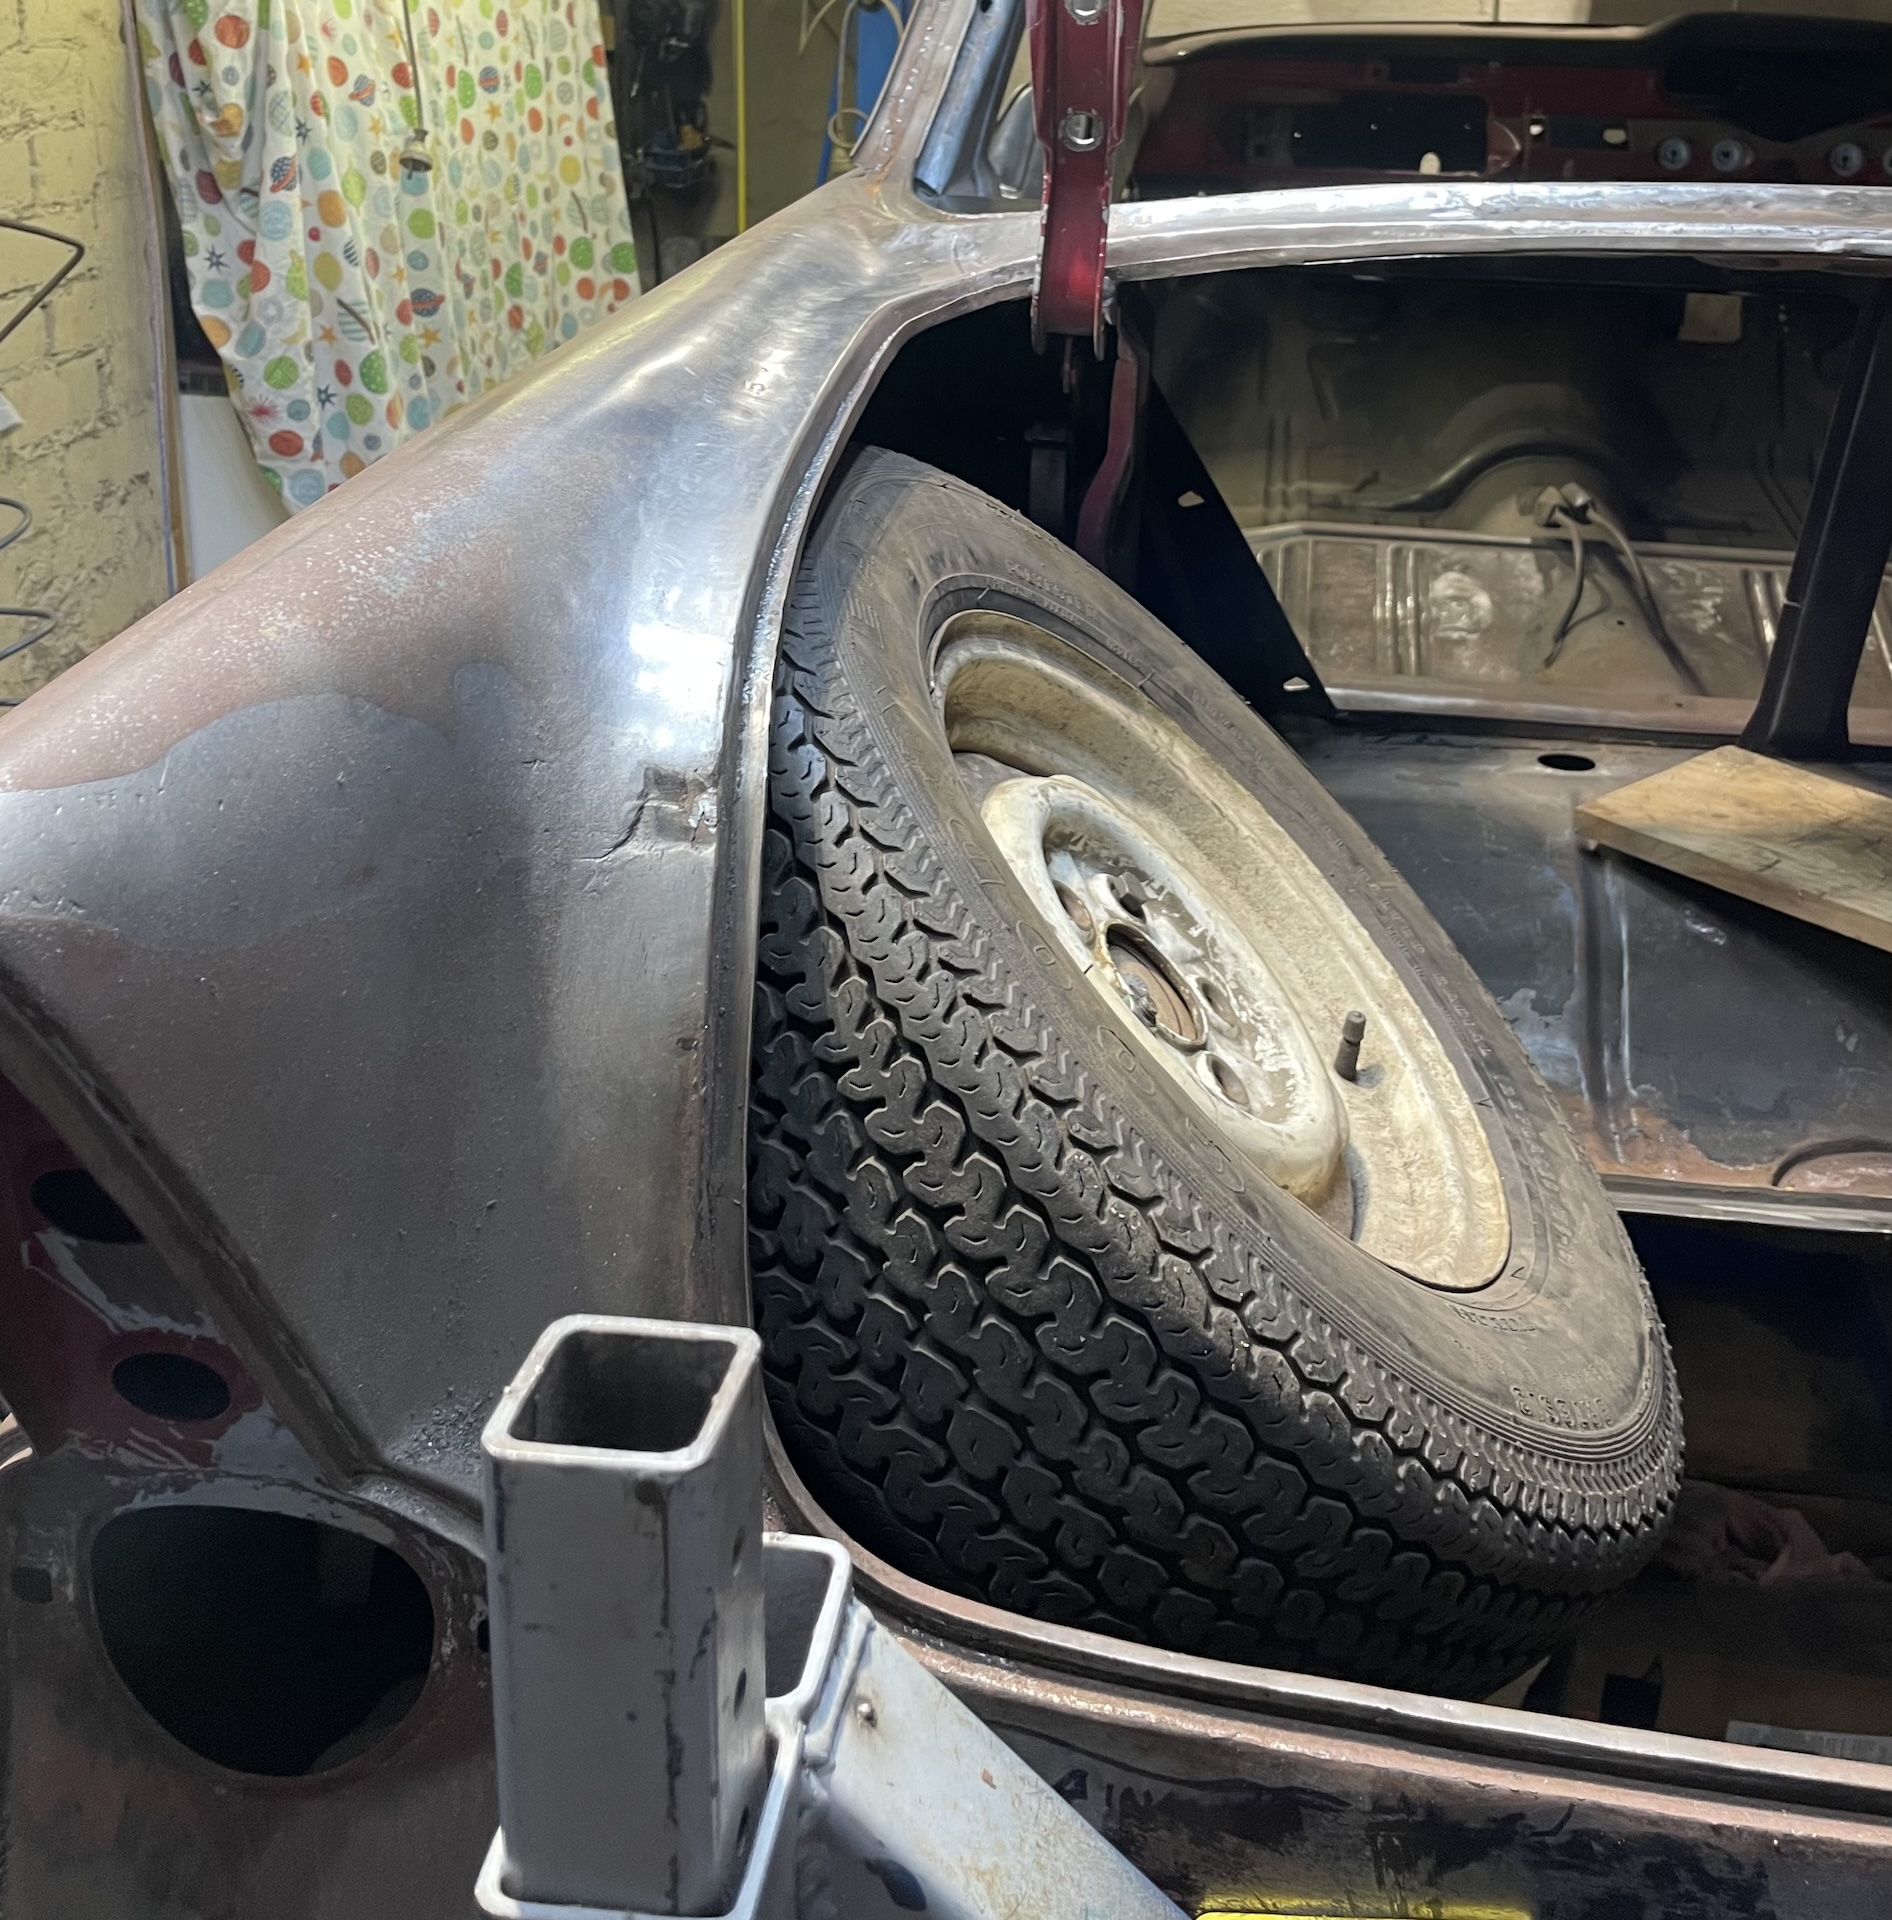
Wheel does fit - just, on a jaunty 40 degree angle. Take a bunch of measurements and it’s off to the computer for a bit of 3D.
There were lots of iterations and changes as this progressed which I won’t bore you all with. It ended up being the 3rrd version I designed and by far the simplest - a post, bolted to the chassis, with a tilting/sliding top that is bolted to the rim, and when in its final position, 1 bolt at the bottom locks the post to the slider.
Added a frame to mount the battery behind it, which ended up needing to lay on its side for clearance. Need to get an AWG battery for that as they can be mounted in (almost) any position. In this case I am looking at an Optima Red Top 25 which is W 173, L237, H194, 15KG, 720CCA, 44Ah and weighs 15kg
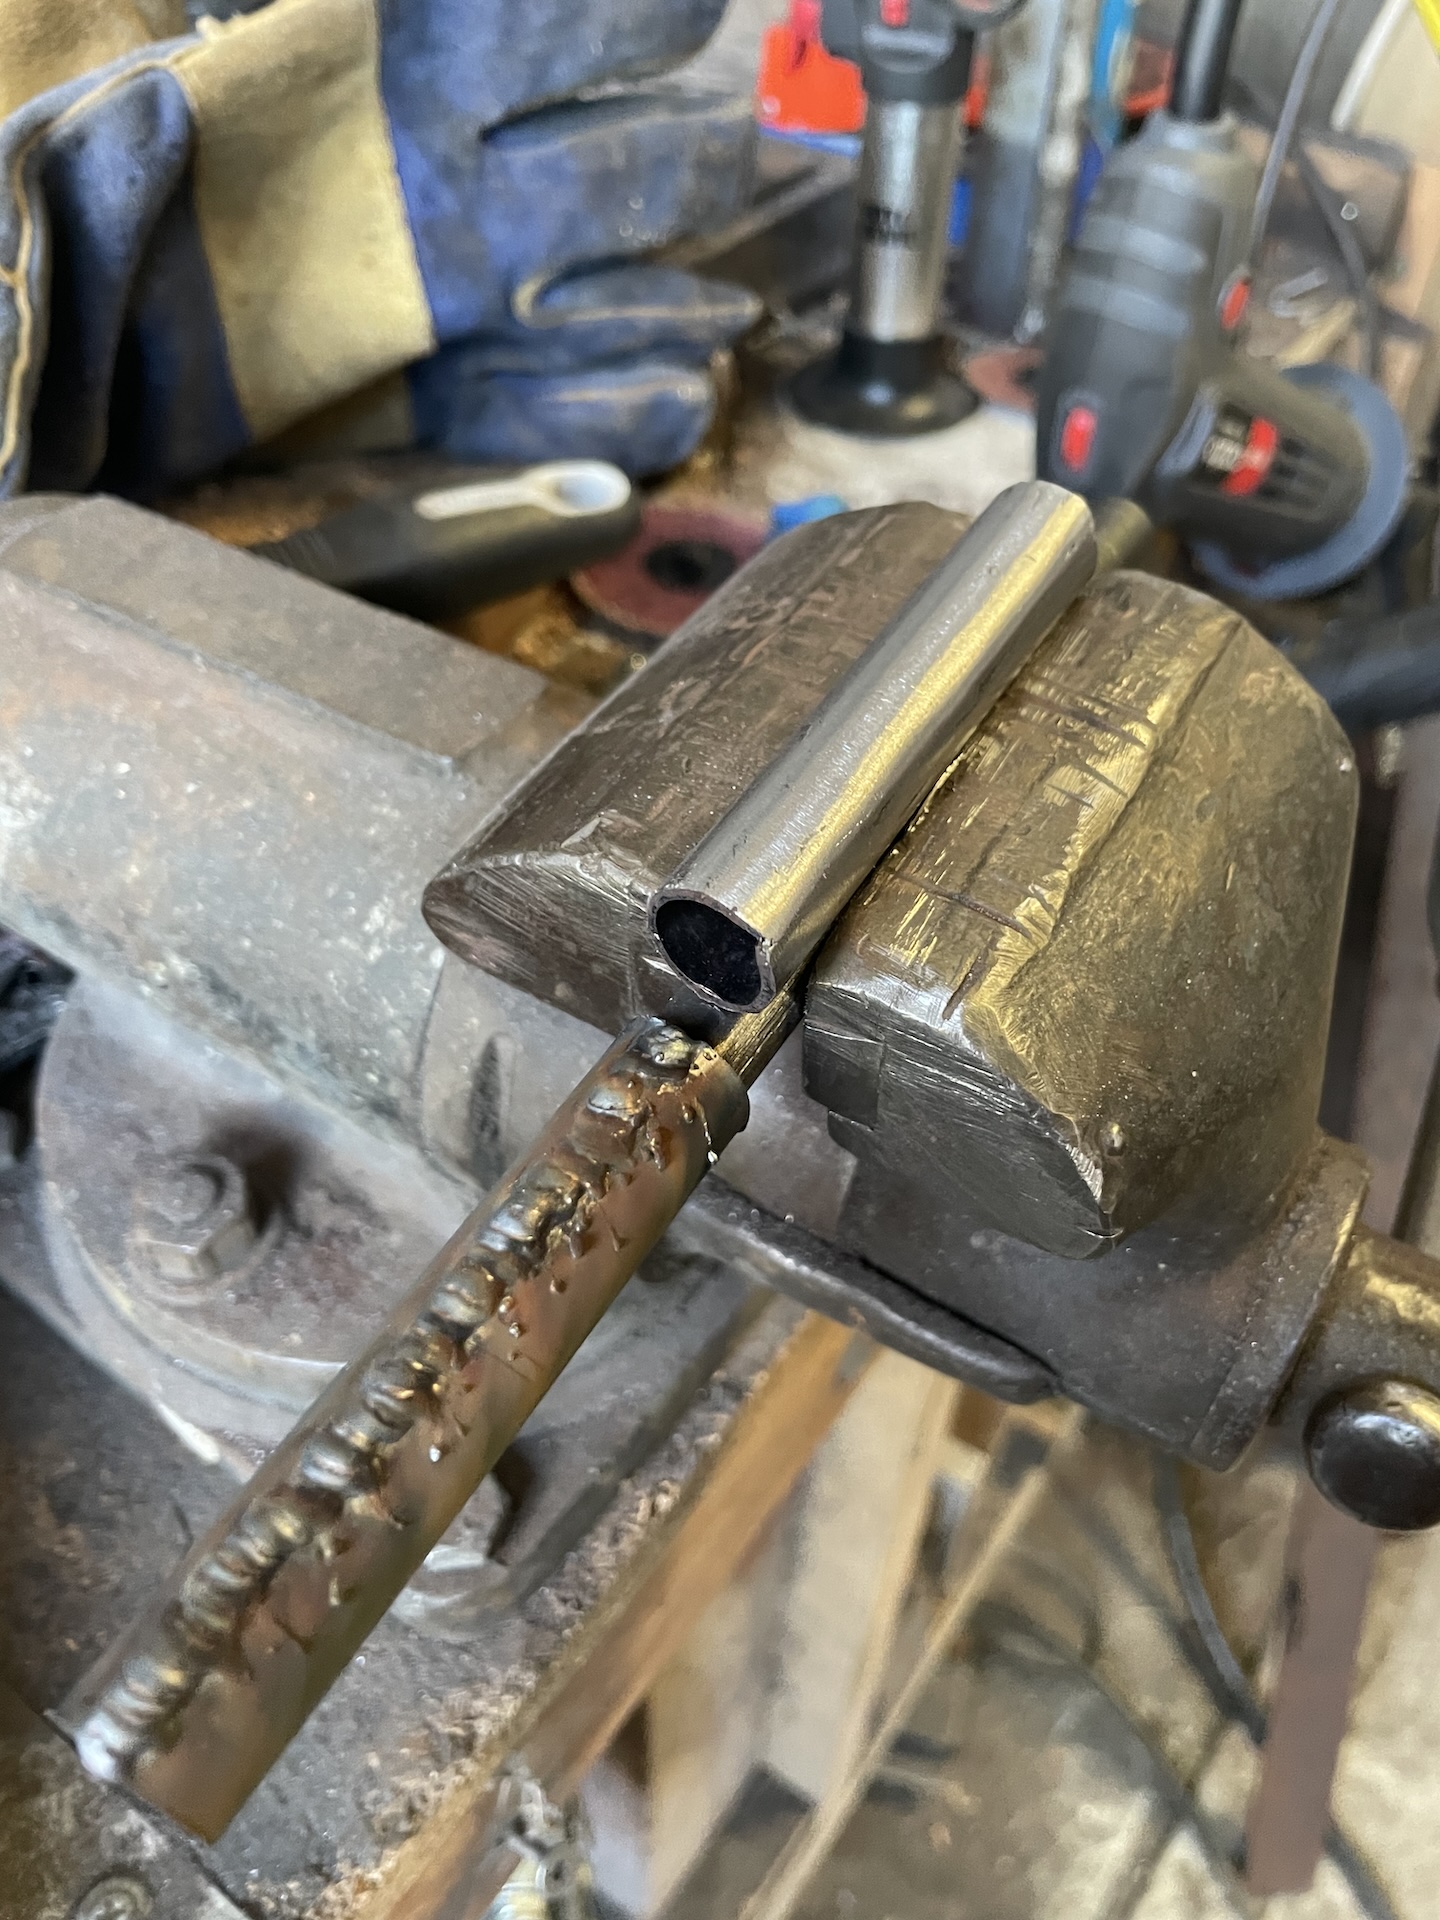
First things first. Need to strengthen the chassis with some crush tubes, so I made a couple for the stand, and a couple more for the rear sway bar as well, which did not have them, and (surprise) had crushed the metal where it was bolted down previously. Used 1.6mm sheet for this
- IMG_7870.jpeg (828.08 KiB) Viewed 4028 times
X marks the spot for where the centre of the load is for the wheel, which is just on the outside edge of the chassis .
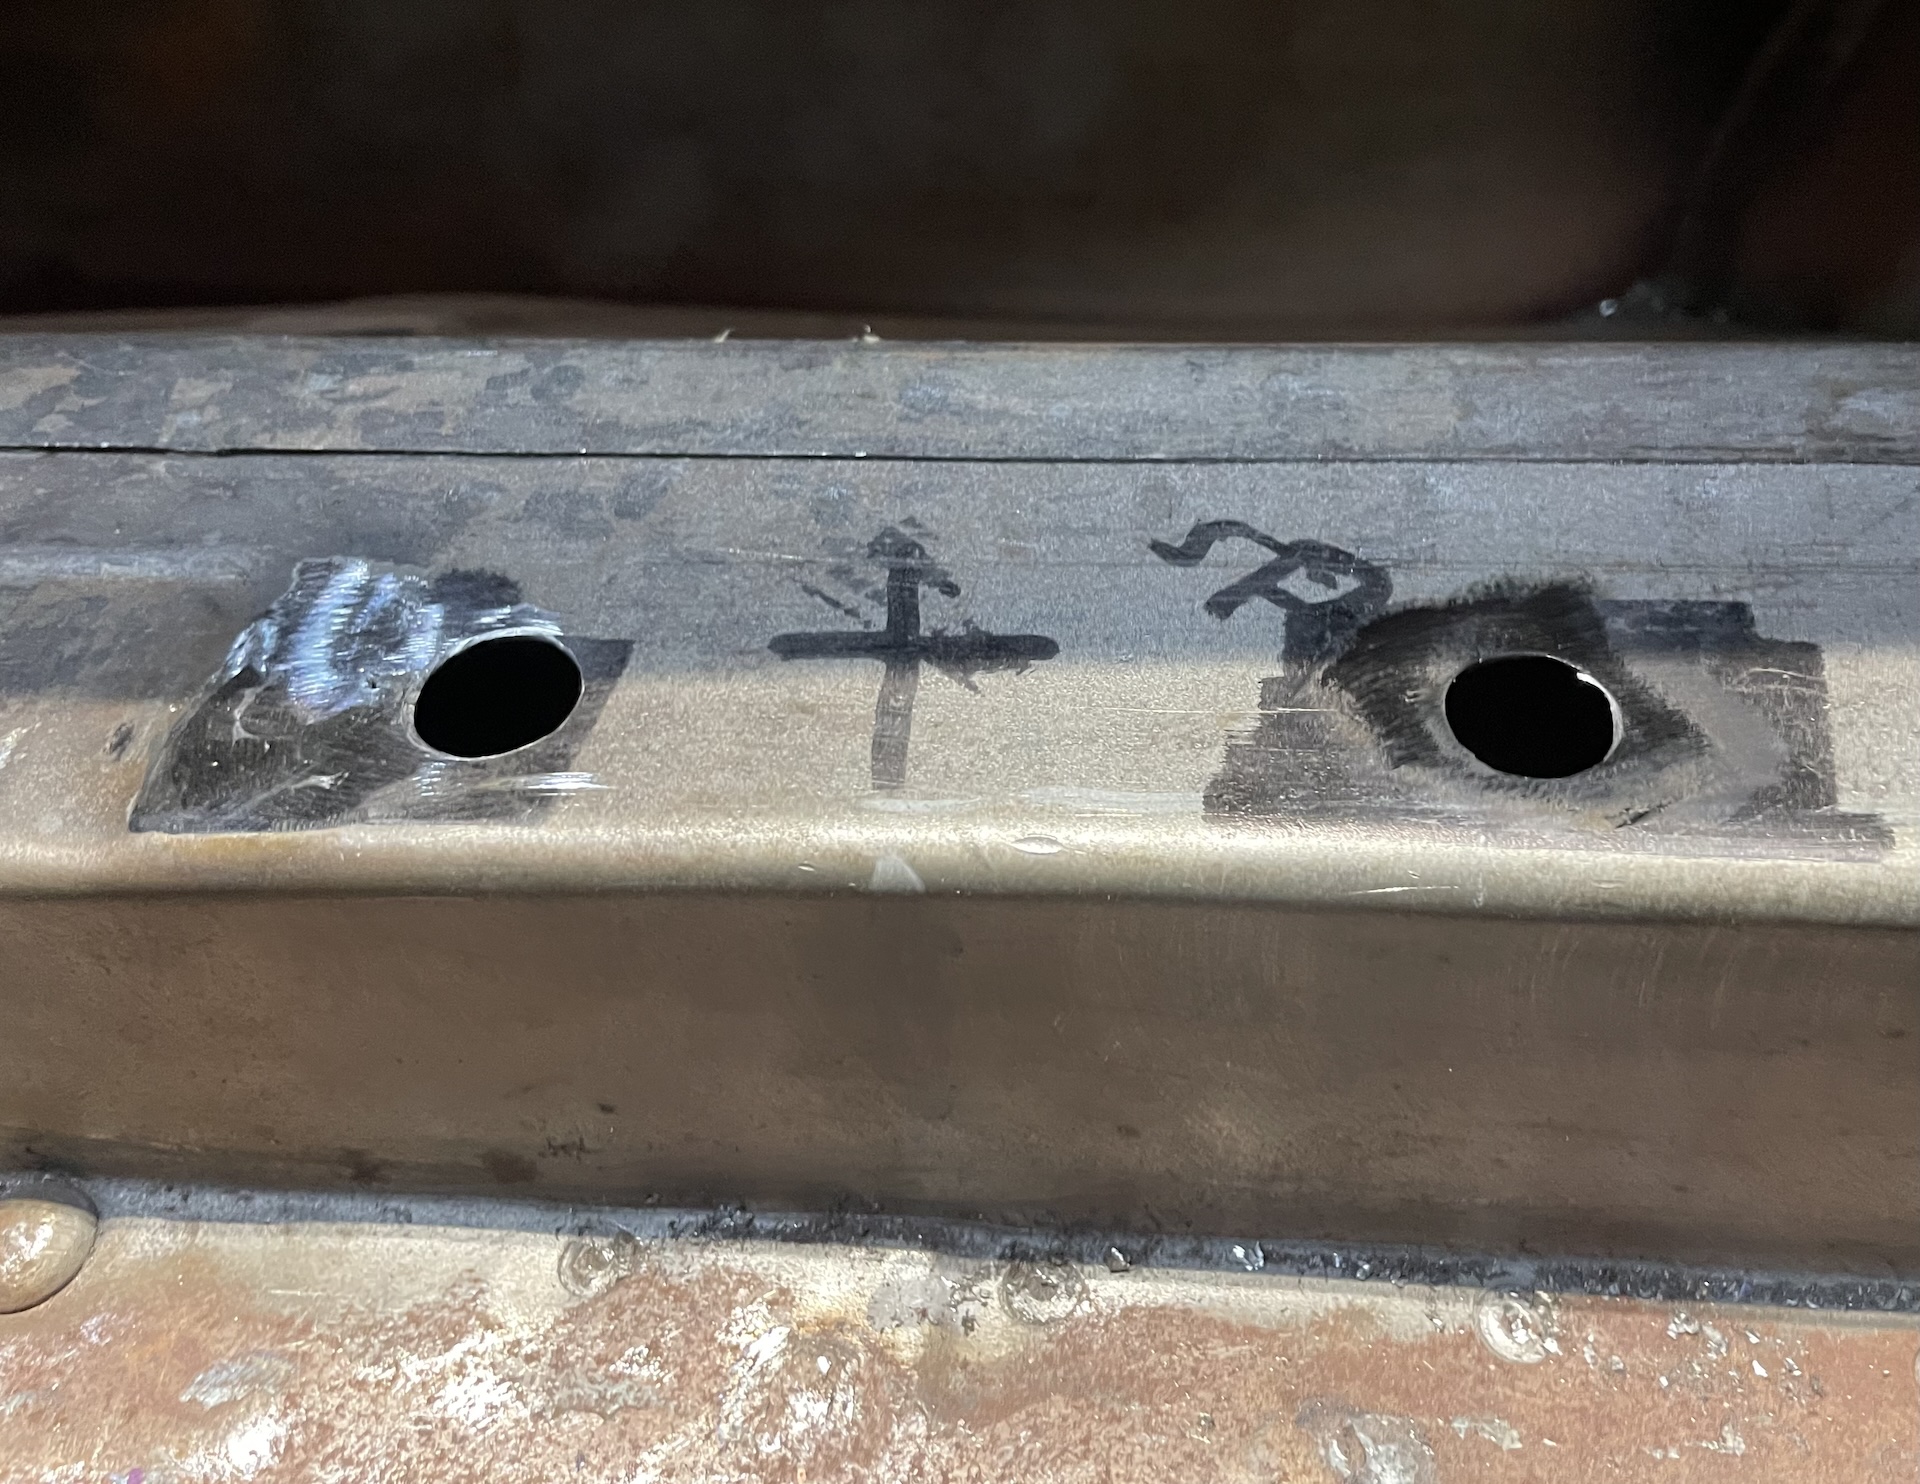
- IMG_7873.jpeg (880.79 KiB) Viewed 4028 times
Didn’t grab many pics of the building, but it was mainly made out of scrap 50mmx 6mm angle, 50x 6mm flat bar, some 1.6mm cold rolled for the top battery clamp, 40mm x 40mm x 5 RHS for the post, and I had to buy a length of 25mm x 3mm angle for the battery base and 6.25mm gal rod for the for the battery clamp.
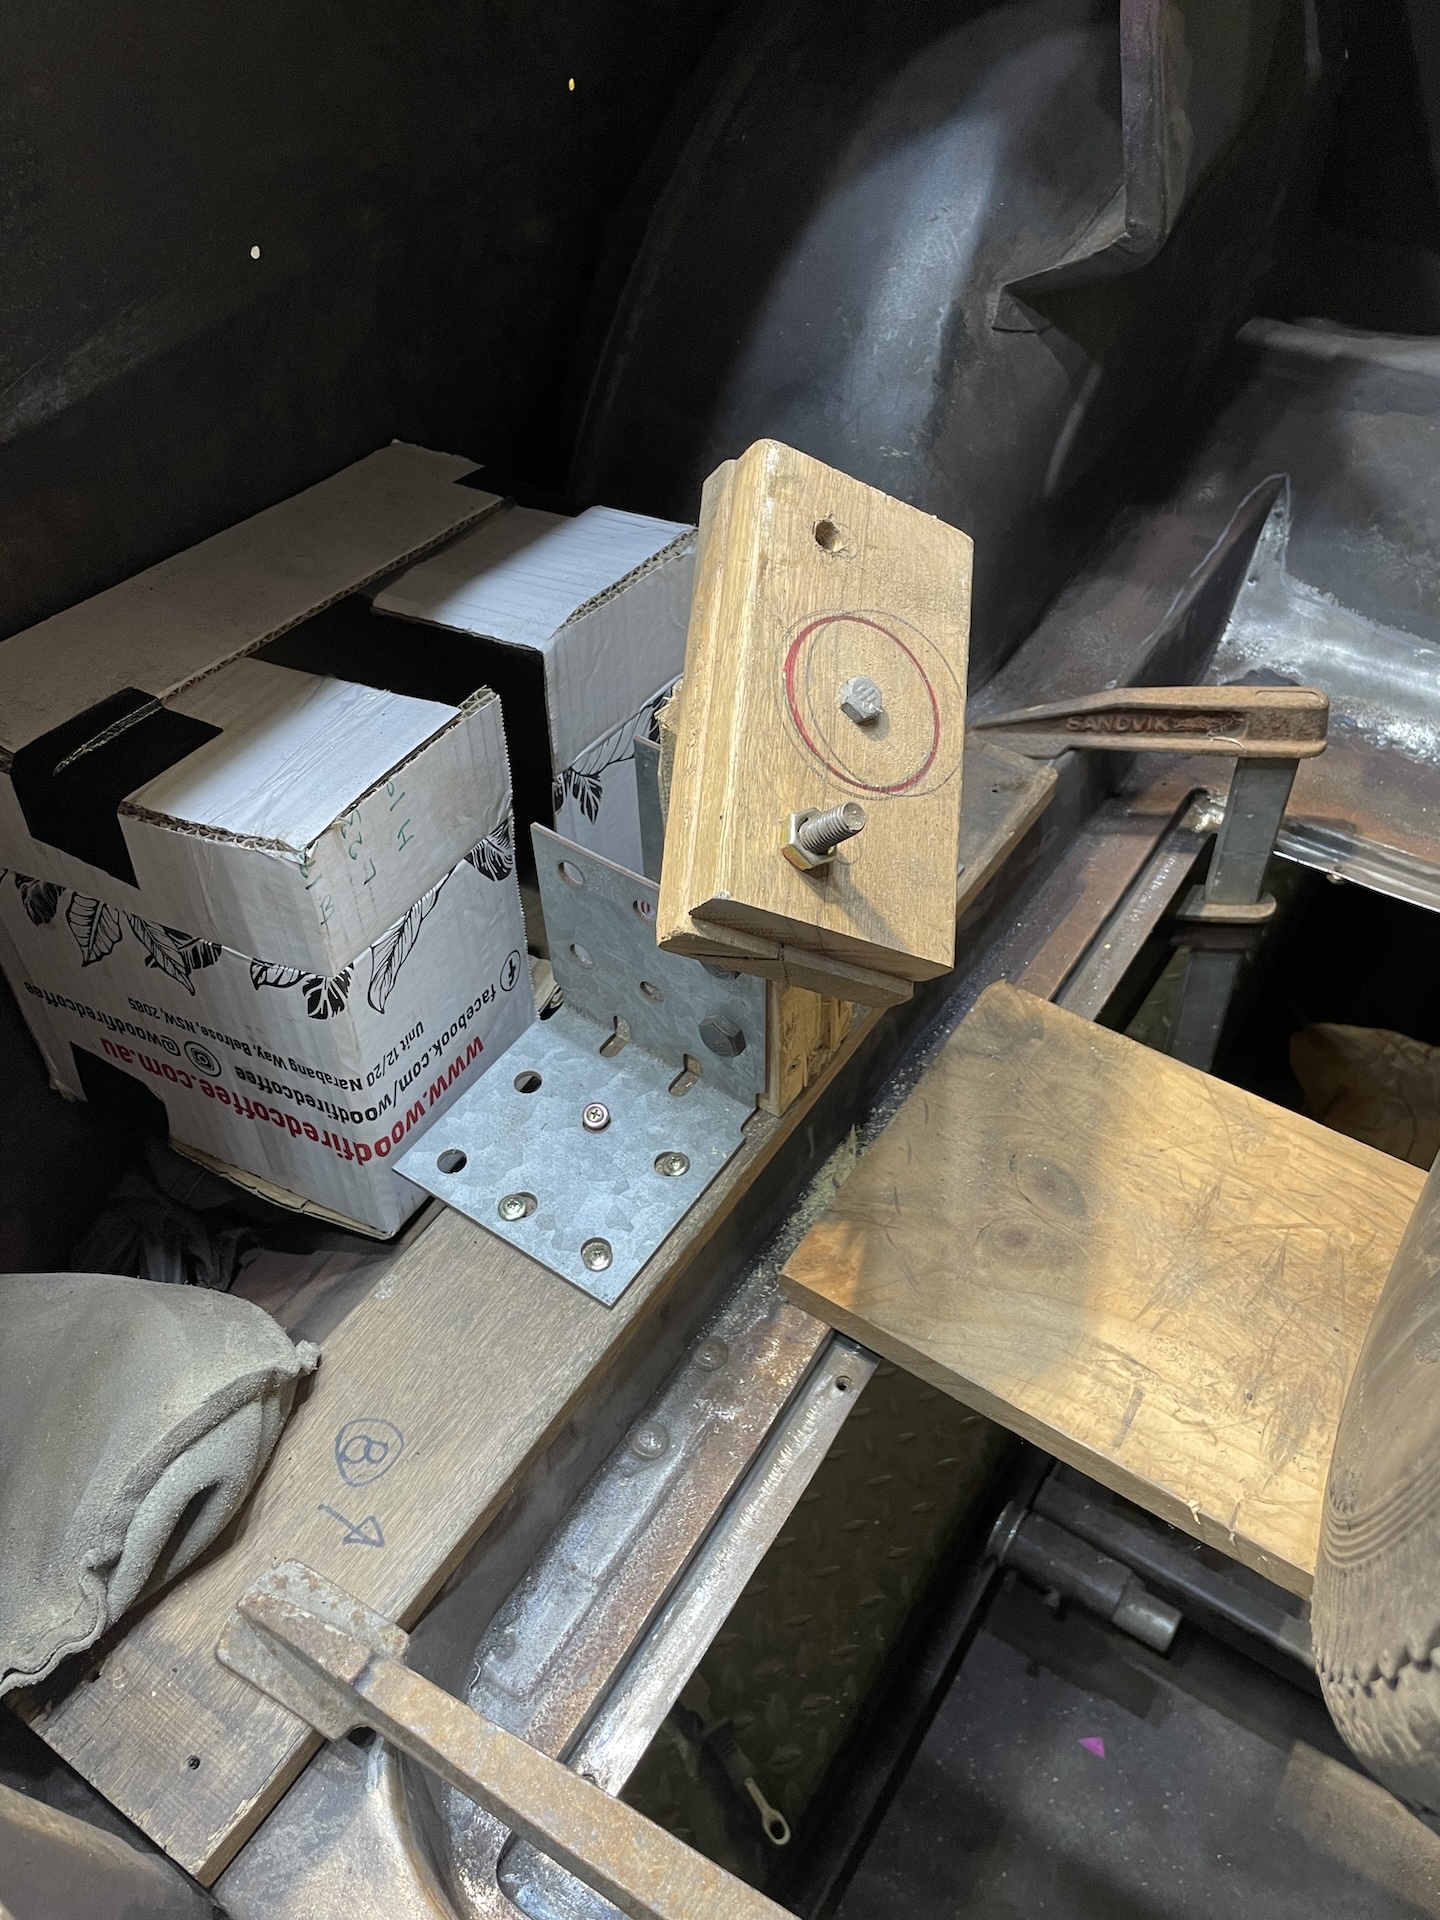
Here is one of the sliding/tilting head for the top of the post, all clamped up temporarily on what will become the main post, to keep it all squared when welding.
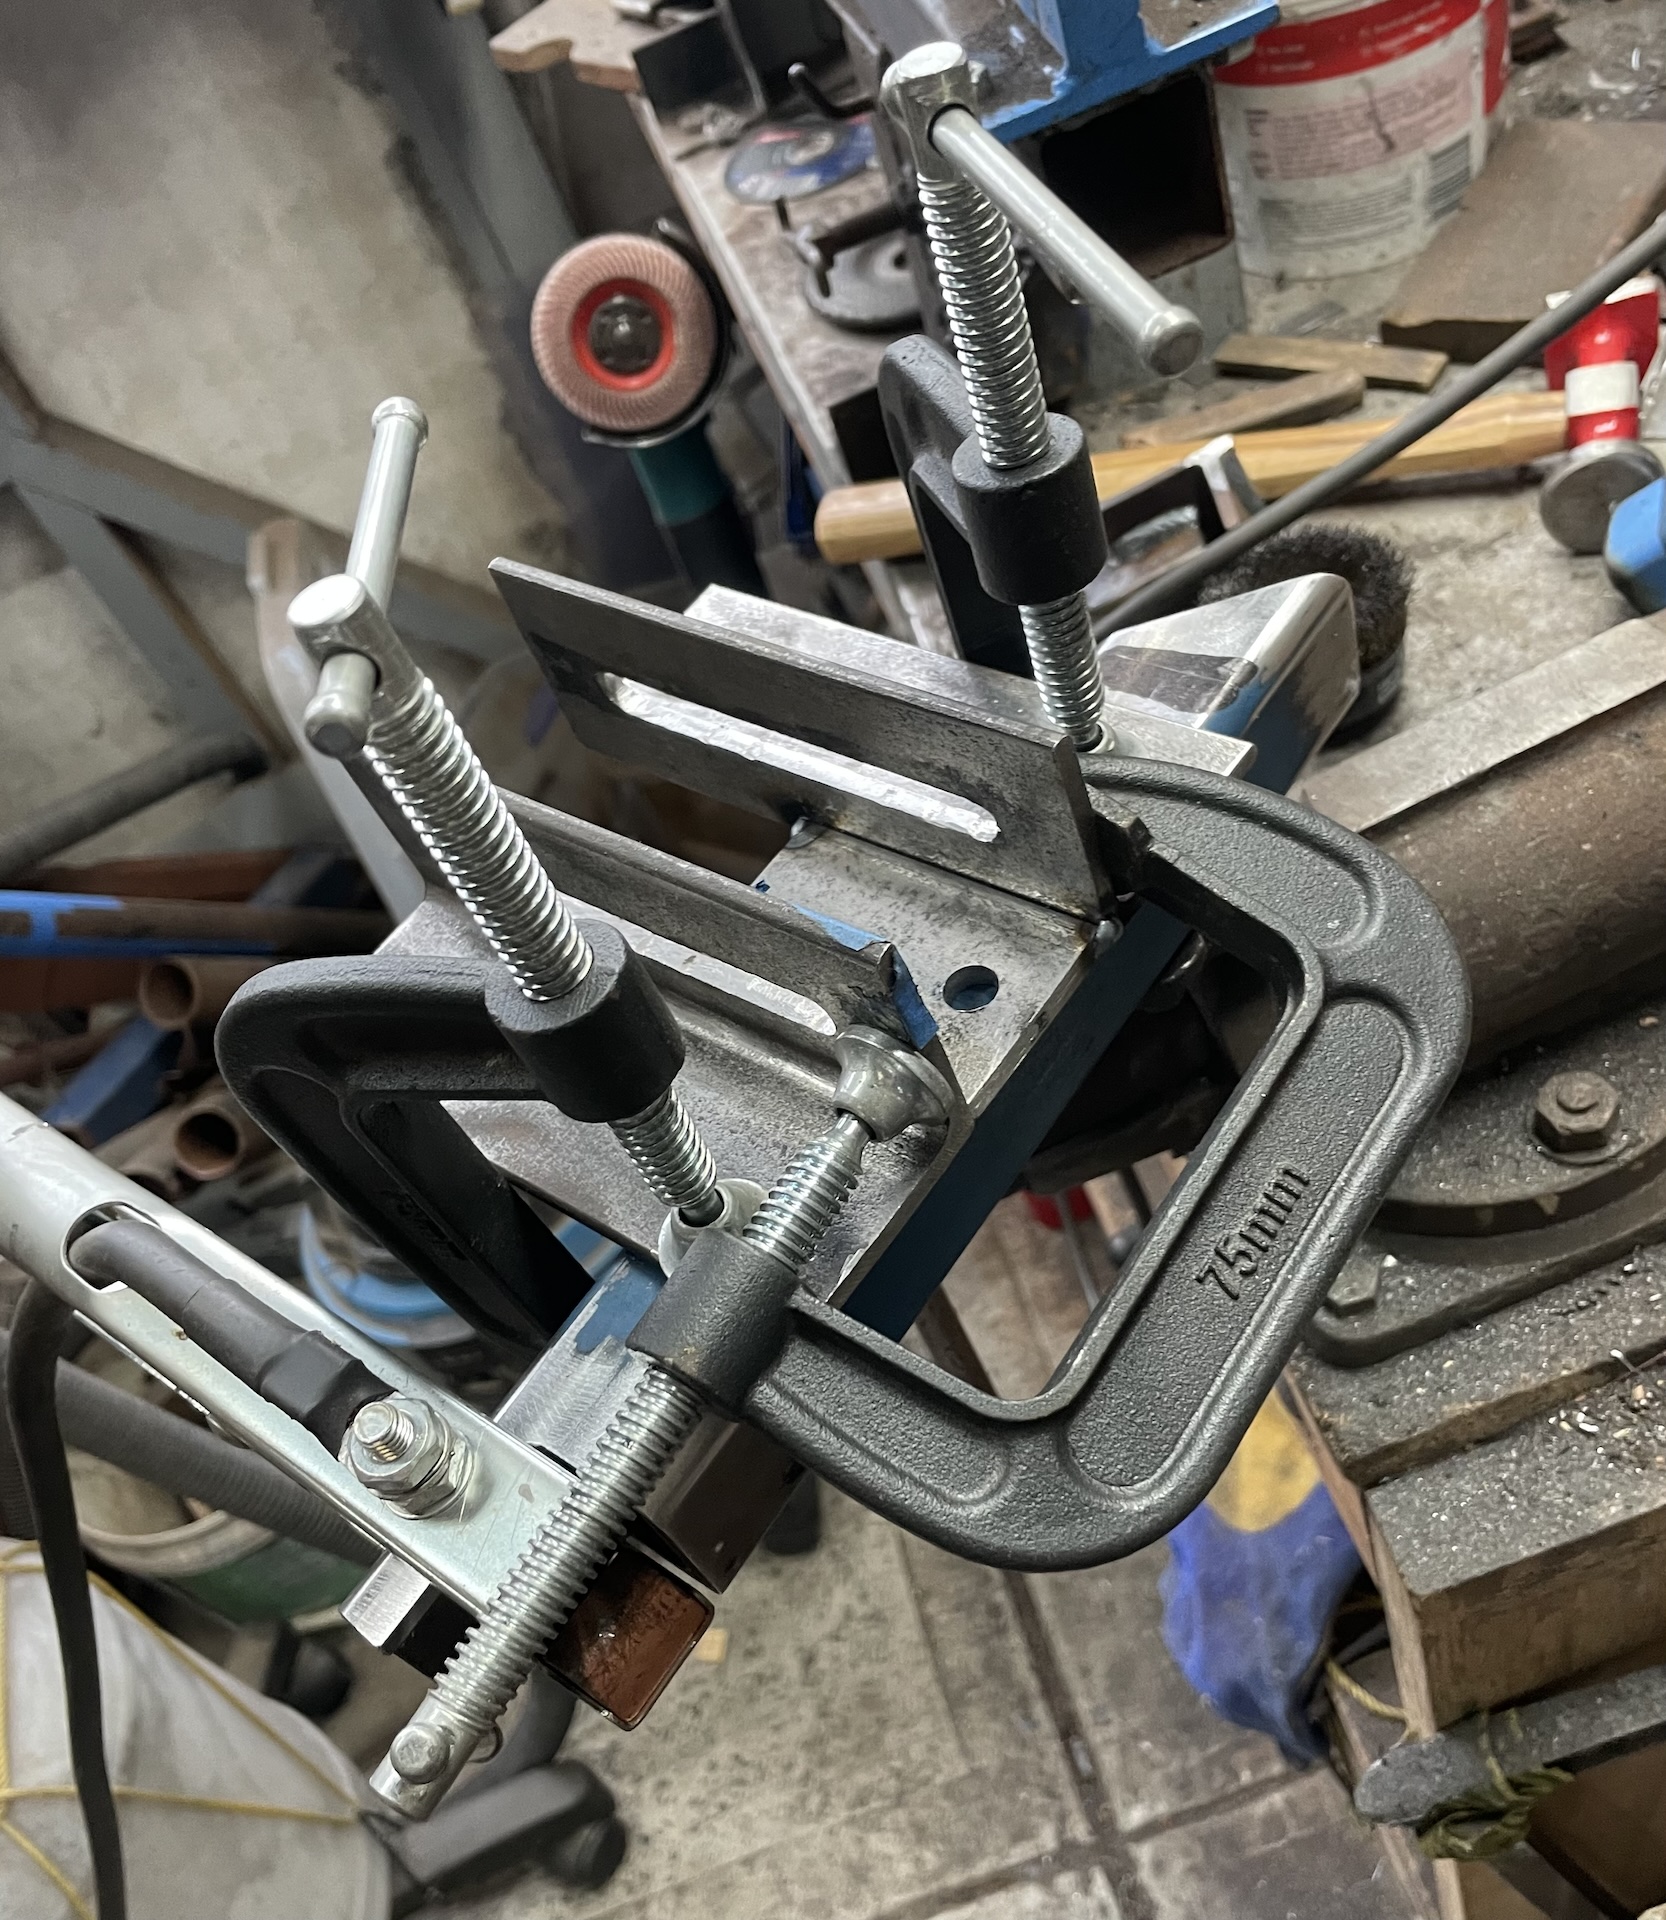
- IMG_7880.jpeg (1.03 MiB) Viewed 4028 times
First fitting. Tacked the post the angle and bolted it in. Had to do a bit of shimming to get it to not touch the side of the car.
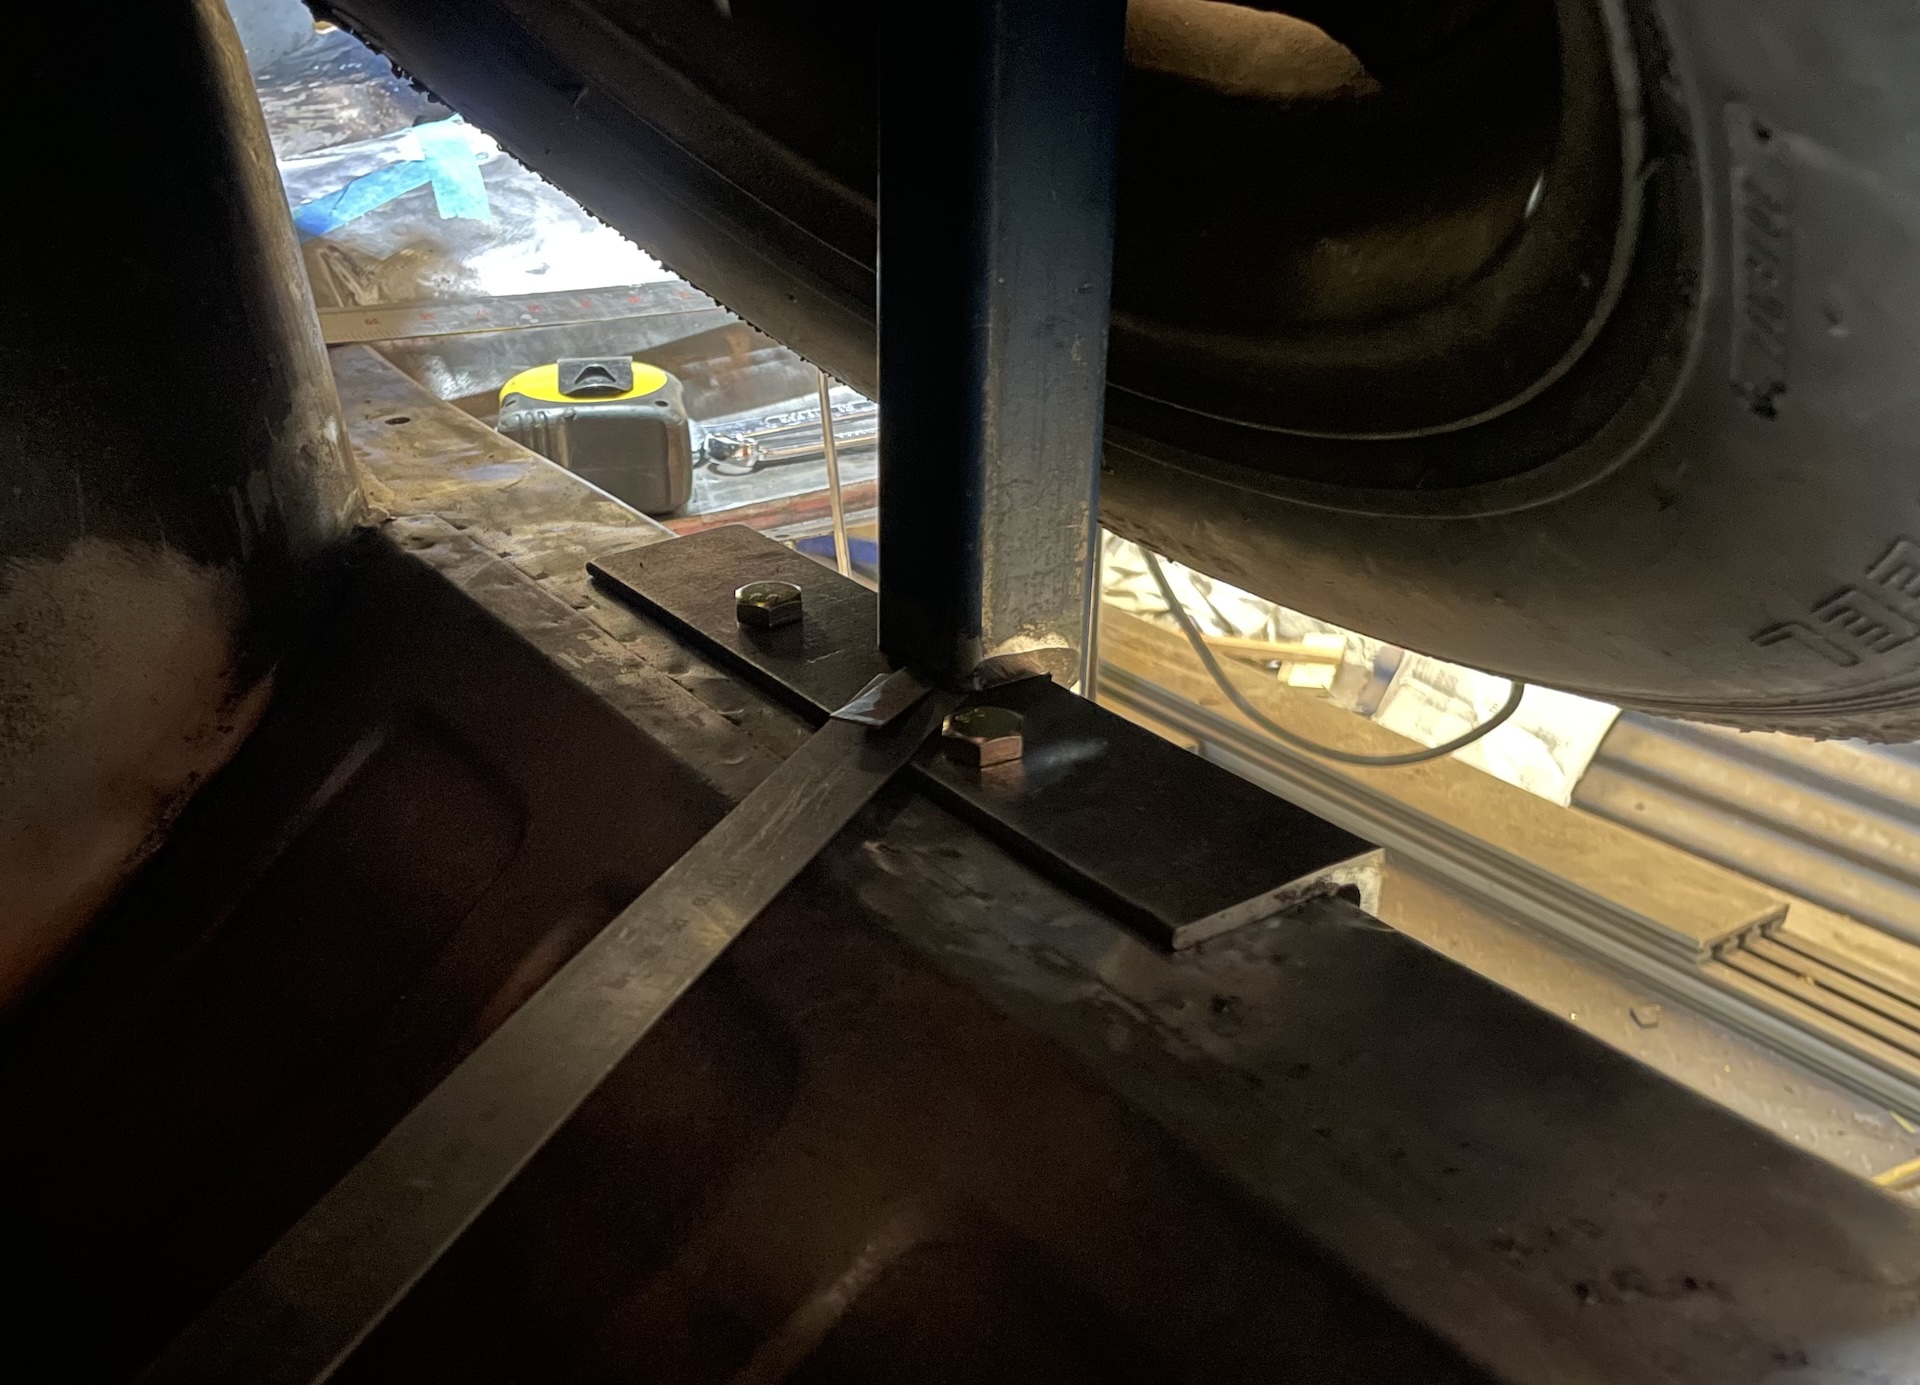
- IMG_7886.jpeg (695.59 KiB) Viewed 4028 times
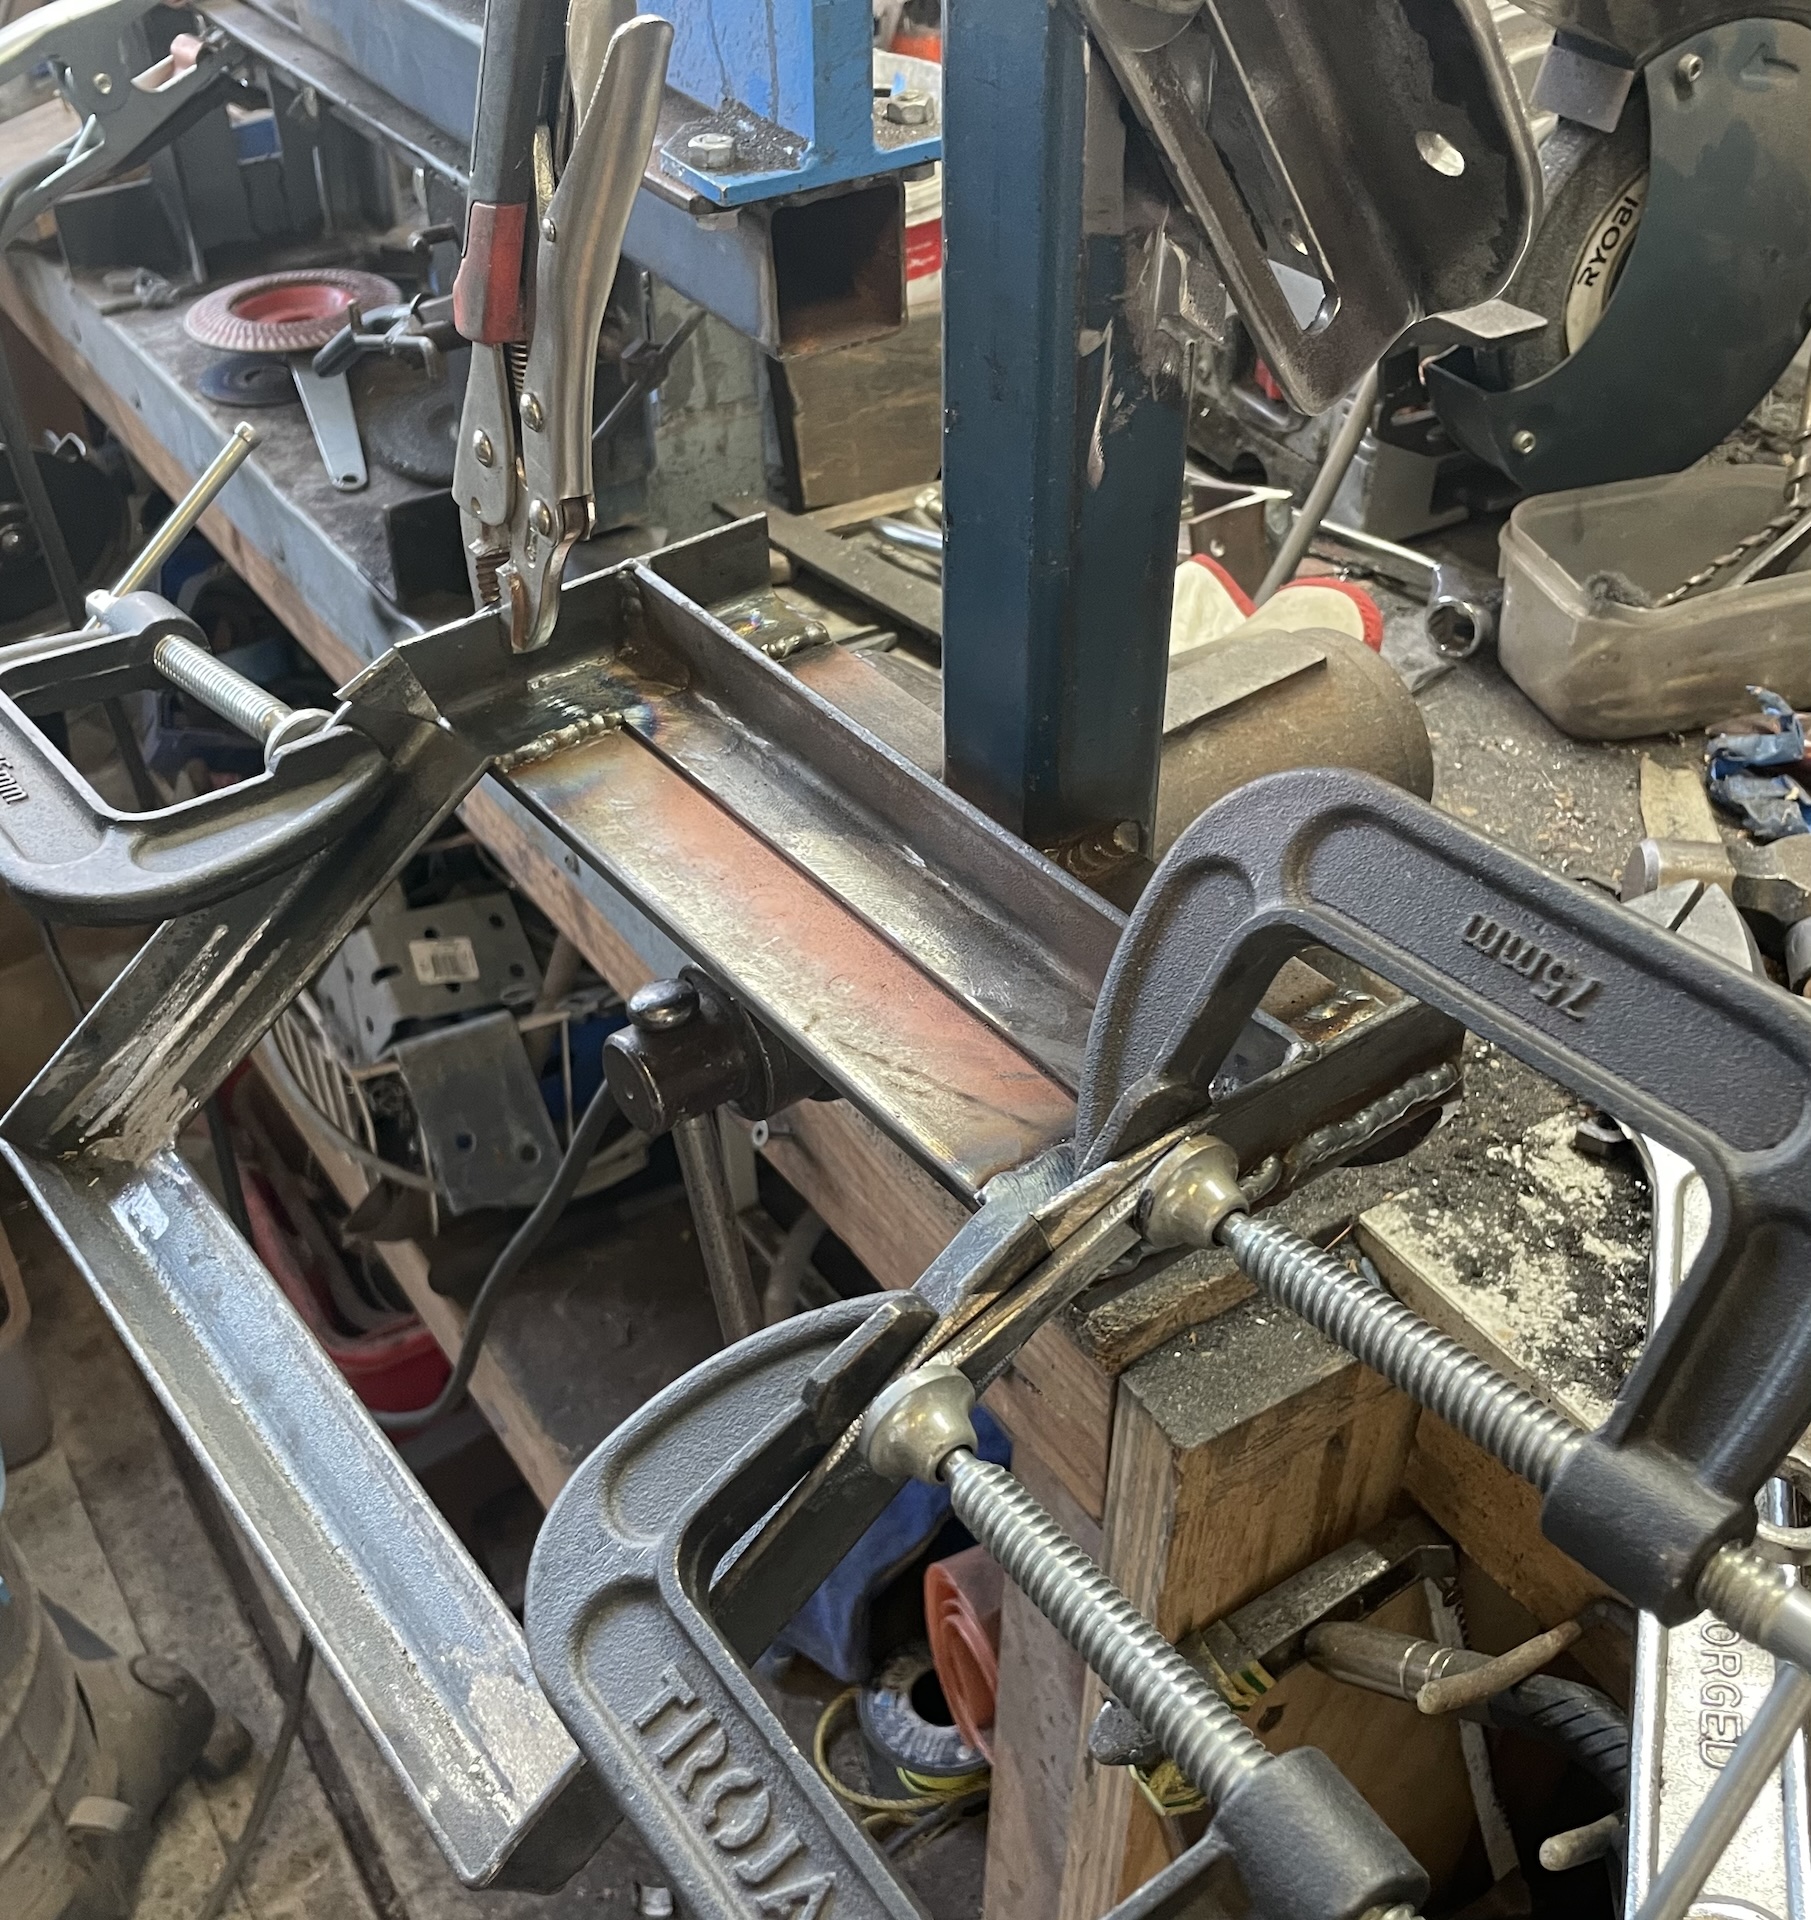
Not super happy at this stage as the whole thing had a bit of flex even with the bolts tight, so went ahead and extended the base and added the frame for the battery. In one of the many test fits I discovered that although the battery does to touch the tyre/rim when locked in place, when you are removing/re installing the spare it would be fouling on the battery.
So back to 3D and come up with a solution. Battery has to be on an angle. Cut the frame, add some filler and extra bracing.
- IMG_7891.jpeg (1.21 MiB) Viewed 4028 times
