Page 5 of 76

Posted: Sat Nov 22, 2008 7:00 pm
by spyder6052
yeah pricey :shock:

Posted: Sat Nov 22, 2008 10:47 pm
by mrs ratbox
P76 discs give you a little, there's a guy on the FE/FC forum that's brother is doing an adaption for VE commodore discs which narrows track not sure how much but there is diameter issues aparently
or maybe look at mitsu L300 apparently very good for narrowing

Posted: Sun Nov 23, 2008 5:18 pm
by spyder6052
mate paid 4.5K for the front end kit thats without hubs and brakes.... so nearly 5 grand :shock: :shock:

Posted: Sun Nov 23, 2008 5:33 pm
by V8EK4us
Hey Spyder,
Thanks for the feedback and info re frontend it looks awesome but.....I think I will be looking at a more cost effective way of getting the wheel clearance ..... $5K :shock: :shock: :shock: Let me know when it arrives, would love to have a close up look at it, what car is that going on?
Do you still have the EK sedan?

You will have to drop around for a coldy and check the progress on V8EK4US first hand :D :D

Cheers

Posted: Mon Nov 24, 2008 2:13 pm
by V8EK4us
A bit more welding has happened..... cutting strip plates and welding the floorpan to the rails were they were moved for the tubbing. :D :D

Image

Also welded underside of rail to "new" cross member at rear.

Image

Image

Finished welding un "new" cross member to lower pan.

Image

cheers :D :D :D

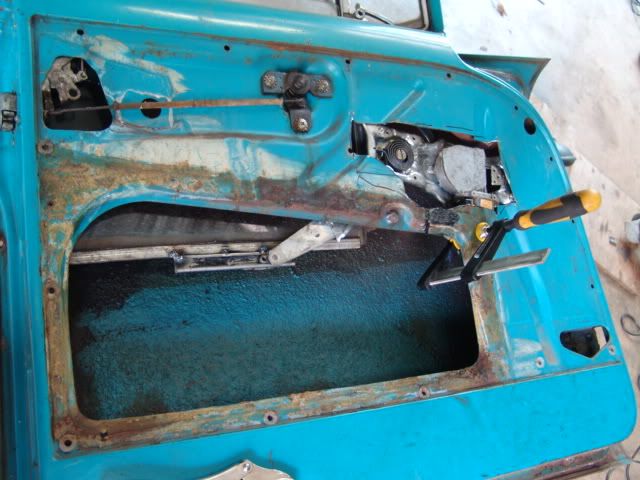
Power windows & Central locking

Posted: Tue Nov 25, 2008 2:01 pm
by V8EK4us
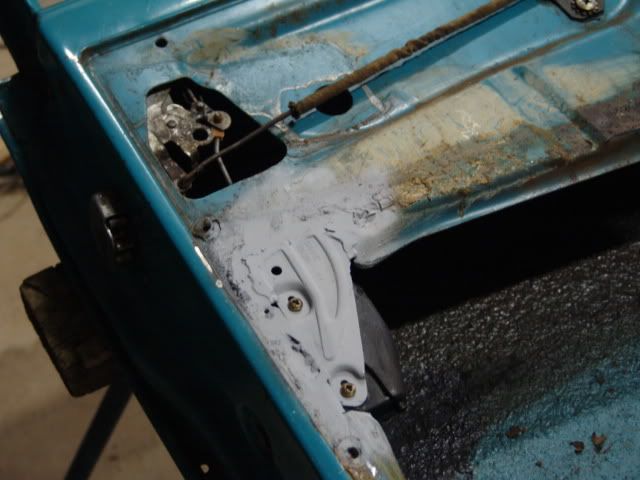
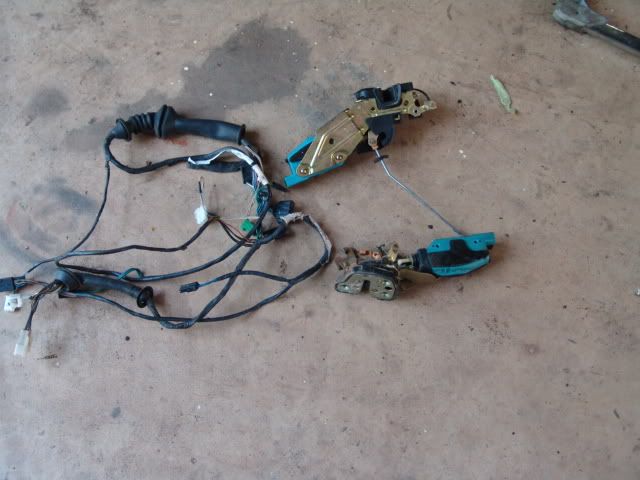
Went to the wreckers and got hold of the power windows and central locking from a VS commodore Equip.
I have rough (very rough) mounted the power window mechanism (after cutting and shutting the arm) for a "test run" to make sure it would do the trick.

Image

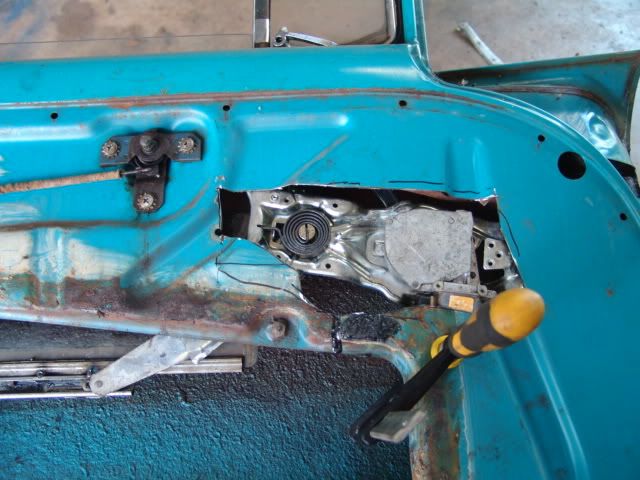
also added slide from commodore to EK glass retainer....... after this it works great, very smooth and quite.

Image

These are the central locking units and complete door wiring harnesses from the VS. I will us the harnesses as it has all the plugs etc... for both the power windows and the central locking and the weatherproof boots to go between door and body. :D :D

Image

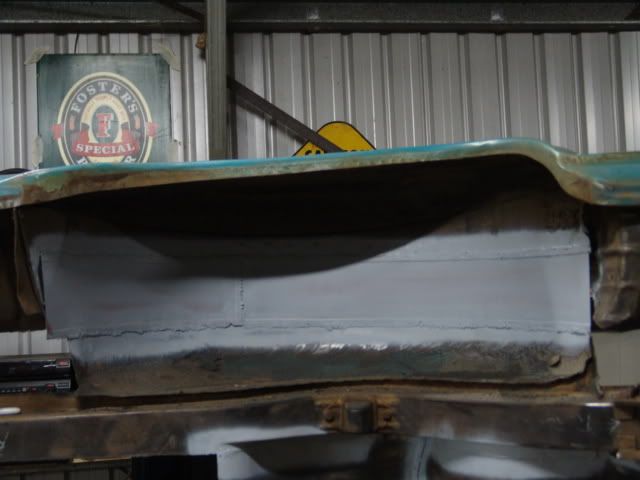
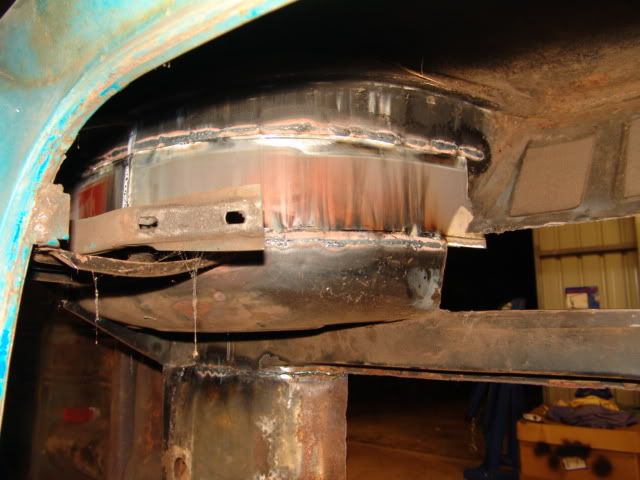
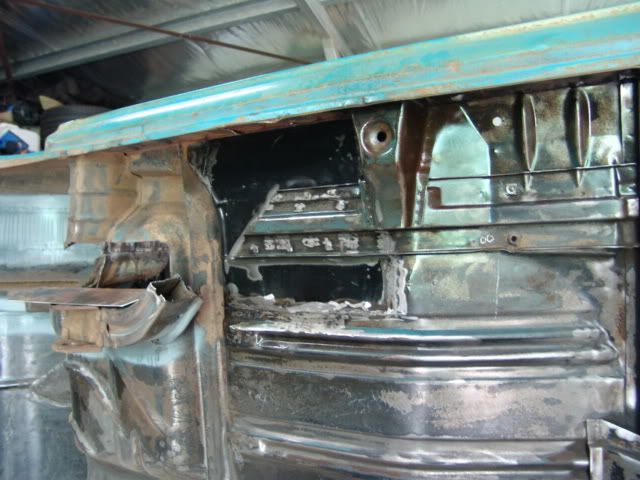
The cutout for the Power windows will be completely removed and squared off, then I will fold a flat plate with two return folds to weld back in place, once this is done the mechanism will be hidden behind the new plate. will post pics as I get it done. :D :D

Posted: Tue Nov 25, 2008 2:23 pm
by oldnek
Bit more progress, good to see. :D

Posted: Tue Nov 25, 2008 4:31 pm
by EKSPCL
Nice :!:

Moving along now

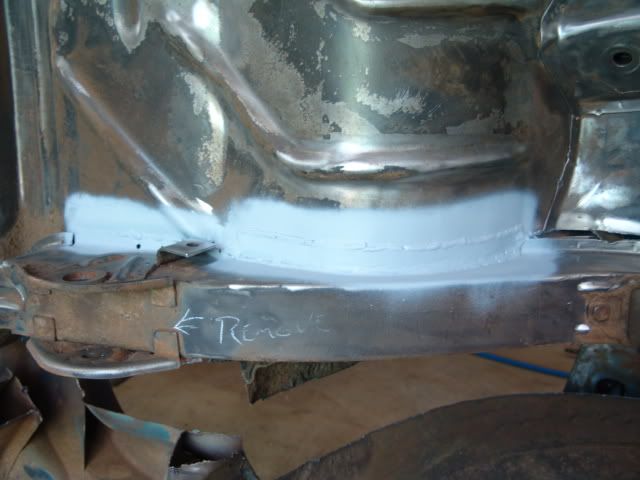
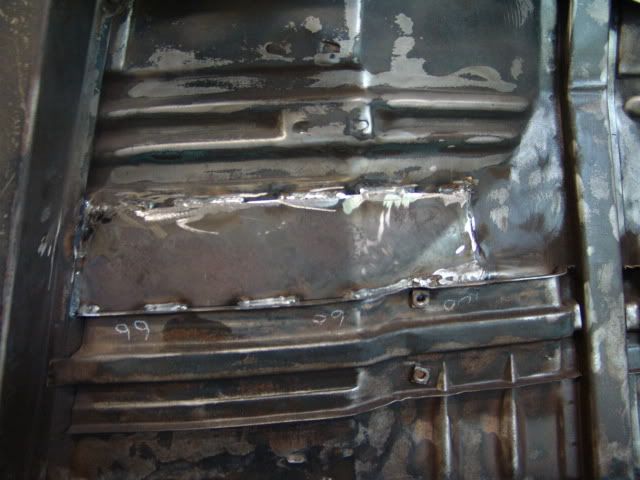
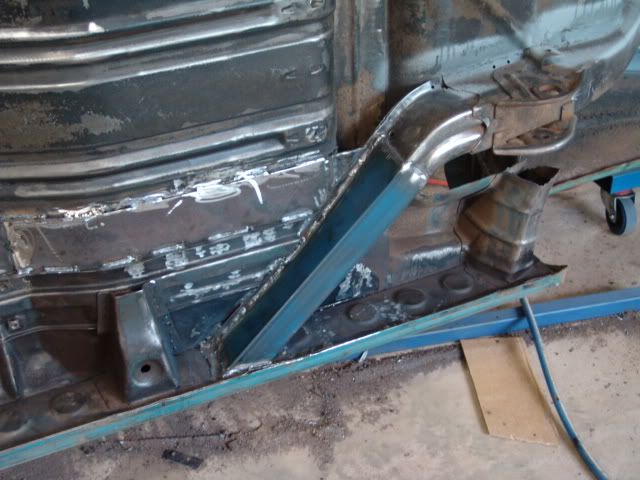
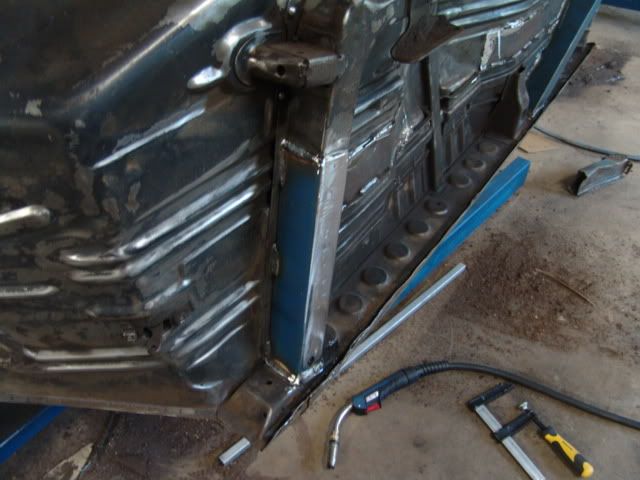
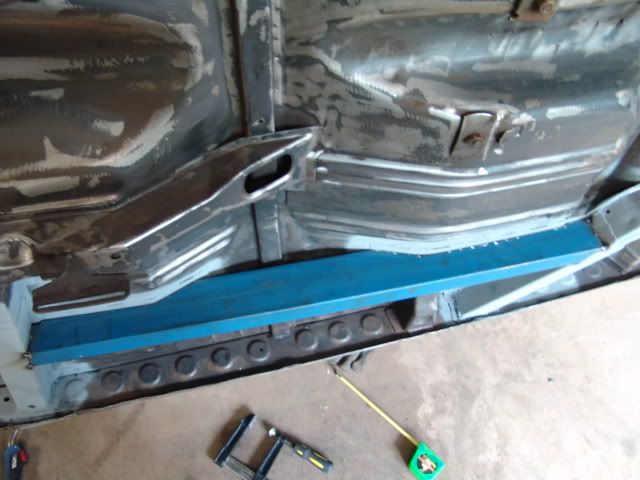
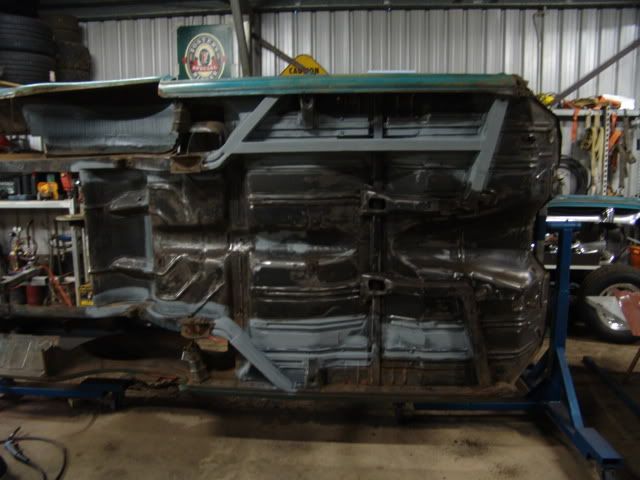
Posted: Wed Nov 26, 2008 10:16 pm
by V8EK4us
Cheers John and EKSPCL for the feed back.

I have mounted the central locking from the VS .... used the VS bracket with a bit of cut and shut ... a bit of welding and grinding ... a bit of primer and hey presto, one central locking unit fitted!! I cut the link of the VS latch and welded it to the EK latch, works fine.

Image

Closed in the tubs as well. :D :D Still need to tidy it up ....:shock: :shock:

Image

.... dont think the spider webs were fire proof!!!! :D :D :shock: :shock: :shock:

Image

cheers

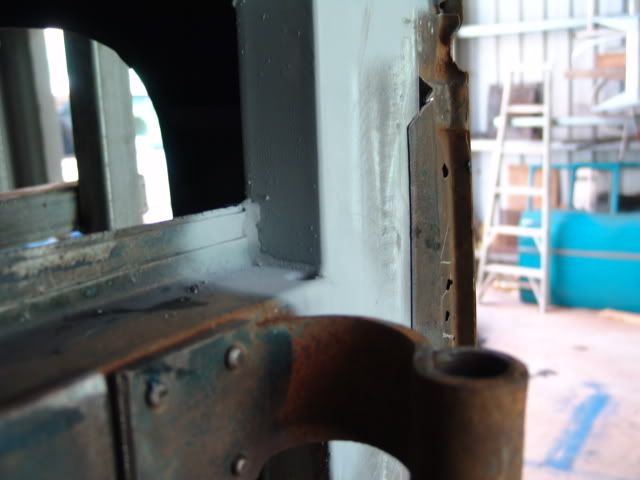
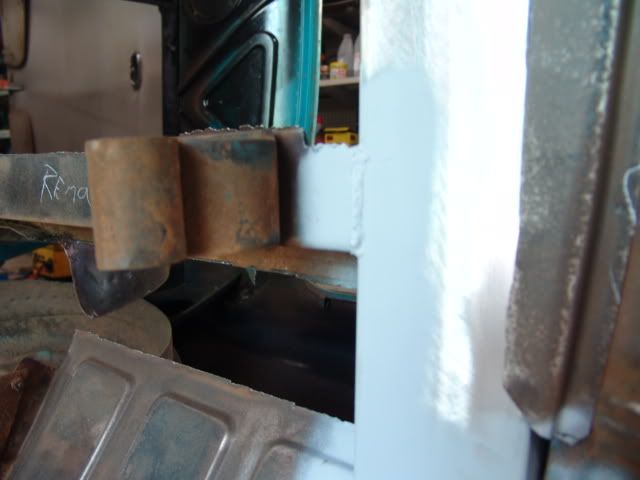
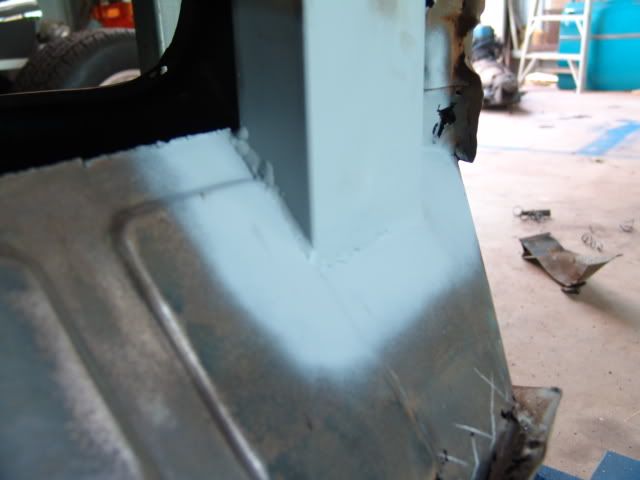
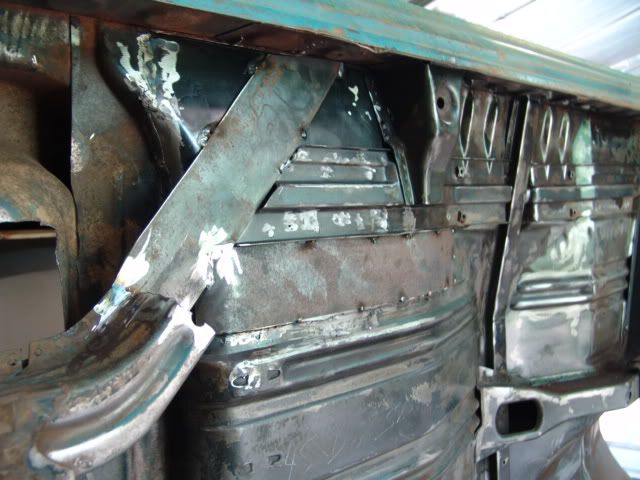
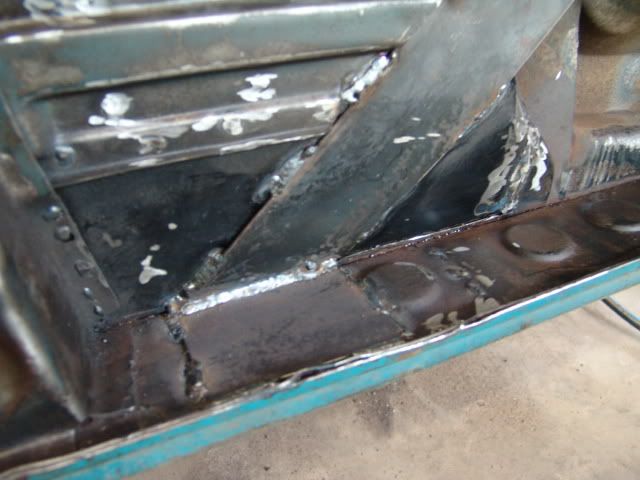
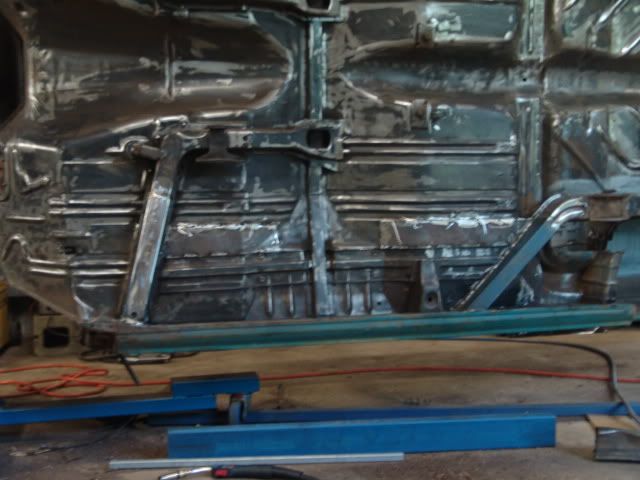
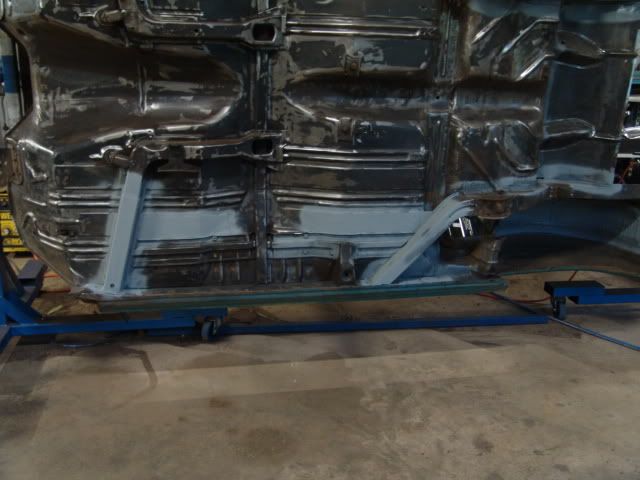
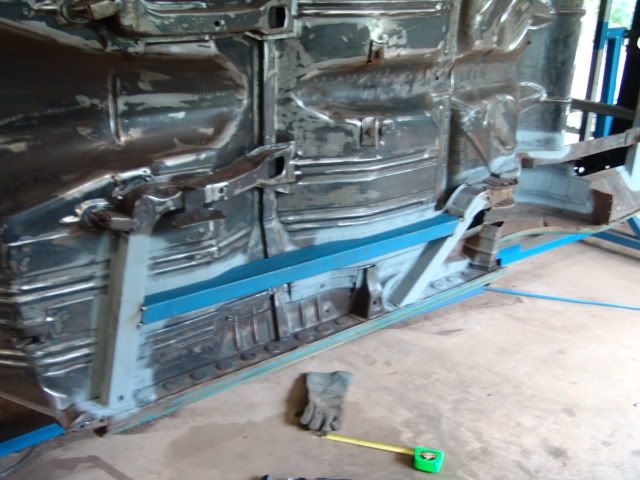
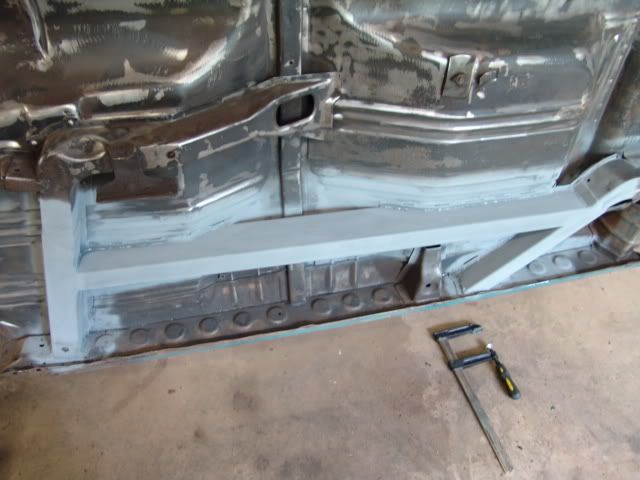
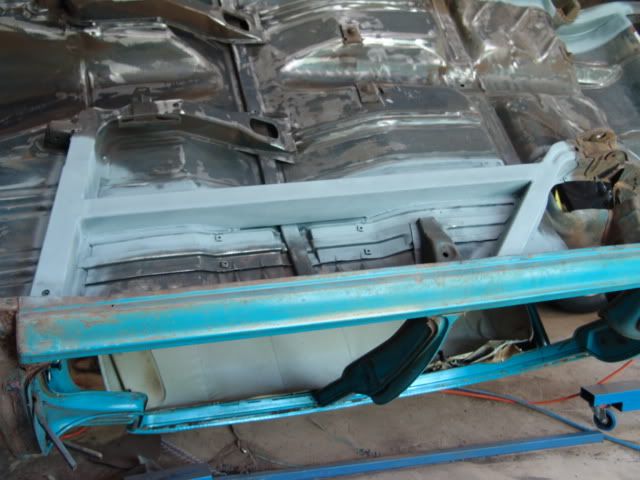
Posted: Fri Nov 28, 2008 10:30 pm
by V8EK4us
OK.... started the chassis mods/additions/BEEFUP :shock: :shock:
Had to do some more rust repairs first, replace section of floor before adding the plates that will carry the "new chassis".

Image

Then added the plate to carry the new rails and cross members... this is one of the front plates.

Image

This is one of the back plates, also has the plate to carry the new section from the tubbed/relocated rail to the sill (as per the original setup)

Image

This is the plate on the sill which will help lock in the new sub frame rail.

Image

Who said cardboard is good for &^&%all!! Here are the trusty cardboard templates that were used to cut the "new sub-frame rail".

Image

The new sub frame rail in place...........

Image

New cross member stiffener on the front cross member.....

Image

Both in place ready for chassis rail........

Image

Oooohhh nooooooo!! the minister for War & Finance is home so I better chuck some primer on it and get cleaned up
:shock: :shock: :shock: :shock: :shock: chassis rails will be another day!!! :roll: :roll: :roll:

Image

cheers, Garry

Posted: Fri Nov 28, 2008 11:13 pm
by (AUST)Mod
Looks very good :)

Posted: Sat Nov 29, 2008 7:46 am
by EKSPCL
I'm enjoying this one.
Keep 'em coming Gary :wink:

Posted: Sat Nov 29, 2008 7:58 am
by ekdave1962
ah great stuff keep it coming .. it aways interesting to see how ppl work around things .. and a great learning tool for other ..

hmm anyone building a convertable .. .lol

Posted: Sat Nov 29, 2008 9:13 pm
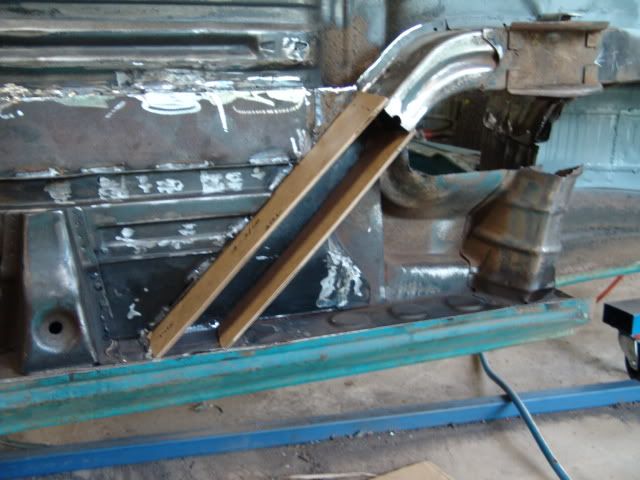
by V8EK4us
:D :D :D Thanks for the posts guys...... here is a bit more of the welded chassis progress 8) 8)

Main chassis rail notched to match floor profile and tacked in place....

Image

Image

Main rail fully welded.......

Image

Image

Started other side ........ missus is home....... must stop now ....... :shock: :shock: :shock: :shock: BUGGER!!!!!!!!!! @#@%$%$#@

Image

cheers, have a great Sunday of R & R. 8) 8) 8)

Posted: Sun Nov 30, 2008 1:00 am
by FB MAD
:roll: Garry,

Give ya missus an angle grinder and then you can spend quality time with her :wink: :wink: :wink: :lol: :lol: :lol:


Seriously, pics like this are excellent teaching tool for the not-so-proficient at body repair/rebuild blokes ( like meself) .

Keep 'em coming 8) 8) 8)