EK Wagon project - Total rebuild

Post photos of your pride and joy, or updates on your rebuild!

Moderators: reidy, Blacky

Finny
Posts: 1895
Joined: Tue Mar 18, 2008 10:30 pm
State: QLD
Location: Brisbane North
Contact:

Re: EK Wagon project - Total rebuild

Post by Finny »

Got a little time this afternoon, and thought it was time to sand and buff the paint. :D
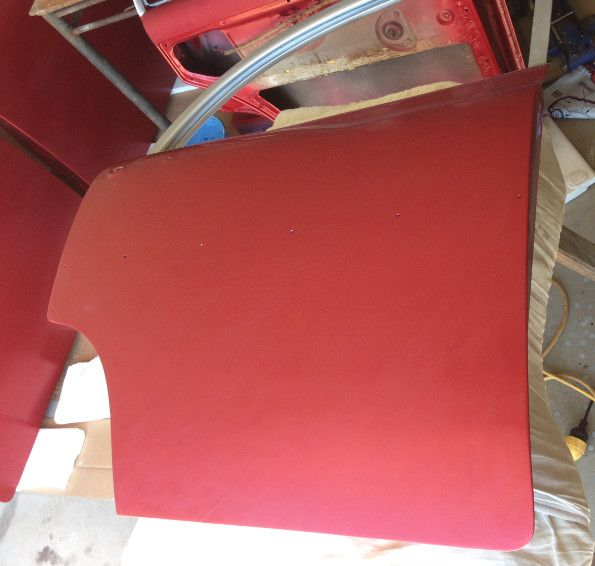
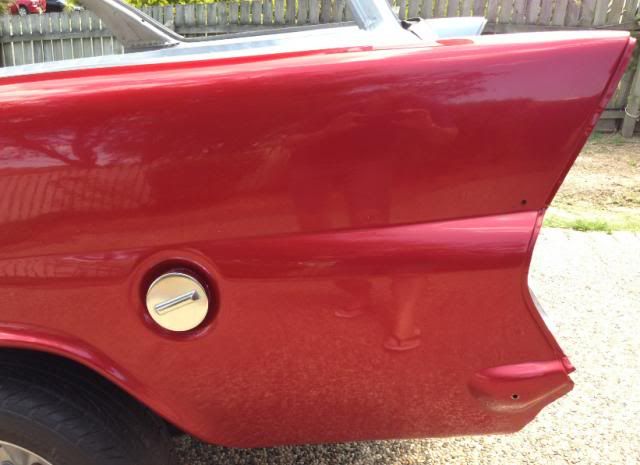
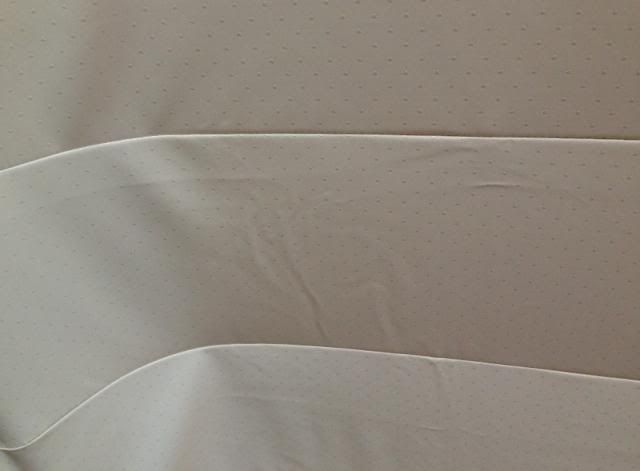
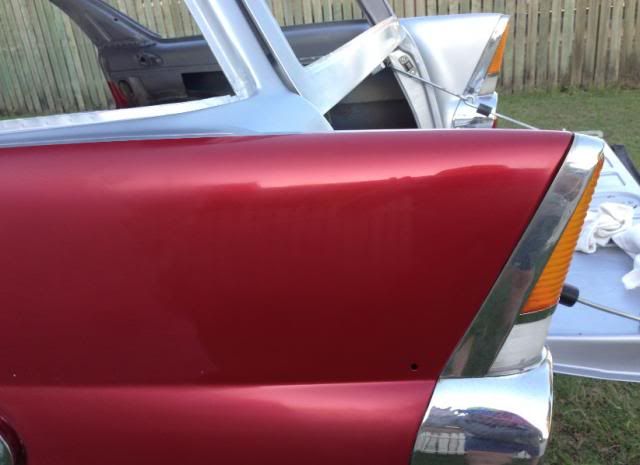
Although the gloss was OK, it definitely had the orange peel look. :(

Really scary when you do the first sand and loose all the shine to the dull sanded flat look. :shock:
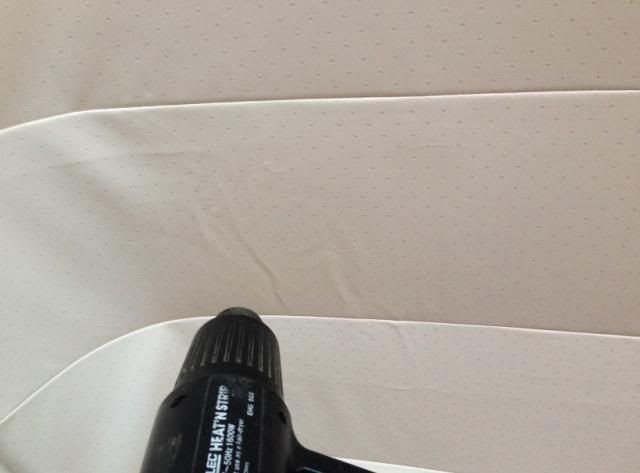
Just did a 1500 and then a 2000 grit sand.
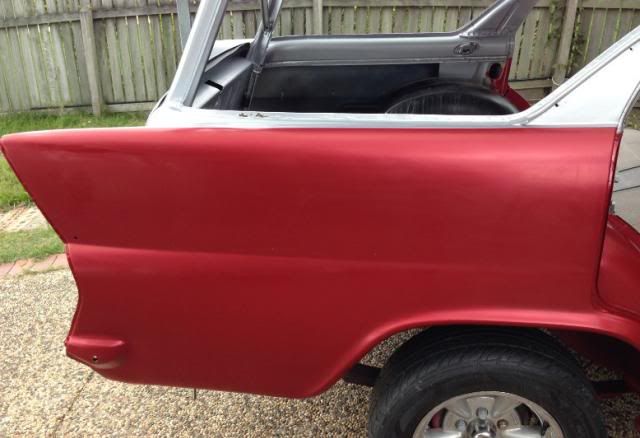
It was strange but it actually started to grow on me. Old weathered look. :wink: :wink:

Image

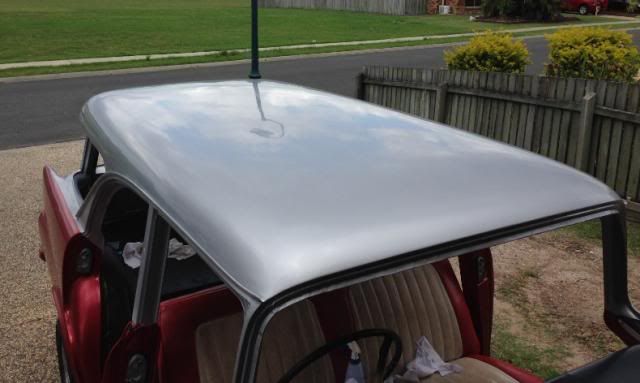
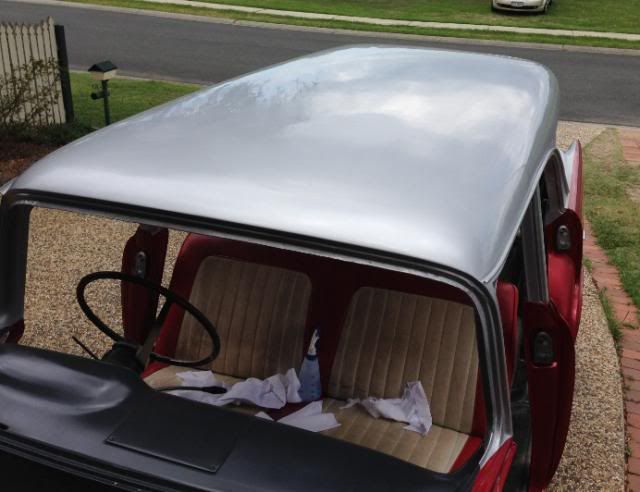
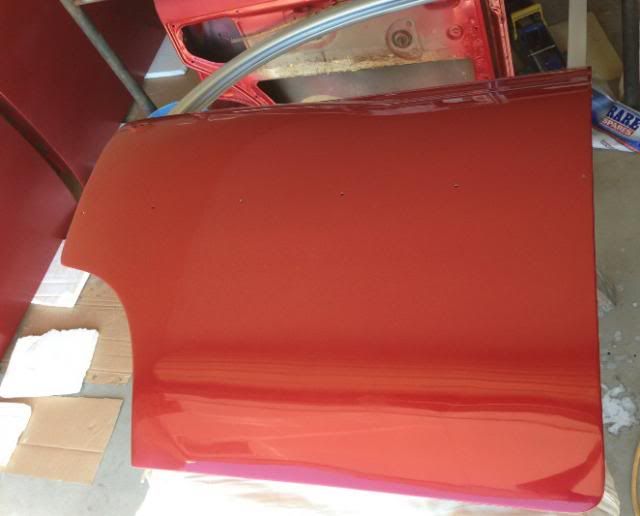
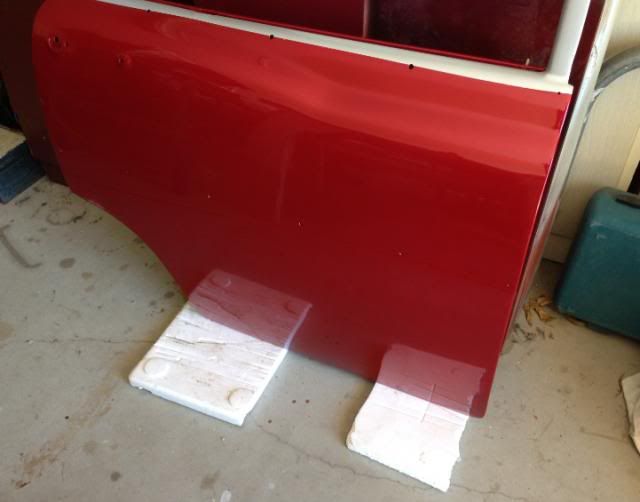
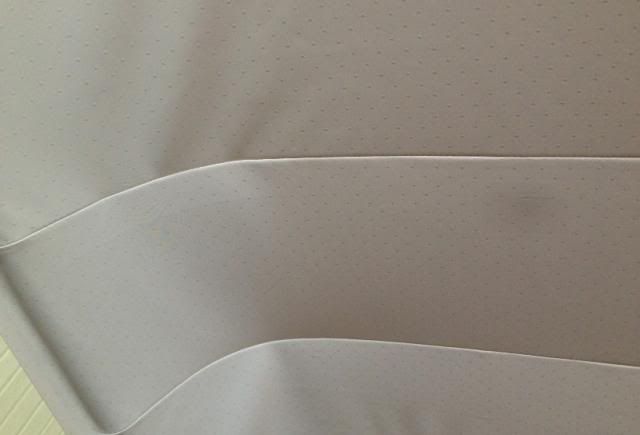
But I wanted the mirror look so did some compounding.
Very happy with the outcome from the test areas.
Won't be show quality but it certainly will be fine for a daily driver. I'll do a bit more to get all the marks out.
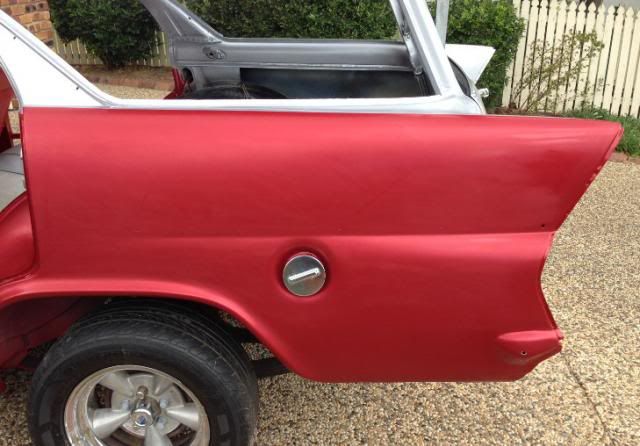
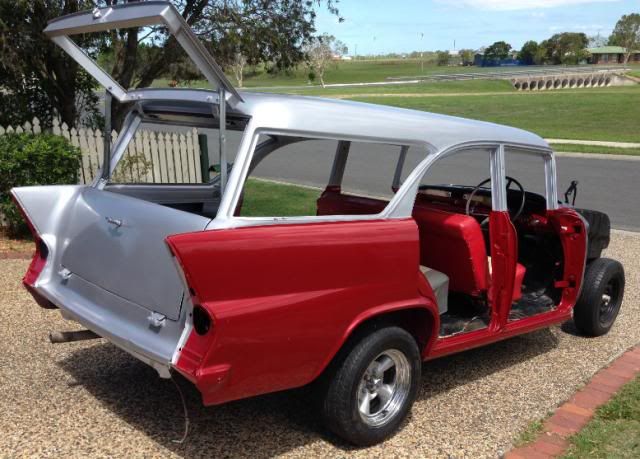
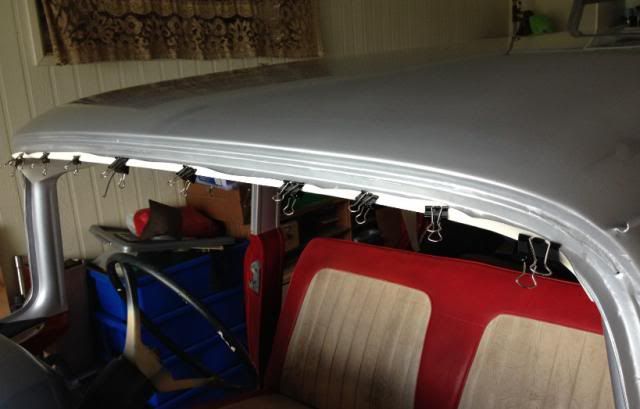
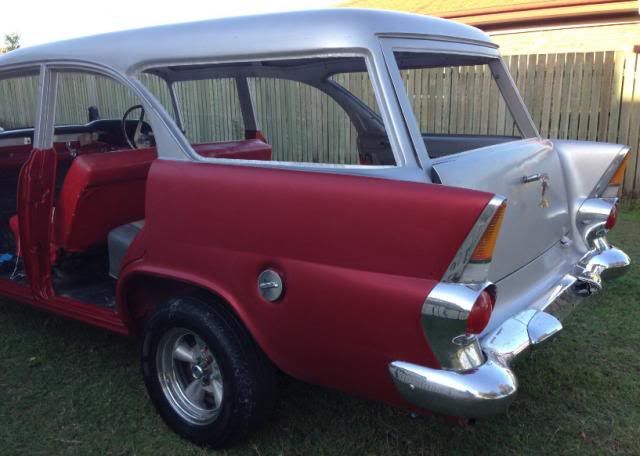
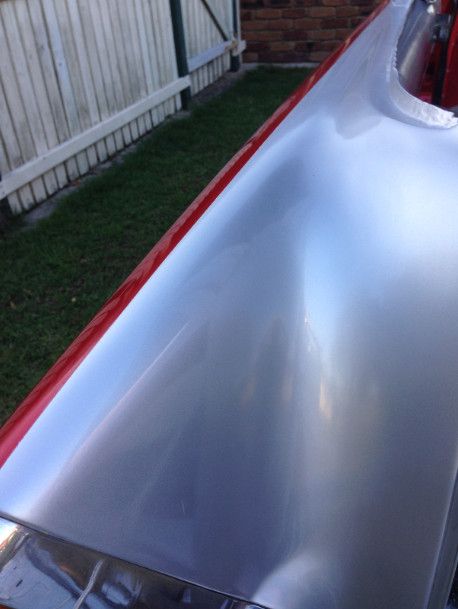
The silver came up really good also.

Image

Image

Plan to finish body and doors tomorrow.
Image
IT's LIKE WATCHING DRUNK MONKEYS TRYING TO HUMP A FOOTBALL.
EK JAY
Posts: 1888
Joined: Sat Mar 17, 2007 8:25 pm
State: NSW
Location: Sawtell

Re: EK Wagon project - Total rebuild

Post by EK JAY »

looks sweet finny :thumbsup: mmmmmm metalic :D
EK JAY SINCE 1990
EKDV8
Posts: 176
Joined: Wed May 18, 2011 10:00 pm
State: NOT ENTERED
Location: kelmscott

Re: EK Wagon project - Total rebuild

Post by EKDV8 »

Finny wrote:
SunnyTim wrote:Finny you have too many hood bow holes I think someone has been playing around. At the end of the day they need to go up tight against the backing.
Yes the spring is your clutch pedal spring it appears broken, I have one here.
Tim
Looks like a spot for the clutch pedal to have one, and like EKDv8 said, looks like the brake needs one also. :(
The brake light switch doesn't activate because the pedal doesn't fully come back, so I can see a real reason for the spring to go on that one.
I'll look in the manual, but does anyone have a photo of what parts they actually connect to ? :?: :?: :?: :econfused:

"I've looked in the workshop manual, and though it easier to re-edit this than post a new one"
Under brakes it mentions a spring attached to the clevis pin to hold the pedal back, but no picture or diagram.
Under Clutch it actually had a diagram.

Image :thumbsup:

And on photos does anyone have a photo of what the steering column wires connect to?
I thought I marked them but didn't do a great job and now can't get indicators or horn to function.

Image

You can also see in the photo that the brake switch also doesn't have any wires connected. Is there an easy way to identify which one or ones go onto it ? :?:
Hi! finny here is a pic of the brake spring attached to the brake pedal,your broken brake spring should have an eyelet on the end of it to fit over the pin on the pedal ,the other end should clip into a hole in the dash between the colunm and handbrake,atleast thats how the ute and wagon i got laying around here are set up.
99739974
foundation member #12 fb/ek holden club of WA
Finny
Posts: 1895
Joined: Tue Mar 18, 2008 10:30 pm
State: QLD
Location: Brisbane North
Contact:

Re: EK Wagon project - Total rebuild

Post by Finny »

Thanks for the confirmation. :D
I thought it might have had a separate hole or connection.
In the photos it looks like it actually goes loops around under the pin. :?
Will have a look tomorrow.
Again thank for the response, really appreciate it. :D :D
Image
IT's LIKE WATCHING DRUNK MONKEYS TRYING TO HUMP A FOOTBALL.
Finny
Posts: 1895
Joined: Tue Mar 18, 2008 10:30 pm
State: QLD
Location: Brisbane North
Contact:

Re: EK Wagon project - Total rebuild

Post by Finny »

Another long day, but very satisfying. :D :D

Re-sanded the roof, body and doors.
My body is building sanding muscles at a rapid rate.
Then hit it with Meguiars Ultimate Compound and the electric polisher.
It had really good reviews and certainly produced the goods.
Found a few little flaws in the paint, but for what I wanted, I'm totally stoked. :D :D 8) 8)
I started to worry I had sanded the roof back to far, because I wanted it flat and smooth, but it will do for now.

Image

Image

Sanded panels nice and flat, but ended up with a nice mirror after a very short time compounding.

Image

Image

Image

Image

Yes this is me. No more hiding in the photos.

Image

Image

I think I might have overdone it. The foam pads actually look like you can see straight through the door. :D :lol: :lol:

Image
Image
IT's LIKE WATCHING DRUNK MONKEYS TRYING TO HUMP A FOOTBALL.
Finny
Posts: 1895
Joined: Tue Mar 18, 2008 10:30 pm
State: QLD
Location: Brisbane North
Contact:

Re: EK Wagon project - Total rebuild

Post by Finny »

Also check the roof bows and added the anti rattle pads.

Should be all ready to install tomorrow, along with the body rubbers and doors. :D :D

Image
Image
IT's LIKE WATCHING DRUNK MONKEYS TRYING TO HUMP A FOOTBALL.
Blacky
Posts: 13303
Joined: Tue Jul 20, 2004 8:58 am
State: WA
Location: up in the Perth hills

Re: EK Wagon project - Total rebuild

Post by Blacky »

Looking good Finny , get stuck into it mate !!!!!!!!!!!
I started with nothing and still have most of it left.


Foundation member #61 of FB/EK Holden club of W.A.
muza
Posts: 807
Joined: Tue Mar 01, 2011 6:09 pm
State: NOT ENTERED
Location: Gippsland Vic

Re: EK Wagon project - Total rebuild

Post by muza »

Awesome stuff mate!! Love the color :thumbsup:
FB Holden Fernando Yellow/Arctic Beige flash
Stock as a rock
75 series Landcruiser 350 Chev
Not so stock
User avatar
Devilrod
Posts: 7394
Joined: Fri Apr 30, 2004 12:55 pm
State: VIC
Location: Beaconsfield, Vic

Post by Devilrod »

Go Finny, looking really good.
Finny
Posts: 1895
Joined: Tue Mar 18, 2008 10:30 pm
State: QLD
Location: Brisbane North
Contact:

Re: EK Wagon project - Total rebuild

Post by Finny »

Roof lining installed. :D
That was a major task. and took most of the day to get it adjusted.
Still needs a bit of fine tuning, to smooth it out completely. :shock:

Started with :? :?

Image

Moved onto :( :(
Image
Image

Finished with. :D :D :D

Image

Will get a few more wrinkles out with the heat gun *Works really well, apart from one joint I held too long and melted the seam), then I can put the trim and glass back in.

Image
Image
Image

Didn't get any rubbers done, that will be next. :roll:

PS. Thanks again for your support and feedback. Greatly appreciated.
Also forgot to mention that I had purchased the lining a few years ago, and can't remember who off. It was an Ebay seller.
I did find that the material wasn't cut that well, which was a real pain in the A** :evil: :evil:
The front two bow inserts were well away from the correct position, which was why I melted the lining. It was just too tight.
And the sides above the rear doors only just covered it (with a lot of stretching), were as all the other areas had overlap.
Would have been a lot easier with a good lining, however got there in the end. Just needed a lot of extra work. :eh:
Image
IT's LIKE WATCHING DRUNK MONKEYS TRYING TO HUMP A FOOTBALL.
Blacky
Posts: 13303
Joined: Tue Jul 20, 2004 8:58 am
State: WA
Location: up in the Perth hills

Re: EK Wagon project - Total rebuild

Post by Blacky »

Headliners can be a pain , sounds like you bought one from the same place I did, actually tore mine trying to get it to cover properly :evil: if the bloody thing had another inch of material it would have gone in spot on.
I started with nothing and still have most of it left.


Foundation member #61 of FB/EK Holden club of W.A.
User avatar
Harv
Posts: 5453
Joined: Mon Oct 08, 2007 2:00 pm
State: NSW
Location: Sydney, Australia

Re: EK Wagon project - Total rebuild

Post by Harv »

Thanks Finny for posting this up. Once my wagon is back from Daves, the hoodlining is on my list of "to dos". I can live with some parts on the wagon being a bit "manky" and being replaced over time, but want to get the hoodlining right as it is a pretty major operation to pull out of a wagon (screens and side glass).

I was going to reuse the original hoodlining, as it is pretty clean and came out without any tears. Sadly though the C-pillar (back seat pillar) has holes through it for the seatbelt sash guide bolts. I was hoping that the holes would be in the right place for my belts, but unfortunately I had to move the holes to comply with NCOP. Looks like I will need to buy a new lining, and am thinking about the Rare Spares one unless anyone has a better option (sounds like the eBay ones are hit-and-miss).

Cheers,
Harv
327 Chev EK wagon, original EK ute for Number 1 Daughter, an FB sedan meth monster project and a BB/MD grey motored FED.
ben
Posts: 514
Joined: Thu Jun 29, 2006 9:34 pm
State: NOT ENTERED
Location: perth

Re: EK Wagon project - Total rebuild

Post by ben »

Looking good Finny. I found a lot of the small creases etc in the headlining disappear after a couple of weeks once installed.
Finny
Posts: 1895
Joined: Tue Mar 18, 2008 10:30 pm
State: QLD
Location: Brisbane North
Contact:

Re: EK Wagon project - Total rebuild

Post by Finny »

Have parked it out in the sun. :shock:
That also helps get it back into shape quicker :D , especially in the heat at the moment.

I found the suppliers details. :problem: :problem:
It was EBay members with the user name of: TRIM1971
Image
IT's LIKE WATCHING DRUNK MONKEYS TRYING TO HUMP A FOOTBALL.
parisian62
Posts: 3997
Joined: Wed May 11, 2005 2:19 pm
State: NSW
Location: Sydney
Contact:

Re: EK Wagon project - Total rebuild

Post by parisian62 »

Well done Adrian. :thumbsup:
Feelin free in a '61 FB.
Member of FB-EK Holden Car Club Of NSW Inc.
Check out the Rebuild of Old Timer
Post Reply