Page 39 of 59
Re: EK Wagon project - Total rebuild
Posted: Sat Nov 09, 2013 11:59 pm
by Finny
Re: EK Wagon project - Total rebuild
Posted: Sun Nov 10, 2013 10:40 pm
by Finny
Back to some outstanding mechanical work.
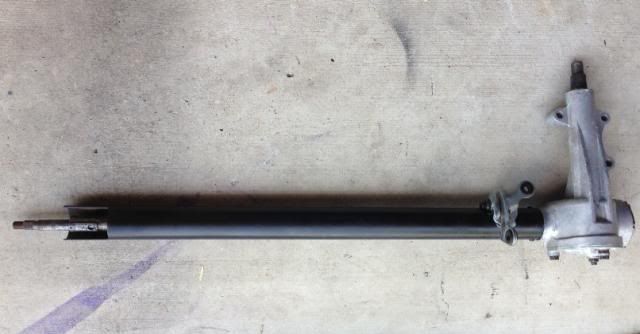
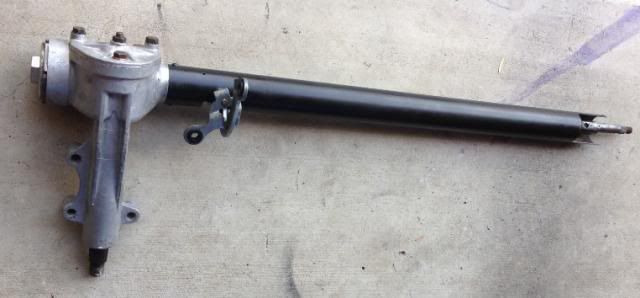
I damaged the steering box some time ago when swapping the front end over.

It's had 6 to 8 inches free play, due to the damage and could never be driven like that.

Finally got a replacement box/column (Thanks Tim)

All cleaned up and ready to install.
Fairly straight forward but still a major effort and lots to fiddlely bits to get it back together.
Getting it out was a lot quicker the re-installing.
And as always, something unexpected.
Haven't had an indictor stalk since I got the car.
So time to reinstall the one Craig gave me years ago.
But it doesn't fit. Too thick, hole will never line up, wondering what it was actually off ?
I think my spare stalk went with the Auto column I gave to Craig.
Now I need to find another indictor stalk.
Re: EK Wagon project - Total rebuild
Posted: Mon Nov 11, 2013 9:13 pm
by Finny
Solved the indicator issue.
The reason it couldn't fit, was because the previous one must have broken off, and the broken bit was still inside.
Took it out and fits perfectly.
Couldn't see it until I'd removed it again.
Re: EK Wagon project - Total rebuild
Posted: Tue Nov 12, 2013 1:19 pm
by Finny
38 days to go.


And only 5 weekends.

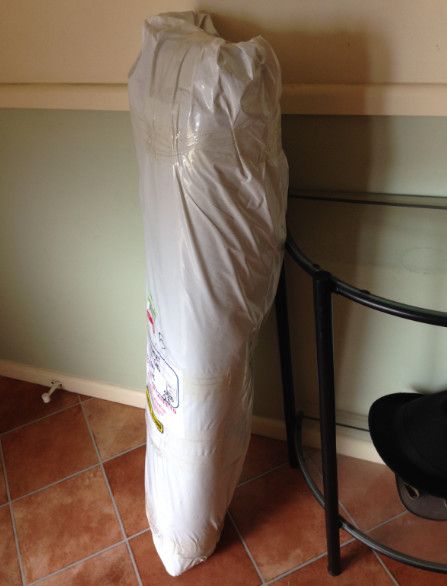
I love packages arriving at the front door.
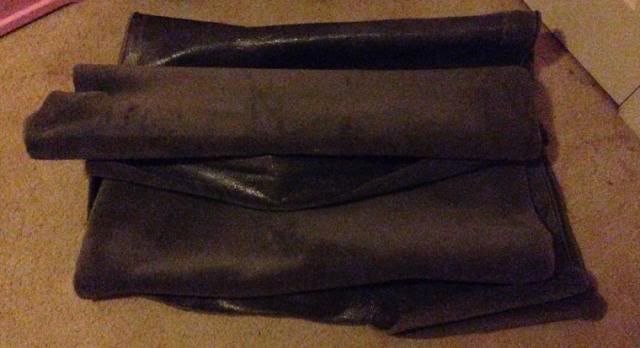
New Carpet is ready to install.
Better hurry up and get the other items underway.
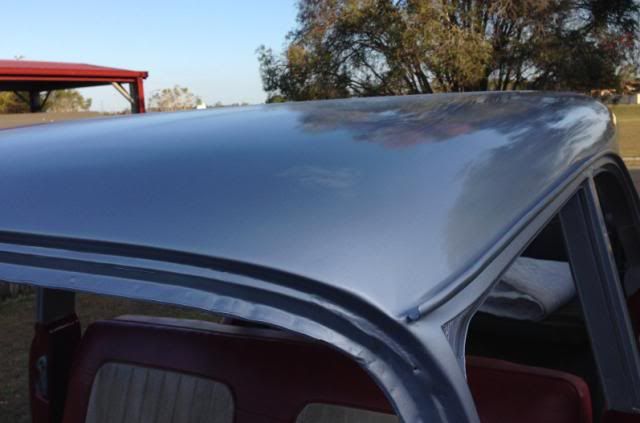
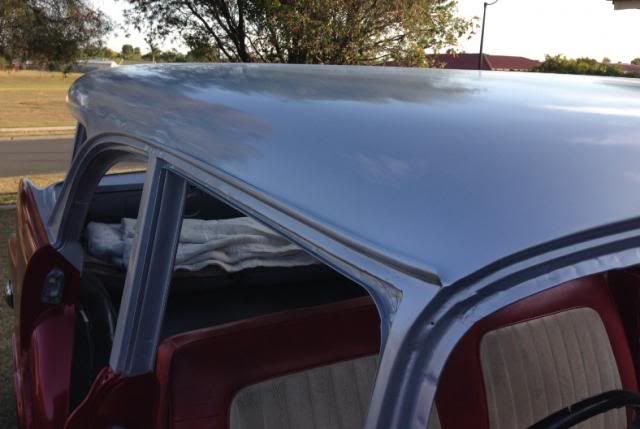
Almost time to put the new roof lining back in.
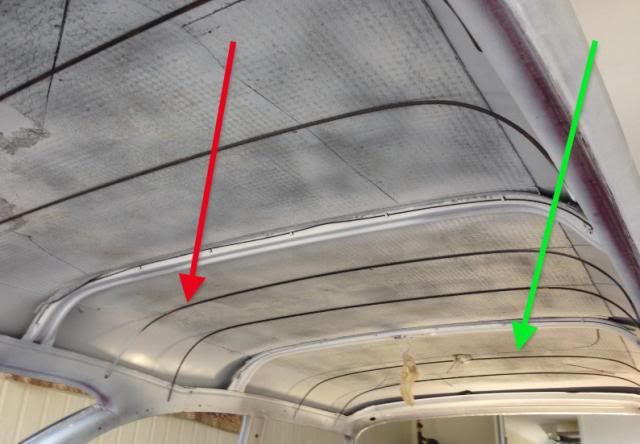
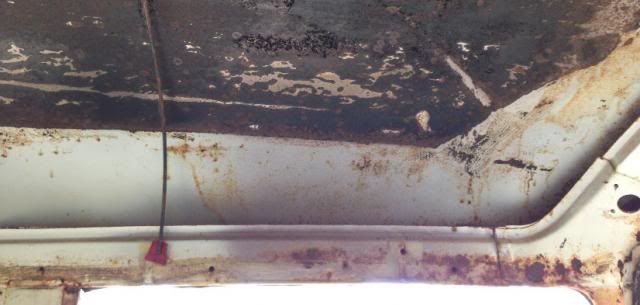
I have noticed that most of the bows sit neatly up against the roof.
However one is too low (Green arrow, where I have have to add some packing to hold it up) and one is too high (Red arrow, where it doesn't allow it to extend fully out.
I replaced them one by one from the old roof lining, so they should have been in the same order.
Is this normal that these two aren't a snug fit ??????
Re: EK Wagon project - Total rebuild
Posted: Tue Nov 12, 2013 2:06 pm
by Harv
G'day Finny,
I pulled the roof lining out of my EK wagon this week. All the bows were snug, except the centre two which hang off the "teeth" in the roof strip.
Cheers,
Harv
Re: EK Wagon project - Total rebuild
Posted: Tue Nov 12, 2013 10:20 pm
by Finny
Thanks Harv, I think I've got them in place now ?

But I checked the colour codes on them (it does have the original paint still) and it shows them in the correct position.
The rear ones are not the same colours as listed in the workshop manual, but maybe Wagons were different.
Manual says the order should be.
Green - Blue - Plain - Yellow - Red - Brown.
Mine currently has:
Green - Blue - Yellow - Red - White - Grey
It's only the front 2 that I'm unsure about and they are Green - Blue, so in the correct order.
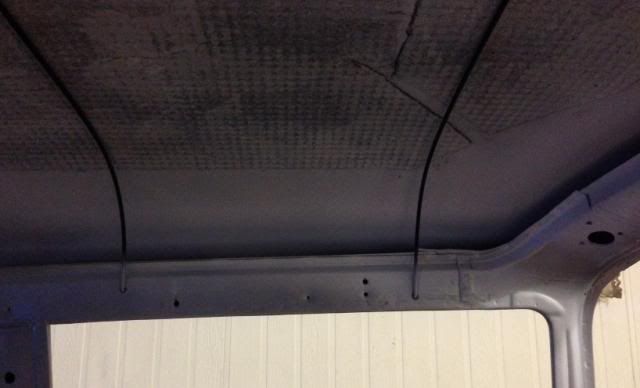
The other question is which holes they should be going into, I currently have the front one in the lower hole and the next one in the higher hole.
They actually fit this way, But it just seems wrong ?
Does anyone know which ones should be used ?
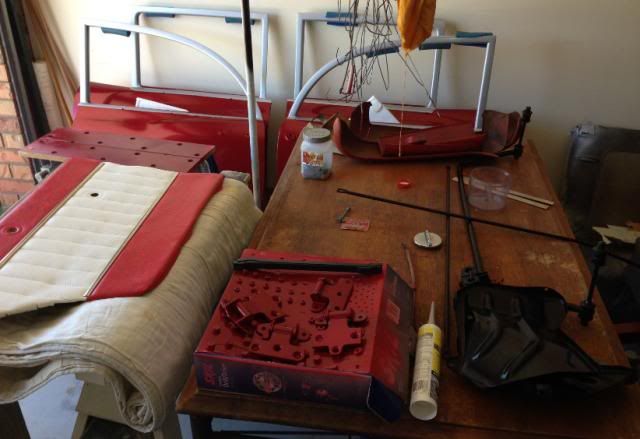
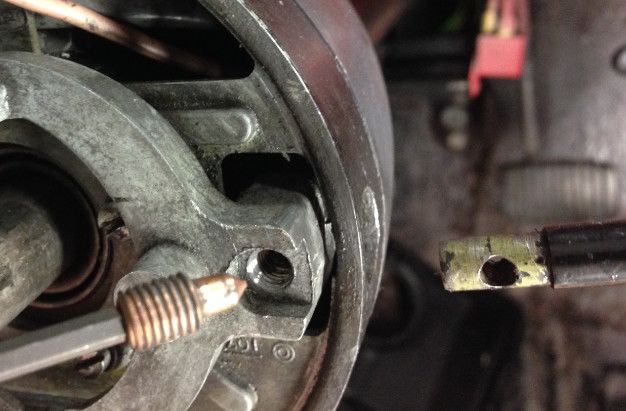
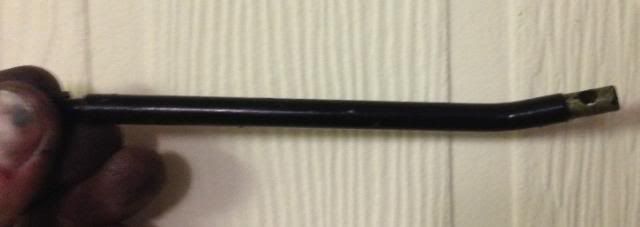
I also found this spring that looks like an end has broken off, that was stuck amongst the wiring up under the dash, anyone know what this should have been attached to ?
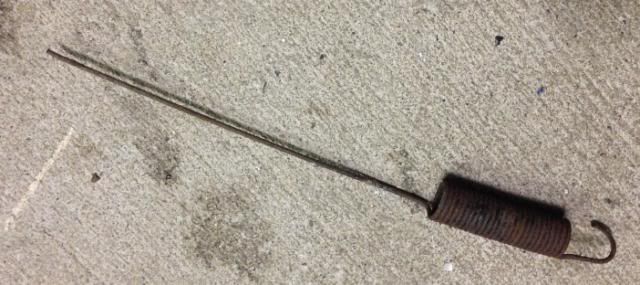
It was obviously for something, maybe something for the clutch ?????
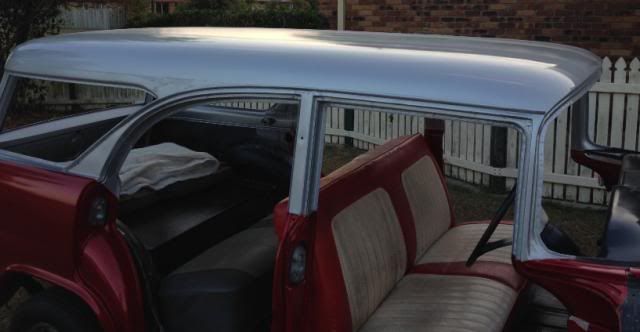
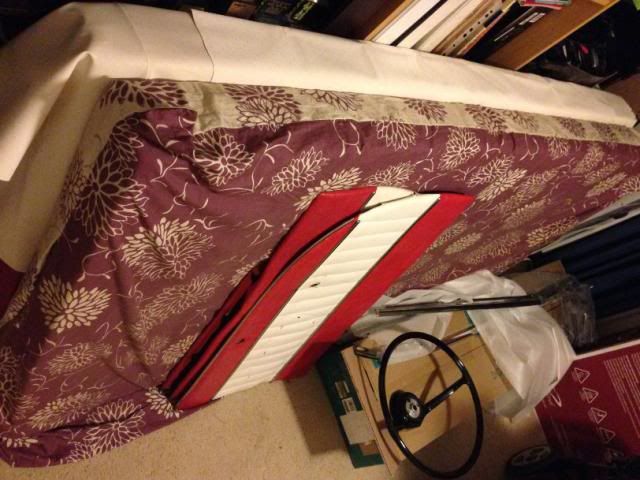
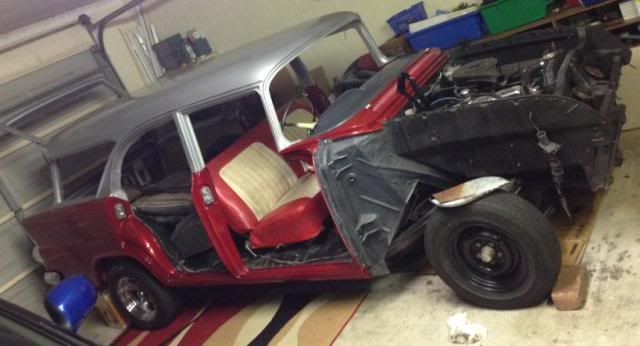
And my youngest son thinks it should be driven with the seats in this position.
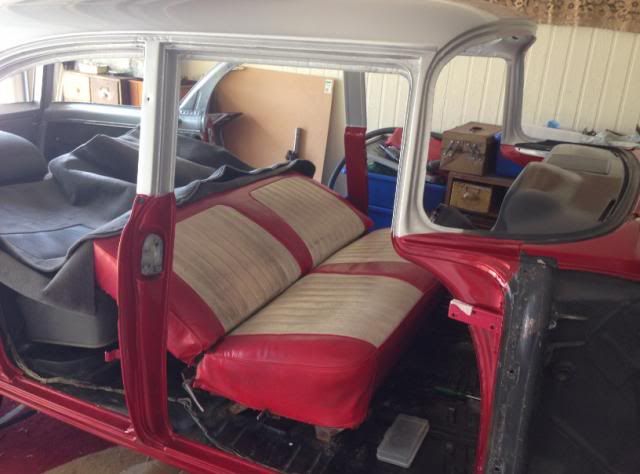
I don't have the heart to tell him, he will probably never drive it anyhow.....

Re: EK Wagon project - Total rebuild
Posted: Tue Nov 12, 2013 10:26 pm
by Finny
Almost forgot.
Son number three is a locksmith and took aware the door, glovebox, tailgate and ignition locks, and will get them all keyed alike and supply new keys for me.
Aren't some children wonderful.
Re: EK Wagon project - Total rebuild
Posted: Wed Nov 13, 2013 8:47 am
by Harv
Finny,
My EK wagon also has the second set of "lower bow holes" for the front two bows. From memory, the bows were in the upper holes. No colour coding left on the end of my bows, other than some blue trim material on the rearmost bow, and some red trim material on the 2nd rearmost bow.
Cheers,
Harv
Re: EK Wagon project - Total rebuild
Posted: Wed Nov 13, 2013 8:49 pm
by In the Shed
SunnyTim wrote:Finny you have too many hood bow holes I think someone has been playing around. At the end of the day they need to go up tight against the backing.
Yes the spring is your clutch pedal spring it appears broken, I have one here.
Tim
Been a while since I've had my head under the dash of my car but that spring looks too light weight for a clutch pedal, but I could be wrong!
Re: EK Wagon project - Total rebuild
Posted: Wed Nov 13, 2013 9:59 pm
by EKDV8
the spring is off the brake pedal ,i pulled one out last week from a patrs car if u need it.

Re: EK Wagon project - Total rebuild
Posted: Sat Nov 16, 2013 10:59 pm
by Finny
OK, I have a few updates so I'll do them one at a time.
Spent the last 2 days working full time on the car.
Based on this I would now assess my completion as around March

(in 5 years time)

Think I need a little break, before I break something.
Roof lining.
Went back to the parts wagon and removed what was left of the lining.
This was still the factory lining and once removed it had the same extra holes.
The bow was in the upper one, which is the right one.
Took the bow and compared it to the other one.
It has exactly the same colour, so they are both the first front bows, but It's about an inch shorter.
Going to sand them all down and paint before installing the new lining.
I expect the lining to take some time to install.
Re: EK Wagon project - Total rebuild
Posted: Sat Nov 16, 2013 11:11 pm
by Finny
SunnyTim wrote:Finny you have too many hood bow holes I think someone has been playing around. At the end of the day they need to go up tight against the backing.
Yes the spring is your clutch pedal spring it appears broken, I have one here.
Tim
Looks like a spot for the clutch pedal to have one, and like EKDv8 said, looks like the brake needs one also.
The brake light switch doesn't activate because the pedal doesn't fully come back, so I can see a real reason for the spring to go on that one.
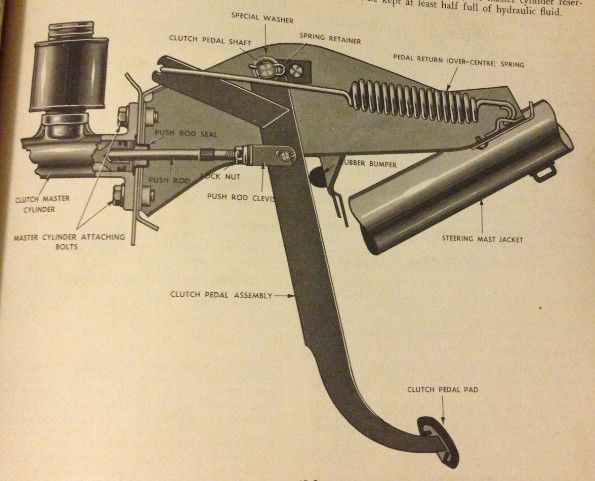
I'll look in the manual, but does anyone have a photo of what parts they actually connect to ?

"I've looked in the workshop manual, and though it easier to re-edit this than post a new one"
Under brakes it mentions a spring attached to the clevis pin to hold the pedal back, but no picture or diagram.
Under Clutch it actually had a diagram.
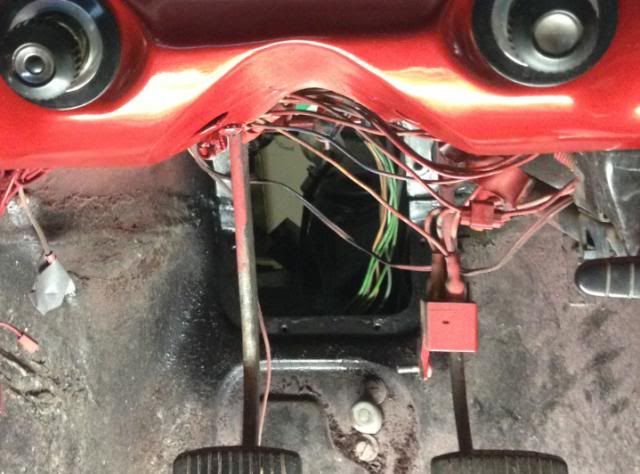
And on photos does anyone have a photo of what the steering column wires connect to?
I thought I marked them but didn't do a great job and now can't get indicators or horn to function.
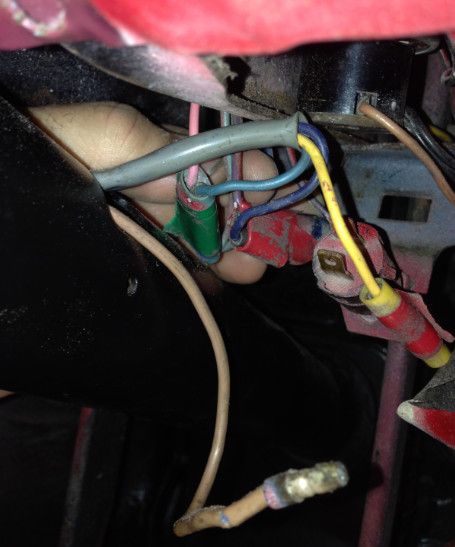
You can also see in the photo that the brake switch also doesn't have any wires connected. Is there an easy way to identify which one or ones go onto it ?
Re: EK Wagon project - Total rebuild
Posted: Sat Nov 16, 2013 11:21 pm
by Finny
Now the most frustrating thing.

New steering column is in and steering is significantly improved.
However gear changes are incredibly hard/sticky/tight
(need a lot of effort and it no longer just flows into gears in the H pattern.)
All movements are tight, not just as it goes into the gear positions.
Should I have greased something, could it be over tightened, could wiring loom be in the way,
Anybody experience this before or have any ideas?
Re: EK Wagon project - Total rebuild
Posted: Sat Nov 16, 2013 11:32 pm
by Finny
And lastly on the good side.
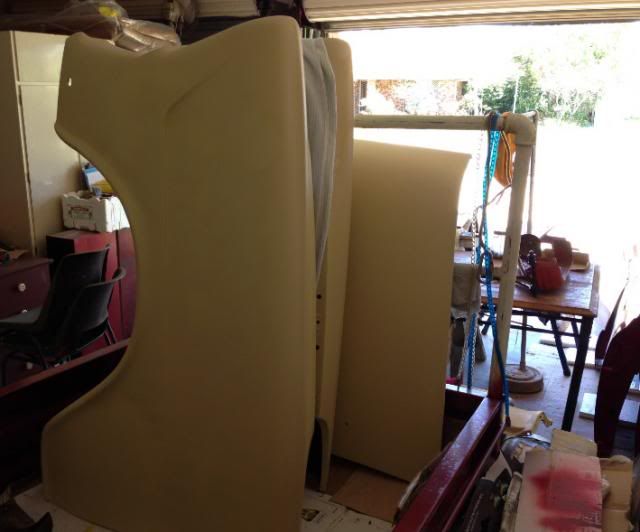
3rd son helped out manufacturing a new glovebox using 3mm sheets.
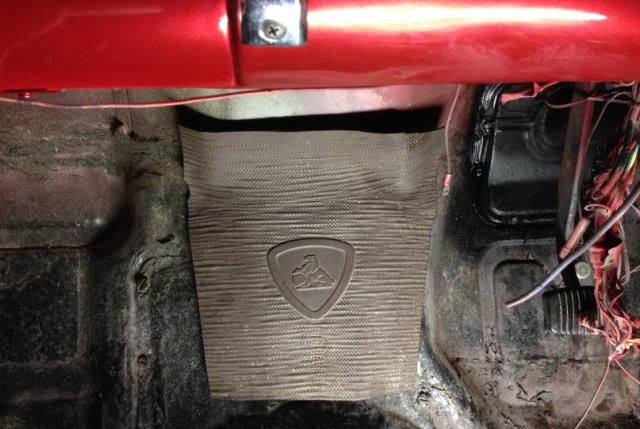
Did a great job, he also made up the side covers for the cargo area.
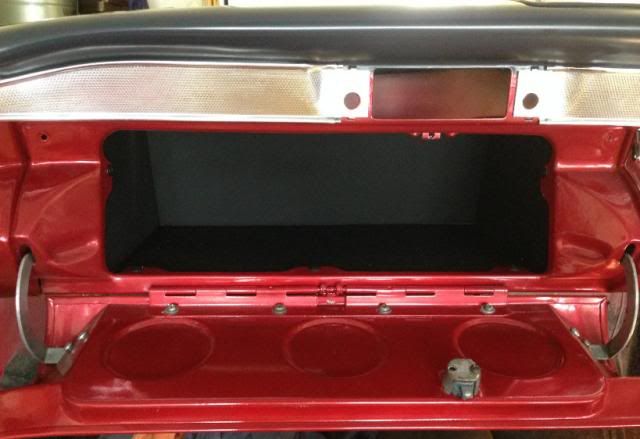
Going to use the old logo as a feature.
Will cut a section out of the carpet so it shows through.
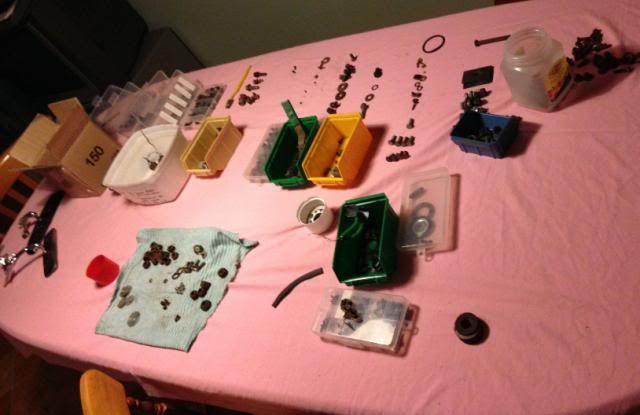
Stripped out all the old stereo / Alarm / speed detector wiring and cleaning everything else up.
Still making progress, but a hell of a lot of work still to go.
Need to get a lot of small stuff painted, and some rust prevention paint up under the dash, wheel areas and inside rear quarter panels.
Re: EK Wagon project - Total rebuild
Posted: Tue Nov 19, 2013 9:12 pm
by Finny