Page 39 of 43
Re: Neil's FB Station Wagon
Posted: Mon Aug 11, 2025 2:17 pm
by FireKraka
Got a little time in the workshop yesterday.
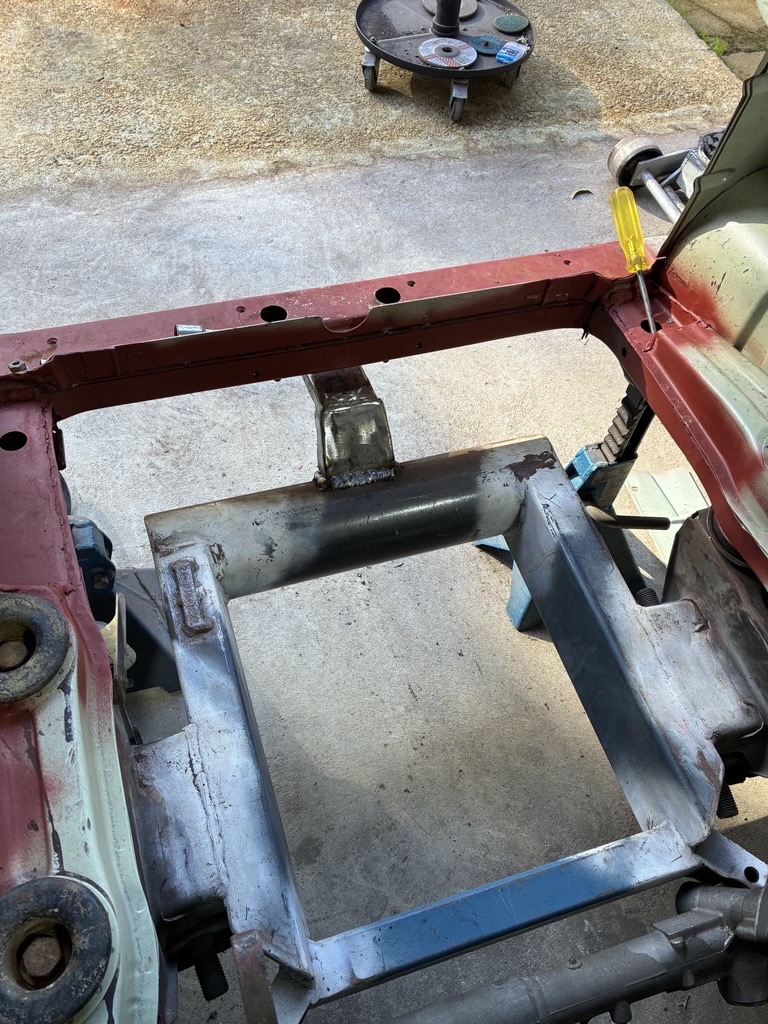
Finished up the outrigger for the crossmember and surprise surprise the CRS mounts actually bolted up.
The surface rust mounts in the photo are mounts I made a fair while ago so thought I would use them this time, looks like it will work.
I measured from the back to back of each mount, cane to 530mm, measured distance on the crossmember and it is the same so time to dummy fit the engine and gearbox so I can get the mount5s welded to the crossmember and then powder coat the lot.
Ill cut the hand made mounts down as I go to get the engine sitting as low as I like and this will also allow me to get the gearbox crossmember dummied in.
- Image (11).jpg (328.56 KiB) Viewed 4148 times
- Image (12).jpg (243.25 KiB) Viewed 4148 times
Re: Neil's FB Station Wagon
Posted: Mon Aug 11, 2025 3:03 pm
by Errol62
Nice work Neil.
Sent from my iPhone using Tapatalk
Re: Neil's FB Station Wagon
Posted: Tue Aug 19, 2025 1:01 pm
by FireKraka
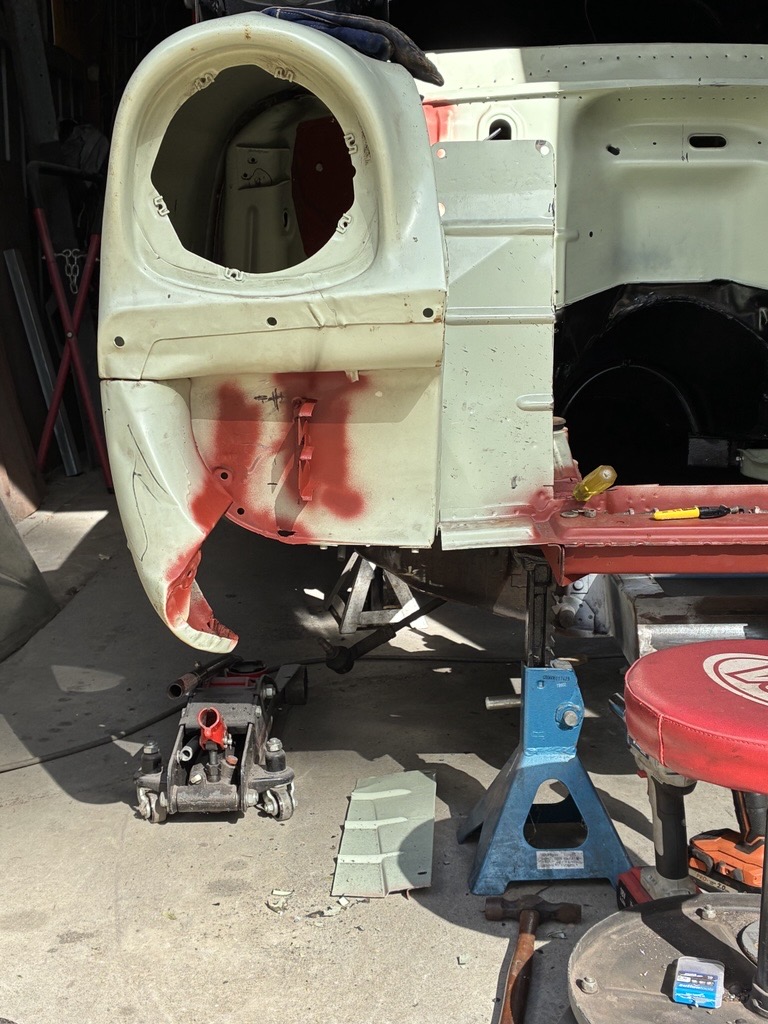
After chasing rusty wrecks on Saturday I get into the shed for a little while Sunday and started to convert the drivers side guard from EK to FB
Still have to drill the mounting holes for the park light
- Image (15).jpg (224.98 KiB) Viewed 4084 times
Re: Neil's FB Station Wagon
Posted: Sun Sep 07, 2025 9:33 am
by FireKraka
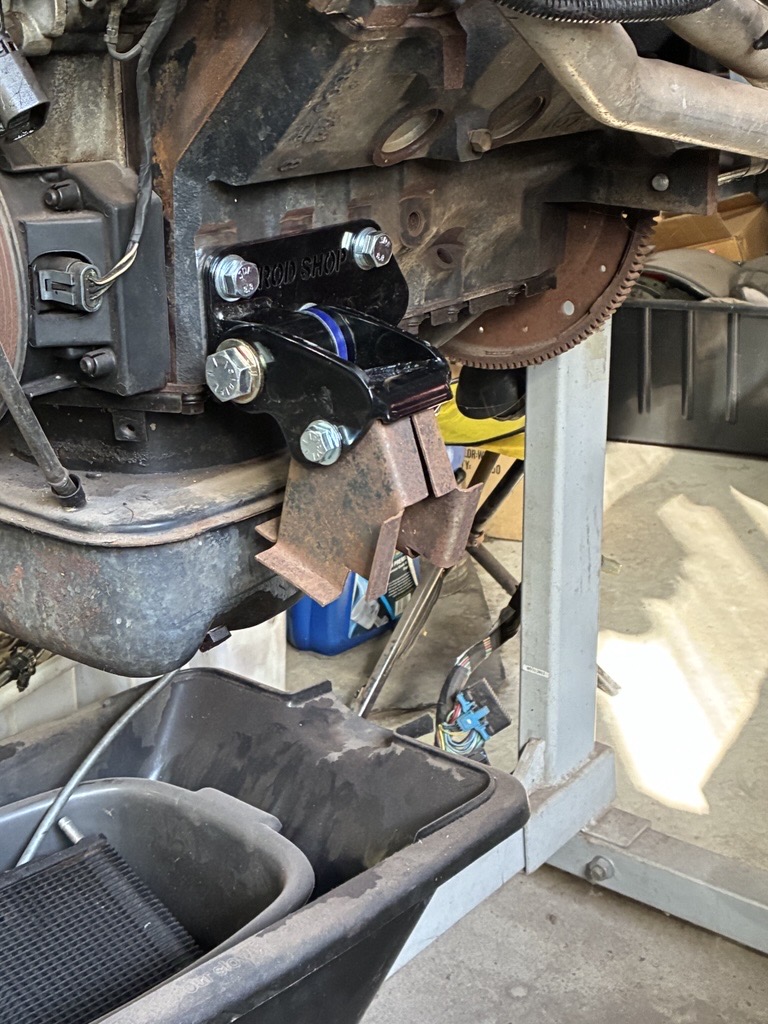
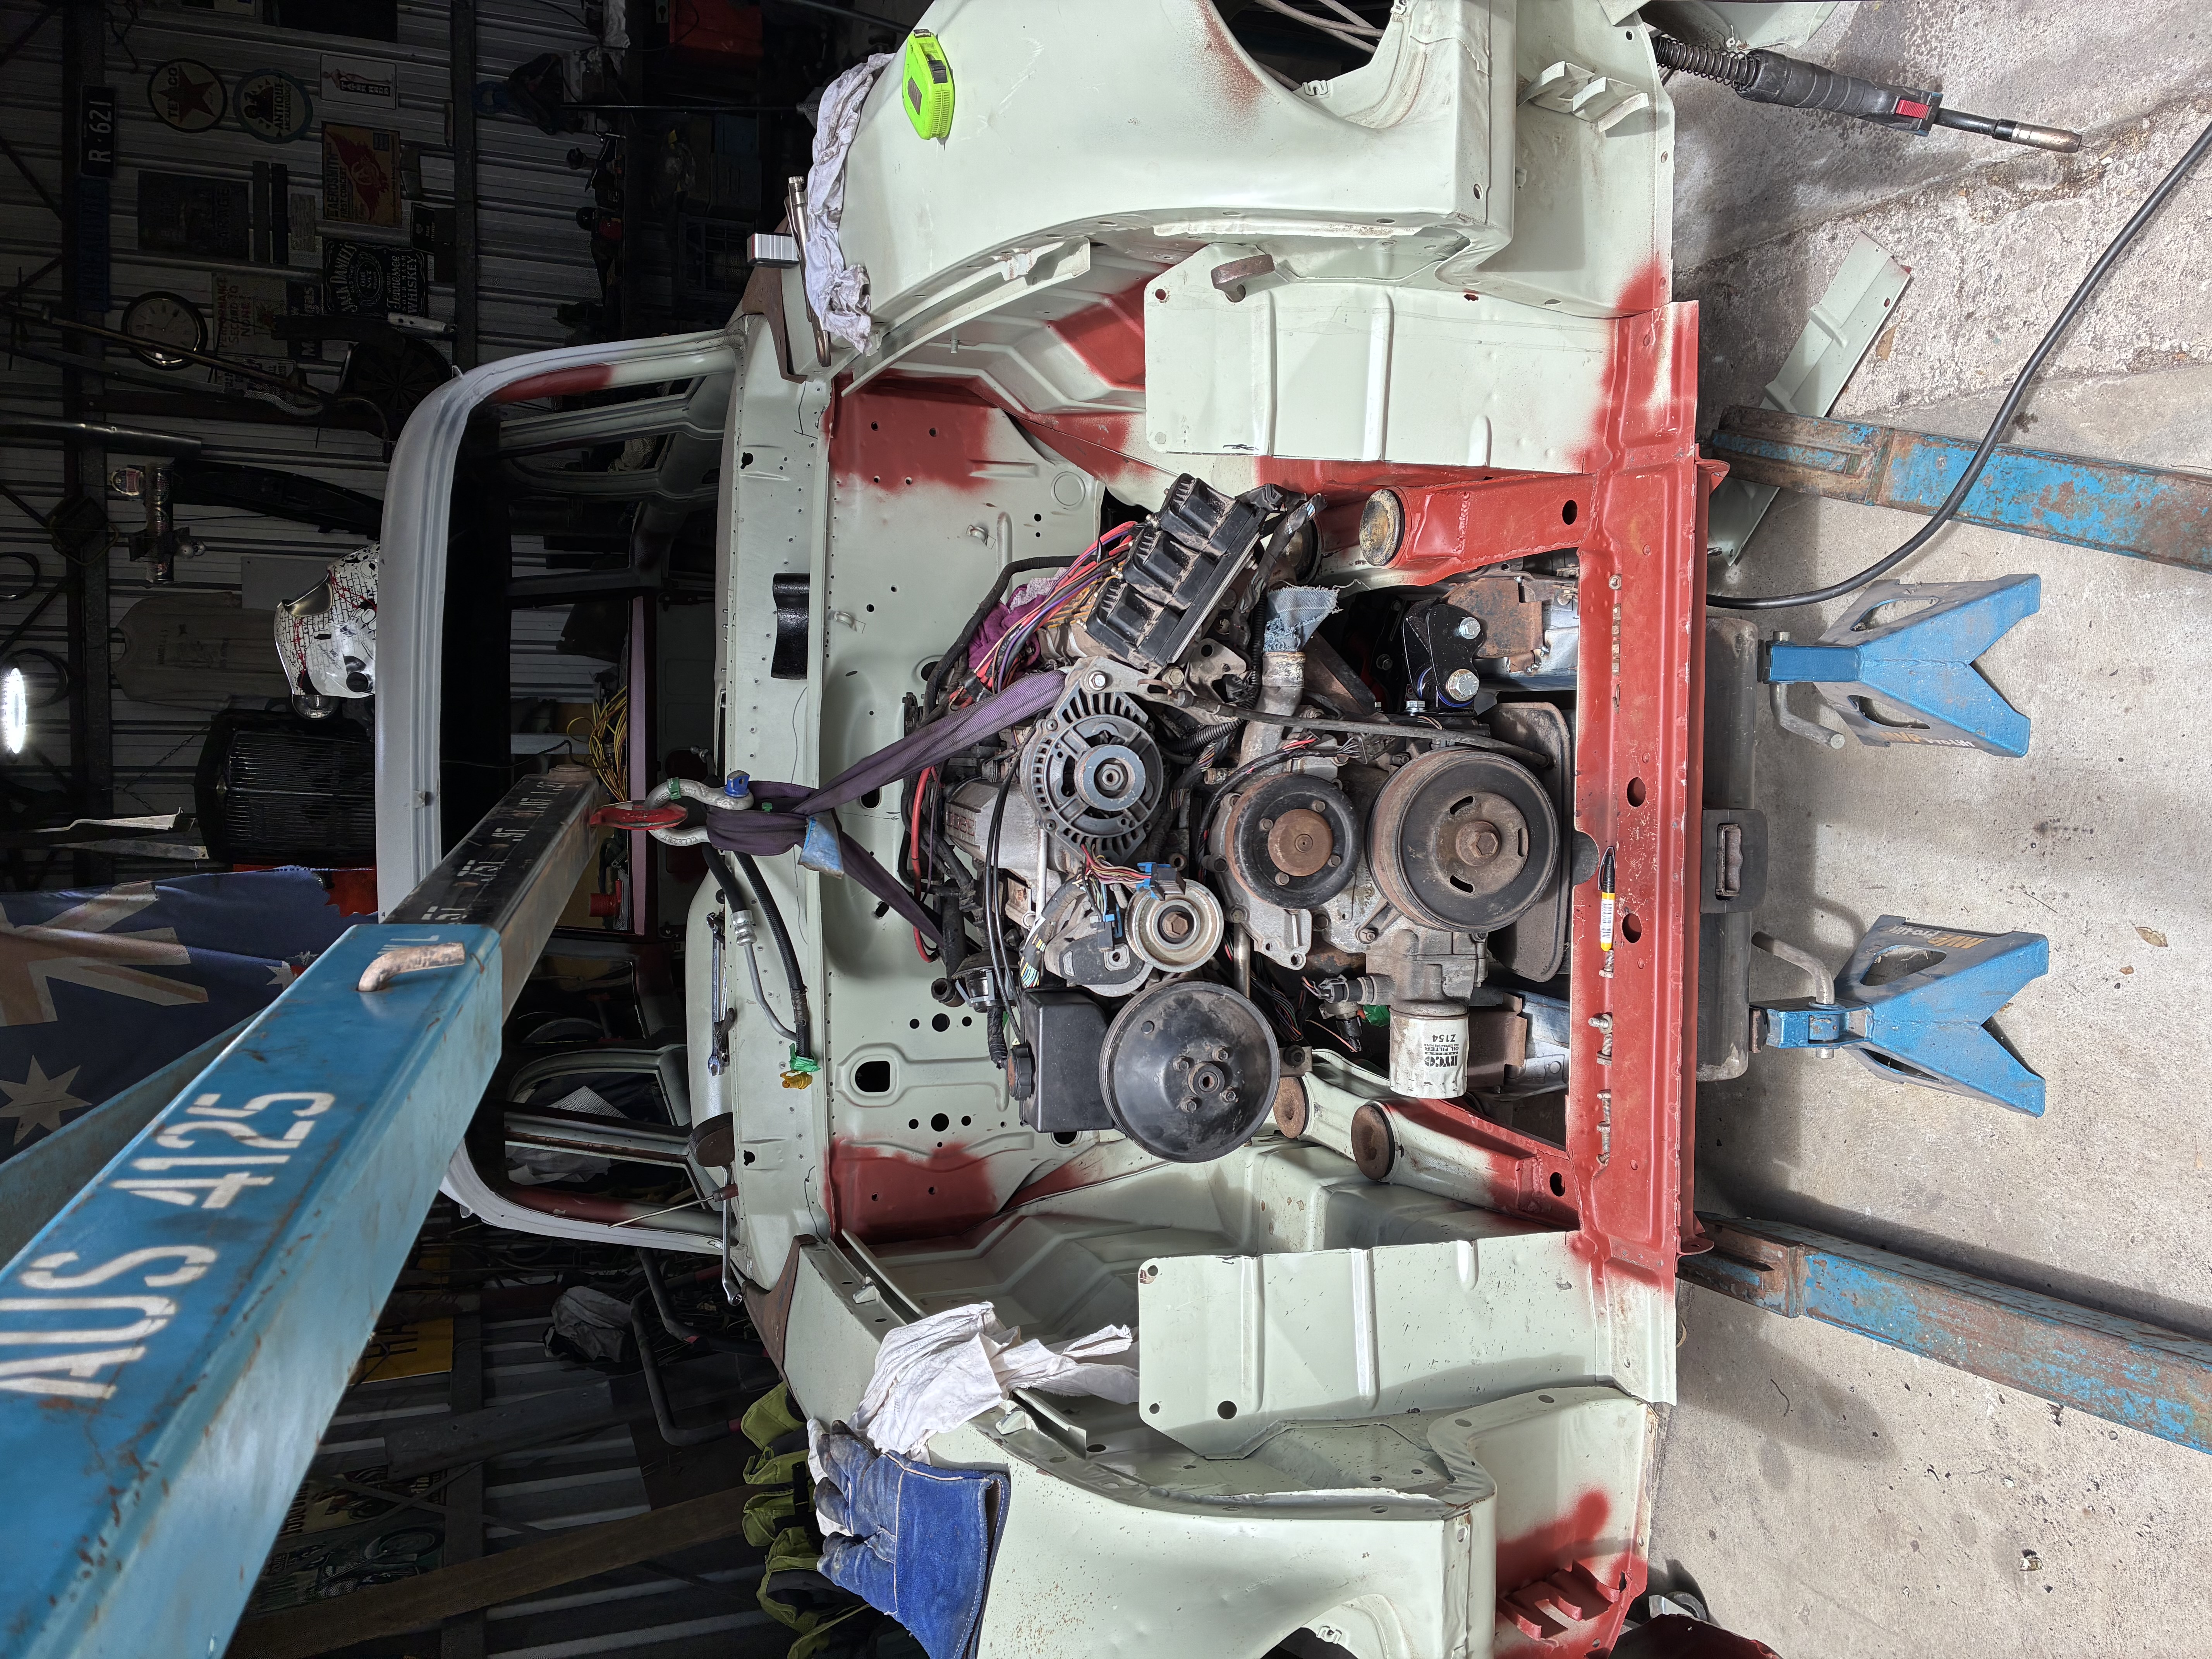
Keith gave me a hand yesterday and we dummy fitted the engine and gearbox so I could position the engine mounts
- IMG_2730.jpeg (6.54 MiB) Viewed 3910 times
Re: Neil's FB Station Wagon
Posted: Sun Sep 07, 2025 11:38 am
by Errol62
Looks like it belongs in there Neil

FB ute fixer upper, EK van on rotisserie
Re: Neil's FB Station Wagon
Posted: Mon Sep 08, 2025 12:02 pm
by FireKraka
Re: Neil's FB Station Wagon
Posted: Wed Sep 17, 2025 3:31 pm
by FireKraka
Just received the V6 adapter wiring harness and gas strut bonnet hinges from V6 Conversions
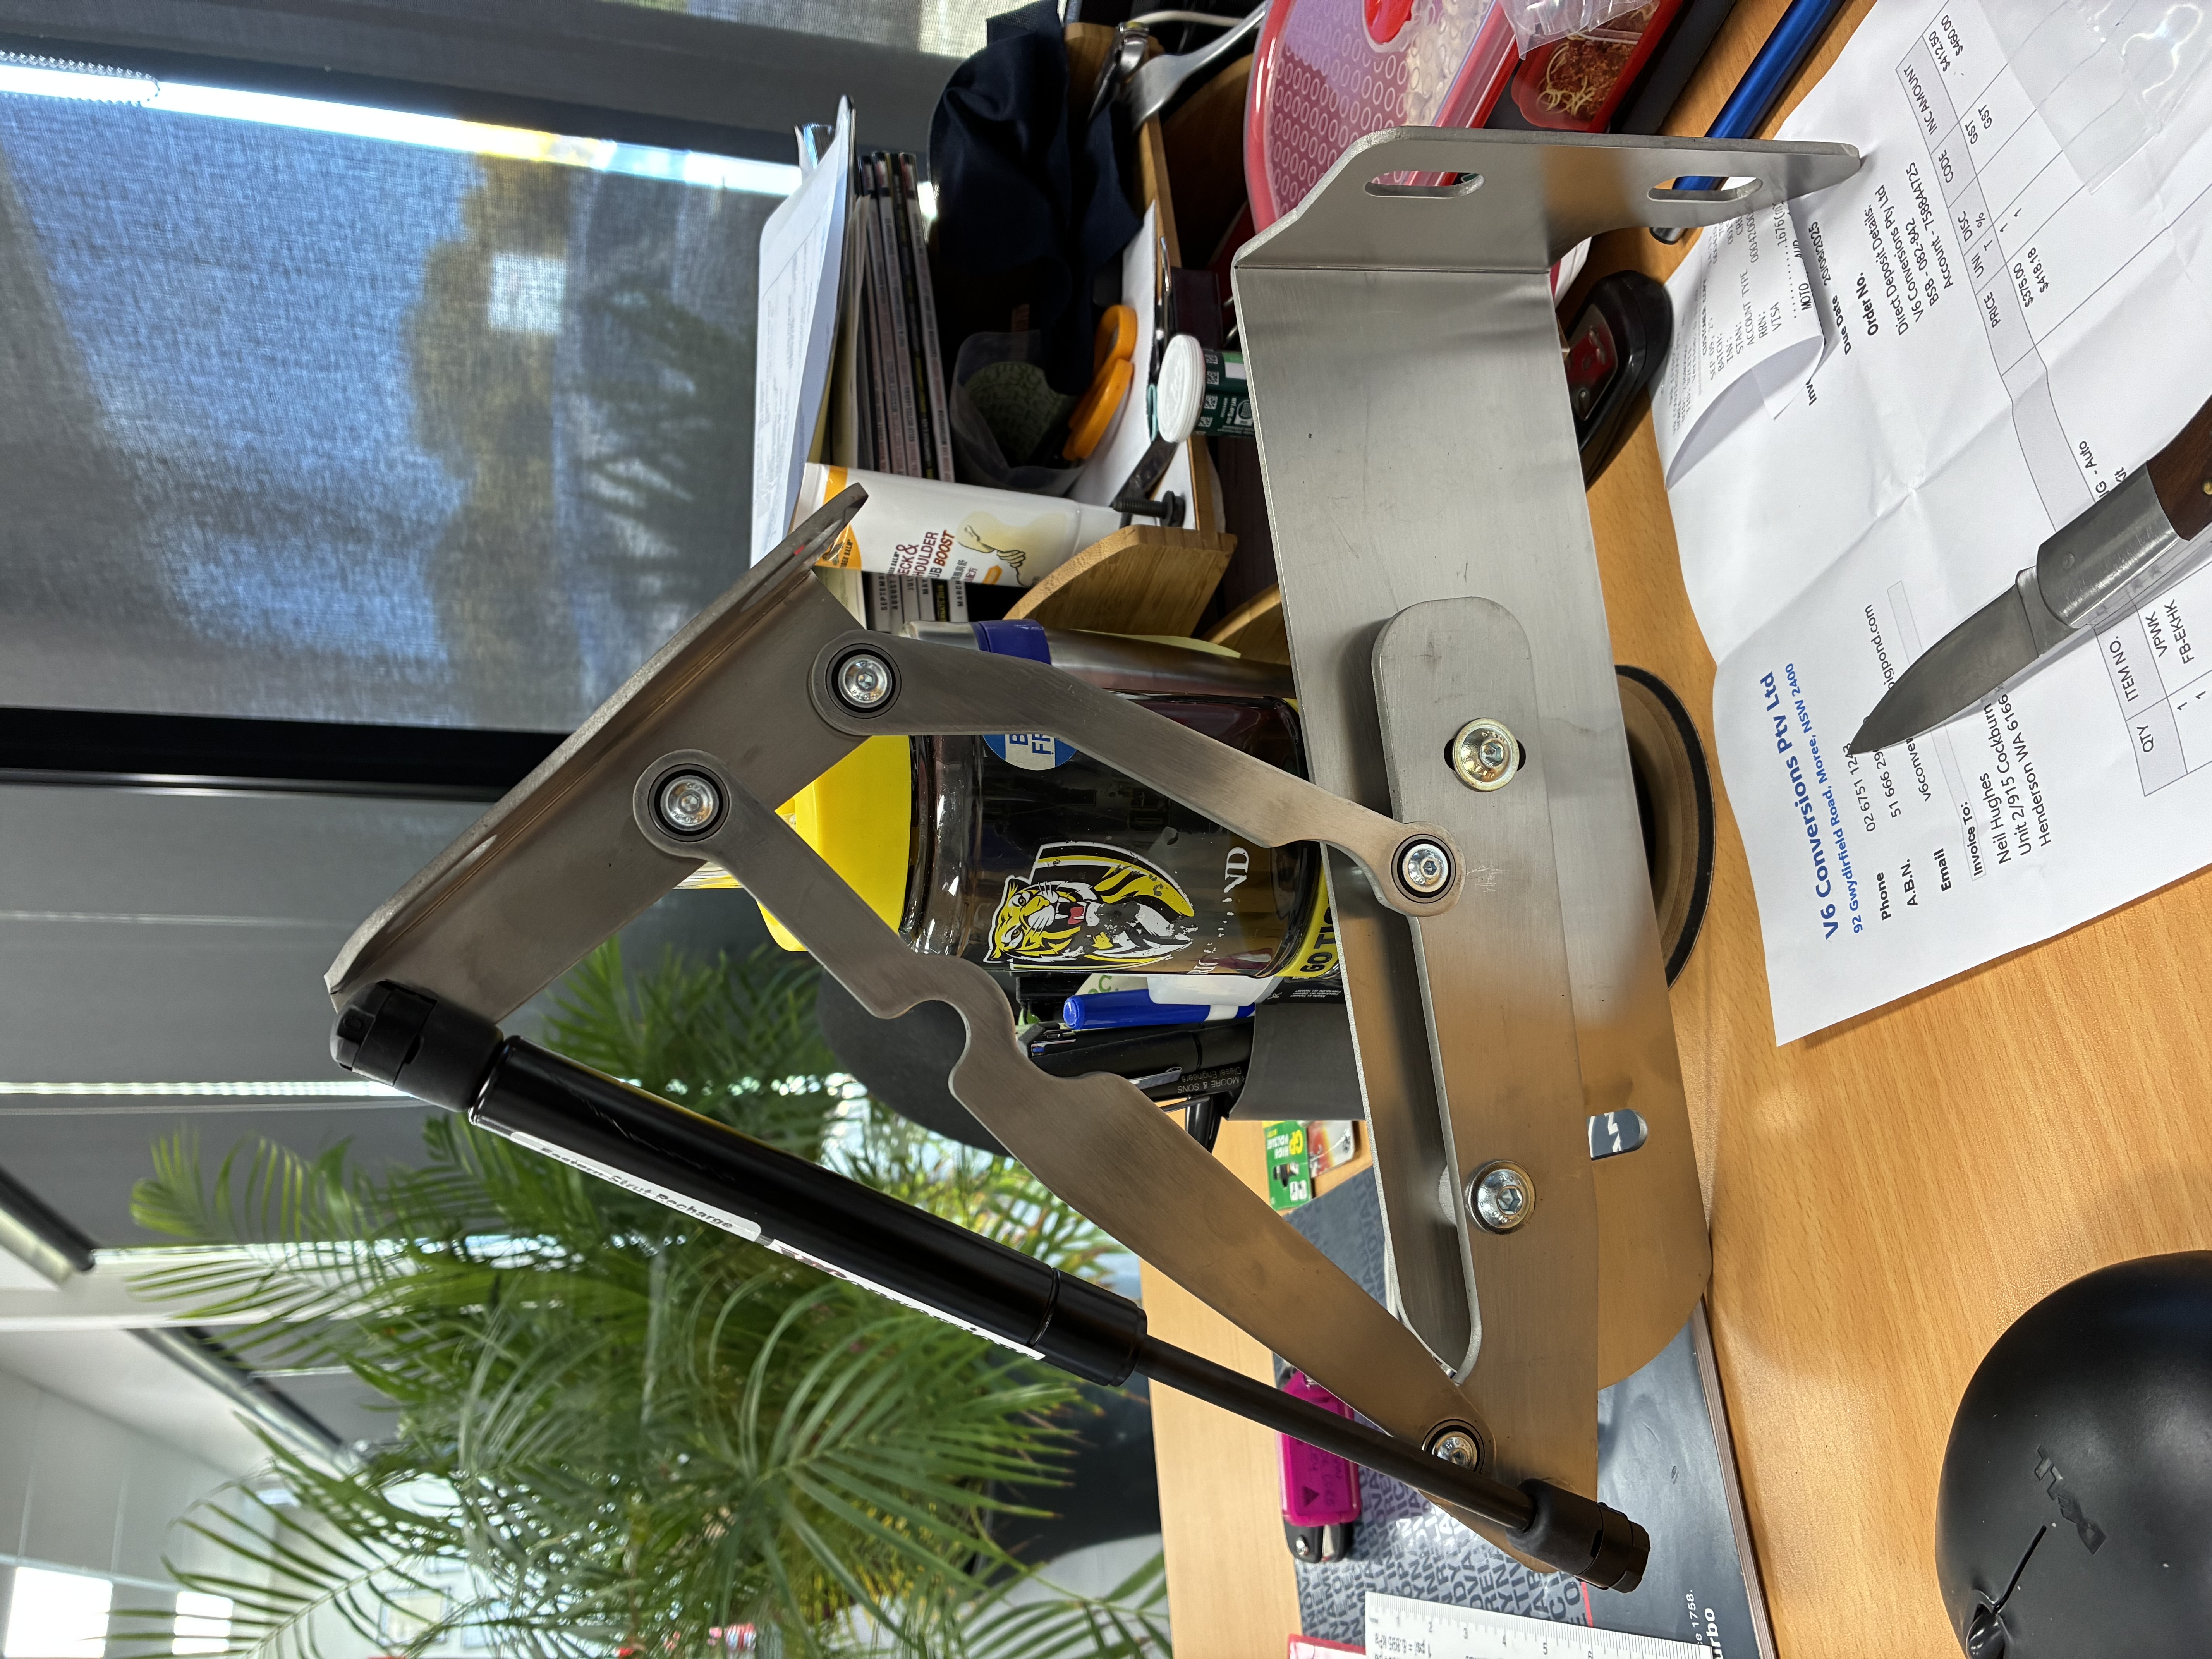
- IMG_2735.JPG (6.27 MiB) Viewed 3602 times
Re: Neil's FB Station Wagon
Posted: Wed Sep 17, 2025 4:57 pm
by Errol62

Sent from my iPhone using Tapatalk
Re: Neil's FB Station Wagon
Posted: Wed Sep 17, 2025 11:34 pm
by Blacky
I think you need to make templates off those hinges so we can knock up a DXF file and have some laser cut mate

Re: Neil's FB Station Wagon
Posted: Thu Sep 18, 2025 5:47 am
by Errol62
They look like they would give a bit of a weight saving on the car, not to mention the wallet…….
FB ute fixer upper, EK van on rotisserie
Re: Neil's FB Station Wagon
Posted: Thu Sep 18, 2025 11:33 am
by EK283
They are great hinges and i do run a pair on my car.
The only issue i have is when the bonnet is open and my cammy engine is idling, they wobble to side to side quite a bit.
Greg
Re: Neil's FB Station Wagon
Posted: Thu Sep 18, 2025 2:46 pm
by FireKraka
Hi Blacky we can do that I'm sure

The beauty of them is that you can use the standard power booster because it moves or removes that bulky part of the hinge the down side some would say is that you have to remove some of the inner drip rail from the subchassis but again this is the gain for being able to use standard booster instead of Chinese purchase online booster.
Re: Neil's FB Station Wagon
Posted: Thu Sep 18, 2025 4:13 pm
by Blacky
I like your water bottle too mate

Re: Neil's FB Station Wagon
Posted: Thu Sep 18, 2025 10:41 pm
by Errol62
One of the guys in the SA club uses an XE &*#@ booster, just moved over to clear hinge. Some mods at the pedal end and deletion of the clutch master required, but seems to work fine.
FB ute fixer upper, EK van on rotisserie
Re: Neil's FB Station Wagon
Posted: Mon Sep 22, 2025 1:06 pm
by FireKraka