Page 30 of 51
Re: Ol' Rusty - FB/EK Sedan
Posted: Sun Sep 25, 2022 3:41 pm
by funkyscooter
EK283 wrote: Sun Sep 25, 2022 1:48 pm
It becomes an obsession !
I'm like a dog with a bone Greg. Thought about weld but figured I would more than likely blow a hole in it. Lead isn't on my radar (yet), so instead went with brute force.
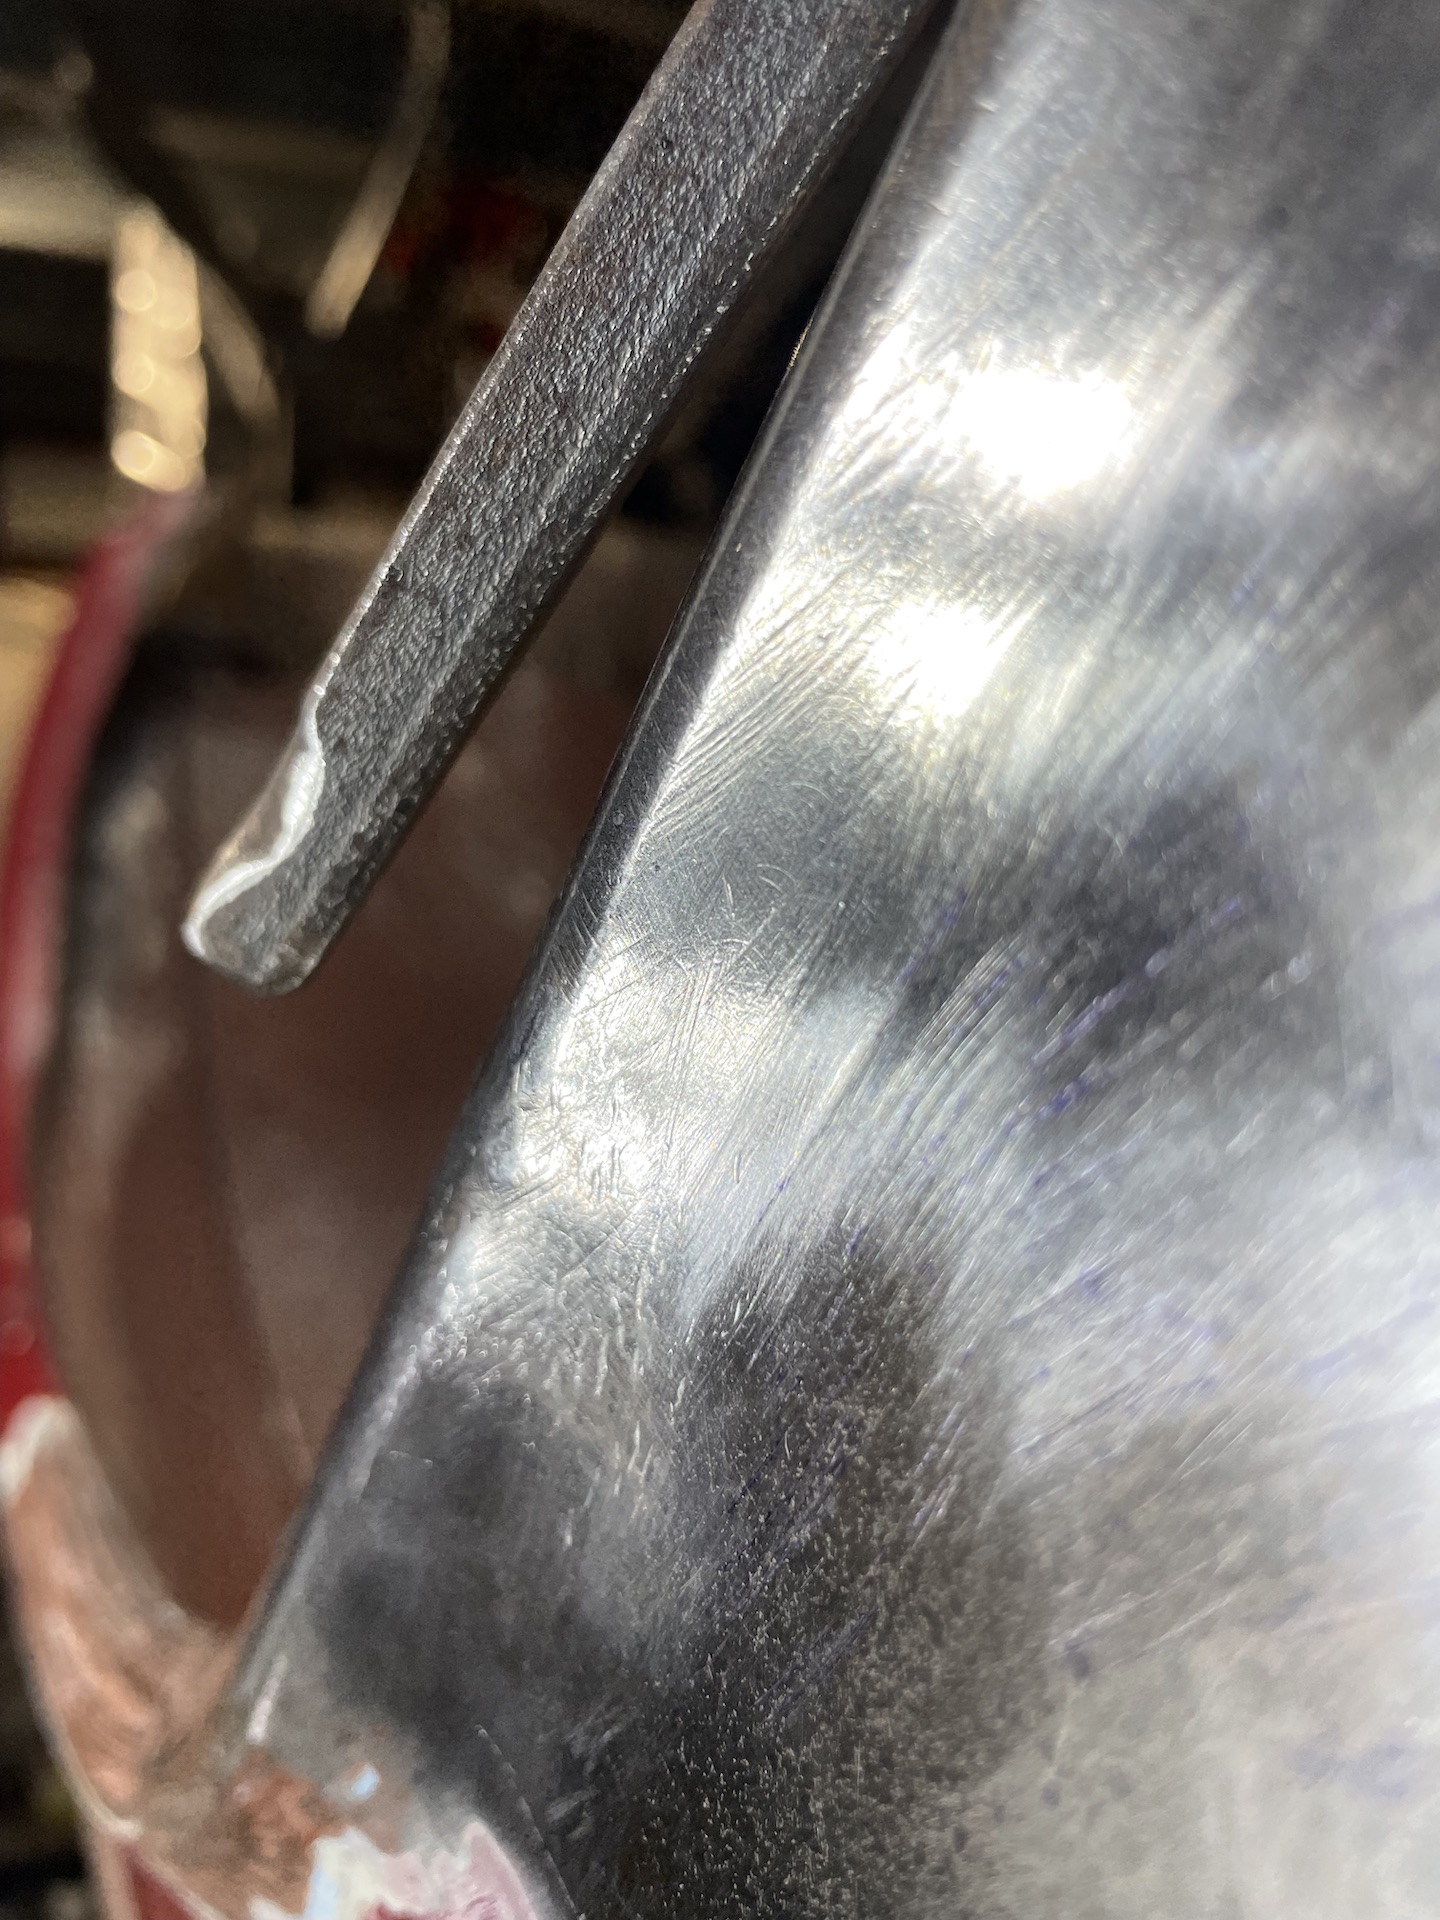
Bent a slight curve in a bit of 10mm square mild steel and ground the profile of the arch on one side and a high rounded point on the other.
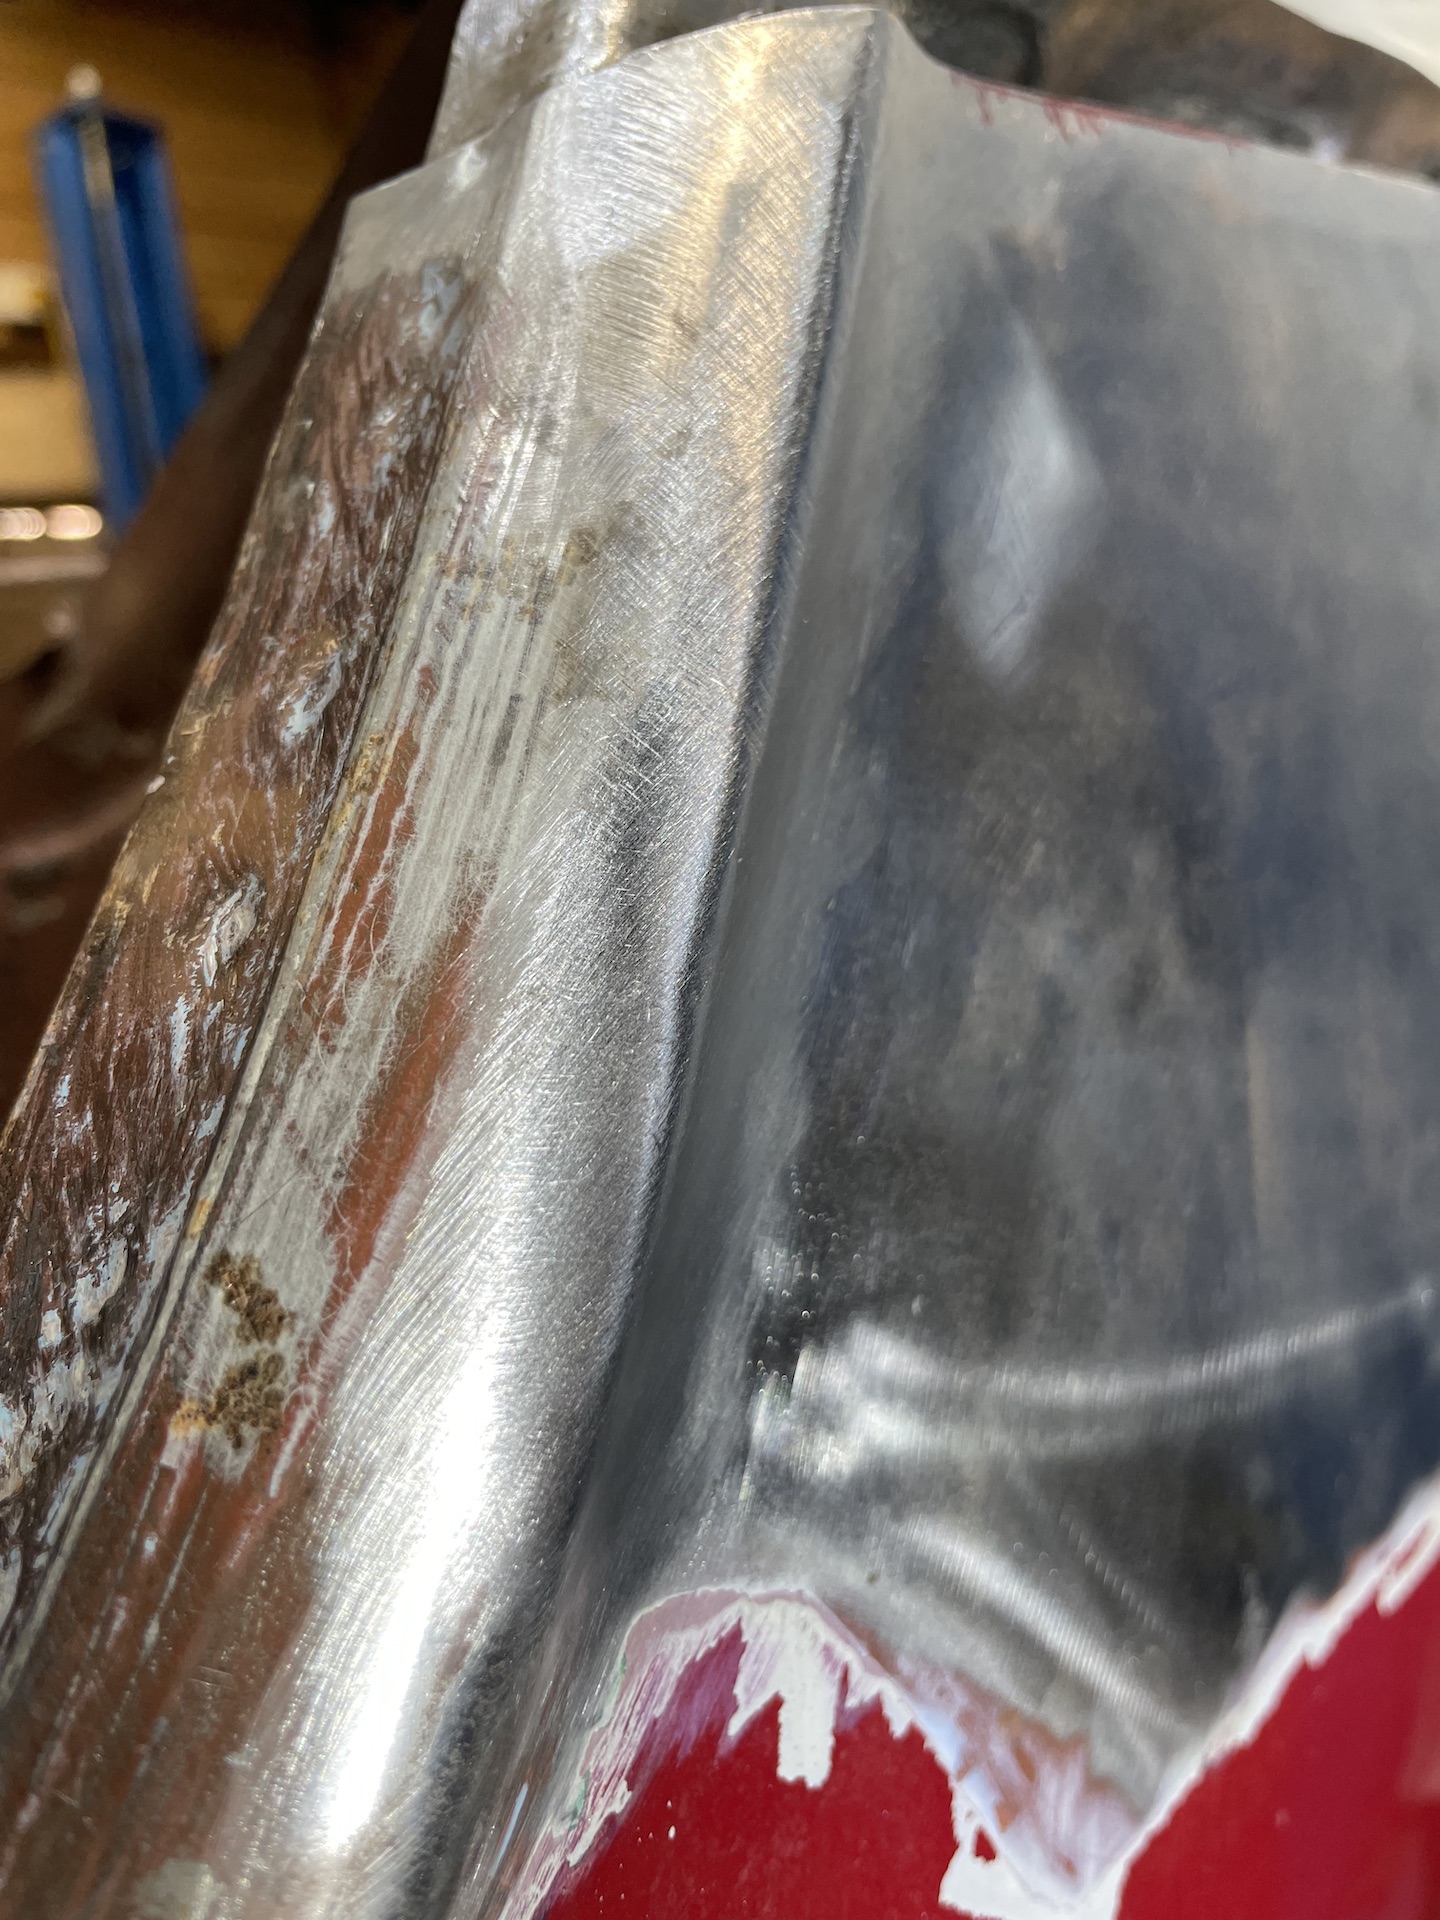
Tapped on the dent on the profile face, and 'off dolly' with the point on the dent. Lots of gentle taps got me to this which is no worse than the bit just above which looks like it was removed originally with the wire brush.
Time to move on...... well as you can just seen in the second pic, I already have.
- IMG_0722.jpg (669.38 KiB) Viewed 3070 times
- IMG_0723.jpg (691.3 KiB) Viewed 3070 times
Re: Ol' Rusty - FB/EK Sedan
Posted: Sun Sep 25, 2022 10:30 pm
by Blacky
My nephew is a paintless dent removal guy , I was in Sydney this week for a day and got a tutorial from him - for a dent like that he uses a hot glue gun and a slide hammer , its surprising how strong the glue is when used properly.
Re: Ol' Rusty - FB/EK Sedan
Posted: Mon Sep 26, 2022 6:45 am
by funkyscooter
Never thought of that, thanks Blacky. Quick google and a 'deluxe' set can be got for $169.
https://www.vevor.com.au/dent-repair-ki ... 0693859118
Hmmmmmmm.........
Re: Ol' Rusty - FB/EK Sedan
Posted: Mon Sep 26, 2022 9:17 am
by Blacky
He said the kits are OK but the glue is marginal, buy better glue sticks to make life easier
Re: Ol' Rusty - FB/EK Sedan
Posted: Mon Sep 26, 2022 5:56 pm
by funkyscooter
Settled on a 'deluxe' kit from an ebay seller that had it for $129. I'll try the supplied sticks and upgrade if needed.
Re: Ol' Rusty - FB/EK Sedan
Posted: Wed Oct 12, 2022 12:16 pm
by funkyscooter
Finishing off the drivers side rear quarter - this one has less work needed than passenger side so should be easy. Well read on... and on.
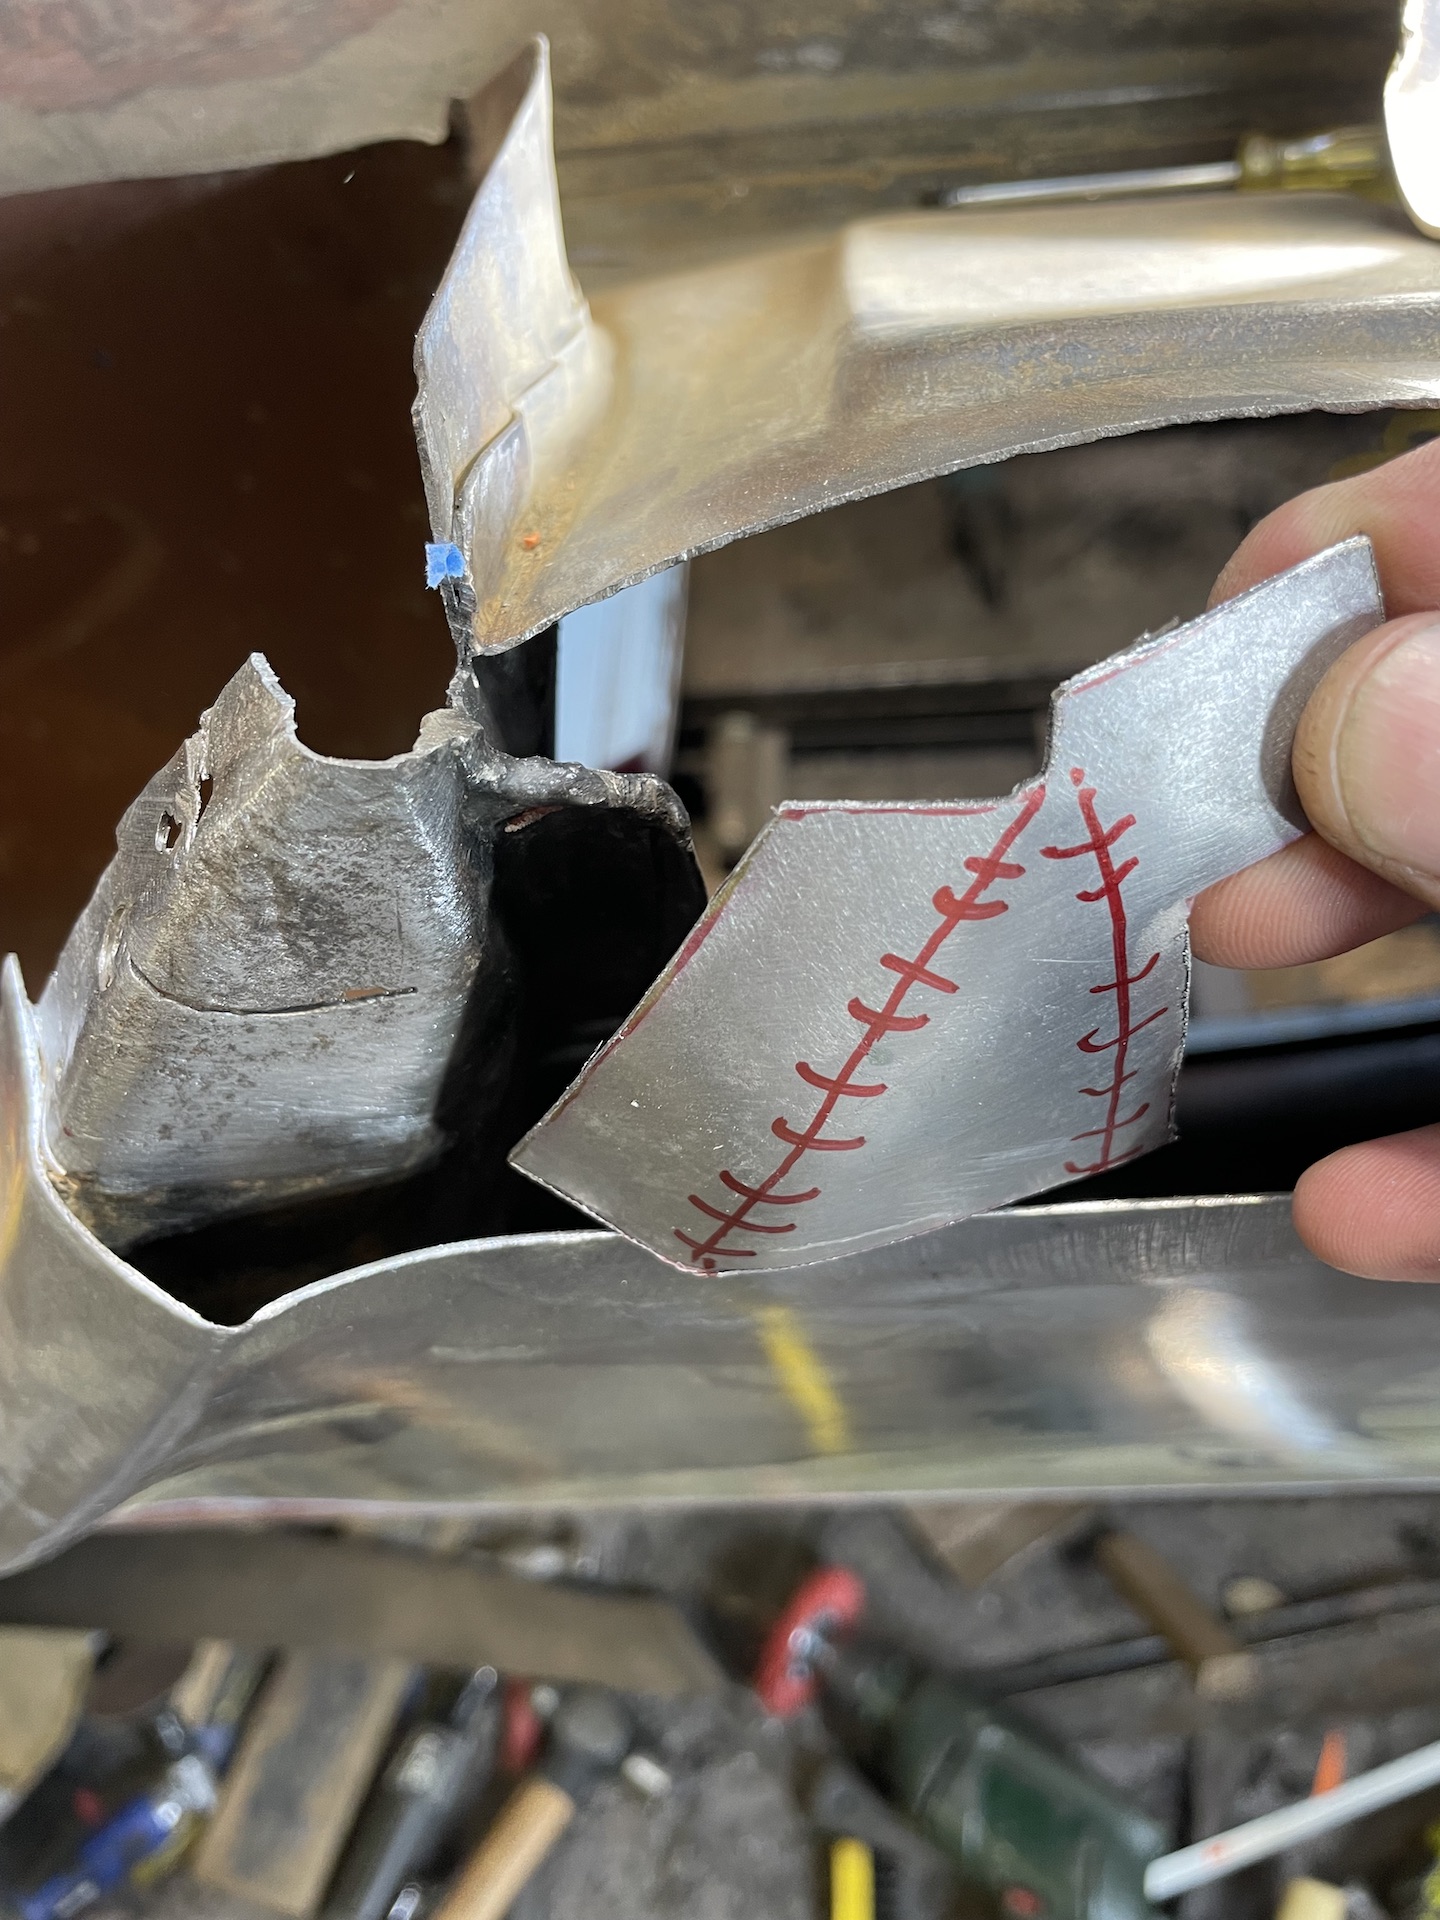
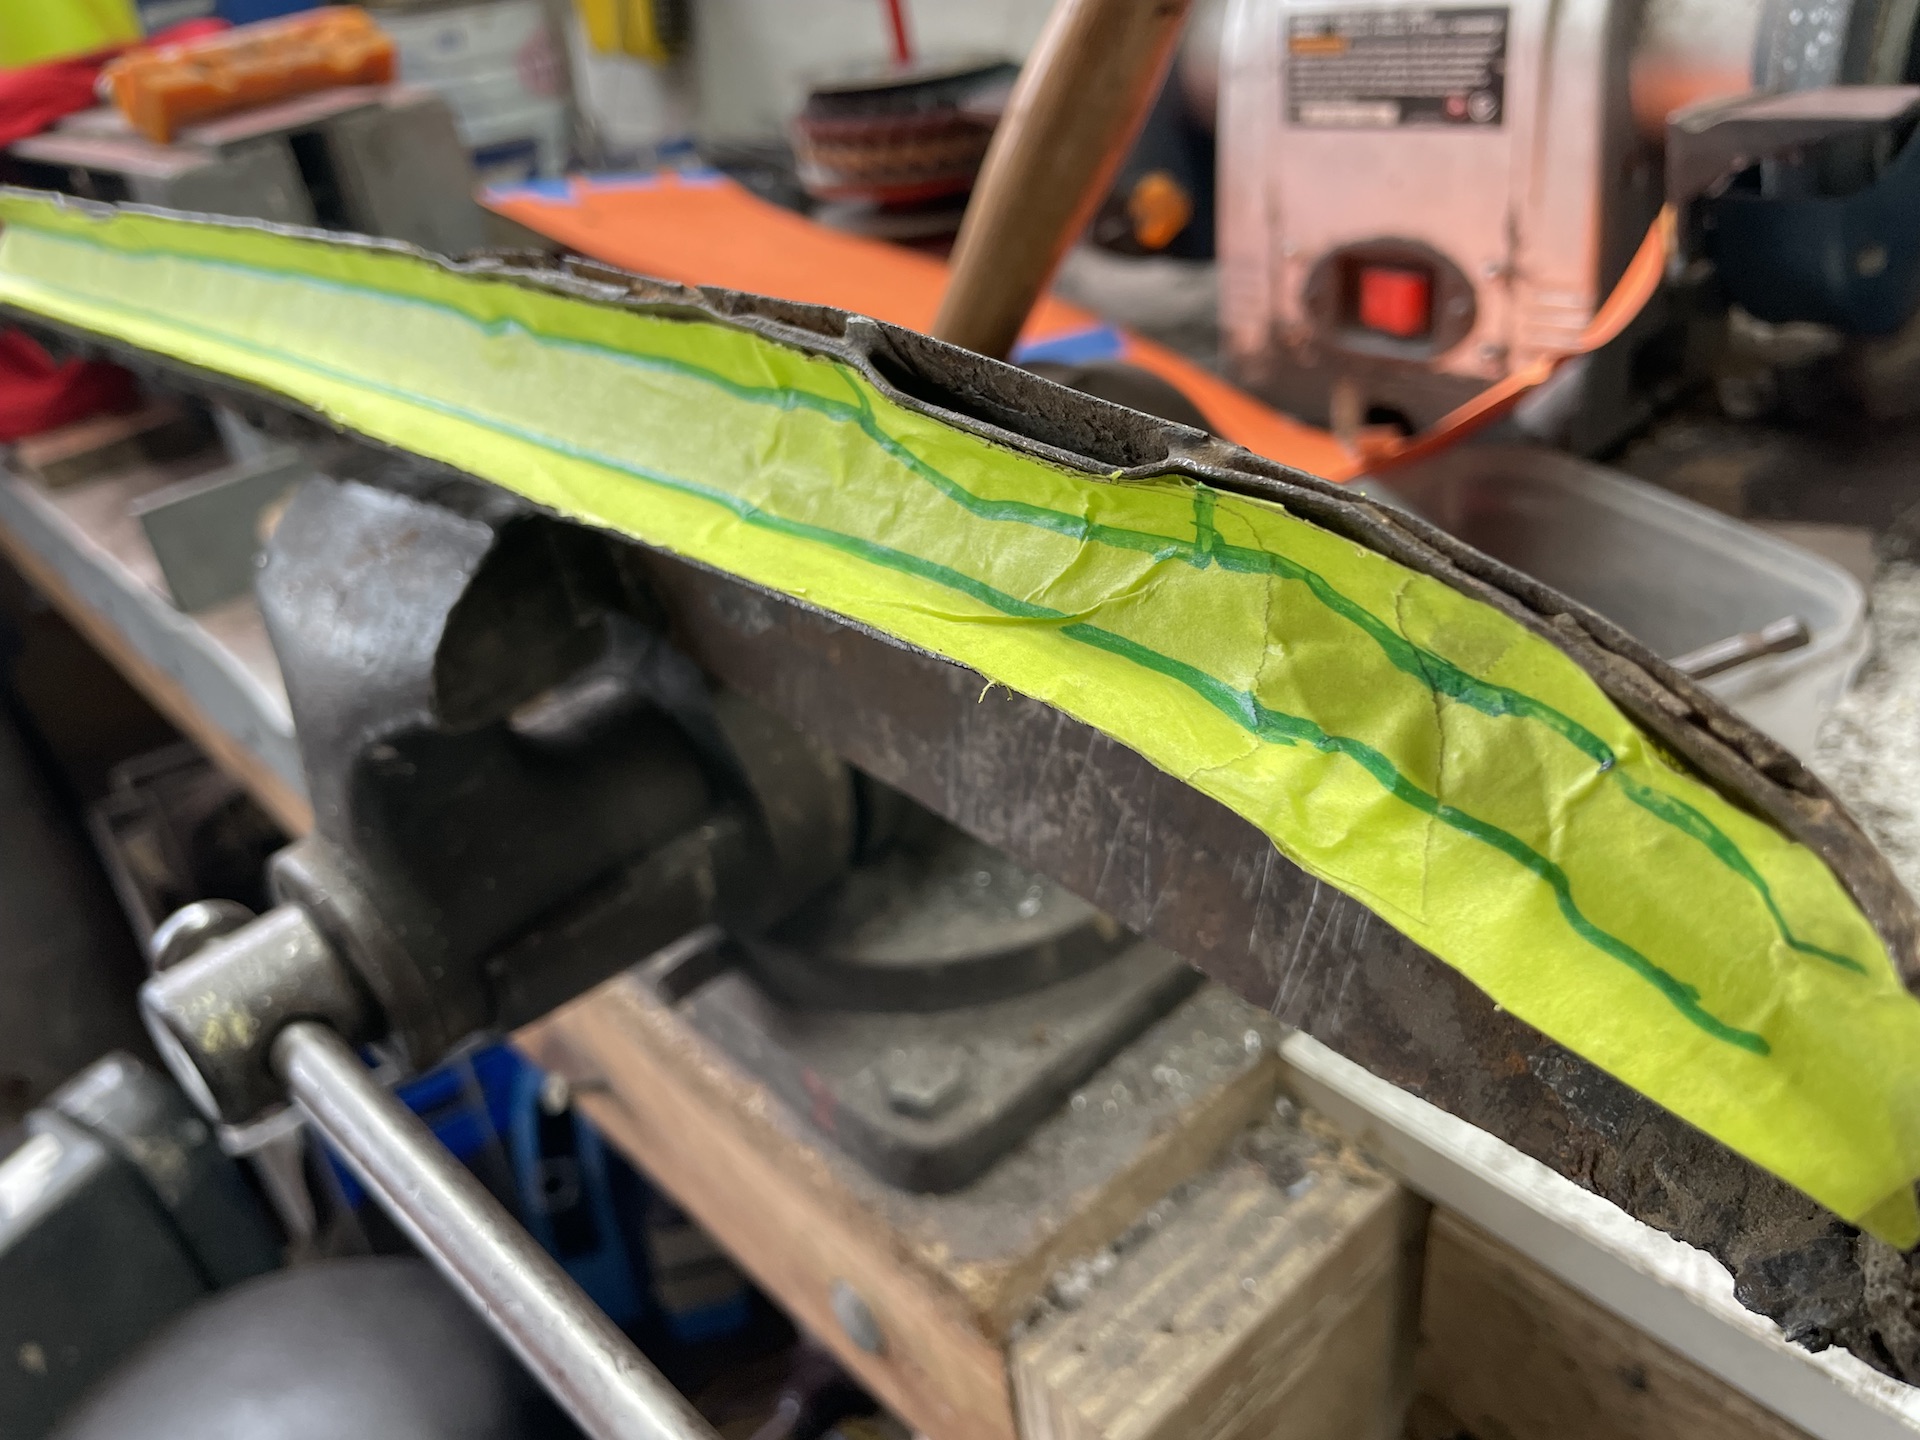
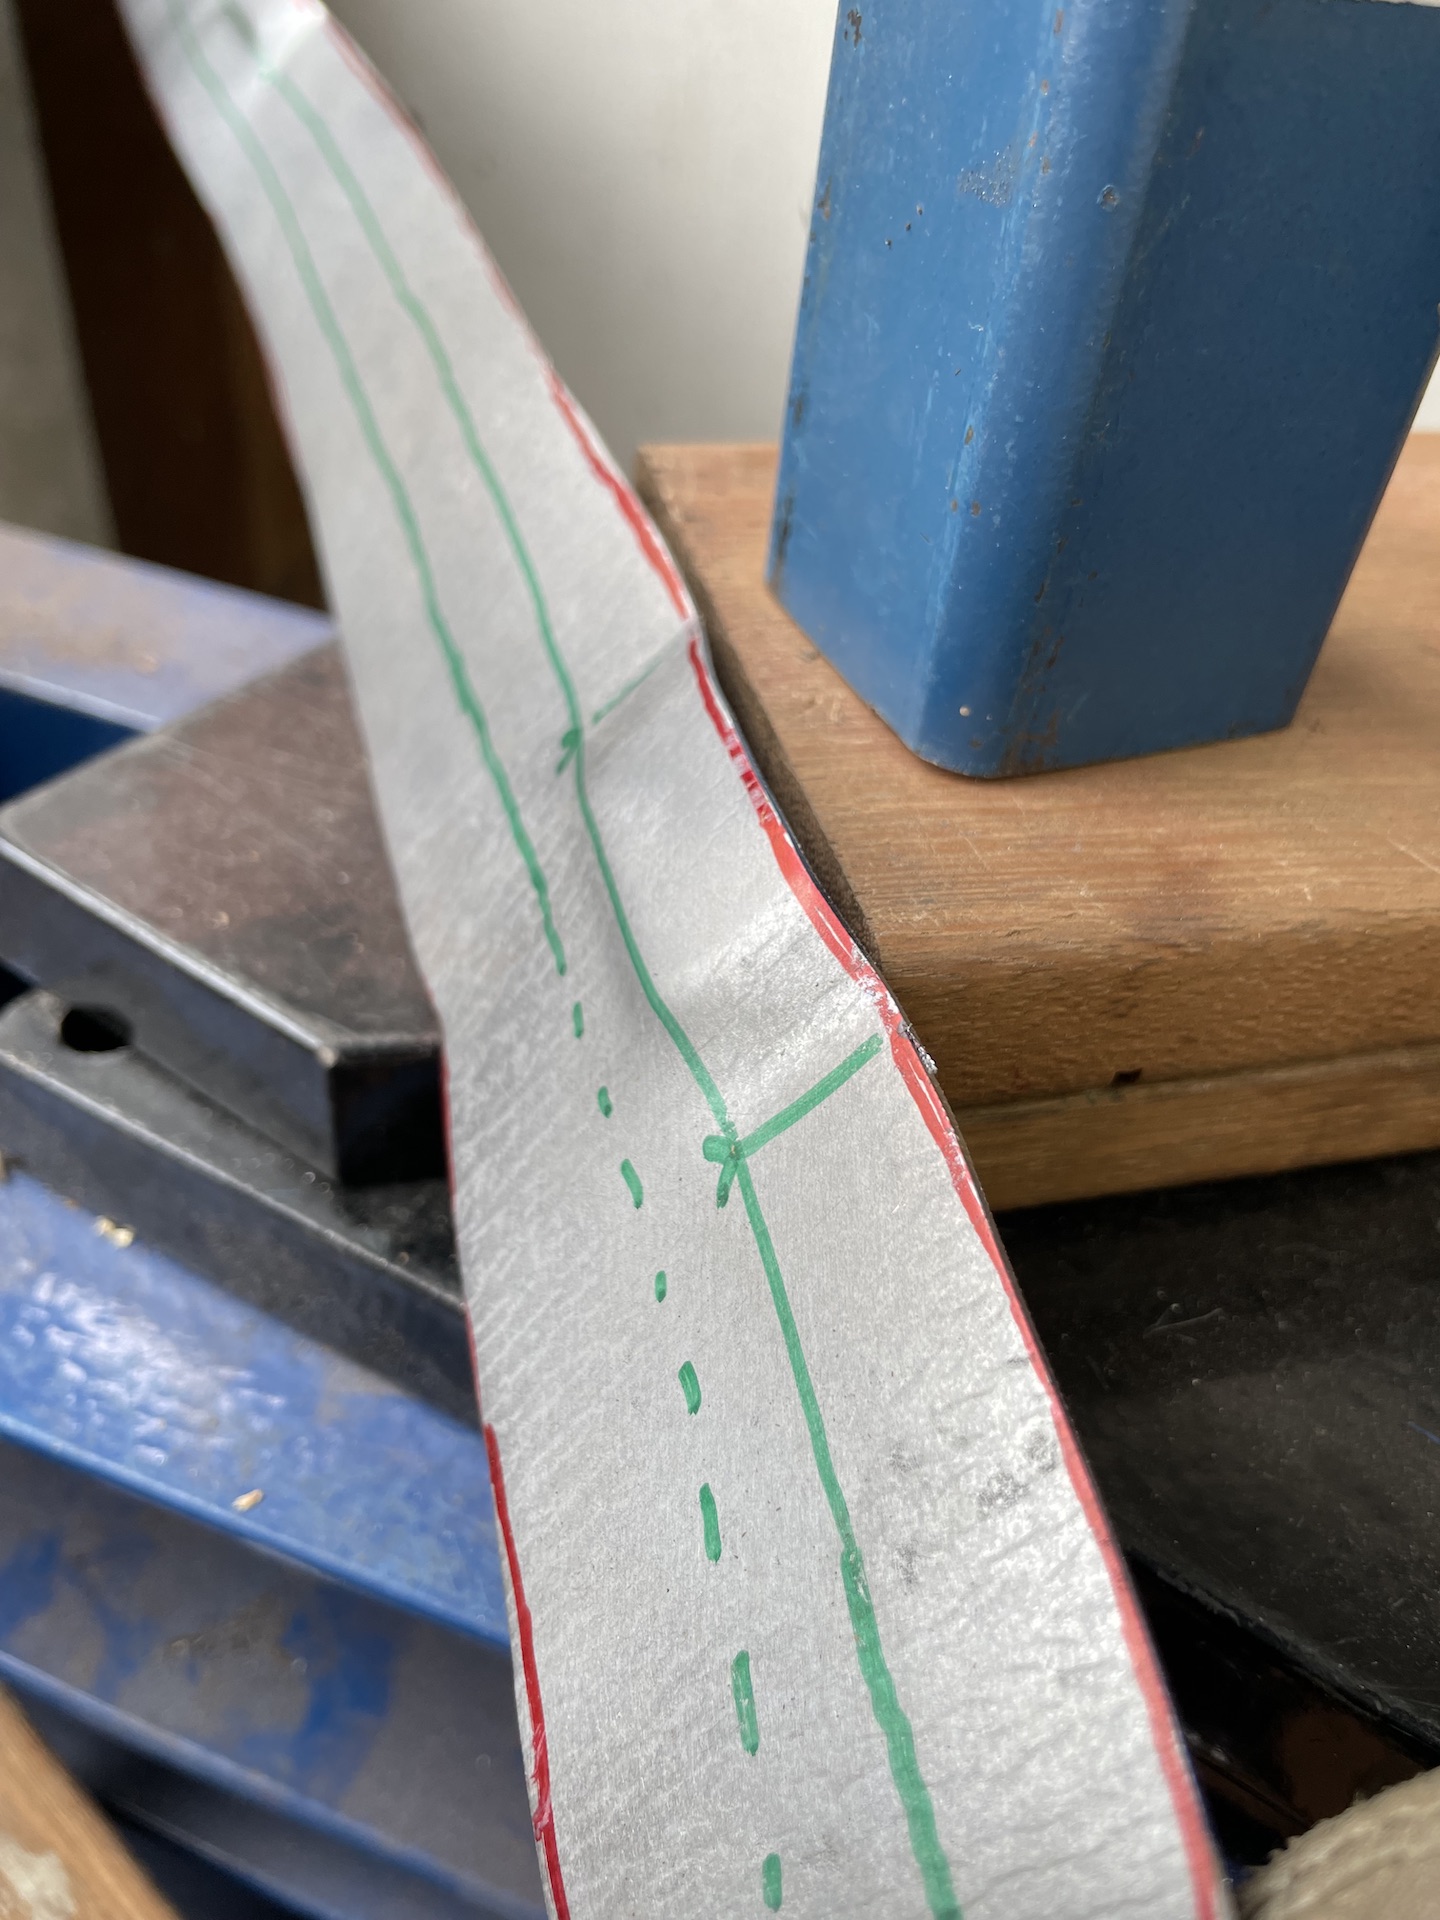
Same deal as other side - bit of rust bottom where the wheel arch joins the inner rear quarter. Instead of paper template, tried a different trick I learnt from YouTube. Masking tape template.
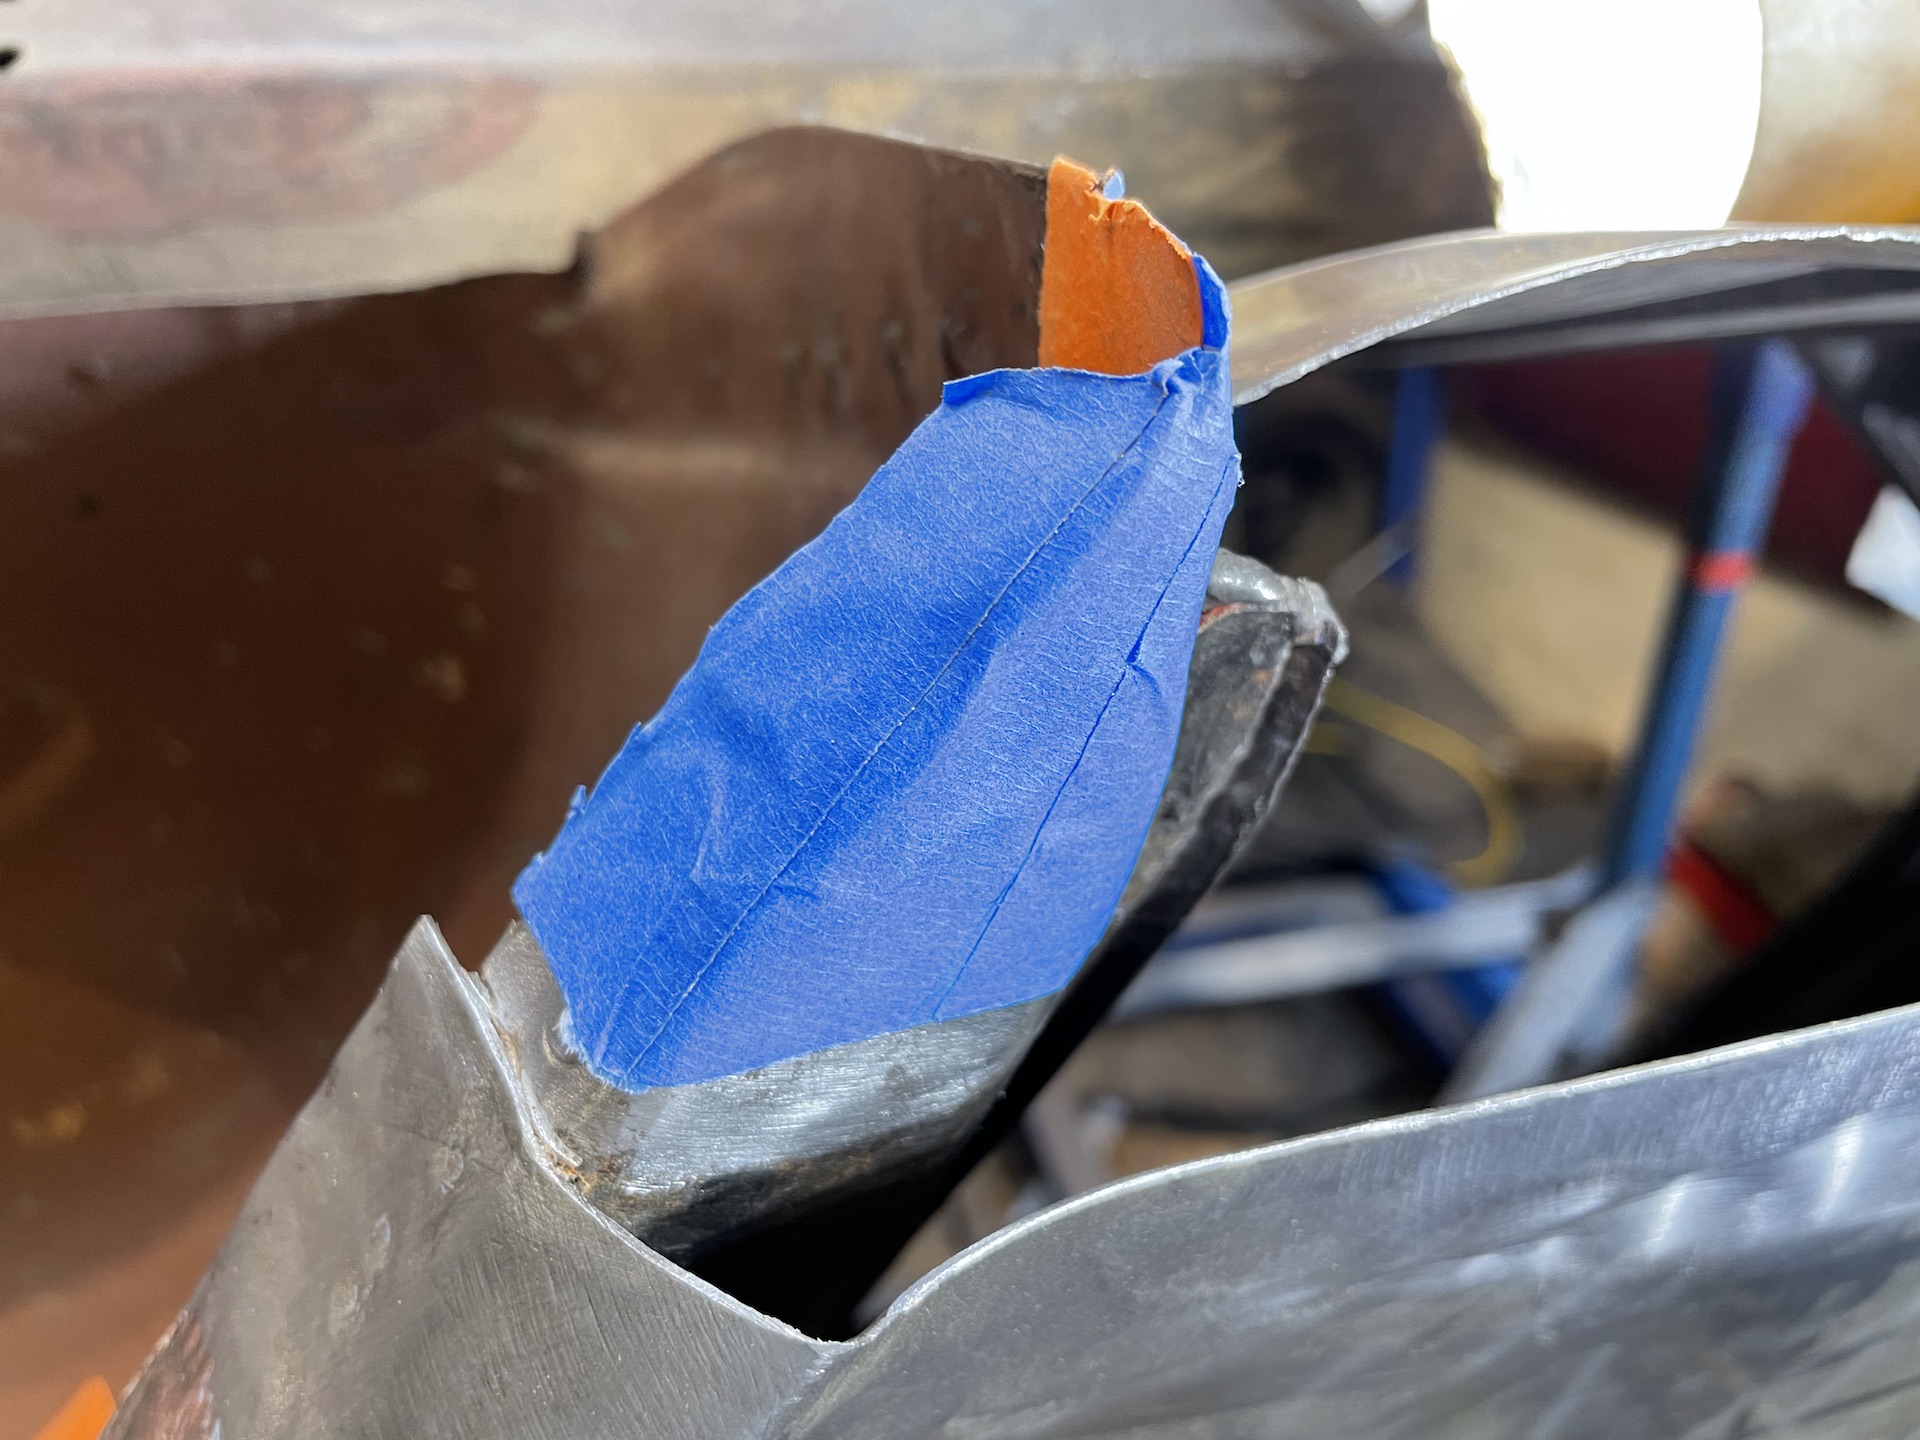
- IMG_0688.jpeg (603.46 KiB) Viewed 2941 times
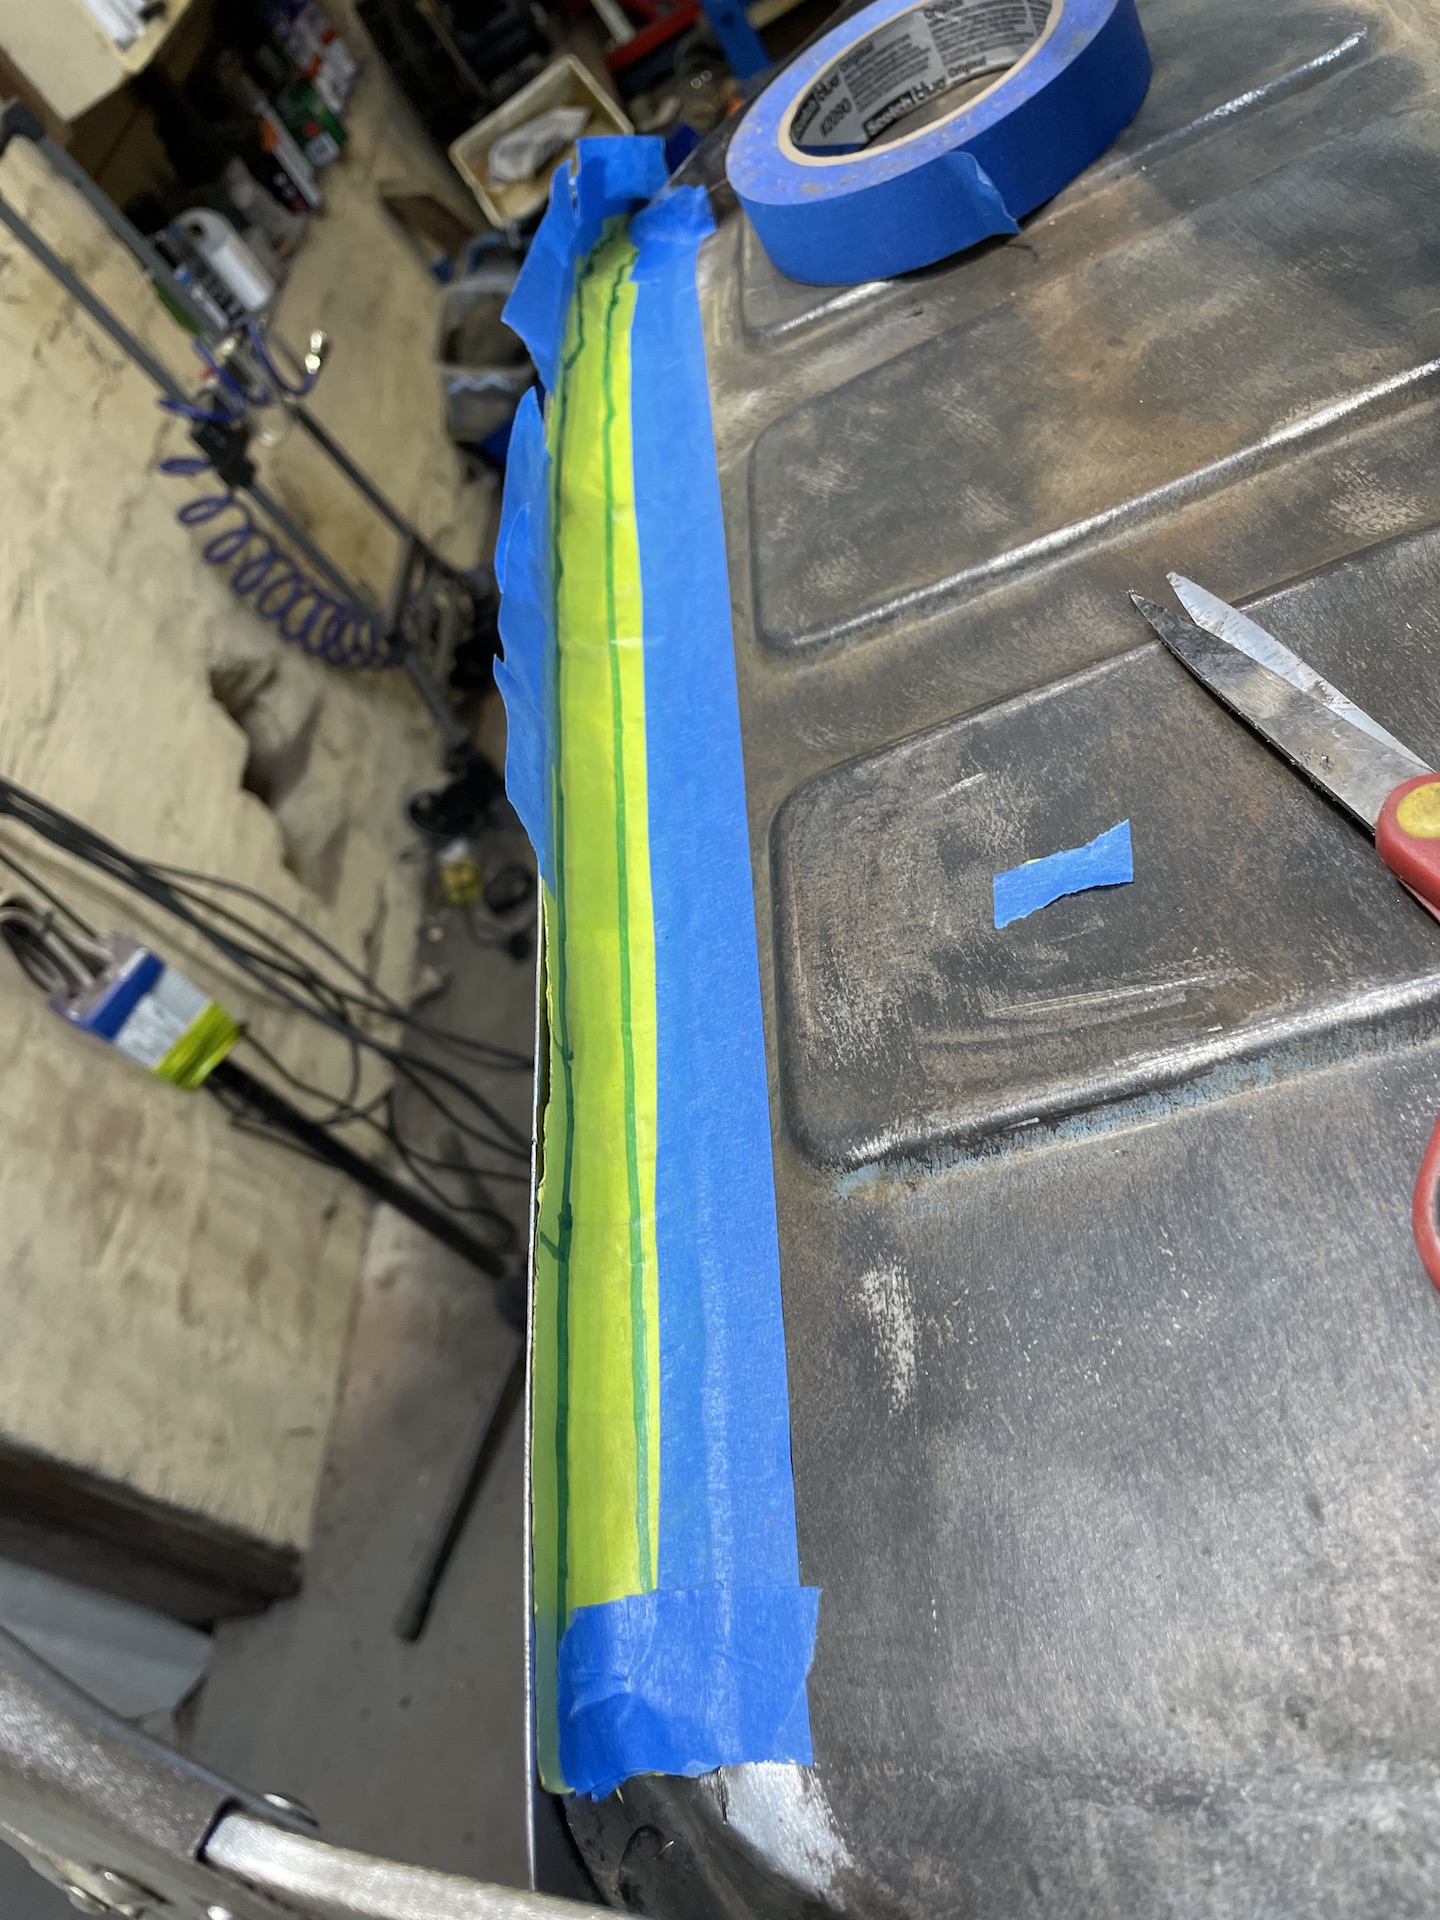
Transfer onto unused passenger repair panel bumper mount.
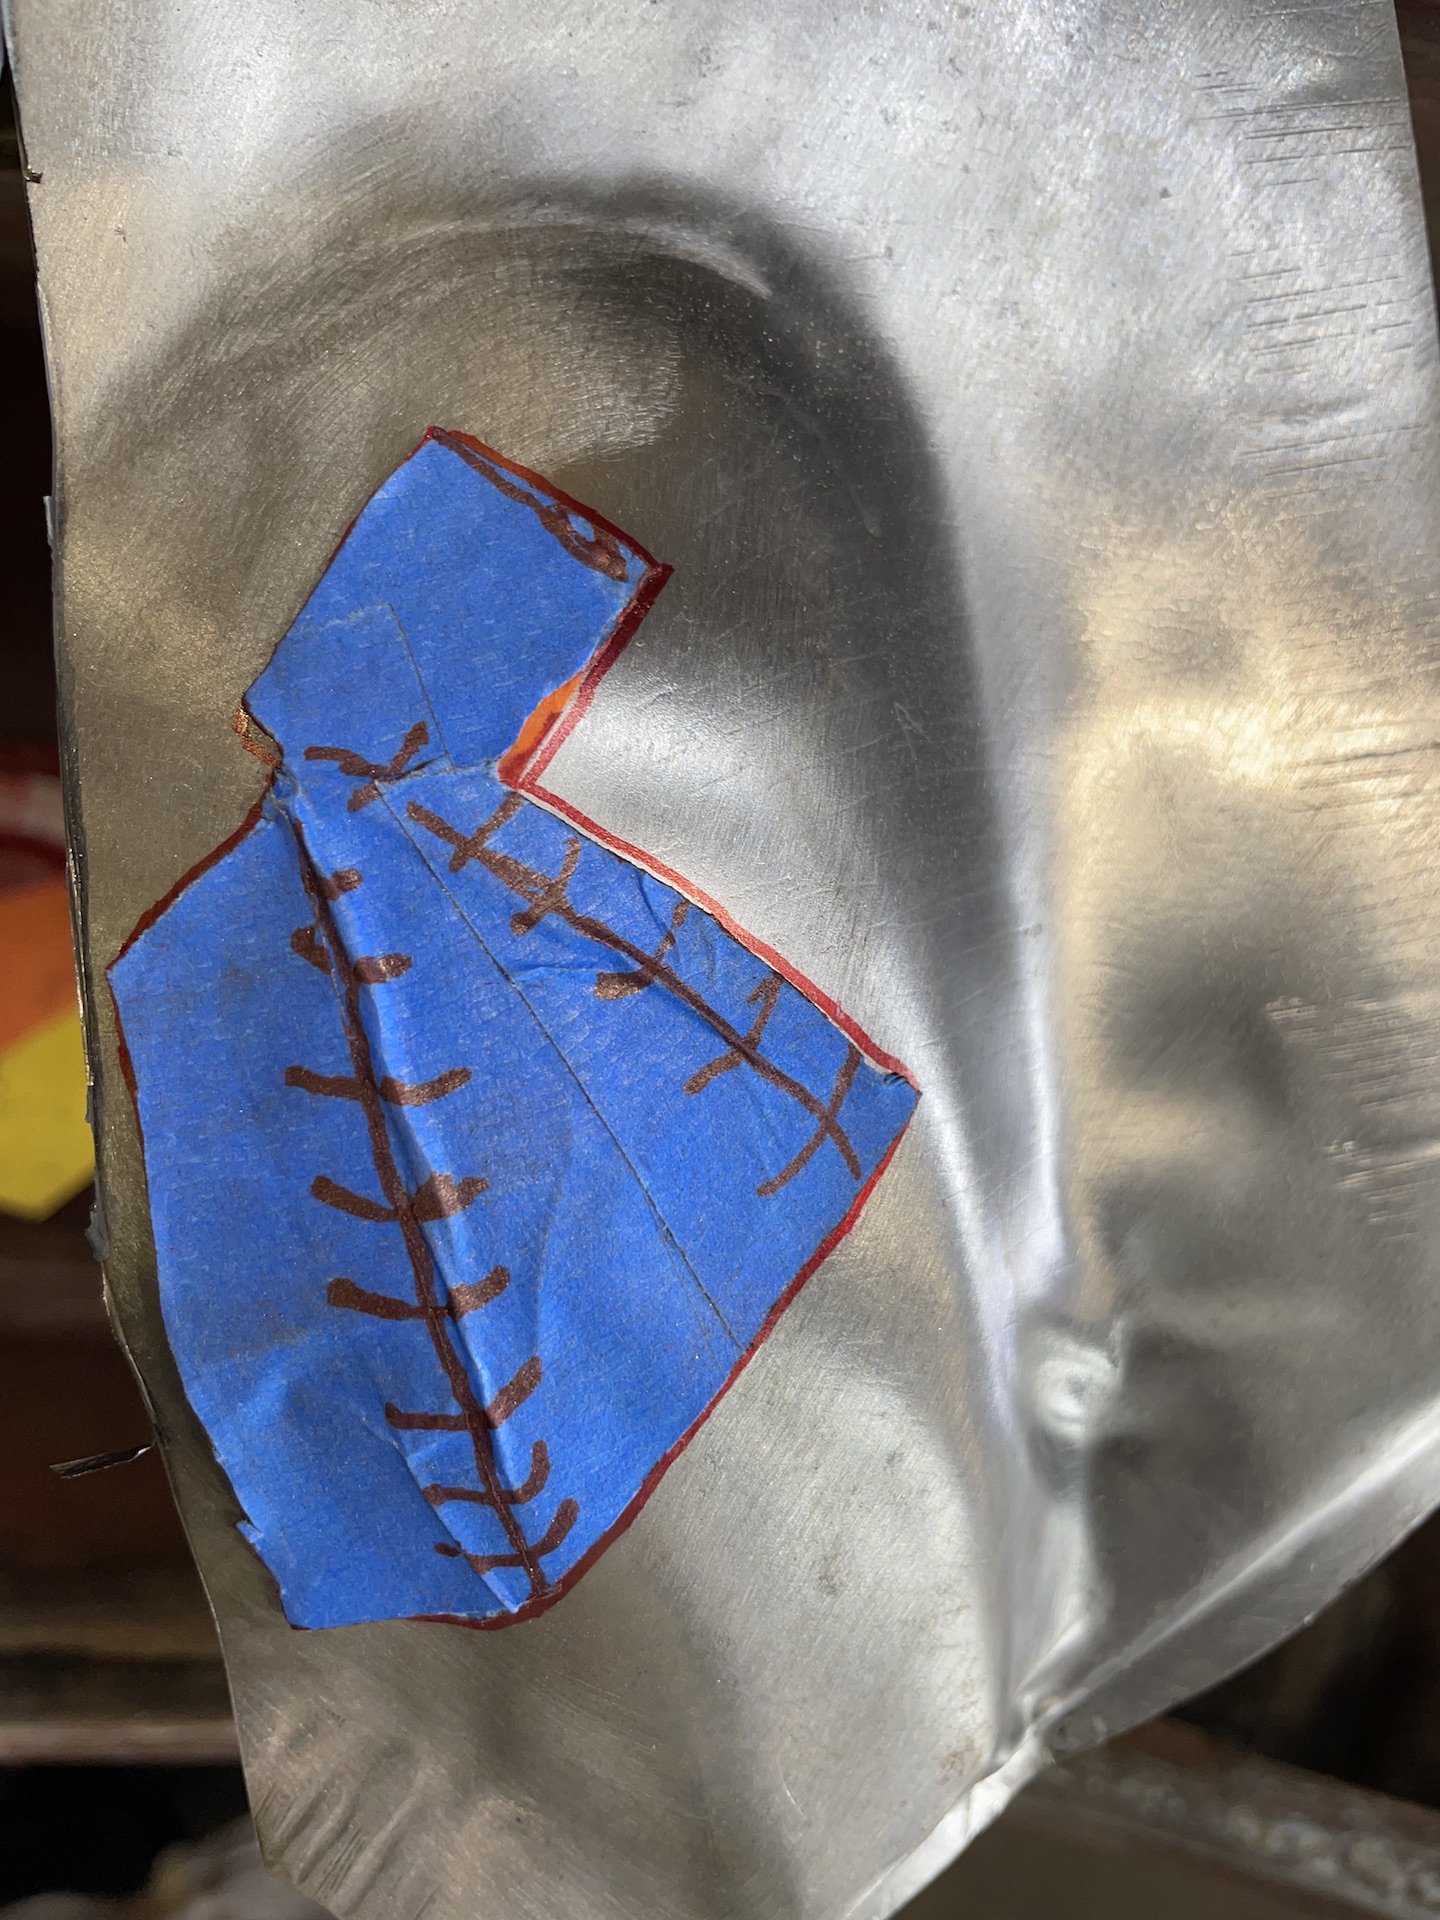
- IMG_0691.jpeg (752.95 KiB) Viewed 2941 times
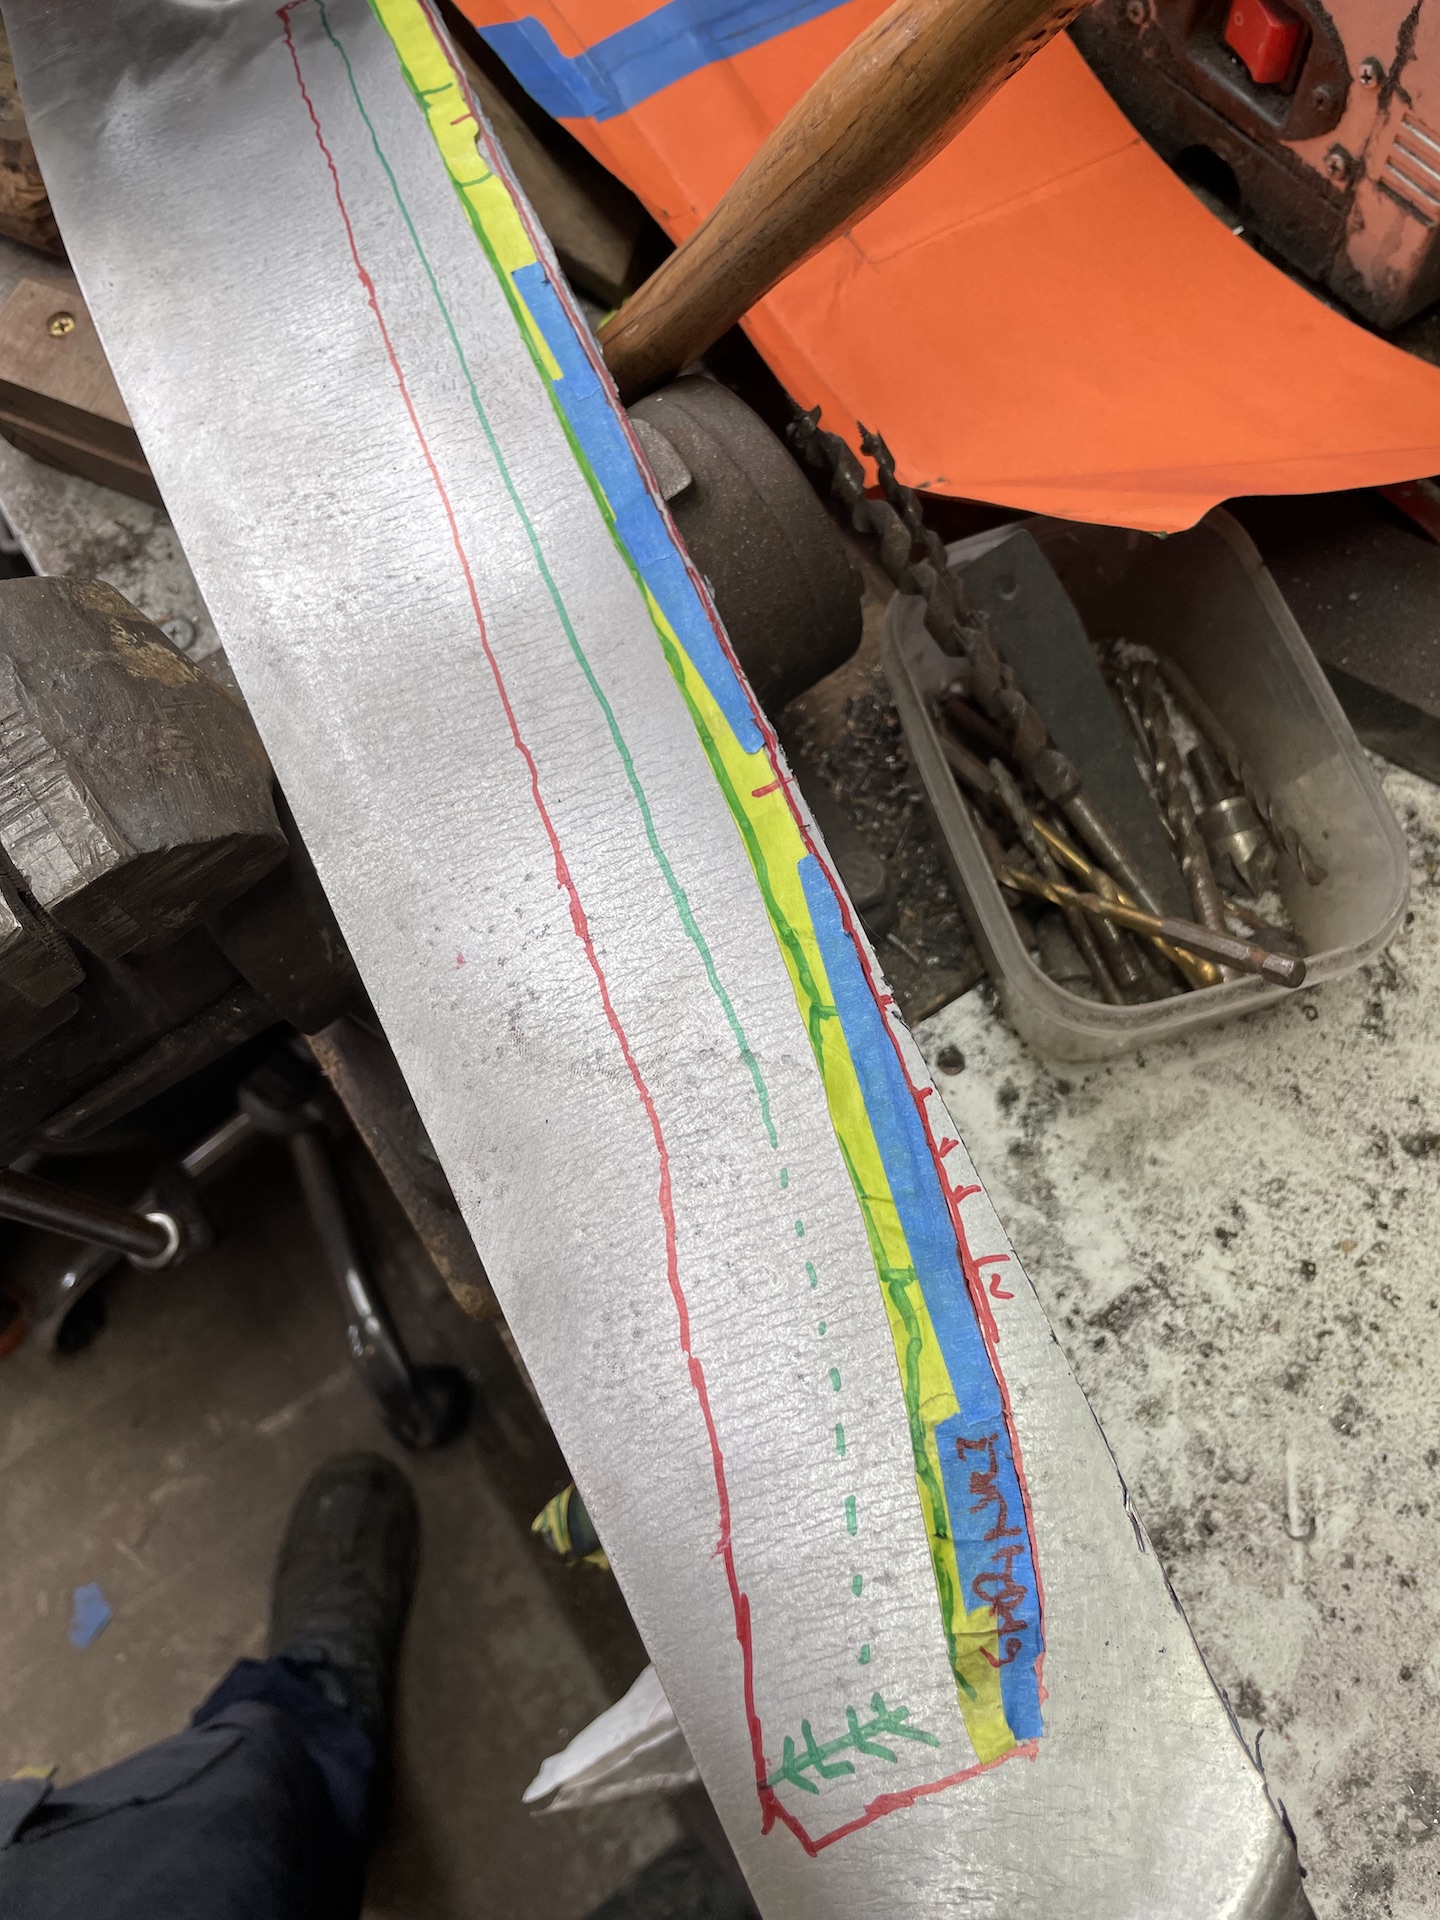
Cutaway tape to mark curves and its already looking like it was meant to be there.
- IMG_0694.jpeg (640.43 KiB) Viewed 2941 times
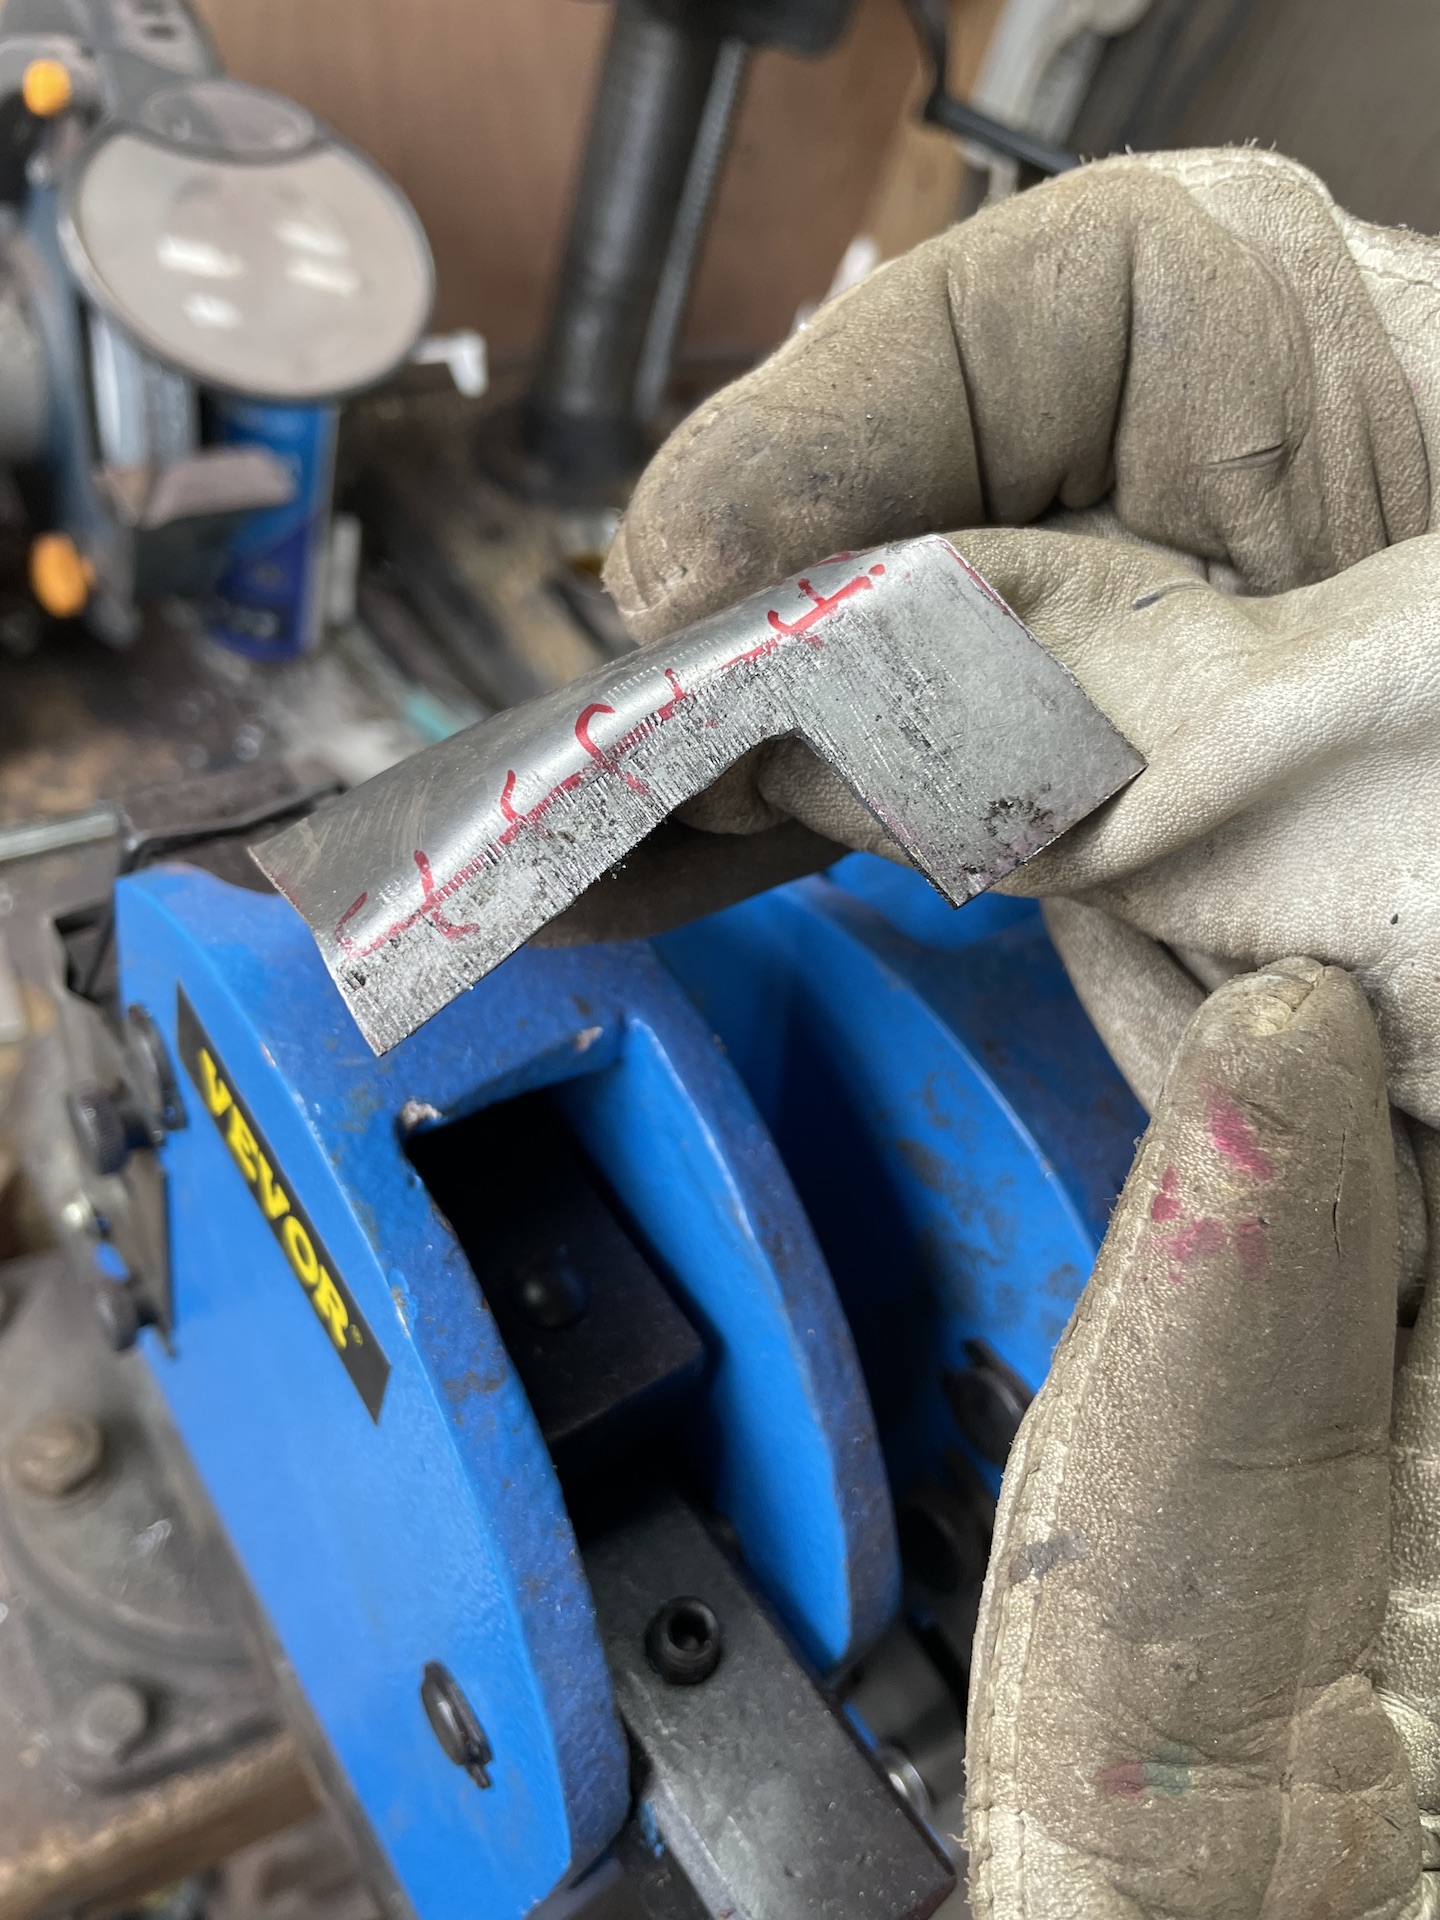
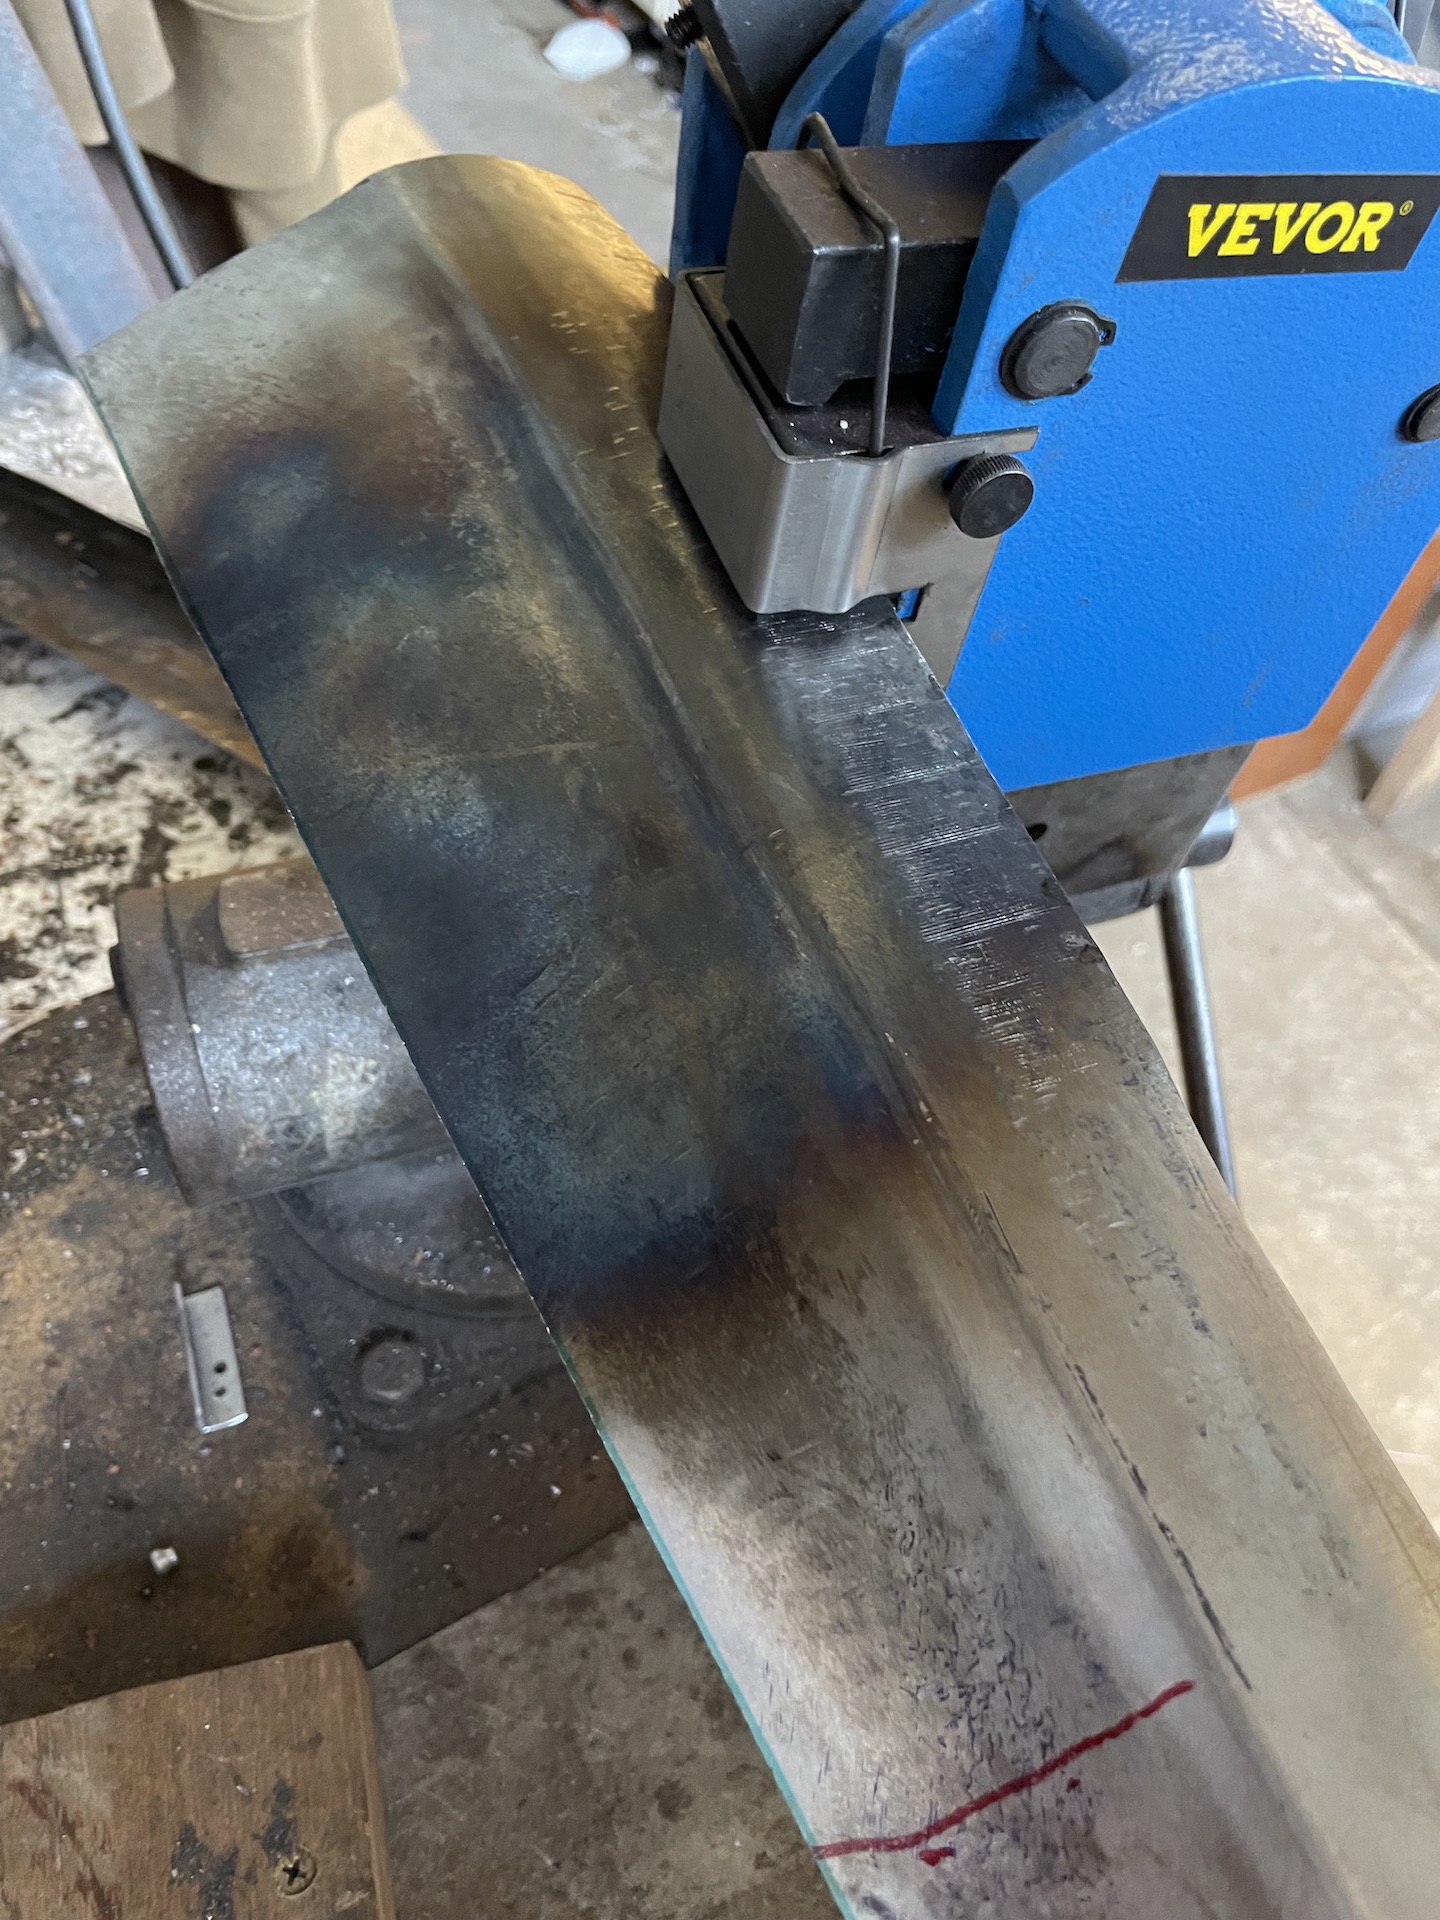
Build profile with shrinker.
- IMG_0695.jpeg (656.8 KiB) Viewed 2941 times
Weld grind and done

- IMG_0699.jpeg (609.18 KiB) Viewed 2941 times
Re: Ol' Rusty - FB/EK Sedan
Posted: Wed Oct 12, 2022 12:17 pm
by funkyscooter
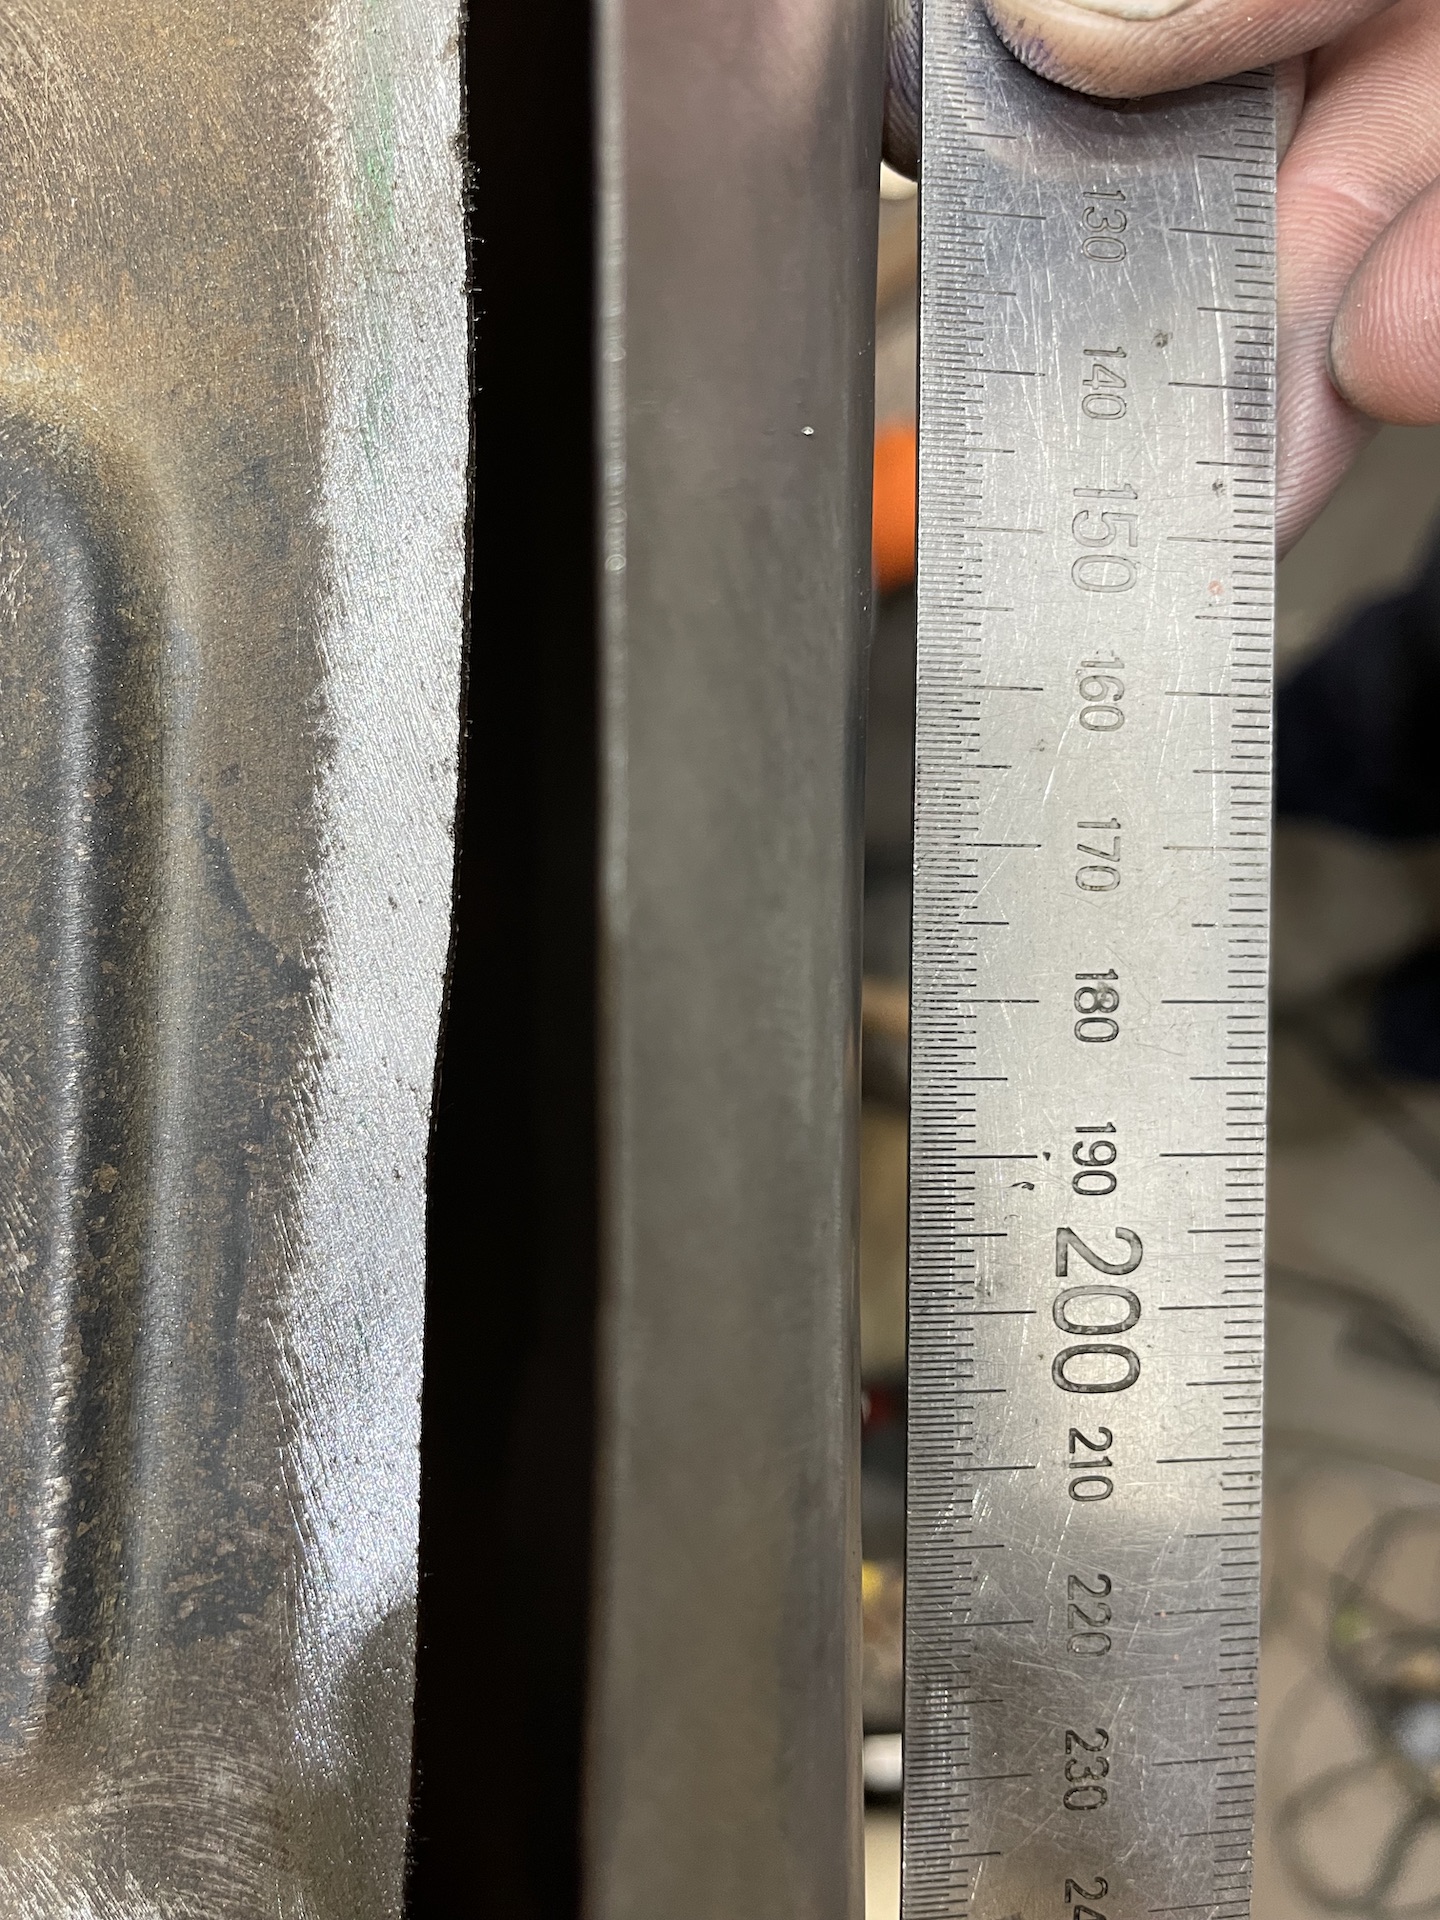
Scribe and cut new repair and test fit. Slight difference in profile in the middle. Well 8mm difference.
- IMG_0701.jpeg (799.23 KiB) Viewed 2940 times

- IMG_0702.jpeg (467.17 KiB) Viewed 2940 times
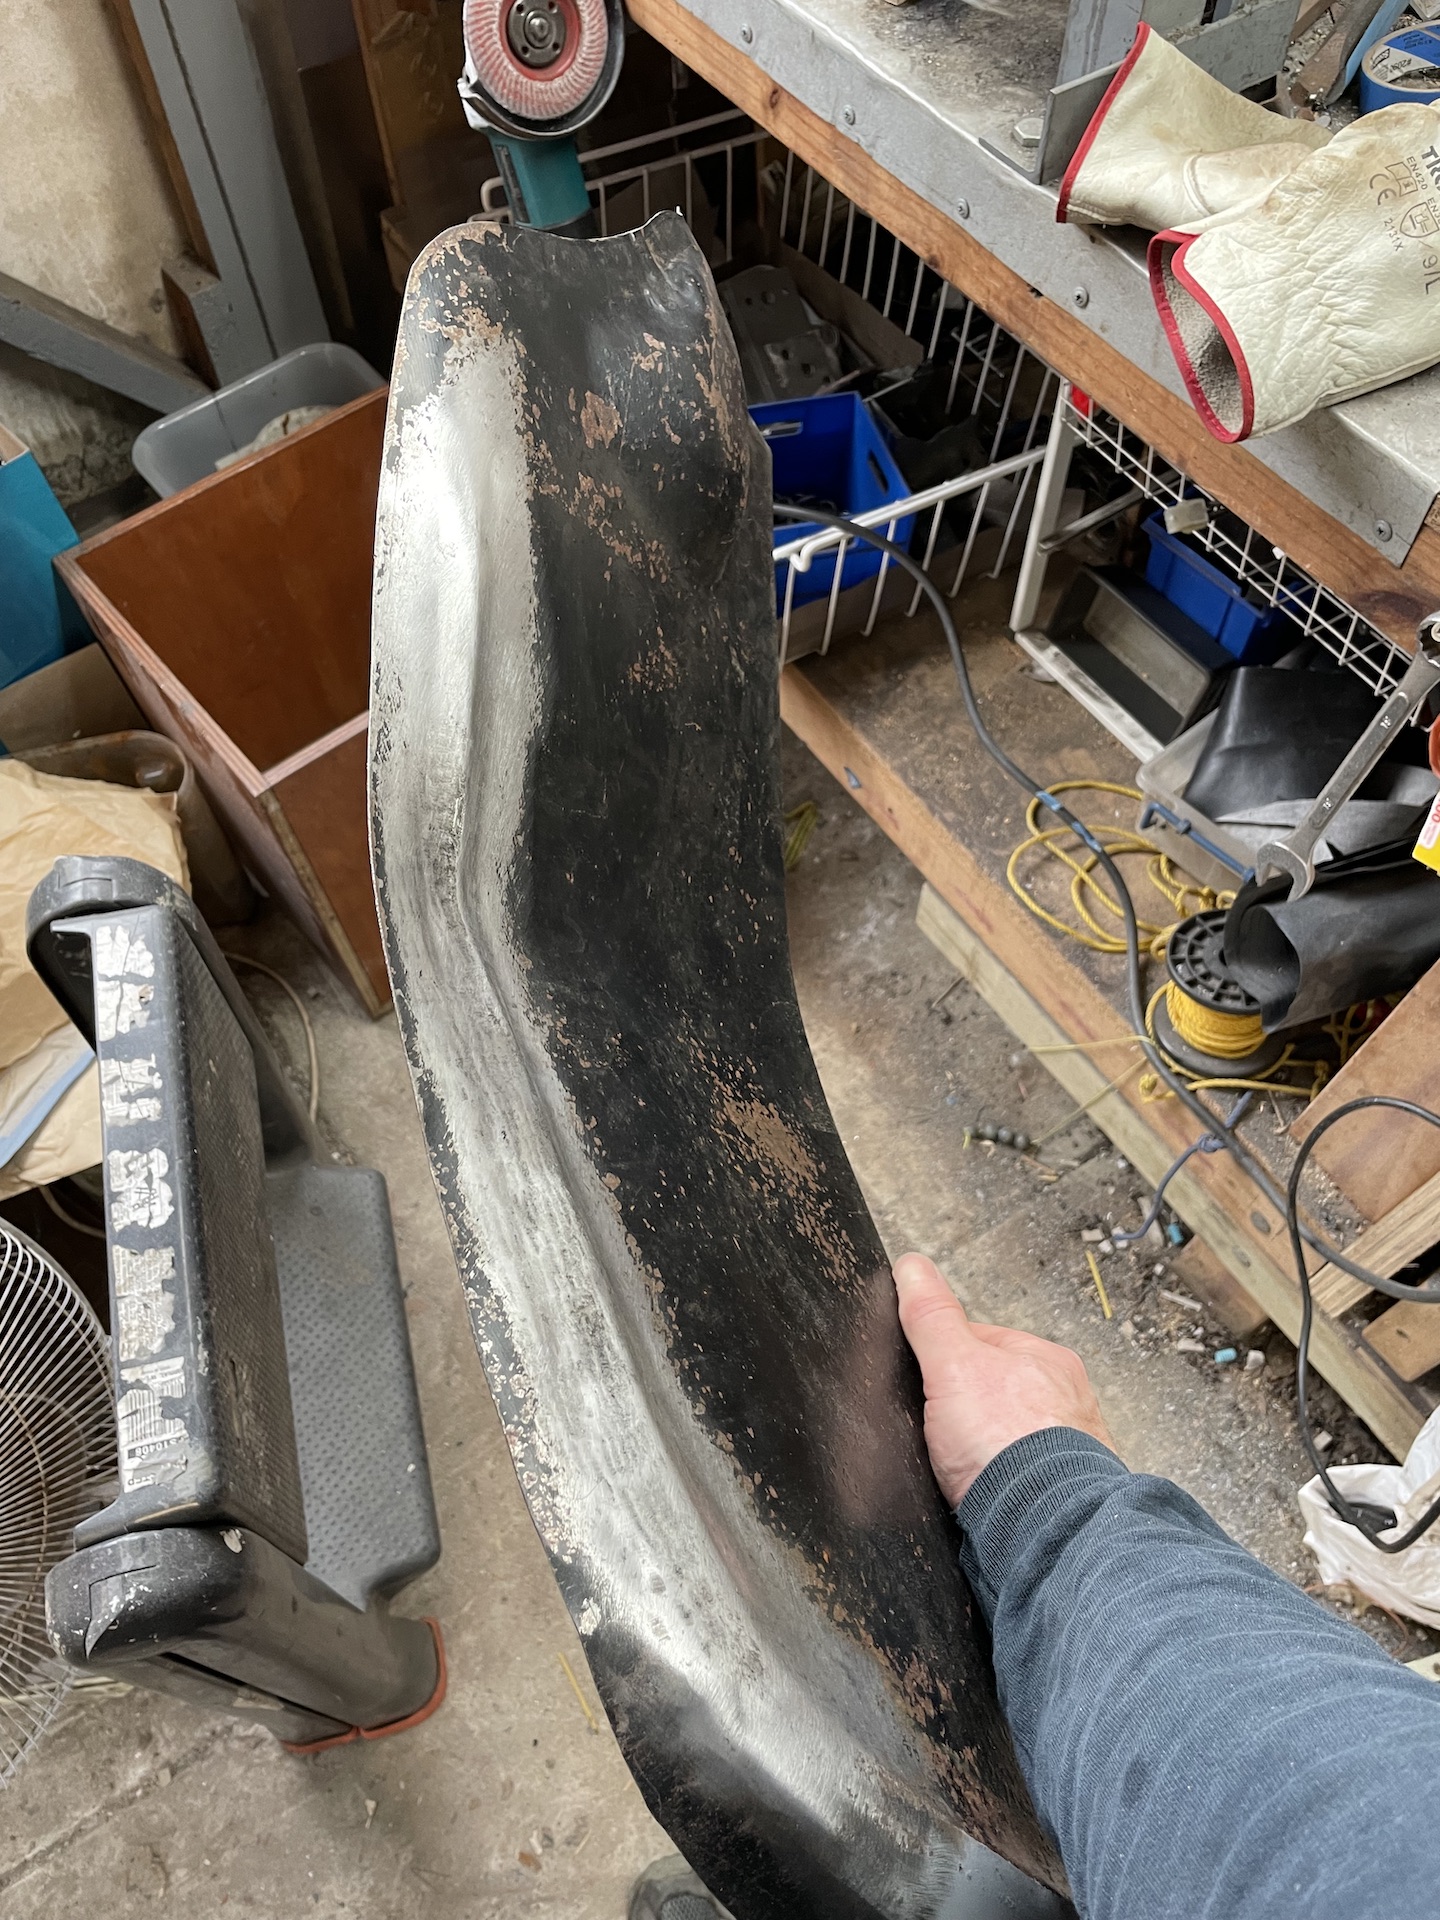
When I cut out the rusty section I took this pic - shows that the panel when relaxed wanted to pull in. Remember that now.
- IMG_0668.jpg (410.83 KiB) Viewed 2940 times
Also you may remember that the repair panel was bowing out slightly when I originally test fit it a few pages back. This was my first attempt to bend it in slightly with my knee. Took lots of wearing and hammering to get it back in shape after this. Remember this also.
- IMG_0404.jpeg (906.97 KiB) Viewed 2940 times
Anyways, put clamps on and it all pulled up fine and basically lined up
- IMG_0705.jpeg (570.72 KiB) Viewed 2940 times
Tack/Cool/Tack/Cool/Hammer etc the dress down so I can weld without too much extra build up
- IMG_0728.jpeg (576.91 KiB) Viewed 2940 times
- IMG_0729.jpeg (784.7 KiB) Viewed 2940 times
Grinding etc and looks pretty good.
- IMG_0731.jpeg (676.89 KiB) Viewed 2940 times
Re: Ol' Rusty - FB/EK Sedan
Posted: Wed Oct 12, 2022 12:19 pm
by funkyscooter
Same trick with tape for the inner repair. Transfer from the janky off cut.
- IMG_0708.jpeg (548.22 KiB) Viewed 2939 times
Test fit and build up missing areas with more tape.
- IMG_0710.jpeg (724.56 KiB) Viewed 2939 times
Transfer onto another 3/4 offcut, cutting away tape and marking curves.
- IMG_0711.jpeg (751.4 KiB) Viewed 2939 times
Press out drains
- IMG_0713.jpeg (489.04 KiB) Viewed 2939 times
Lots of test fitting twisting, shinking and stretching later.
- IMG_0803.jpeg (830.71 KiB) Viewed 2939 times
Re: Ol' Rusty - FB/EK Sedan
Posted: Wed Oct 12, 2022 12:20 pm
by funkyscooter
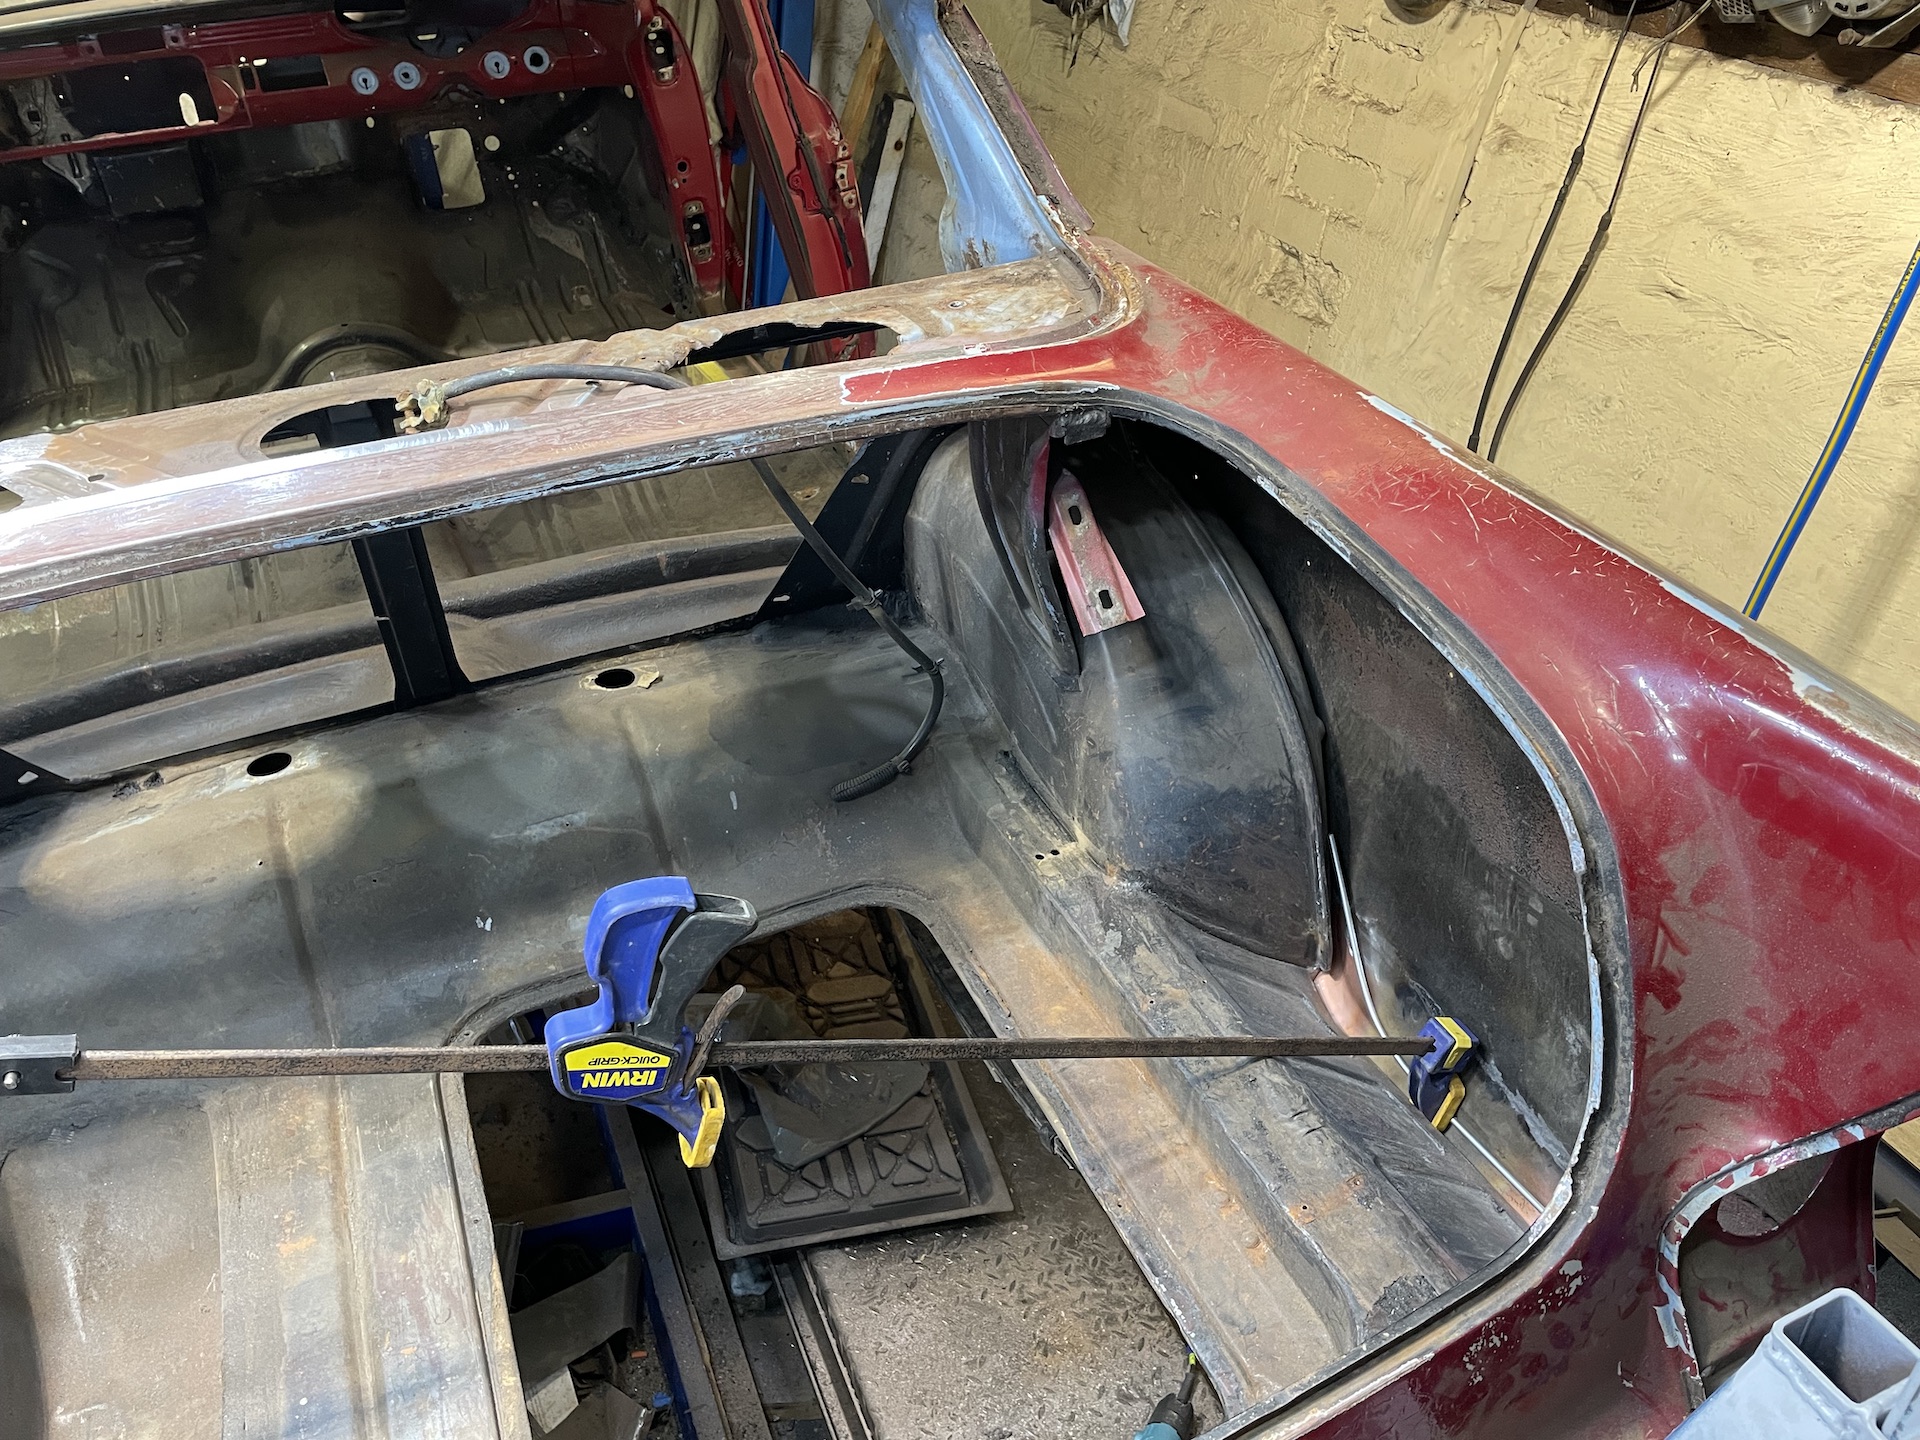
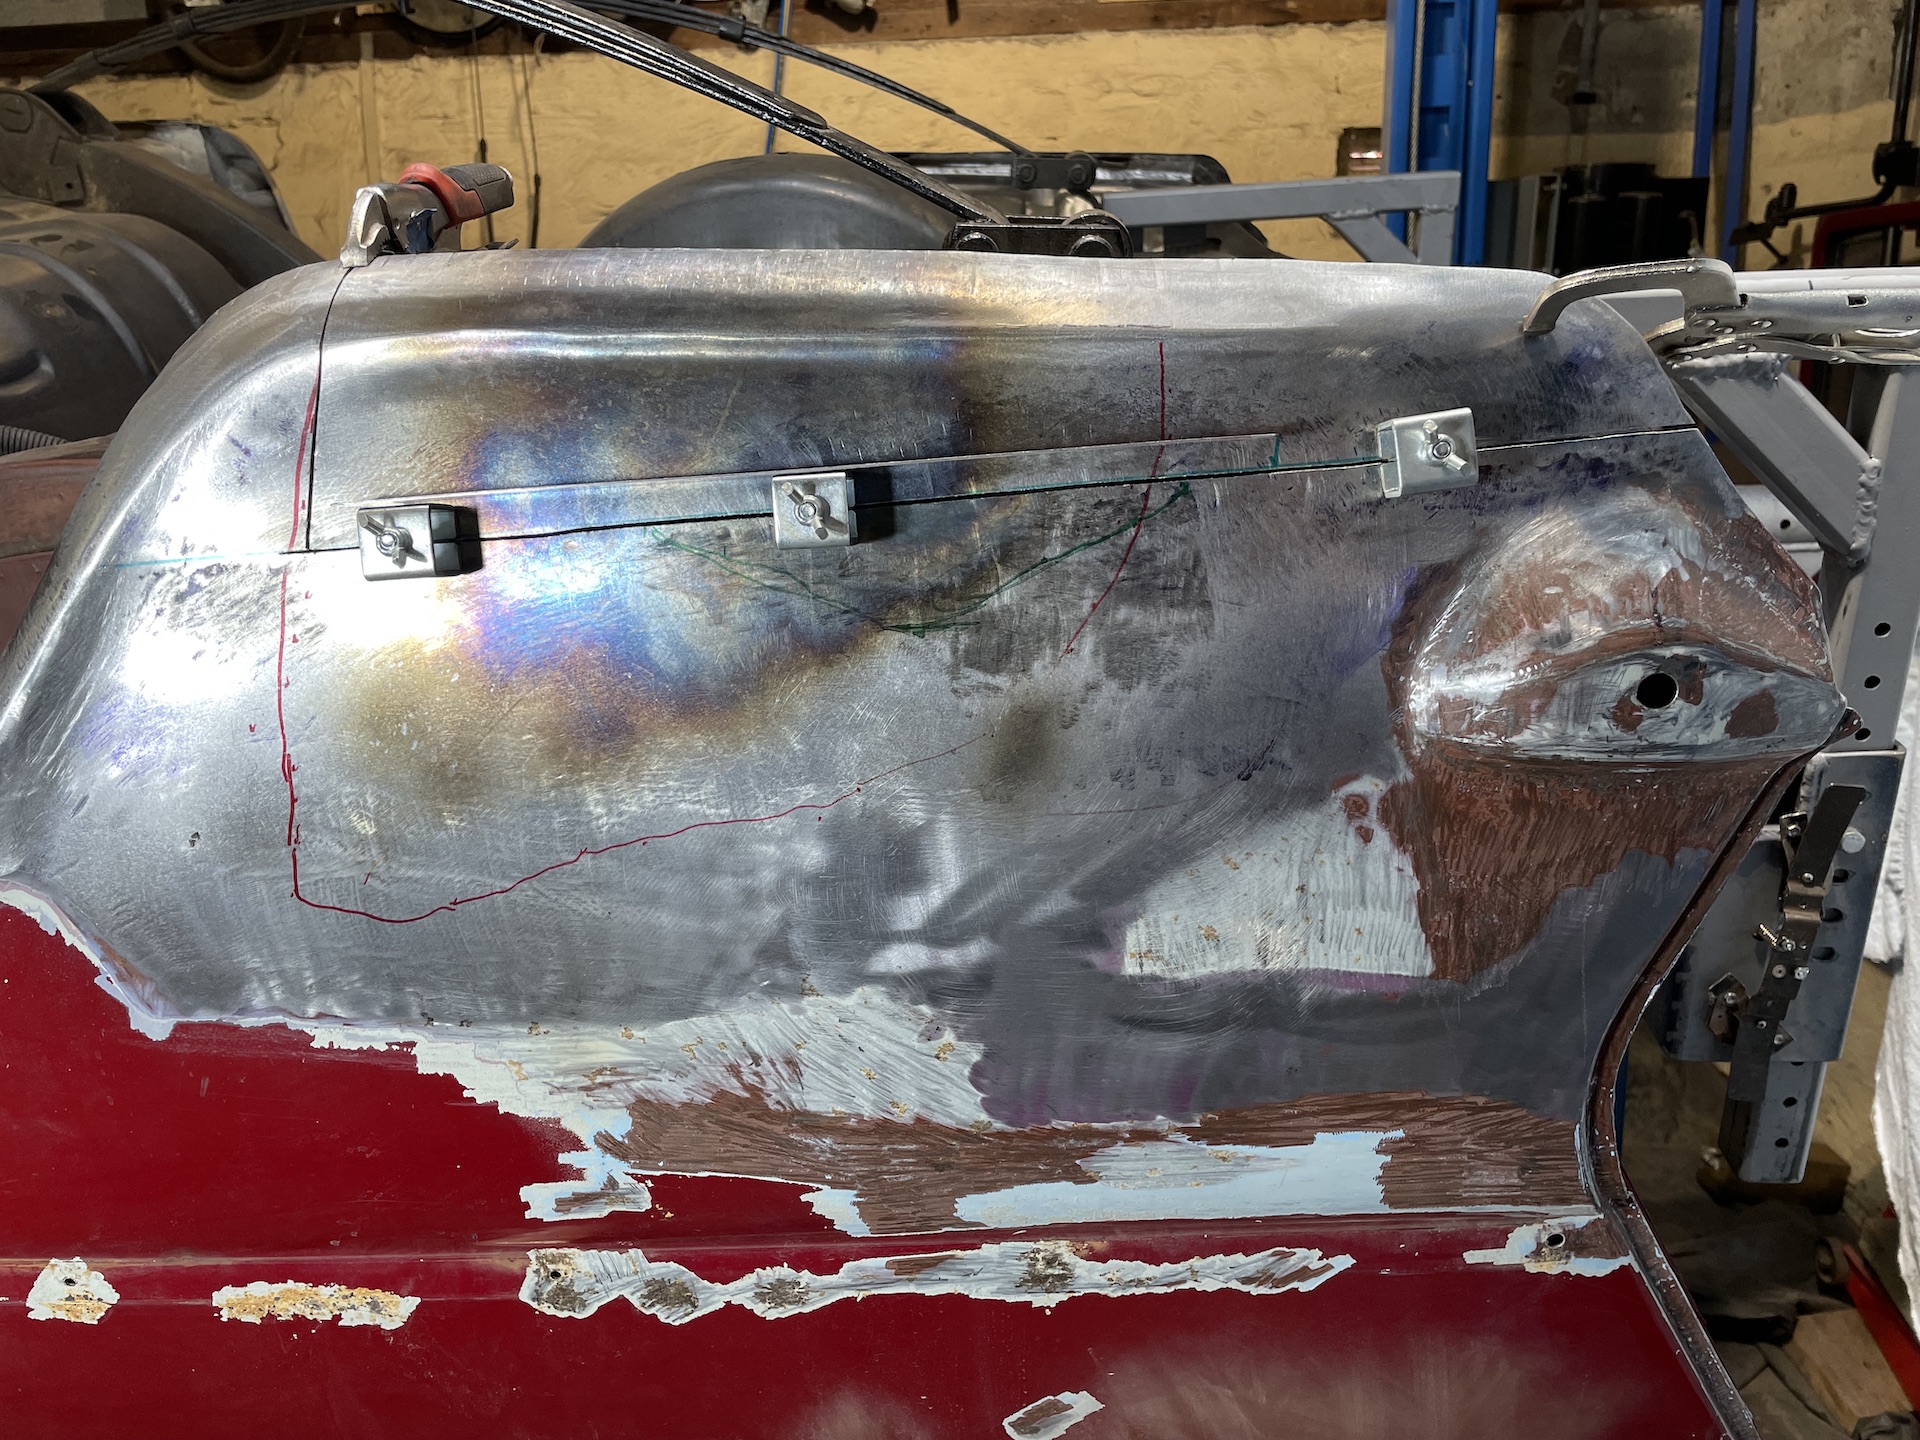
With all that test fitting and checking against the passenger side and I notice something.
Drivers side 3/4 bows in slightly on the panel above and below the repair. The passenger side is dead straight.
Tried shrinking around the welds with the shrinking disk, because, hey it works like magic
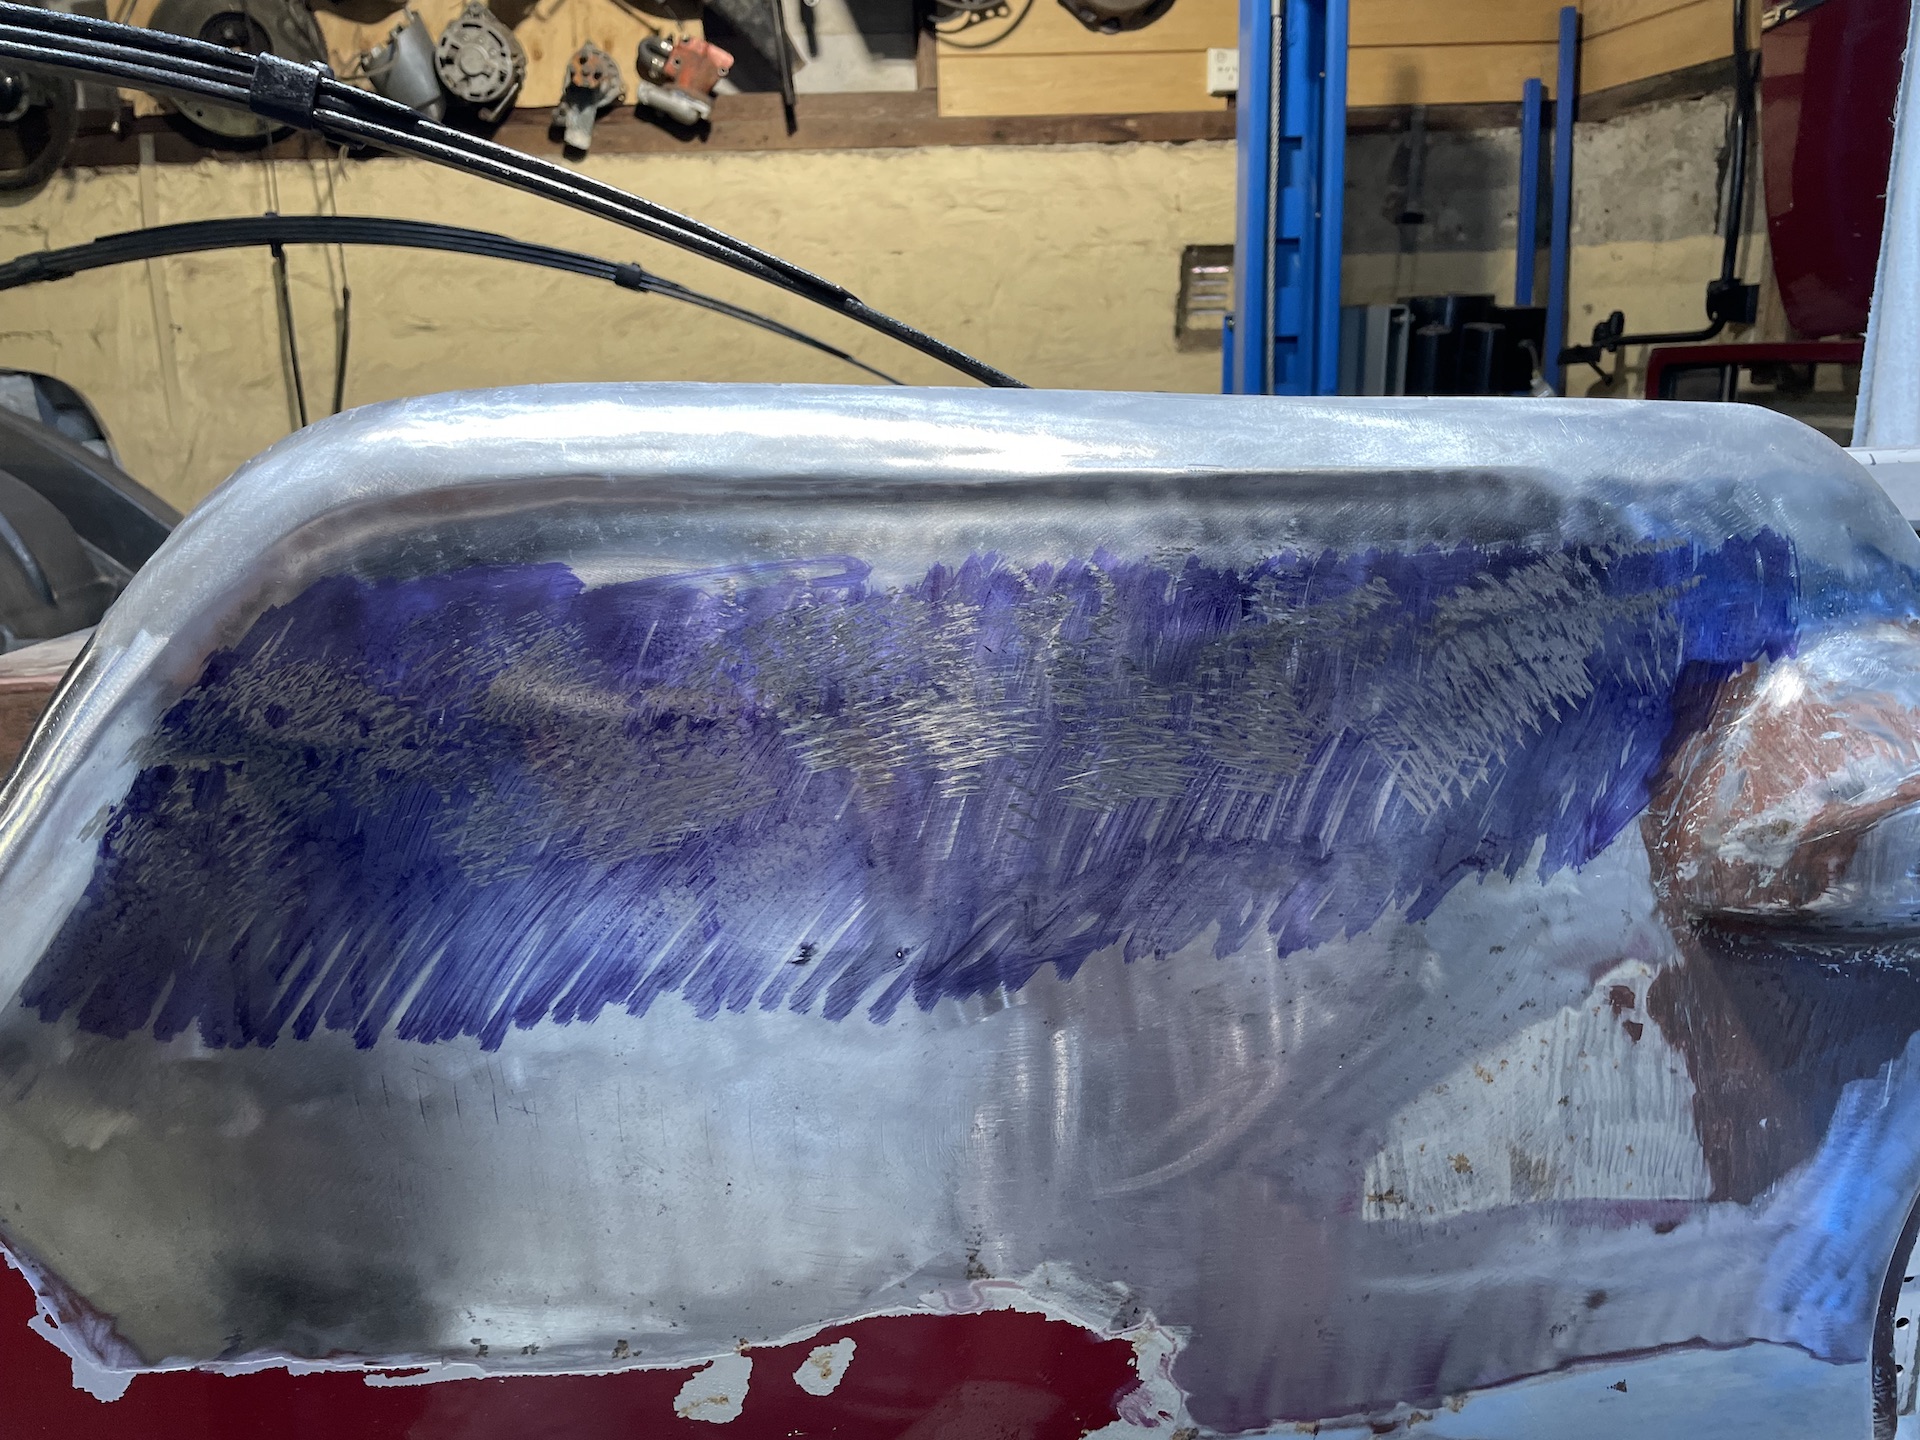
- IMG_0734.jpeg (810.33 KiB) Viewed 2937 times
Well not in this case
- IMG_0737.jpeg (907.64 KiB) Viewed 2937 times
- IMG_0738.jpeg (545.6 KiB) Viewed 2937 times
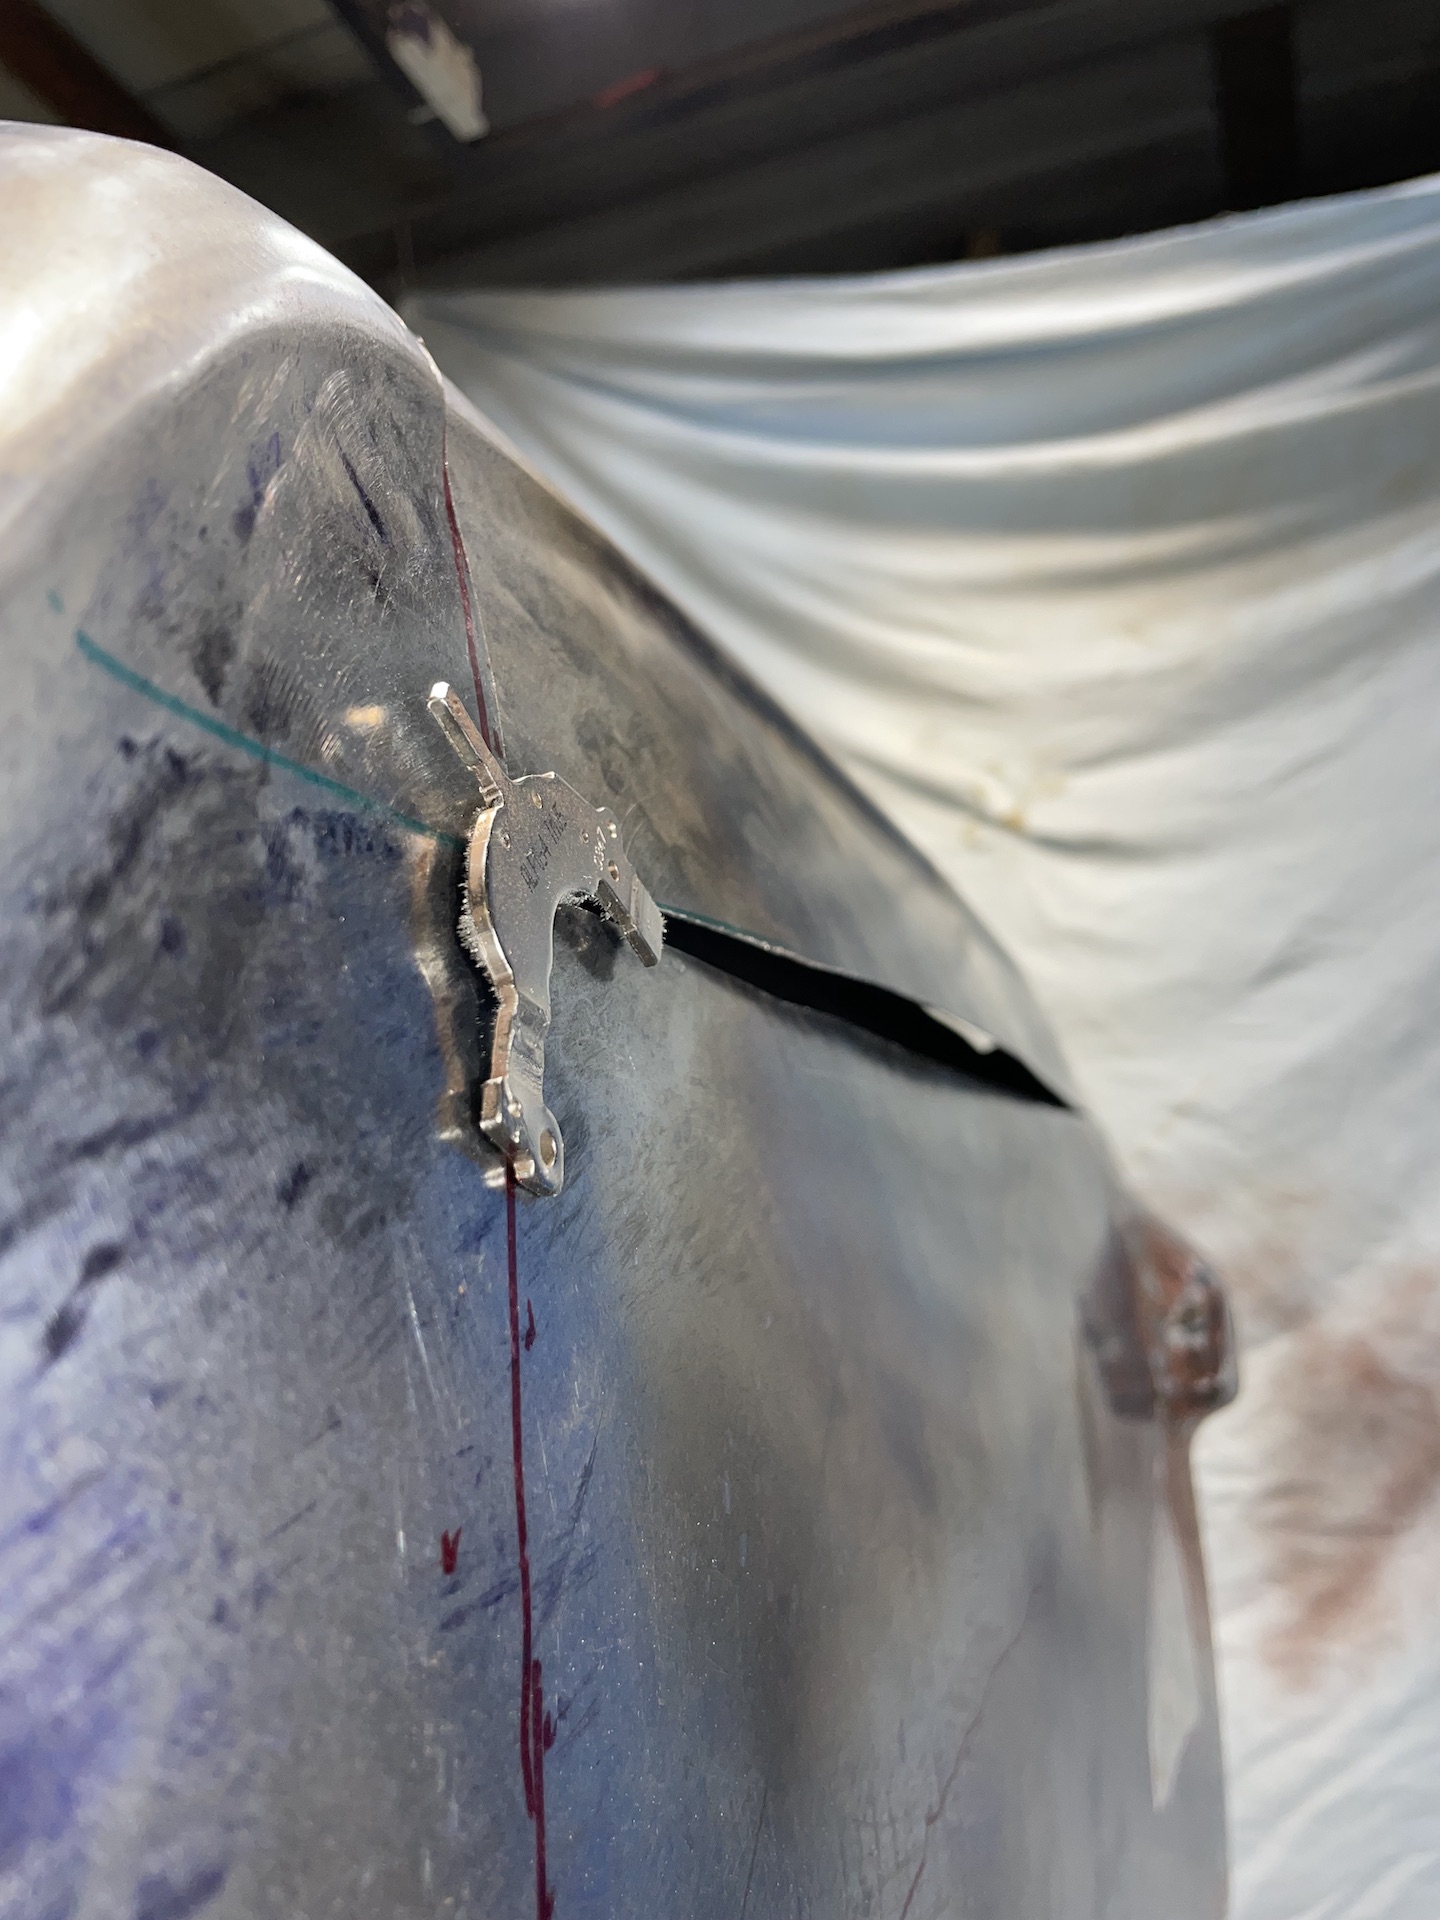
Bit of comic relief, tried to press the line outward with a clamp.
- IMG_0745.jpeg (992.05 KiB) Viewed 2937 times
Hit it with a MAP torch to try to heat/shrink it. Nothing. In the end decided there was only one thing to do as it was going to bug the hell out of me as it was.
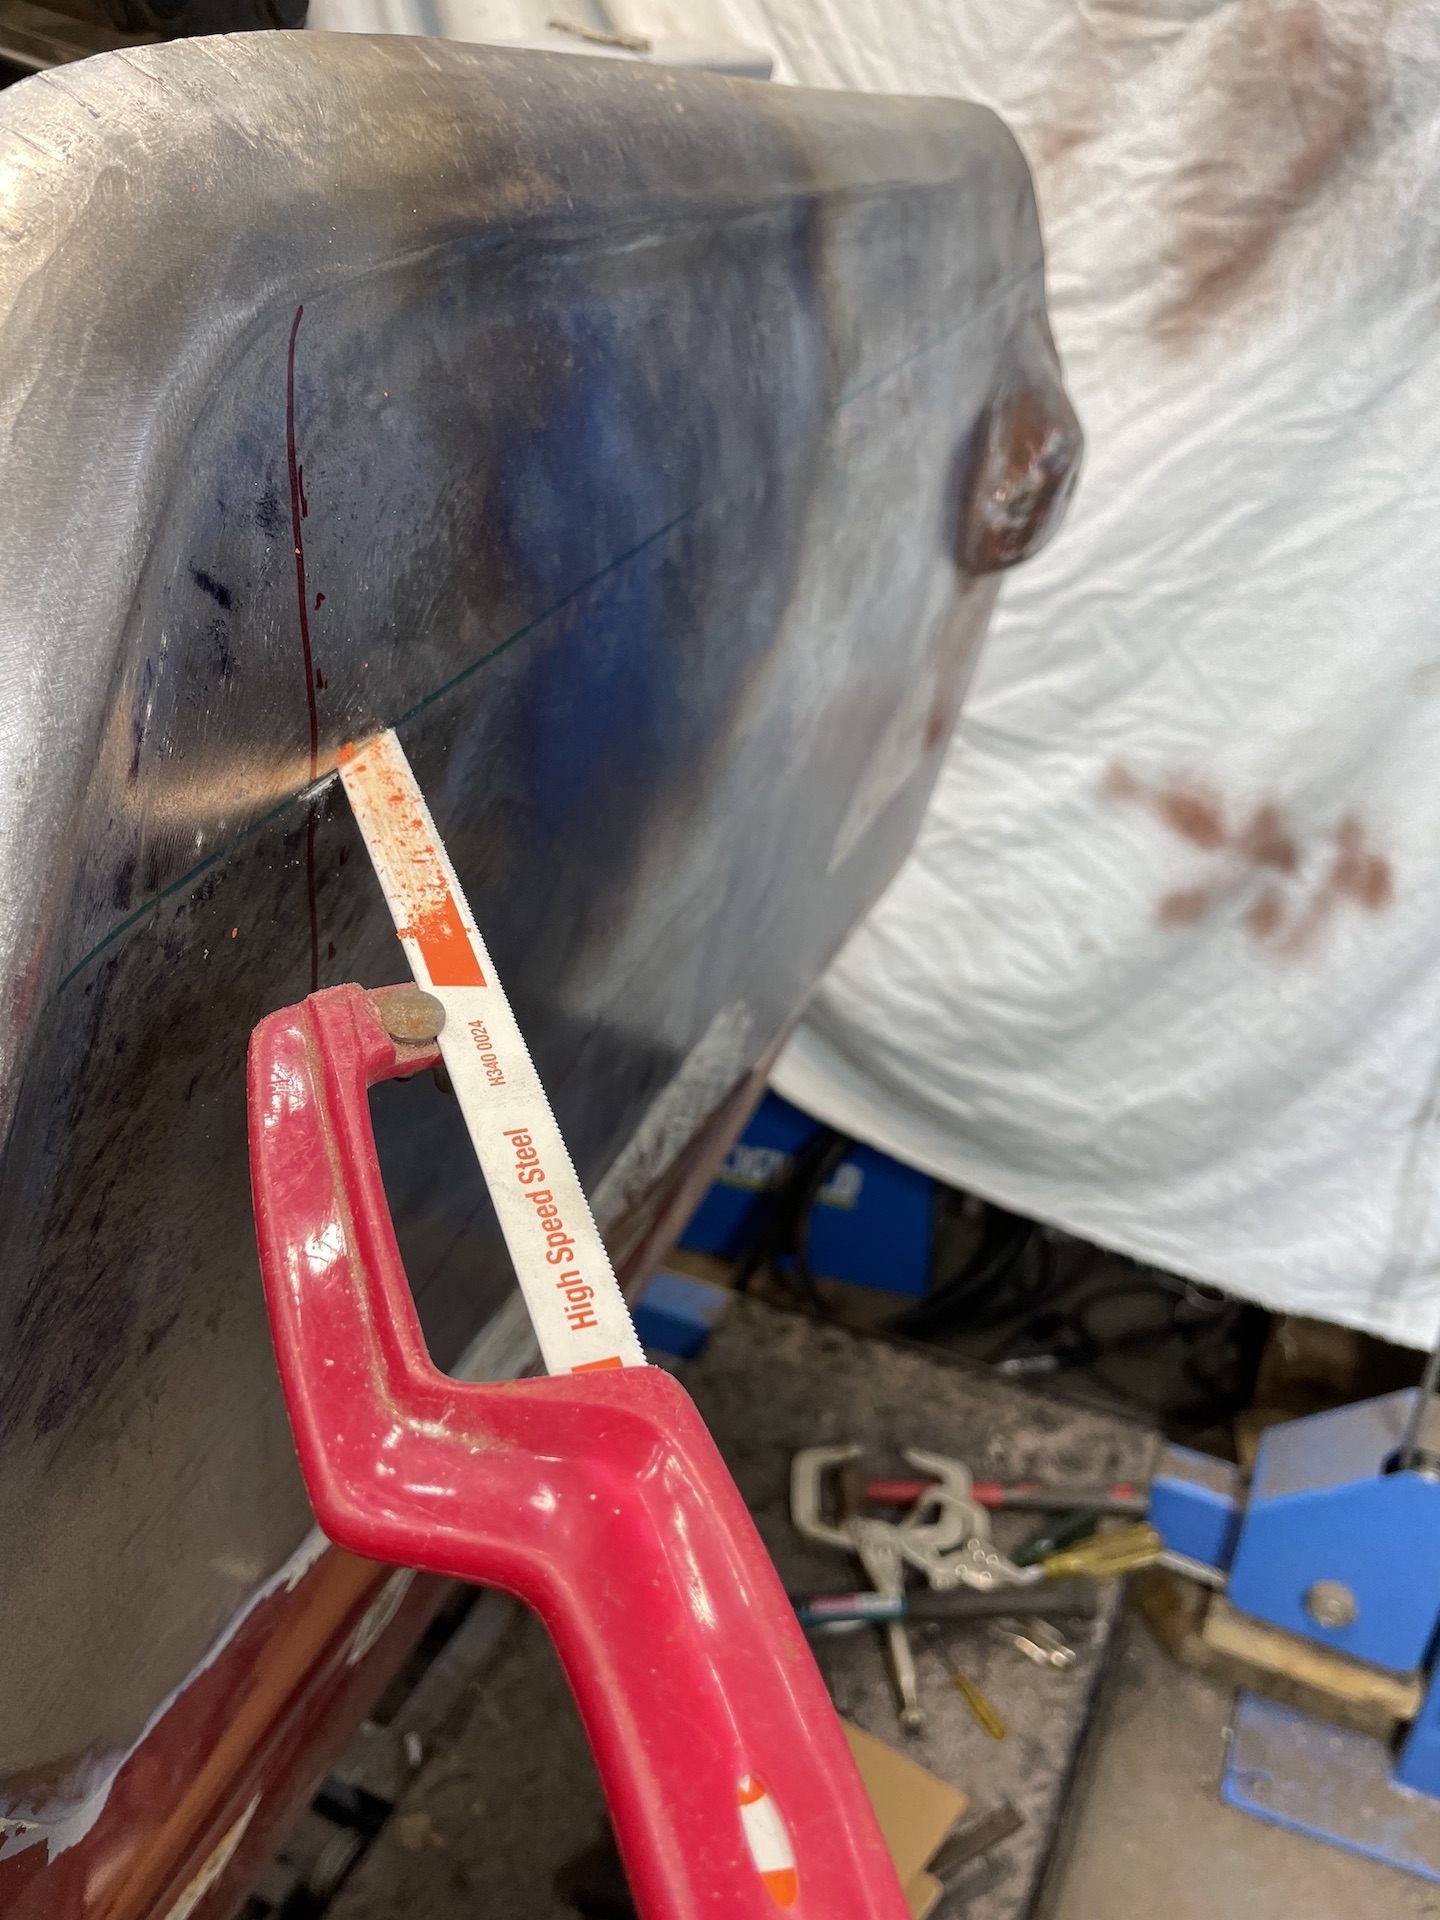
- IMG_0746.jpeg (575.78 KiB) Viewed 2937 times
Re: Ol' Rusty - FB/EK Sedan
Posted: Wed Oct 12, 2022 12:21 pm
by funkyscooter
First, shrink the repair to get the line at the bottom straight. This I figured would help force the original panel out as it would have more bow in it at the weld line. Yes the very same bow I was trying to remove with my knee originally.
- IMG_0758.jpeg (700.29 KiB) Viewed 2936 times
- IMG_0759.jpeg (487.22 KiB) Viewed 2936 times
Used clamp from earlier to force to bottom out, and looks good.
- IMG_0761.jpeg (931.58 KiB) Viewed 2936 times
But a couple of tacks in a realised things are just not right. That original panel is not straight. It's stretched. Possibly from accident repairs, and my repairs. At this point my descent into madness is complete. I must have put the phone away, hit full rage mode, and tried to shrink the panel back into submission. Well mission failed!
- IMG_0772.jpeg (687.51 KiB) Viewed 2936 times
- IMG_0774.jpeg (885.4 KiB) Viewed 2936 times
Lucky I have plenty of repair panel left.

- IMG_0777.jpeg (757.94 KiB) Viewed 2936 times
Side note, sticking your arm inside the tail light lens hole and wailing on a panel with a hammer leads to a massive bruise.
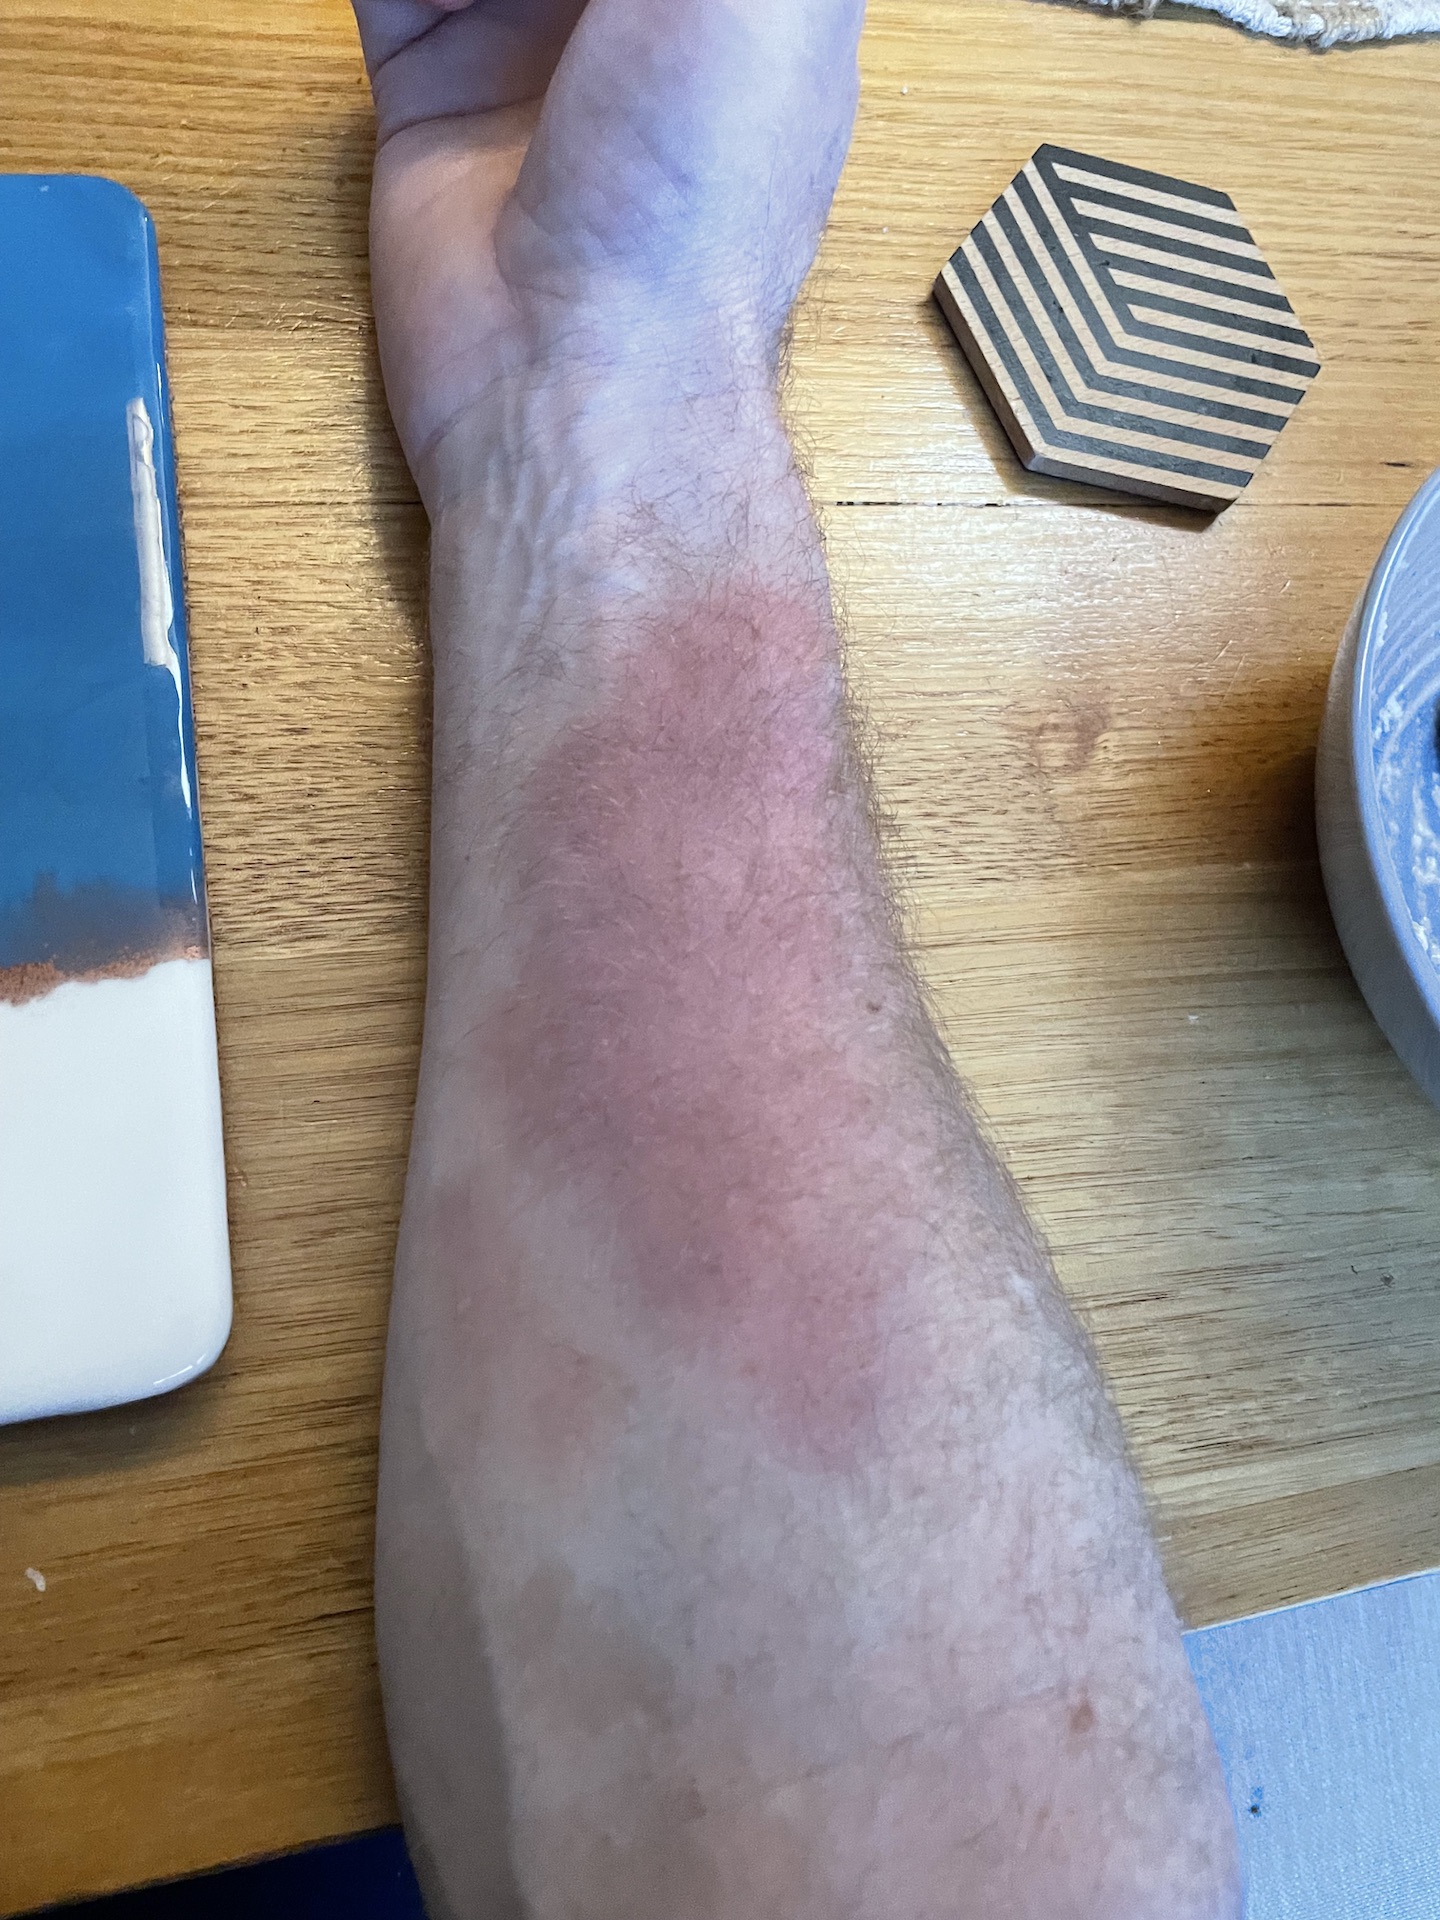
- IMG_0783.jpeg (802.31 KiB) Viewed 2936 times
Re: Ol' Rusty - FB/EK Sedan
Posted: Wed Oct 12, 2022 12:23 pm
by funkyscooter
Lessons learnt, you can't shrink with a MAP torch (need more focused heat of oxy/acetylene which I don't have), and you can't force one piece of metal to behave by doing the opposite to another bit of metal. Seem to recall I learnt that on the sub frame - and then forgot.
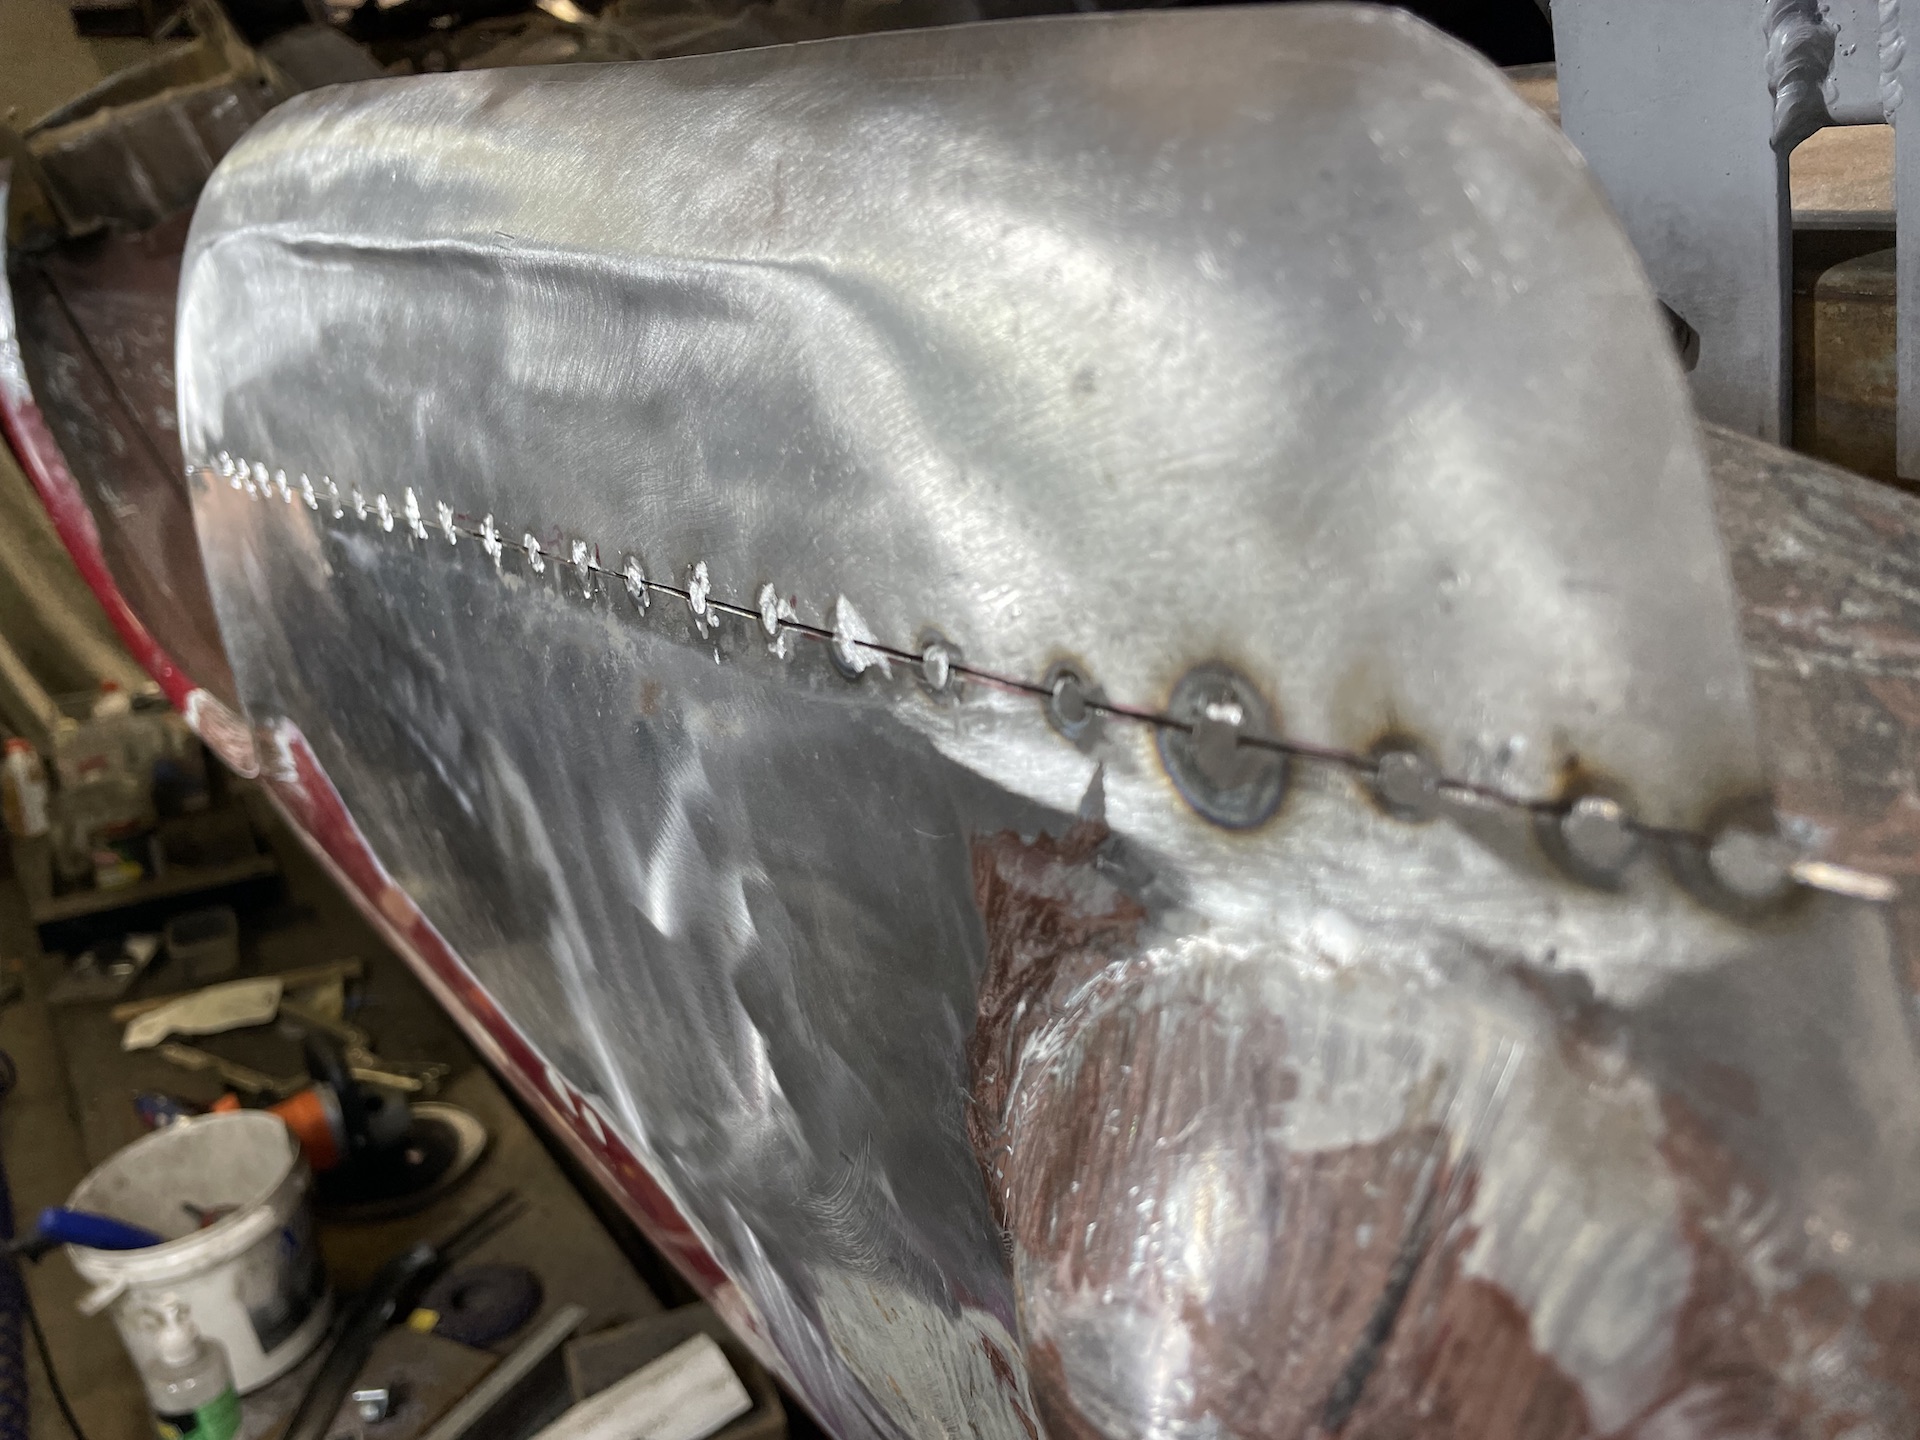
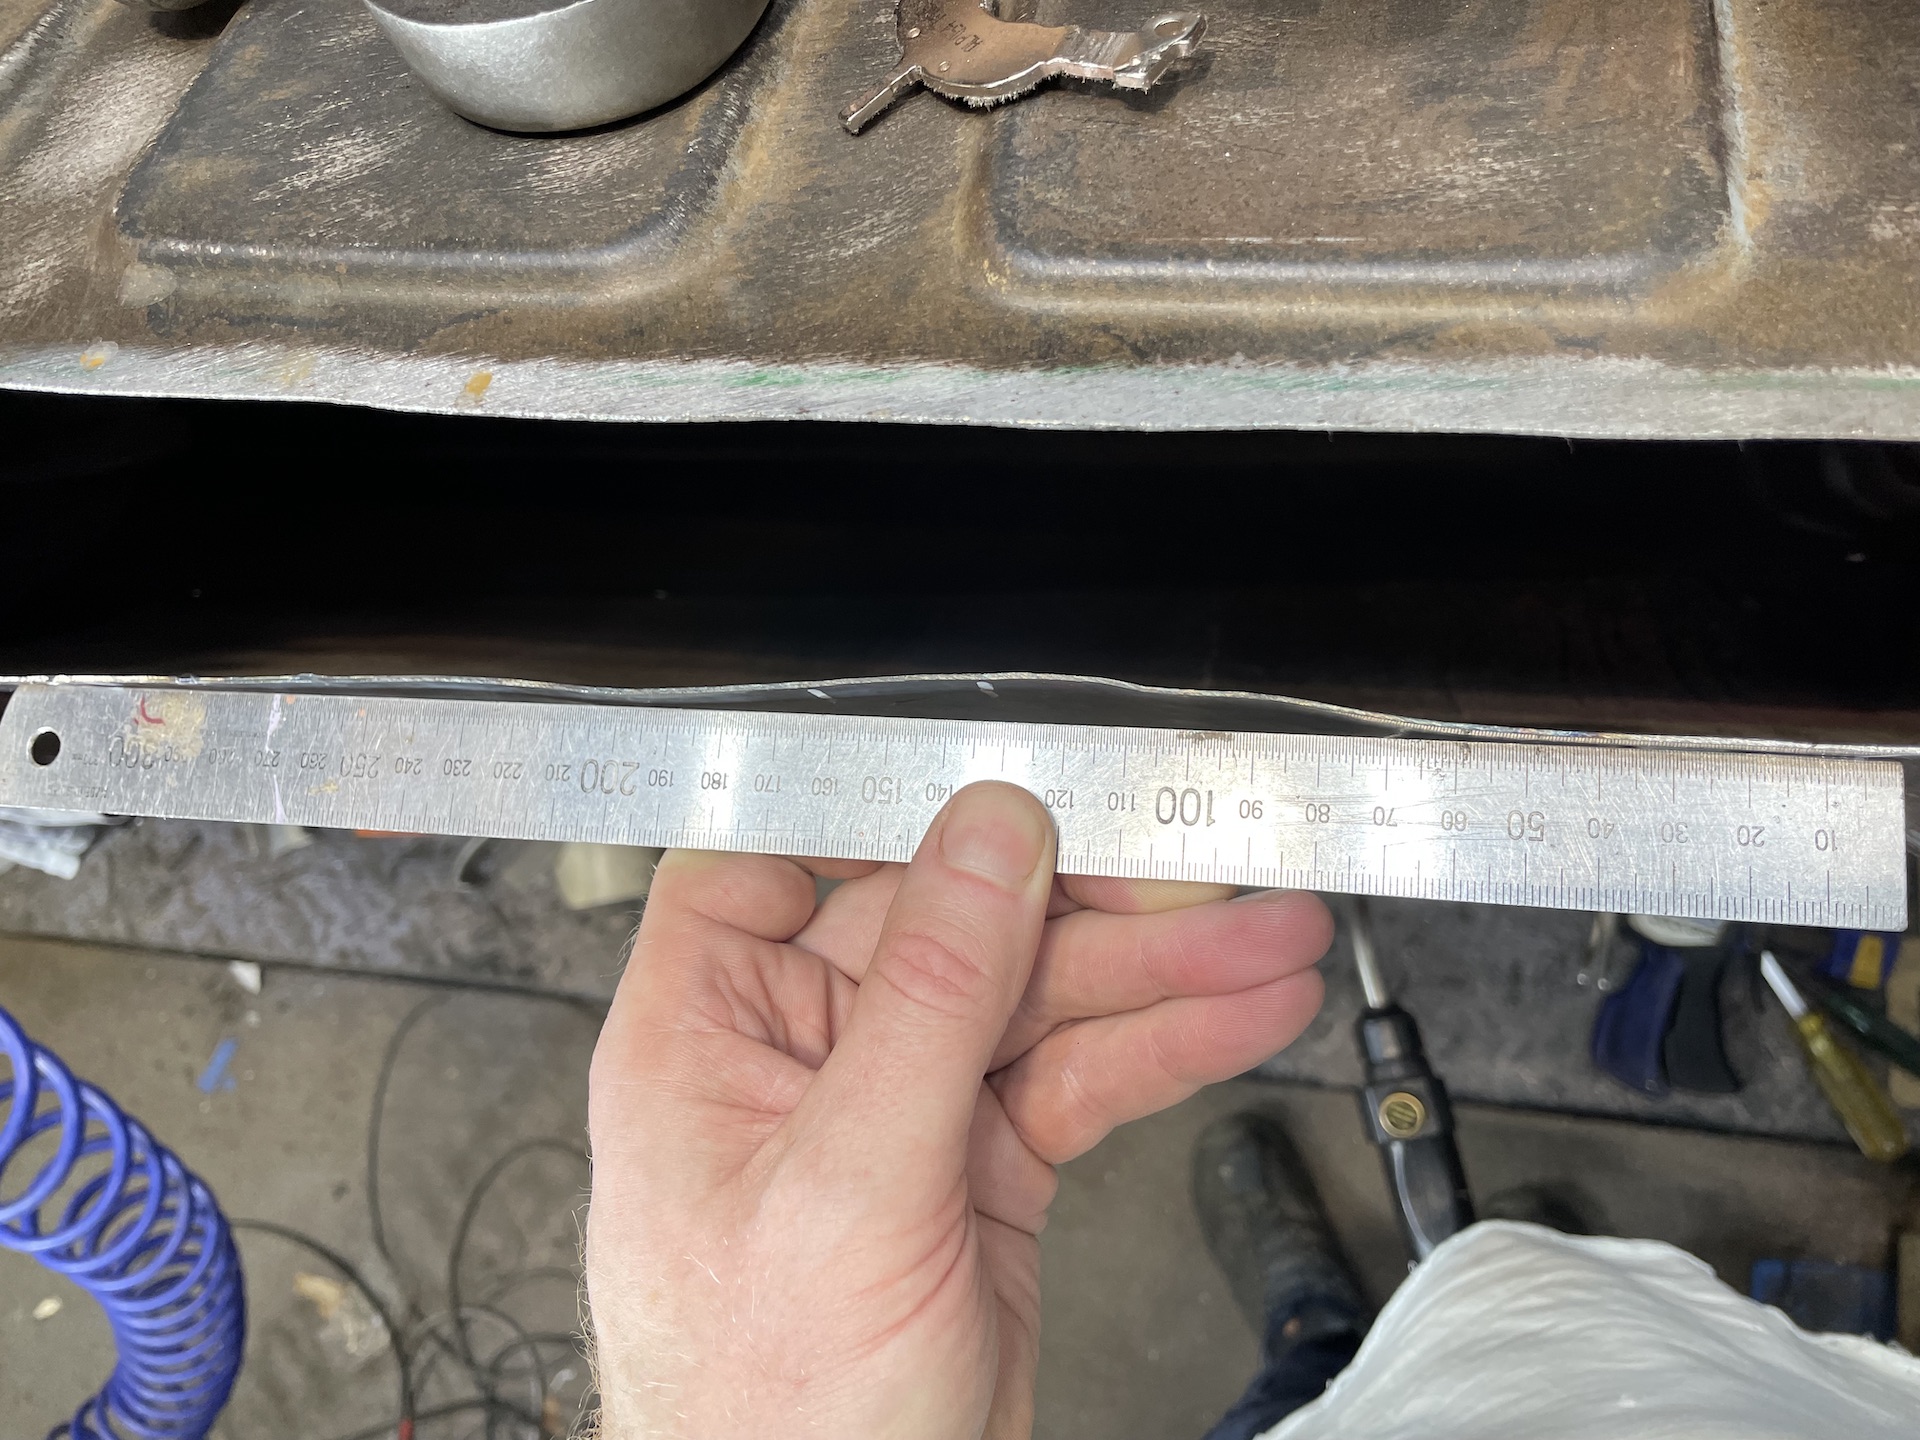
Days later, with all metal and my self in a relaxed state, time to finally tack and weld.
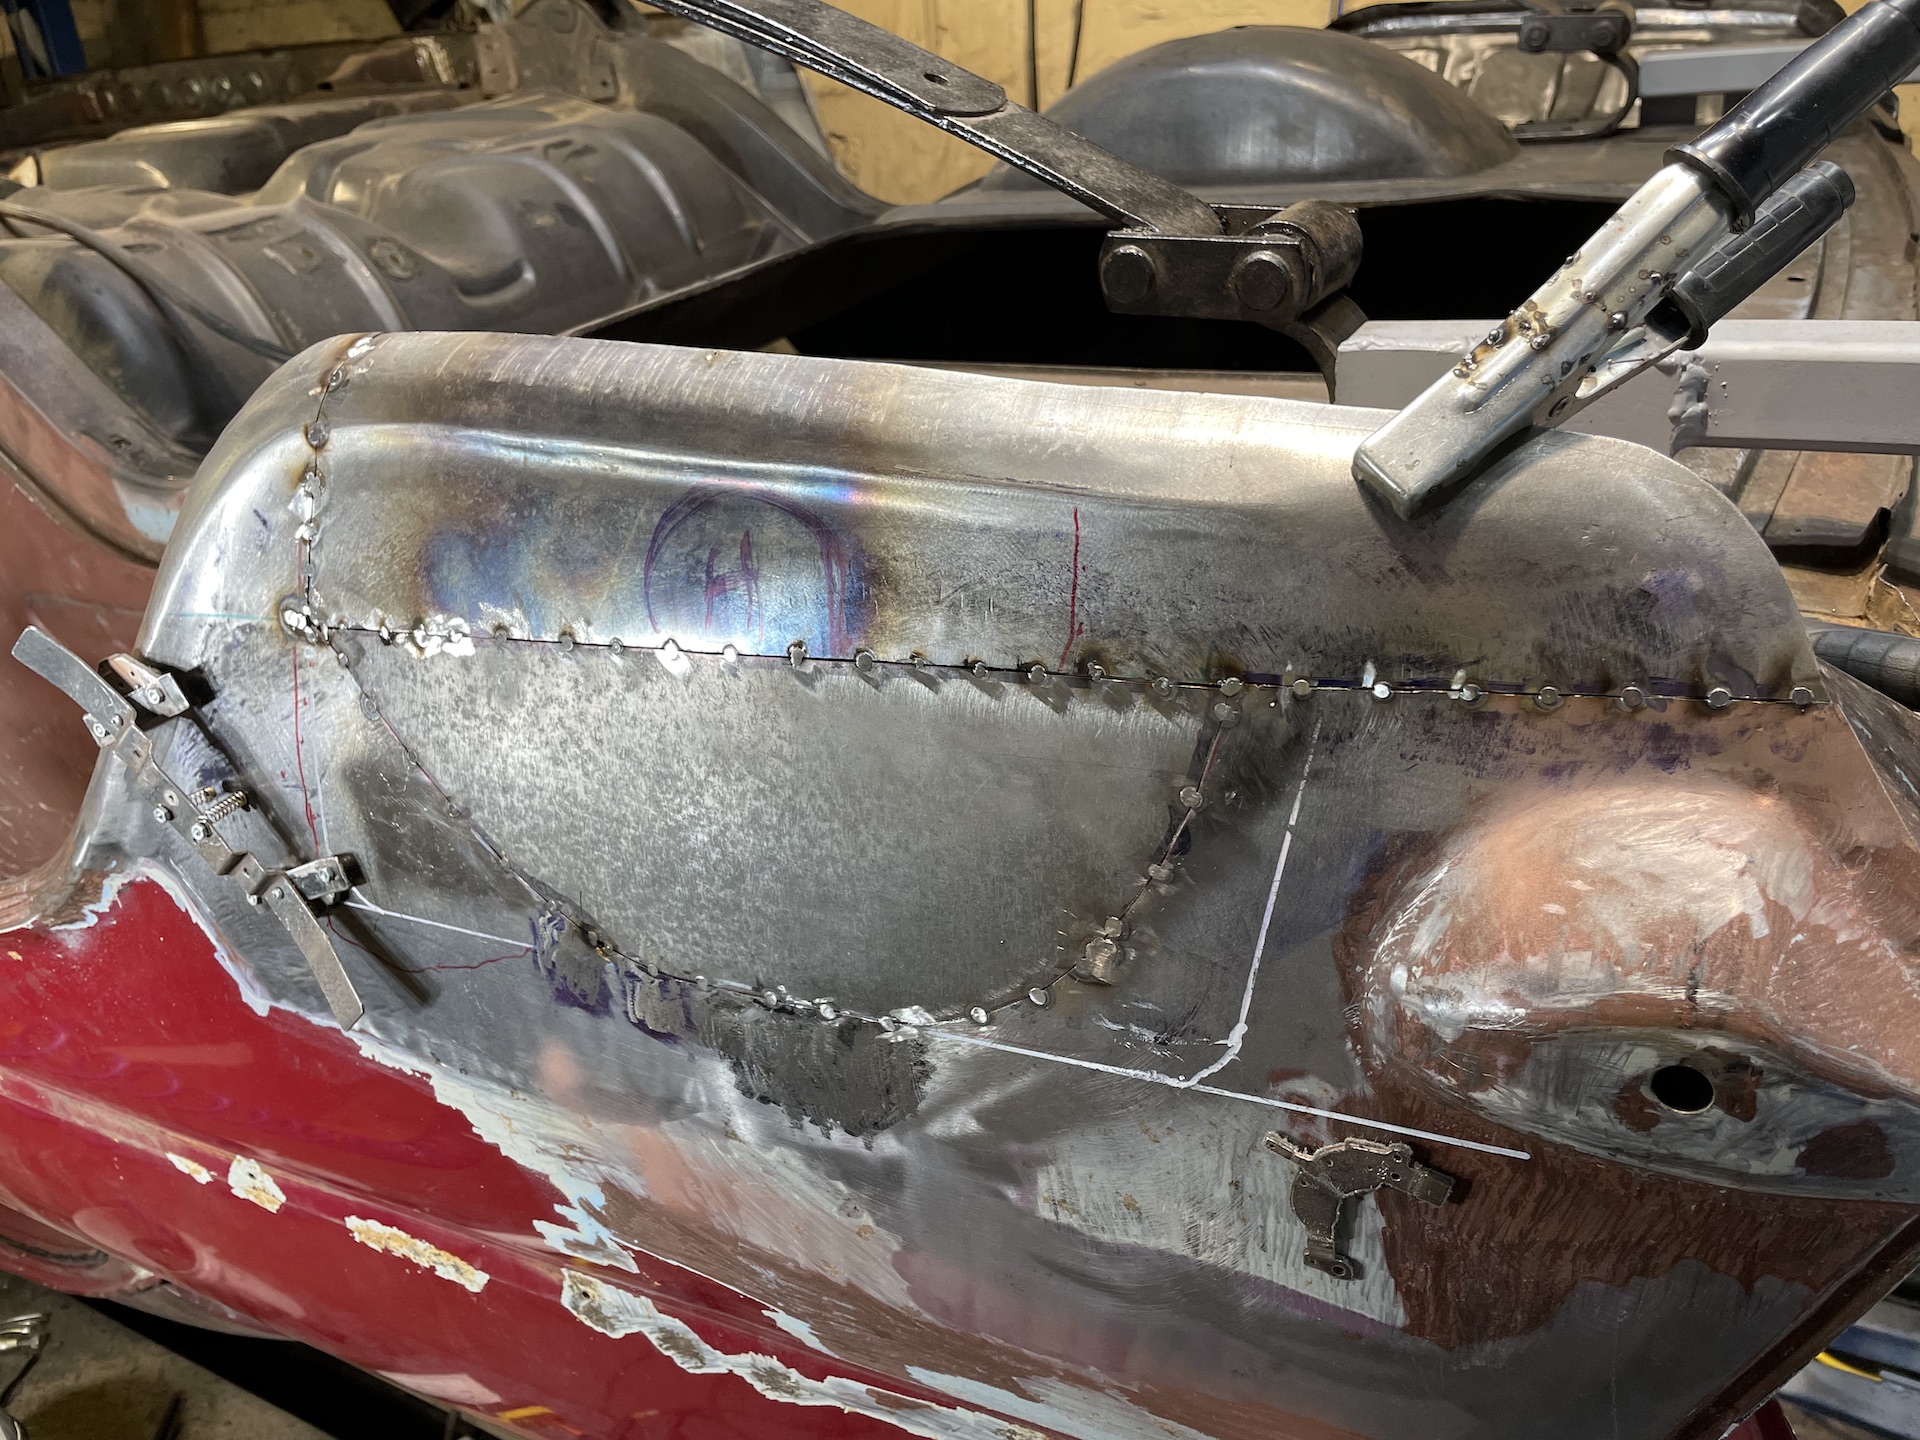
- IMG_0791.jpeg (863.05 KiB) Viewed 2934 times
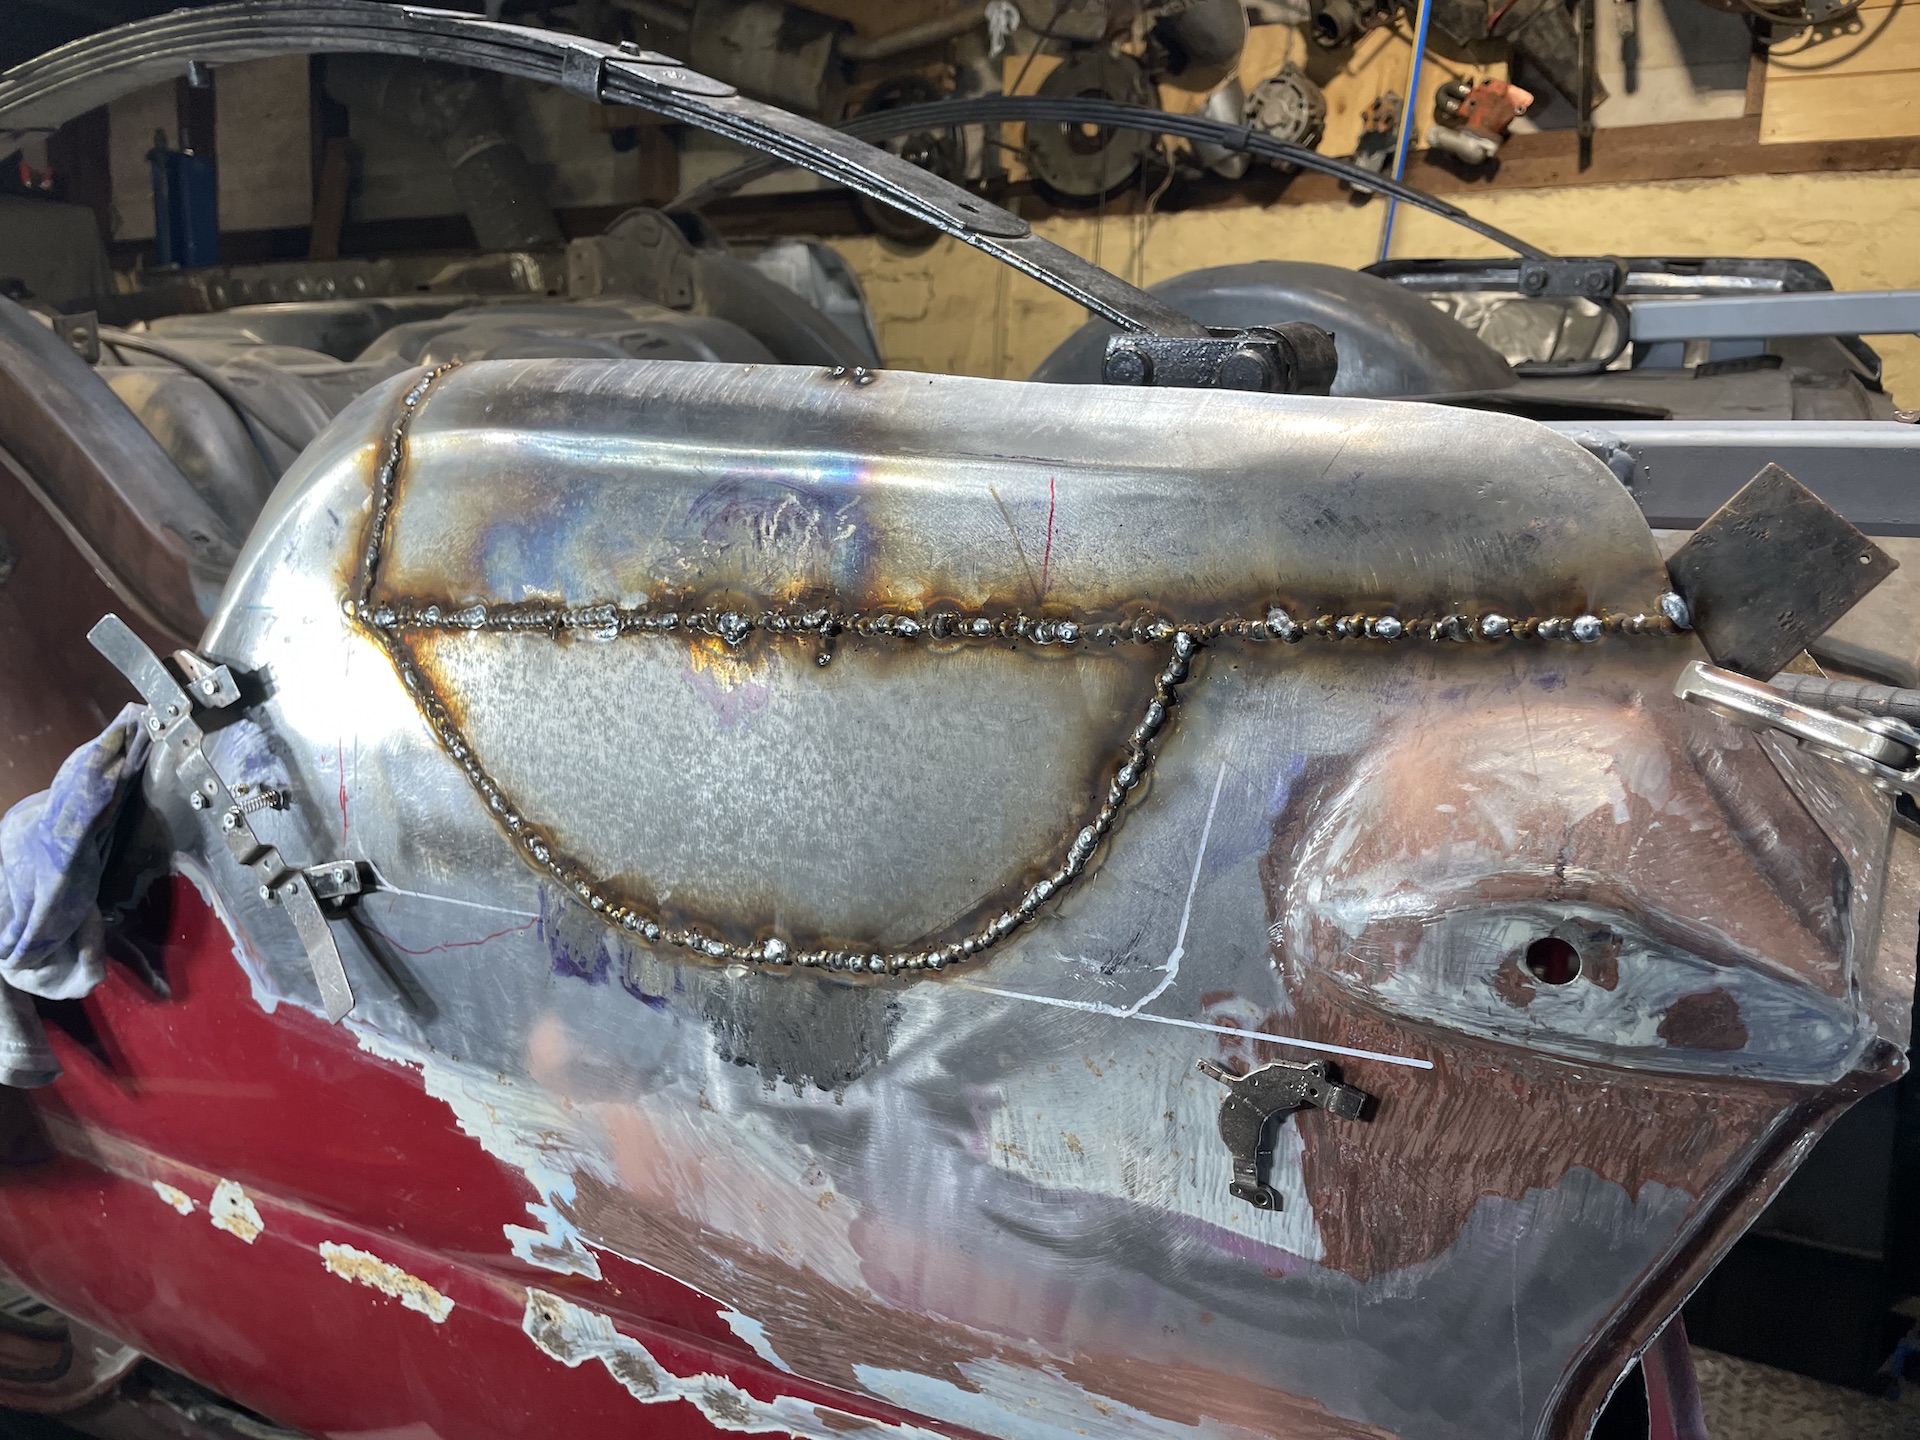
- IMG_0792.jpeg (838.48 KiB) Viewed 2934 times
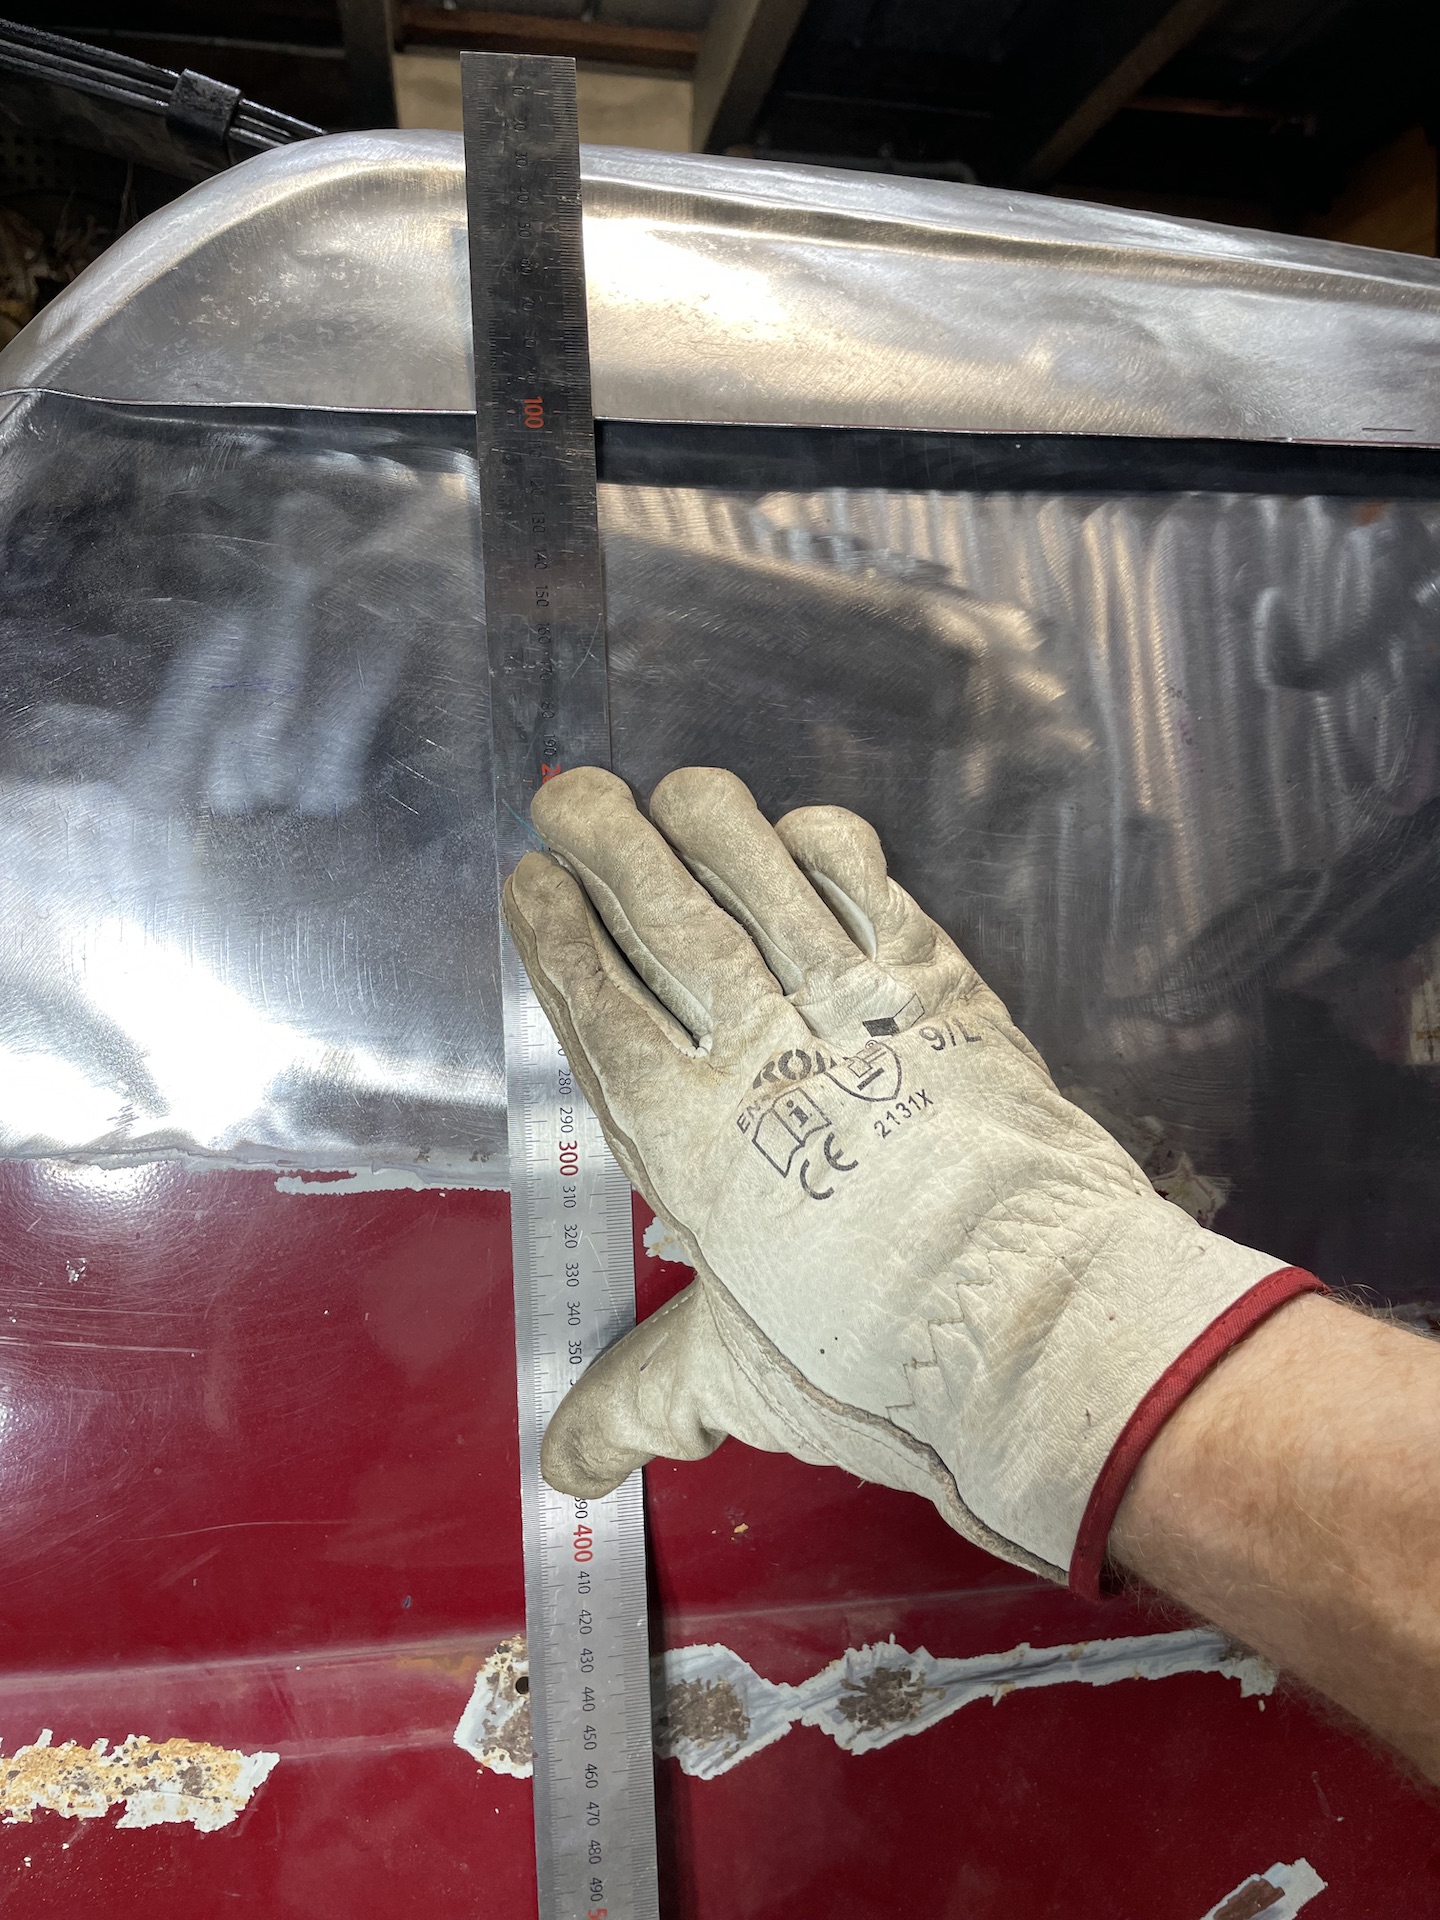
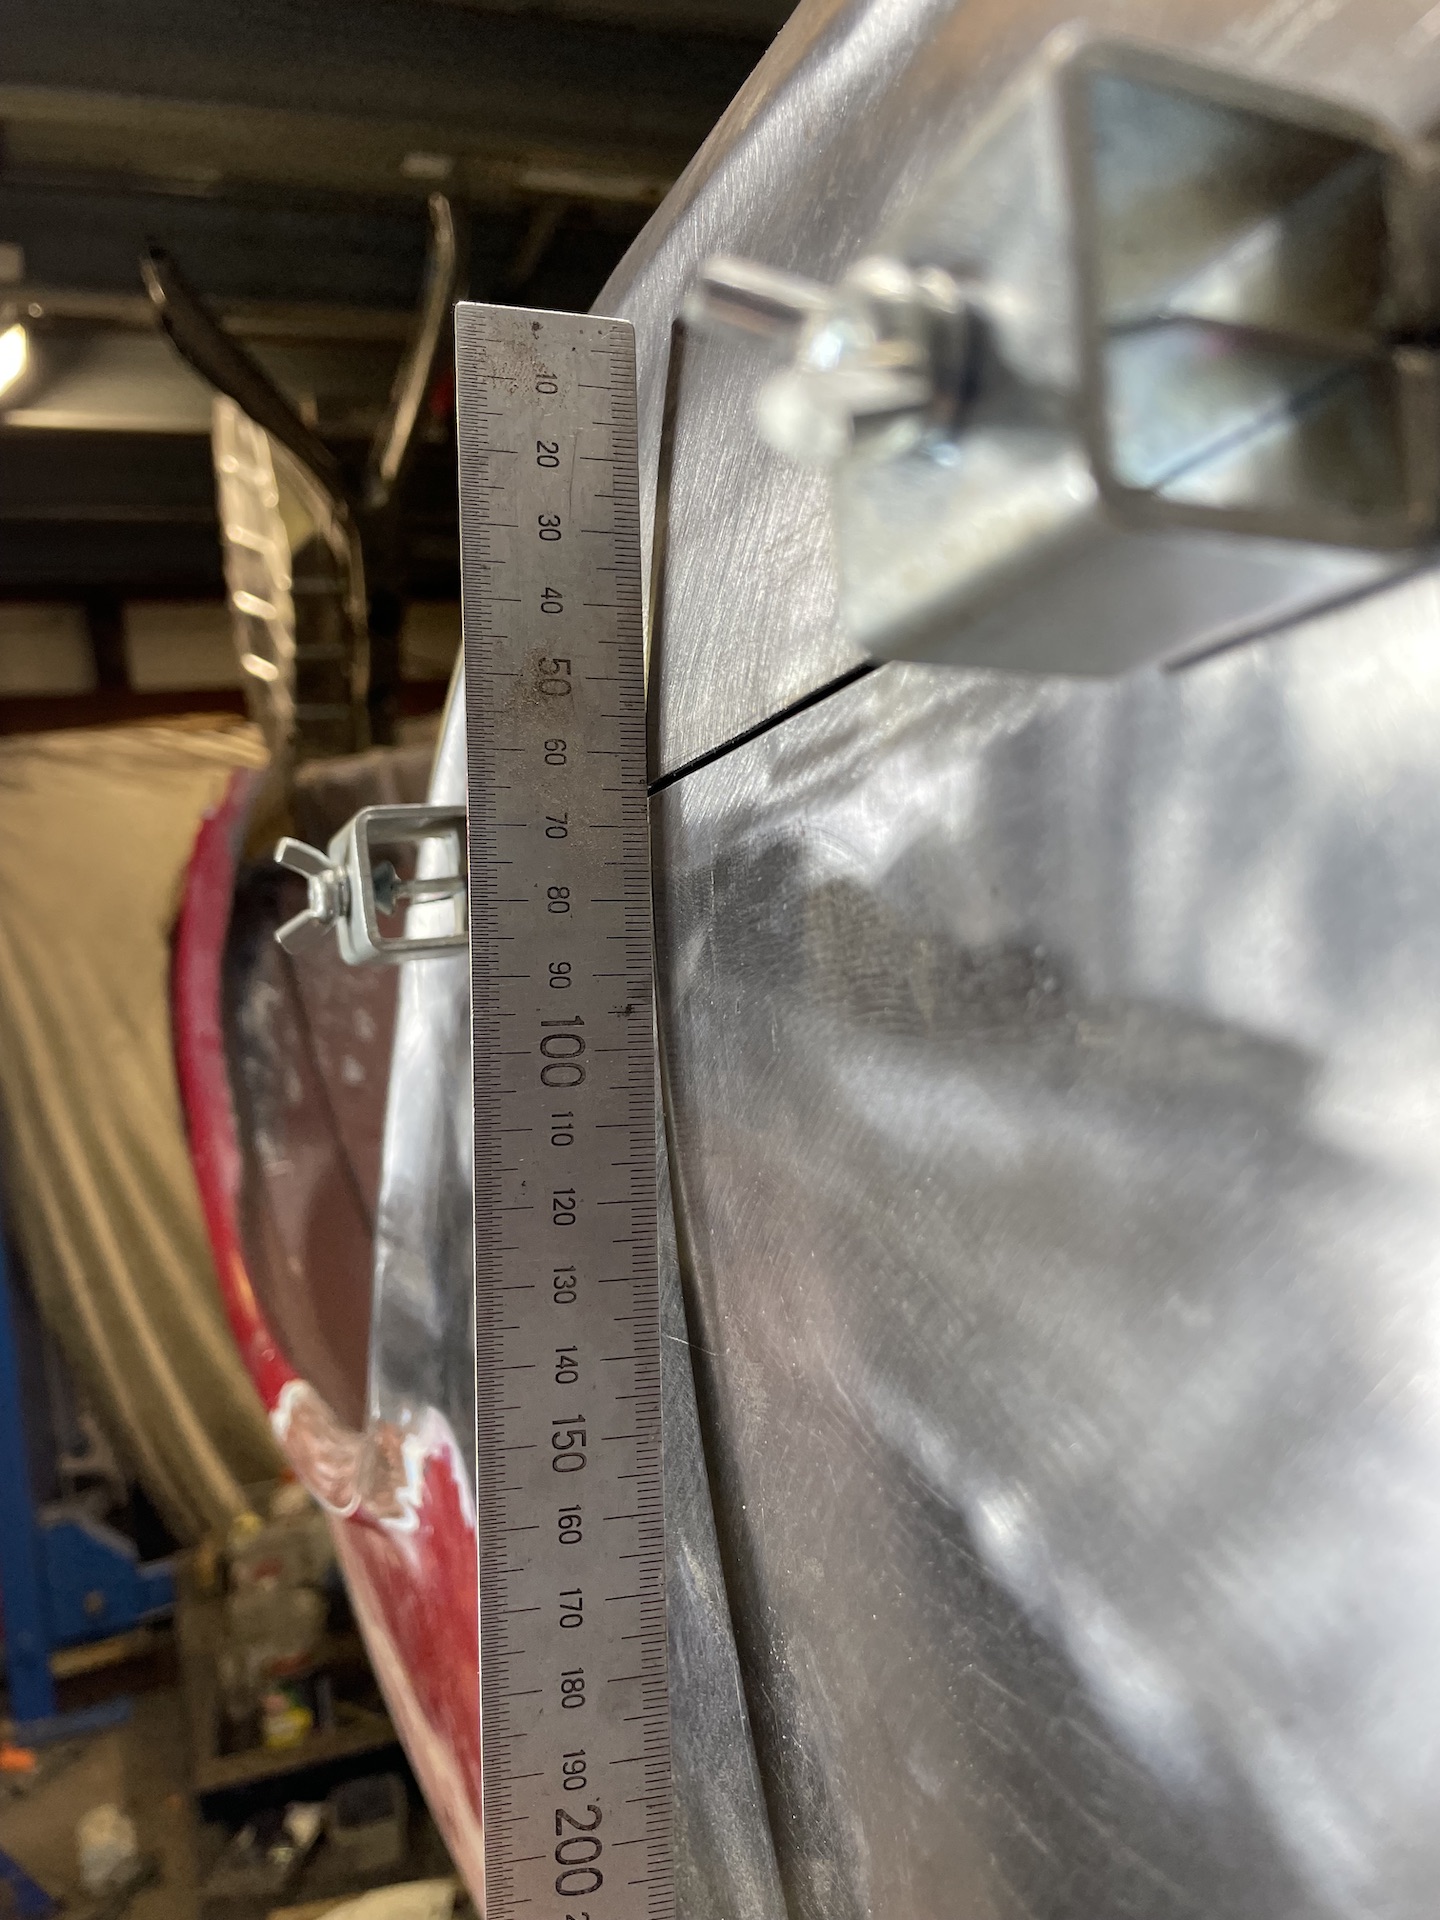
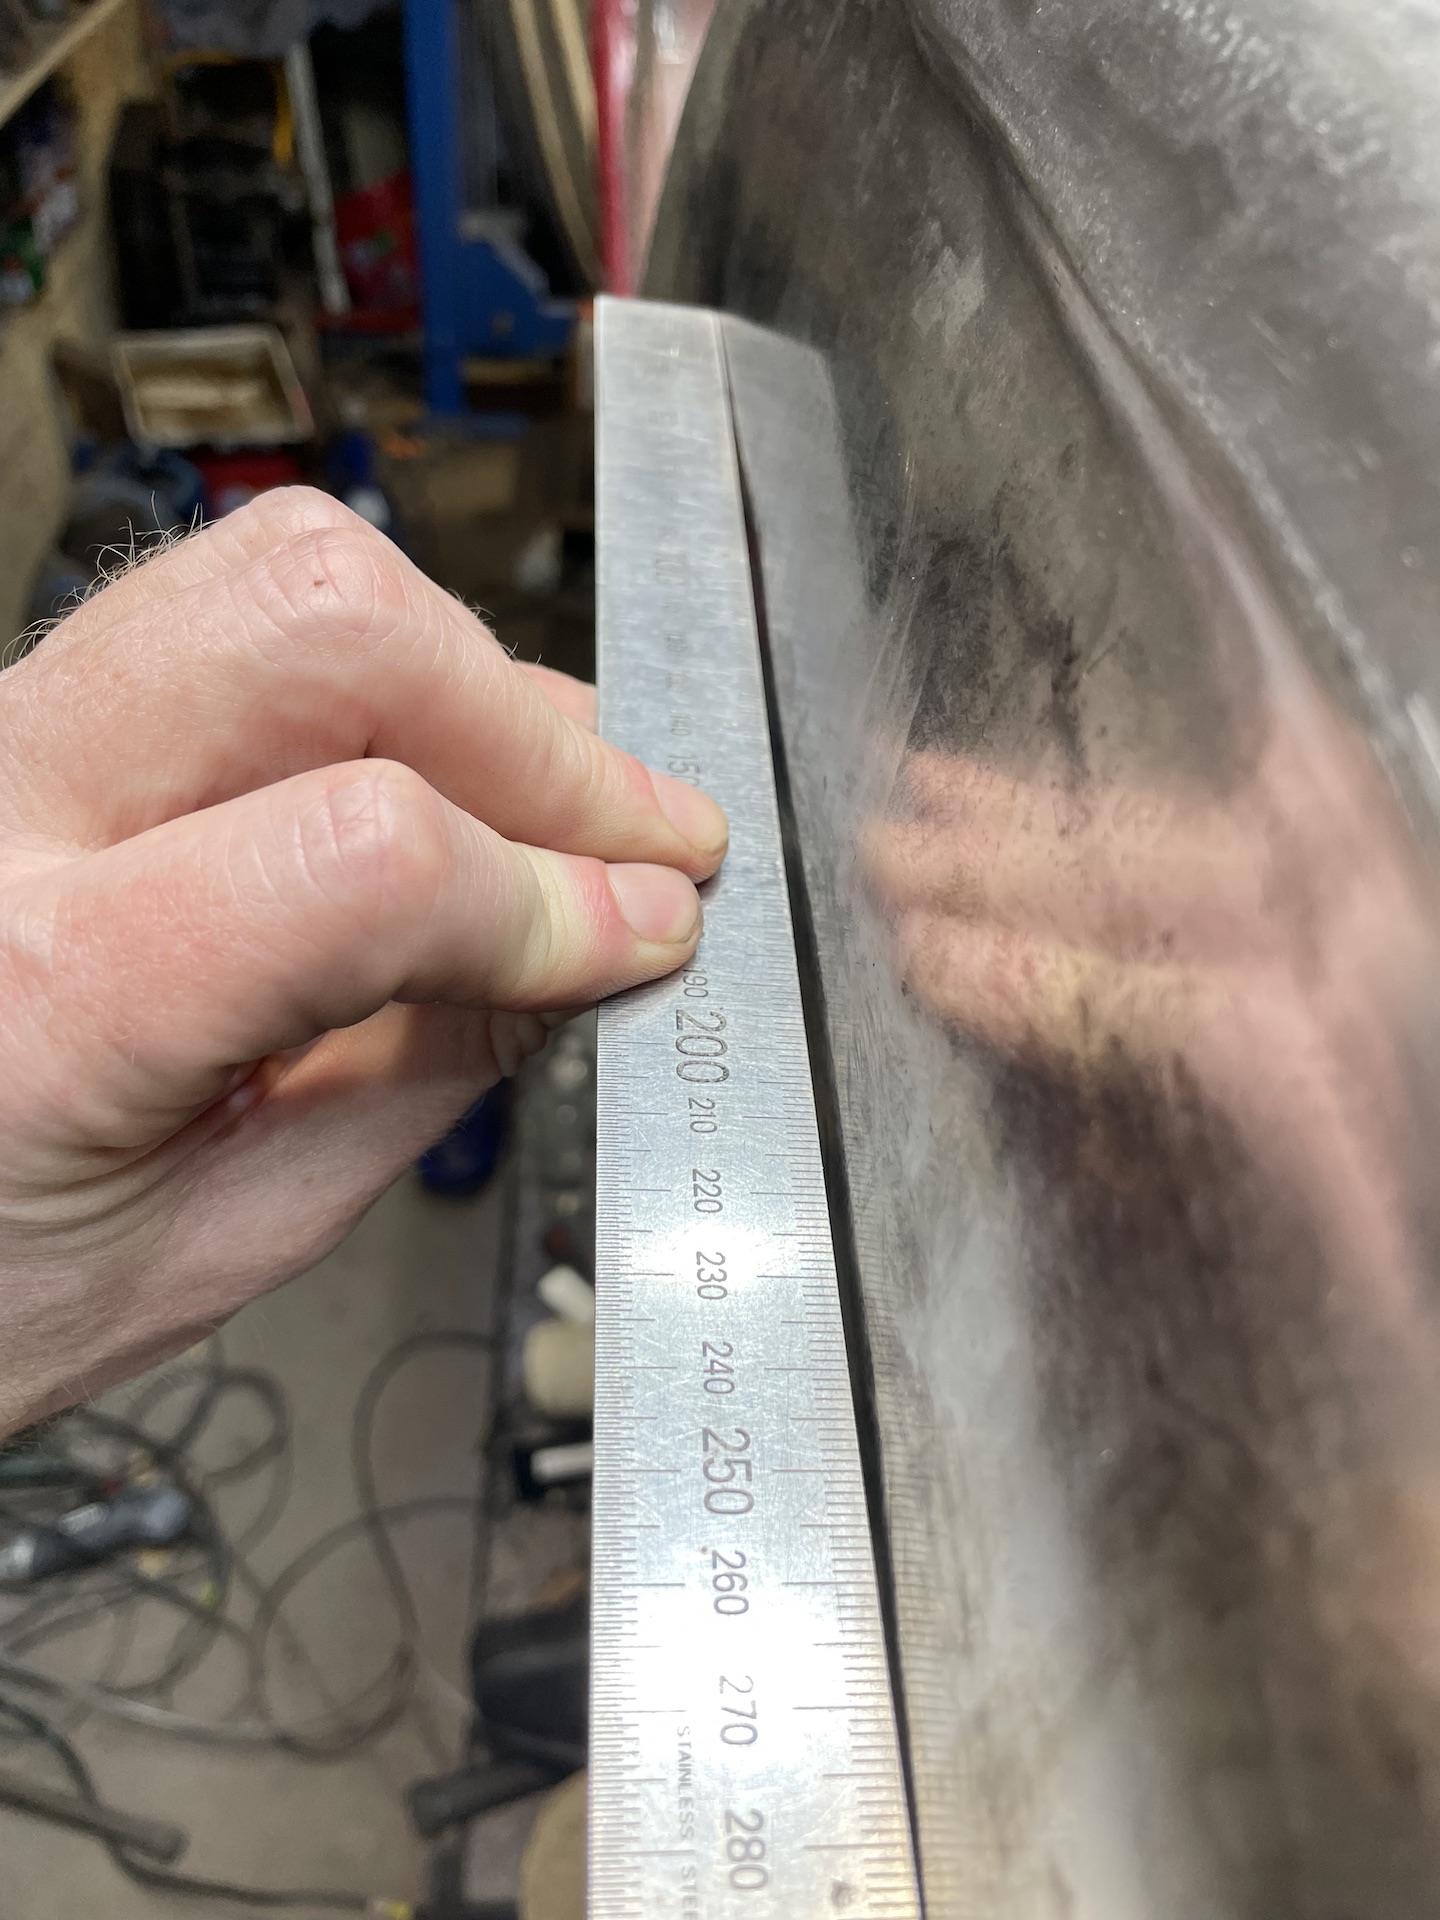
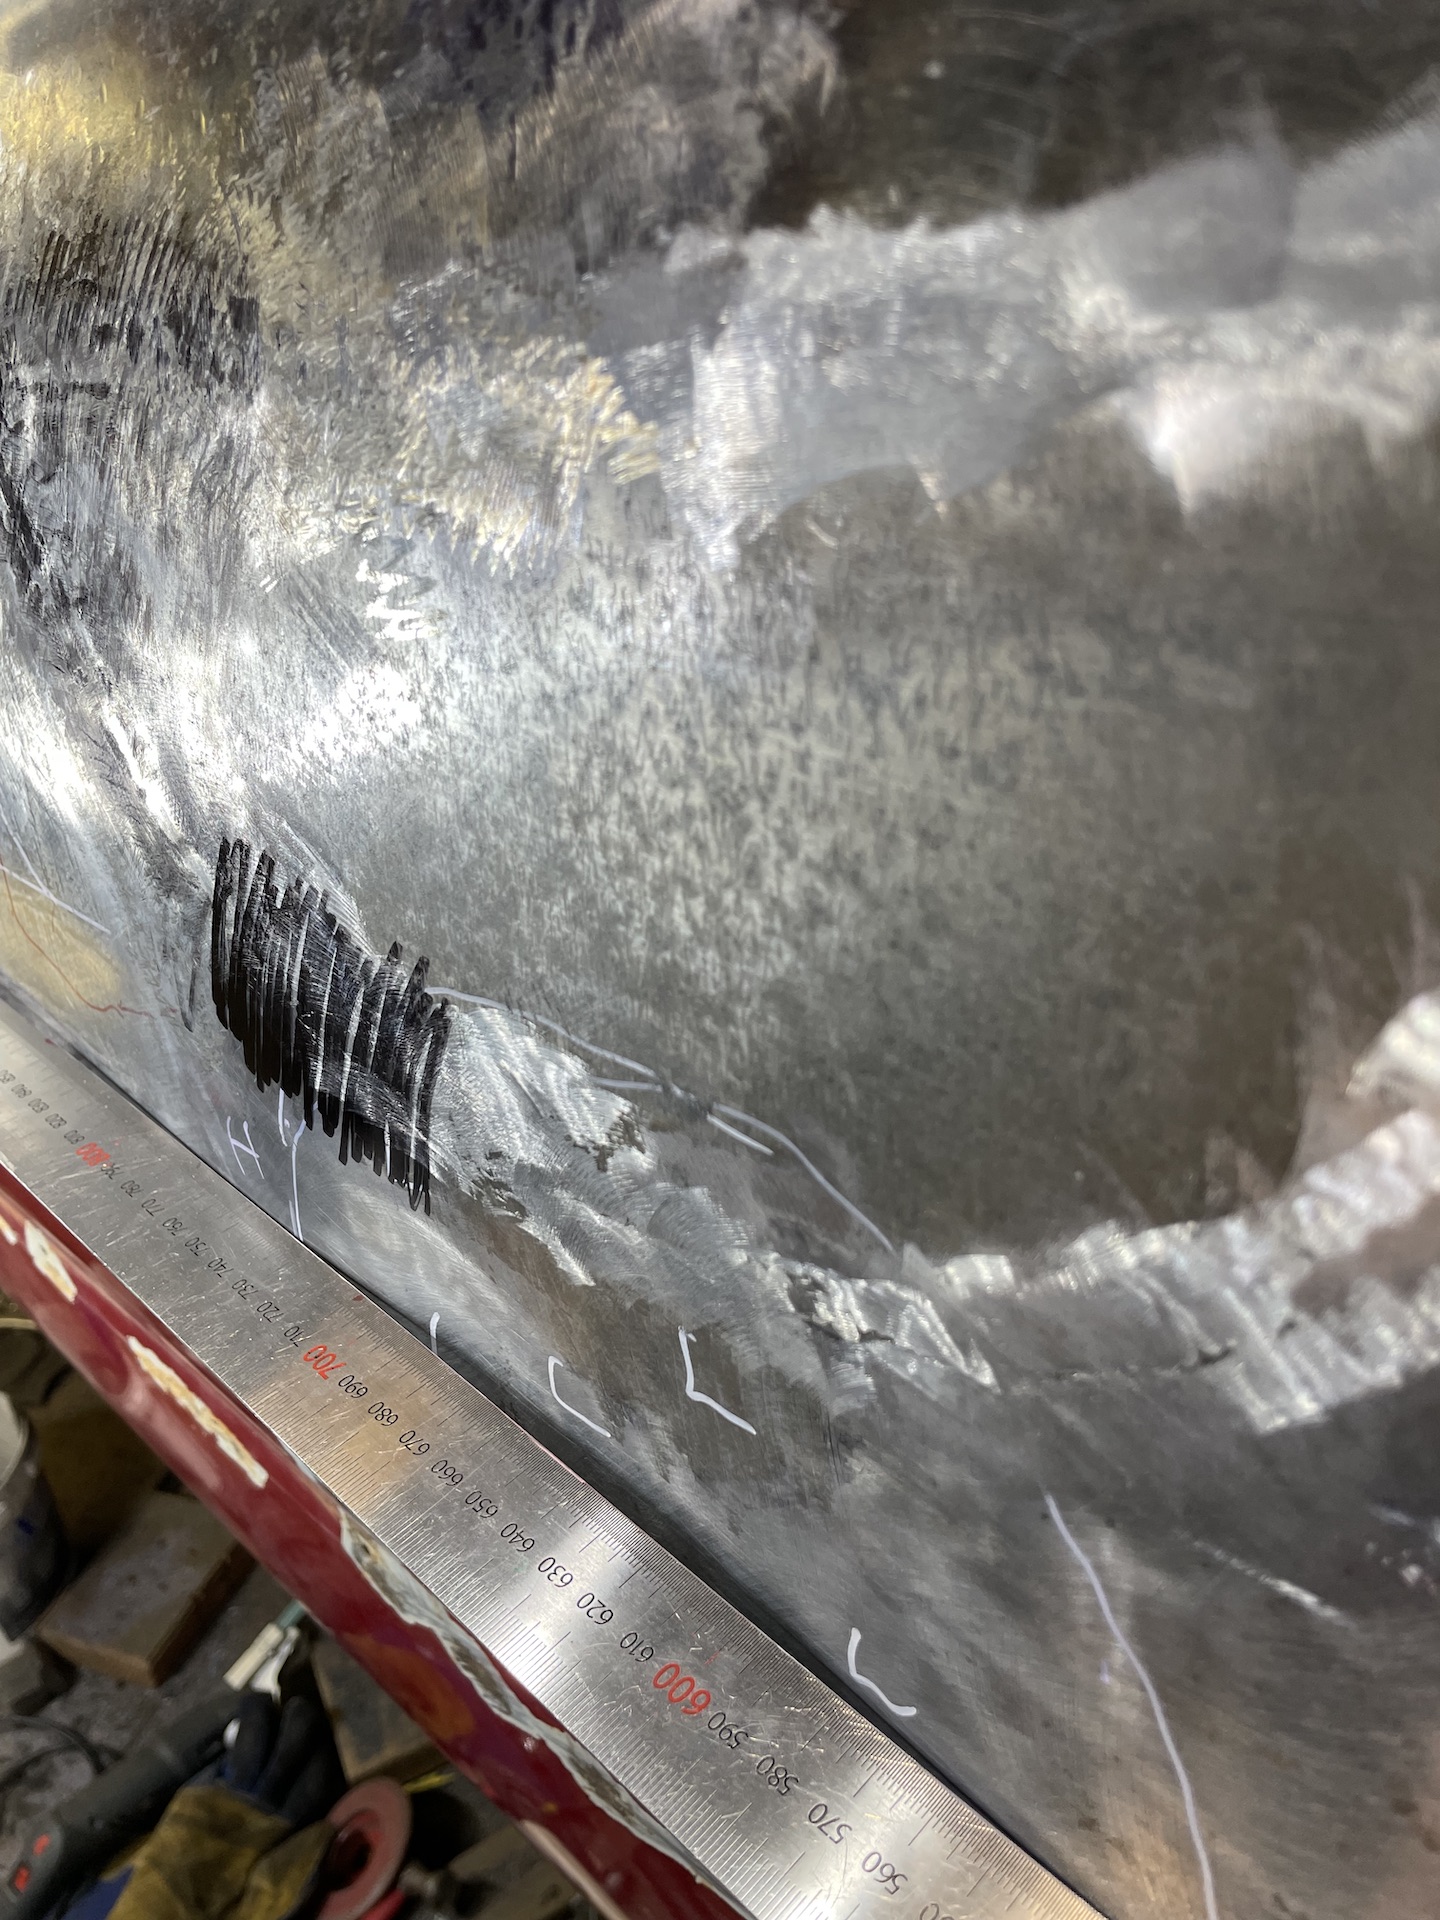
All looks good, run the ruler over it from top to bot...... muther fu@ker
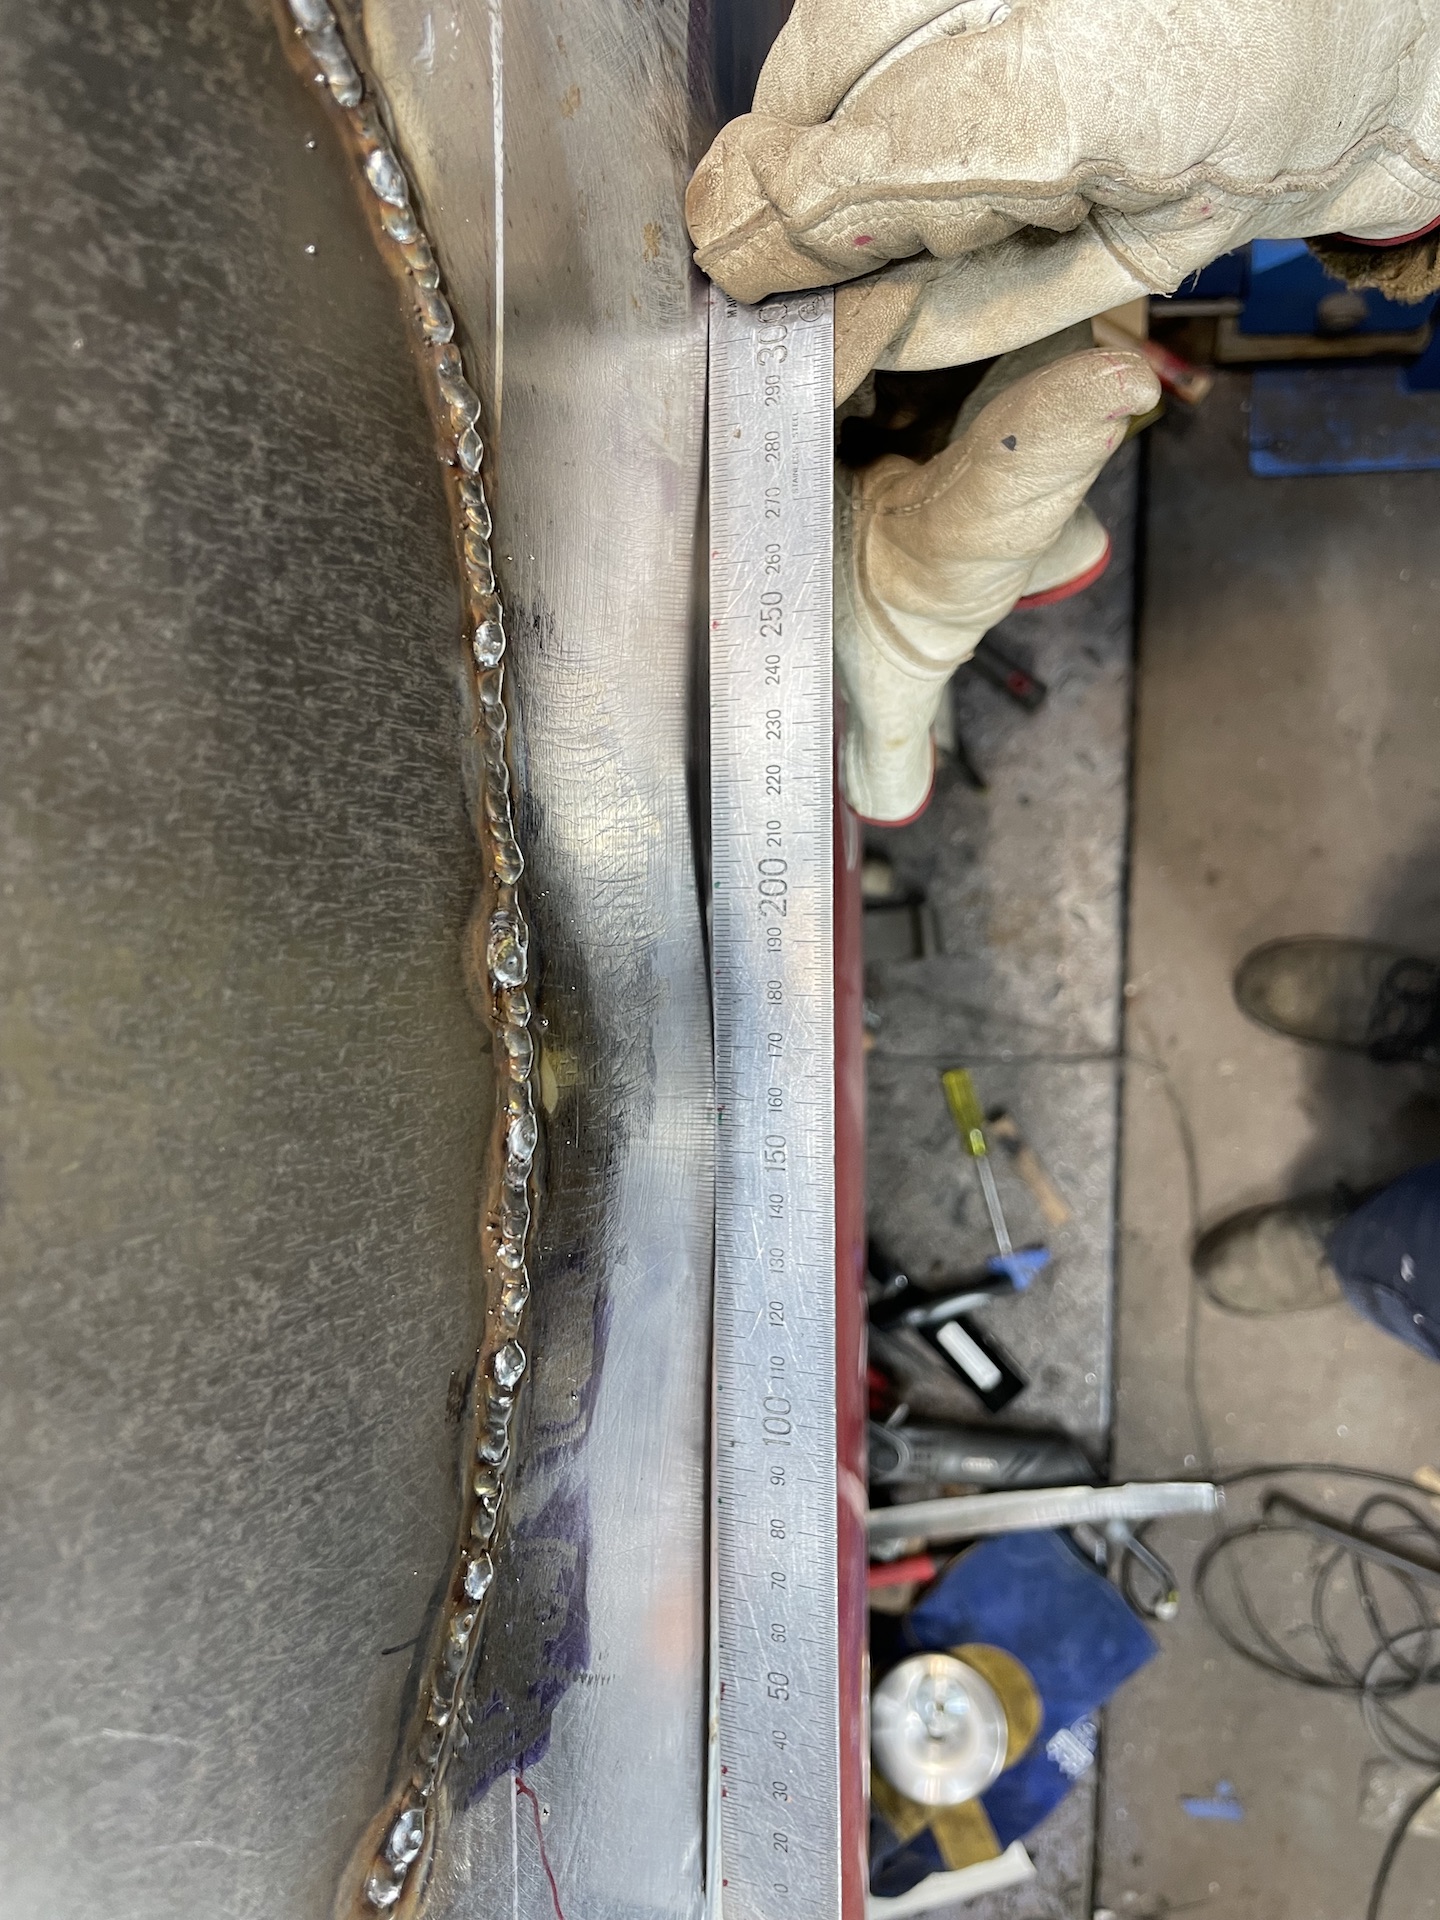
- IMG_0793.jpeg (787.17 KiB) Viewed 2934 times
So looks like the stretch went further than I thought and was compounded by the welding which has also stretched things a bit, including in the middle of the new repair section which is visibly raised in the middle.
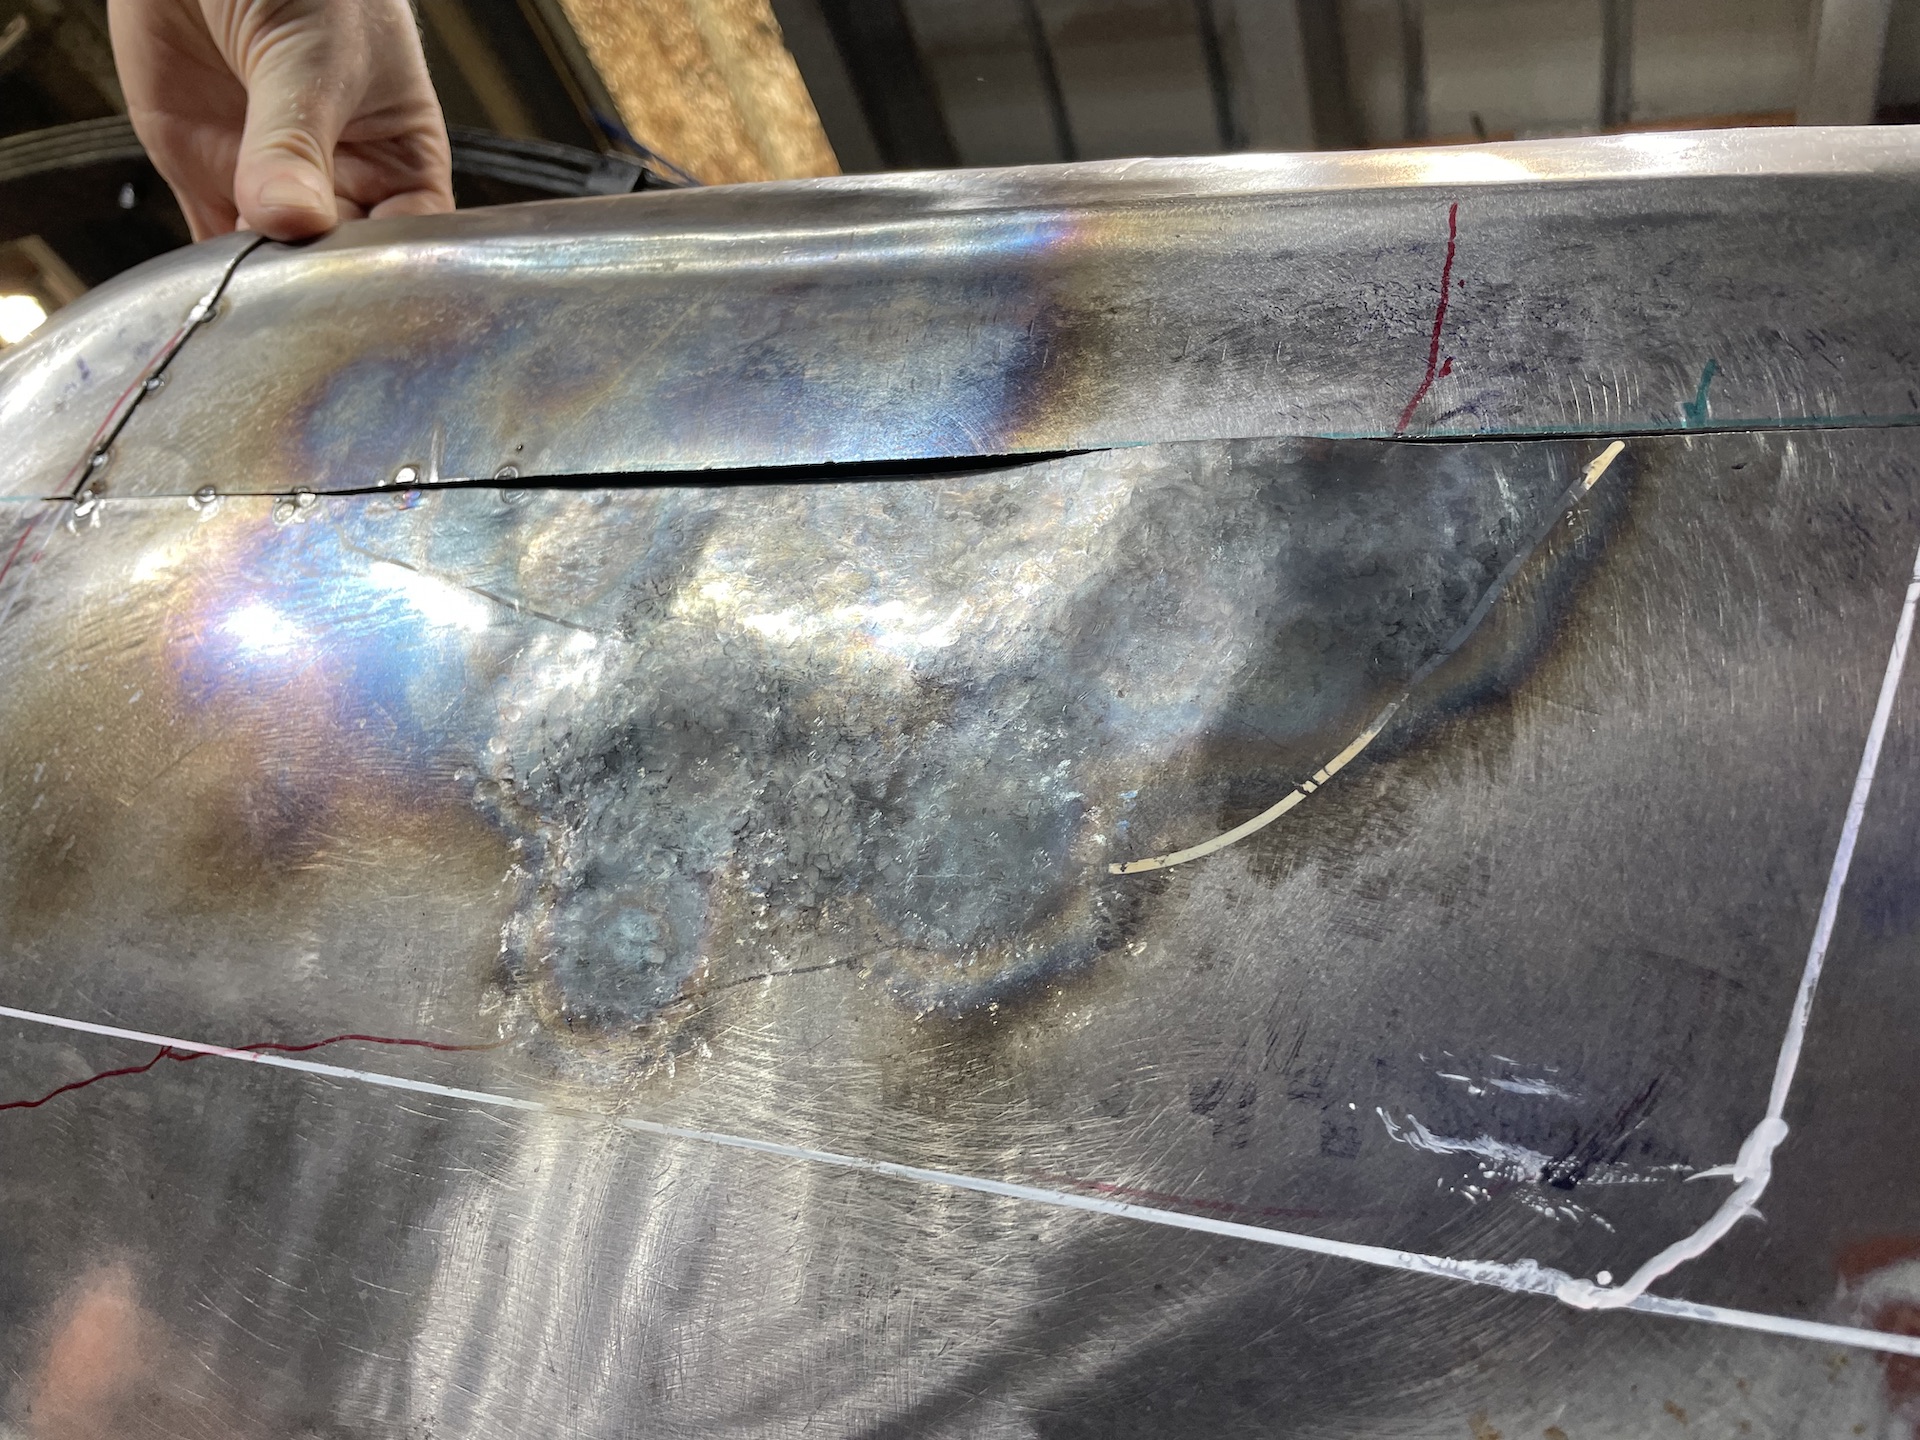
Really pissed off now - walked away, vowing to fixed something else and come back to it in the future. But next morning went out and this is the first thing I see, mocking me. So with a calm head, and a bit of patience, I started to fix this by removing the stretched metal. Figured the best way was to start shrinking from where I started welding in the top LHC and move around, alternating top and bottom weld paths.
This was all achieved with the shrinking disk, slapper and dolly. Didn't take many pics as I was in a bit of a shrinking zen space. Did get this one which shows the one on the left starting to close up a bit.
- IMG_0796.jpeg (733.51 KiB) Viewed 2934 times
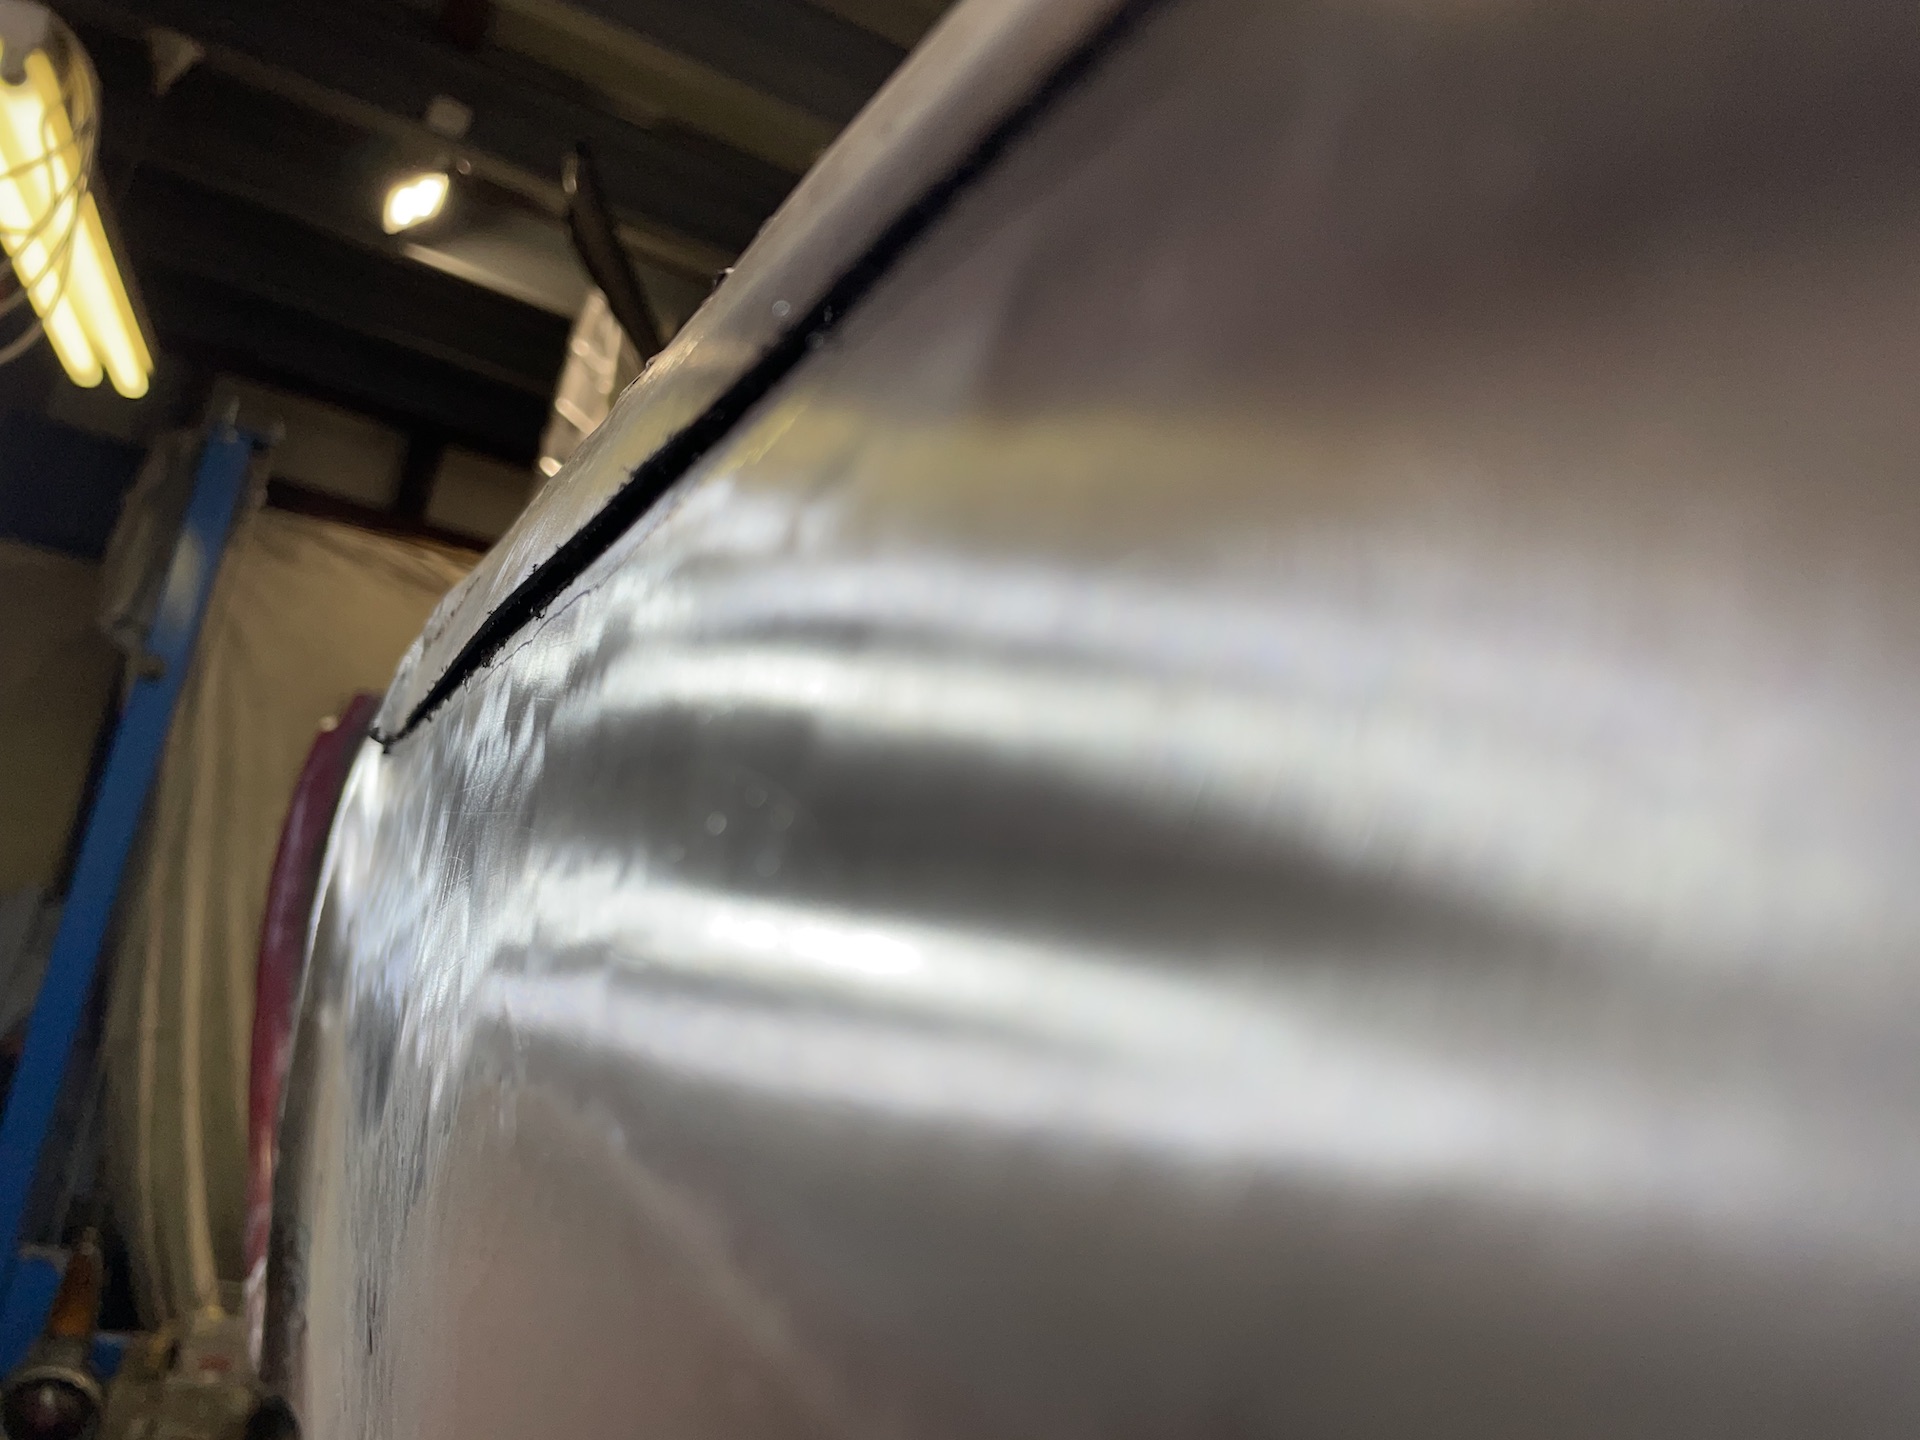
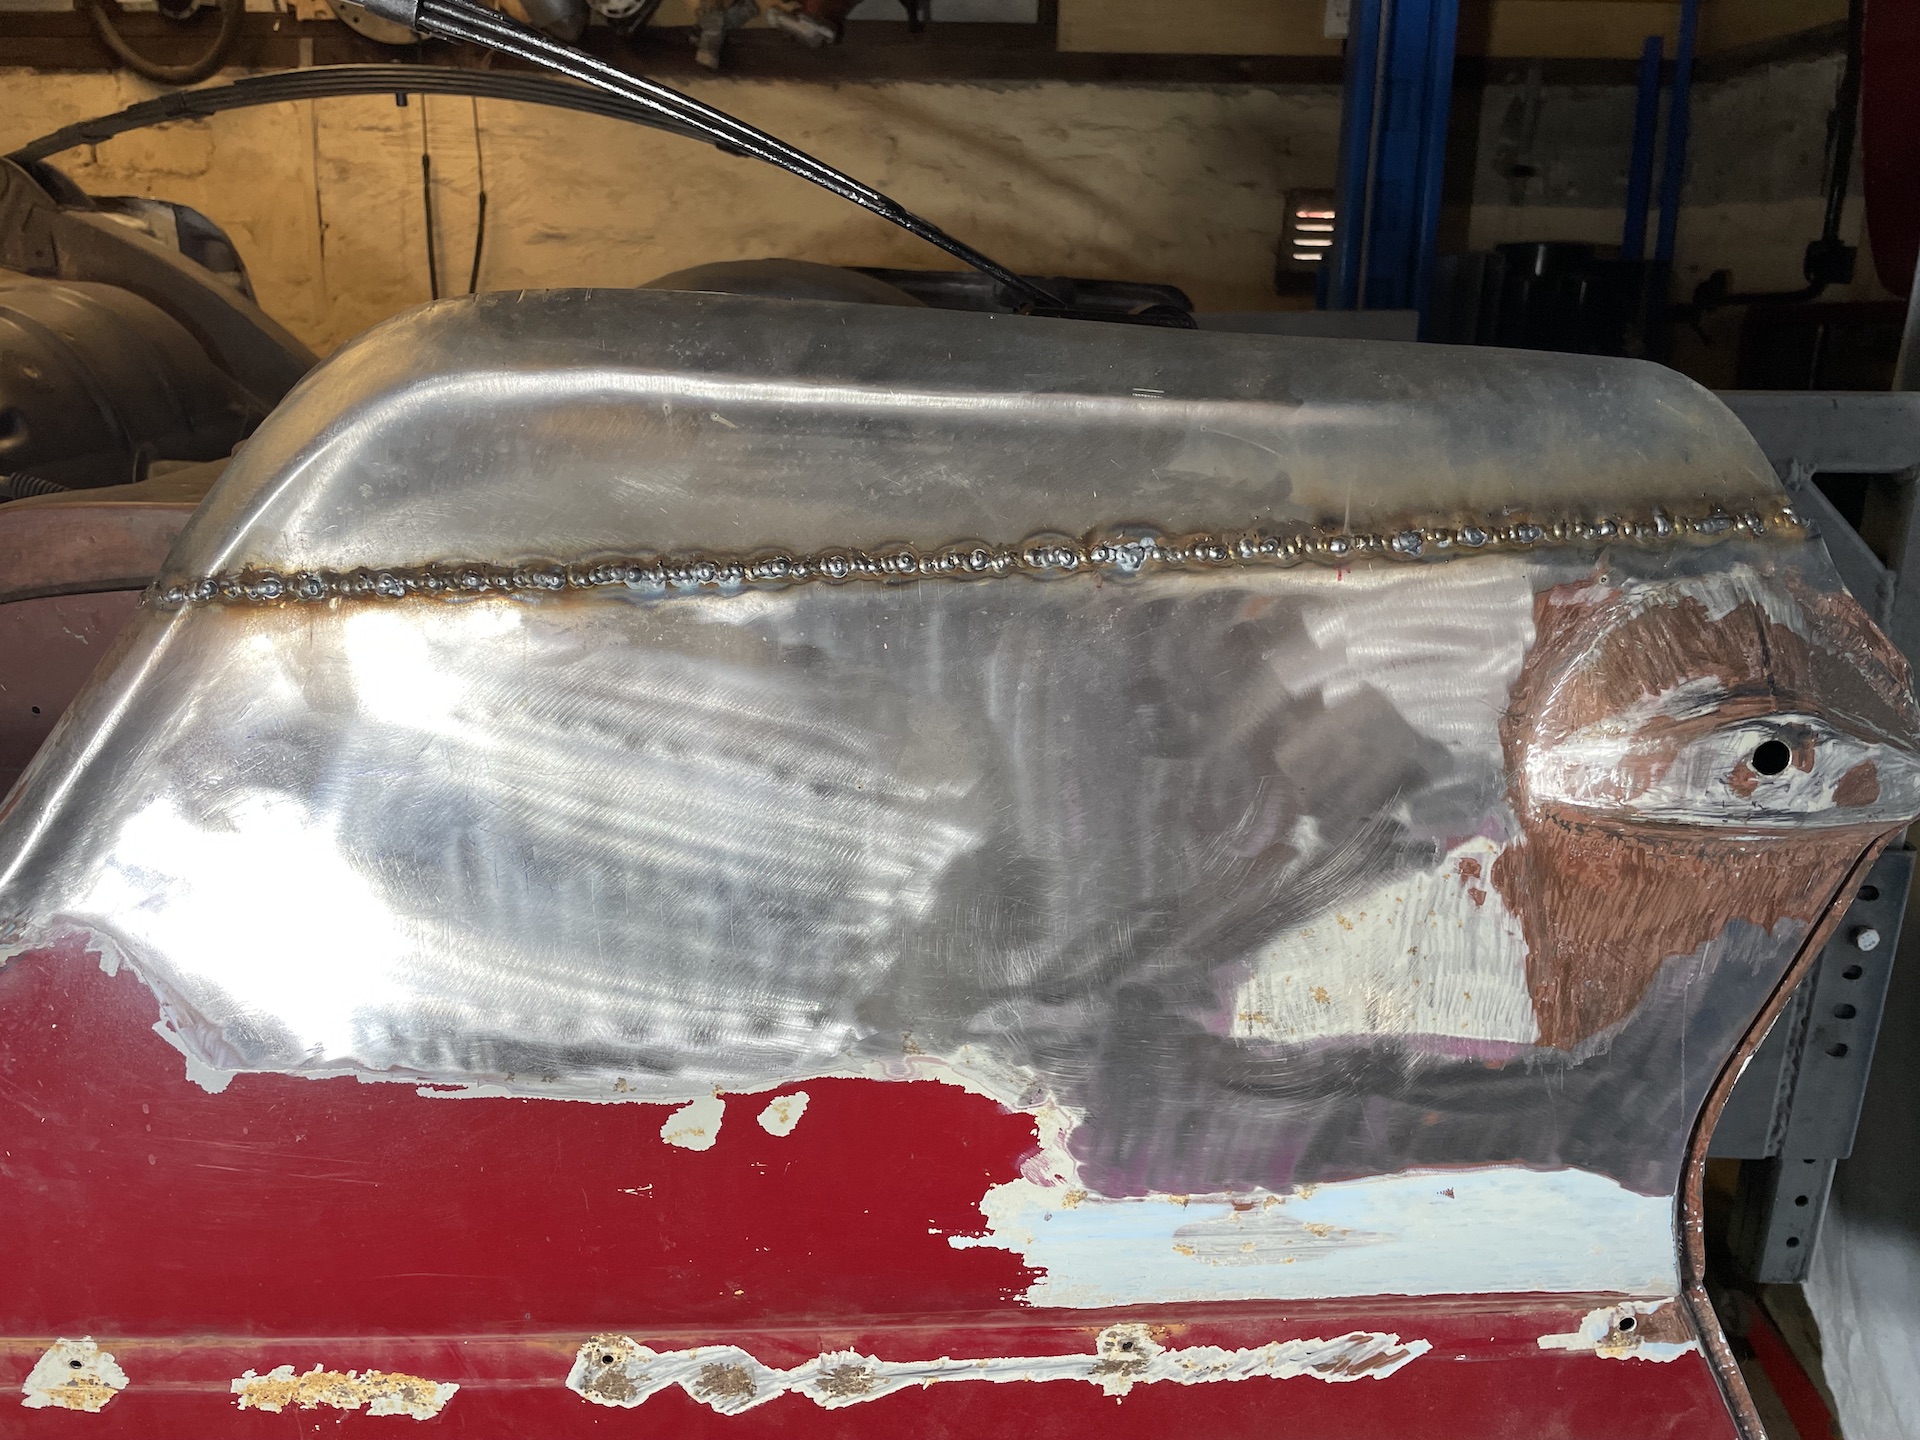
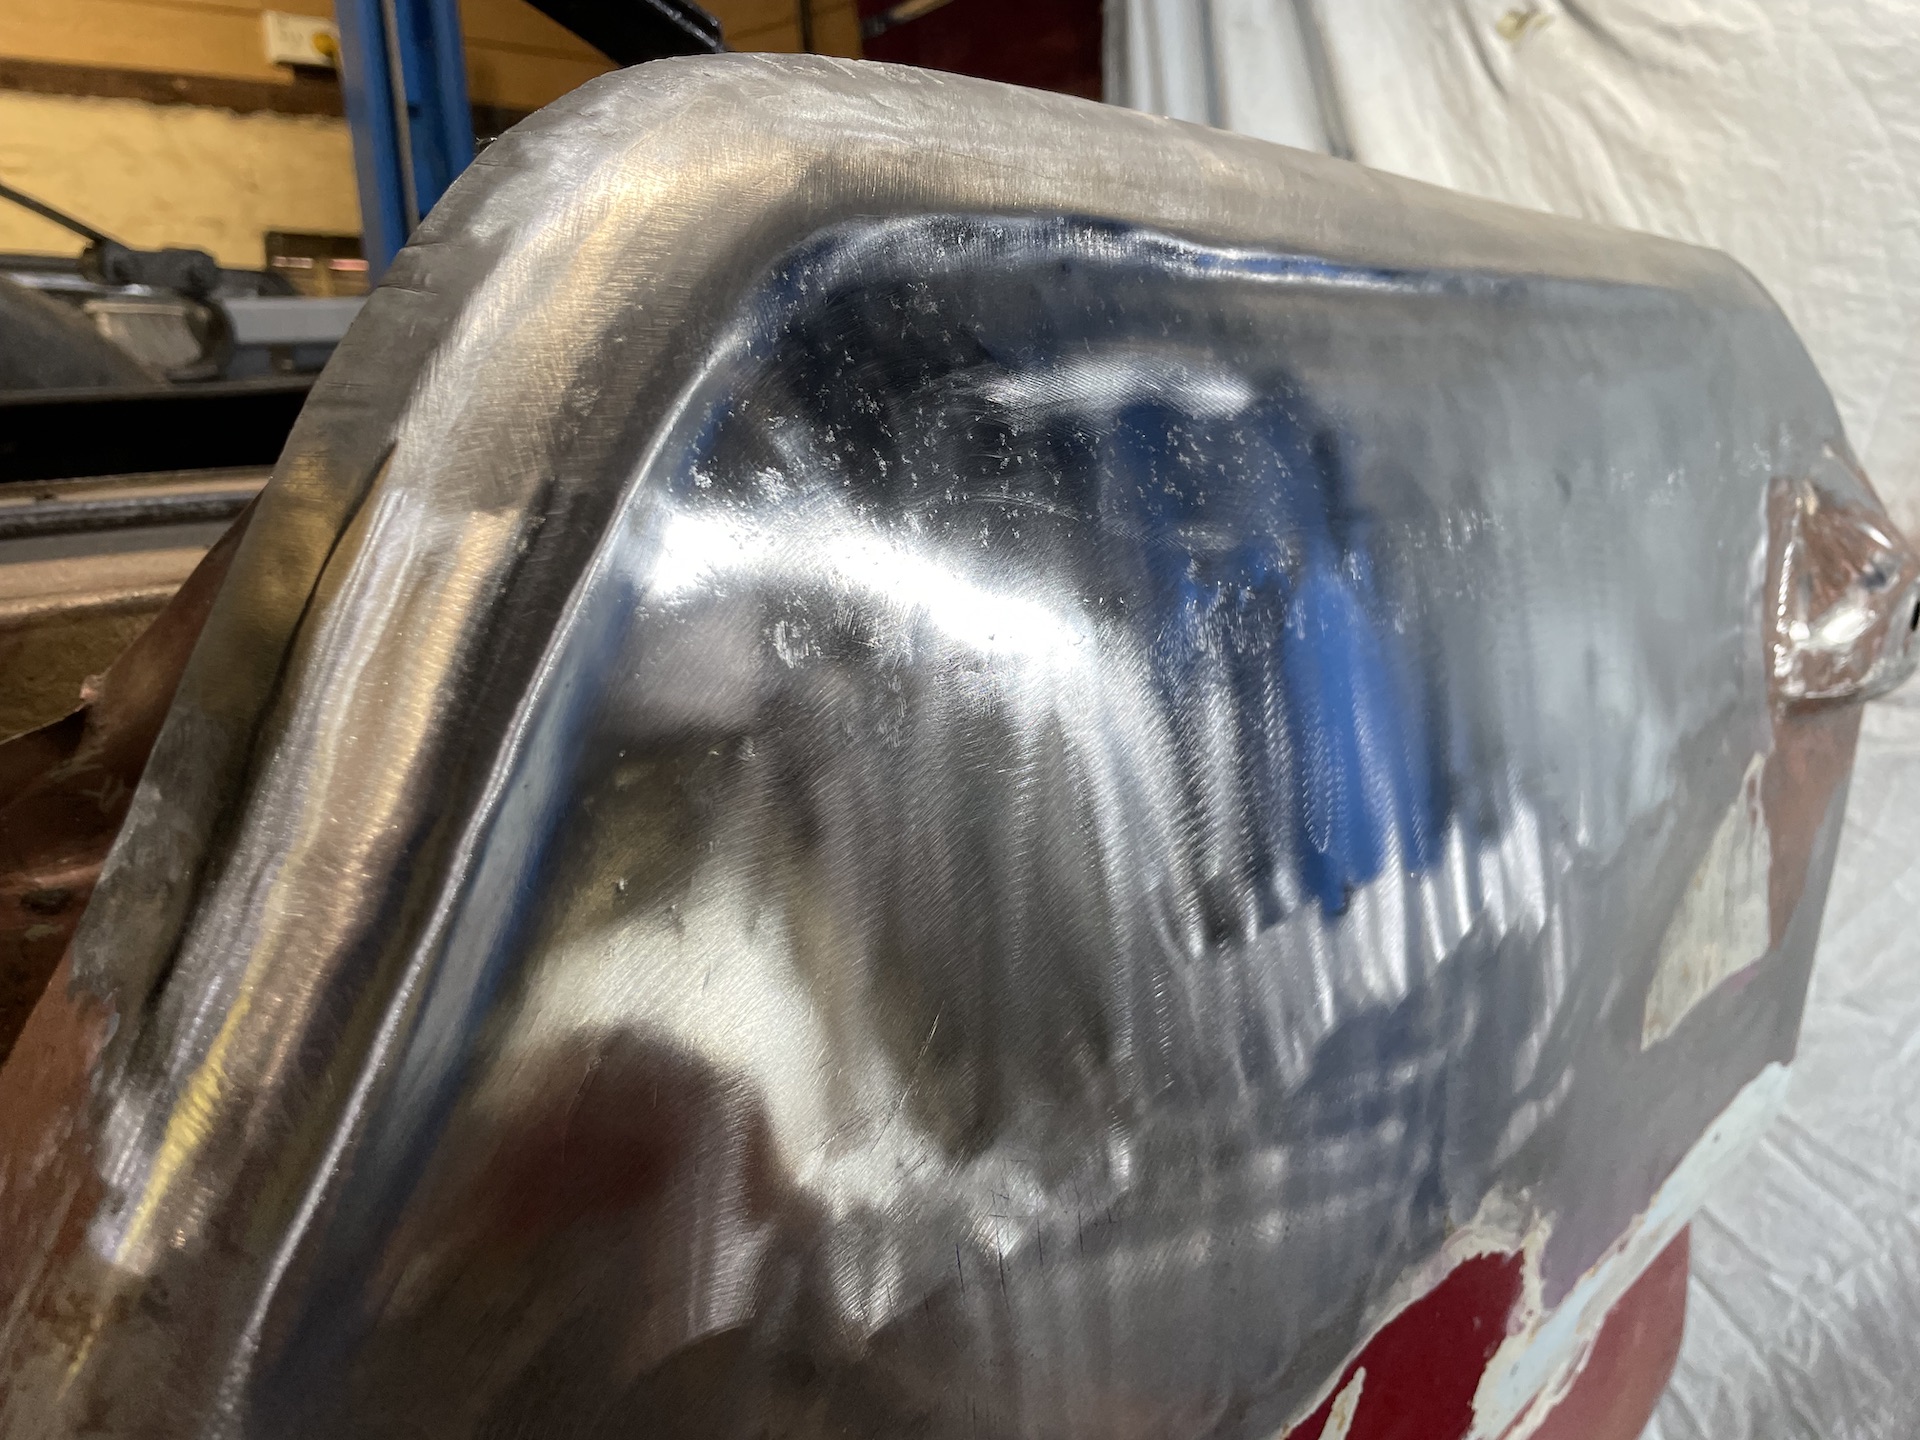
Four hours of shrinking, weld in the inner repair, grind, repair a few pin holes and this is what I ended up with.
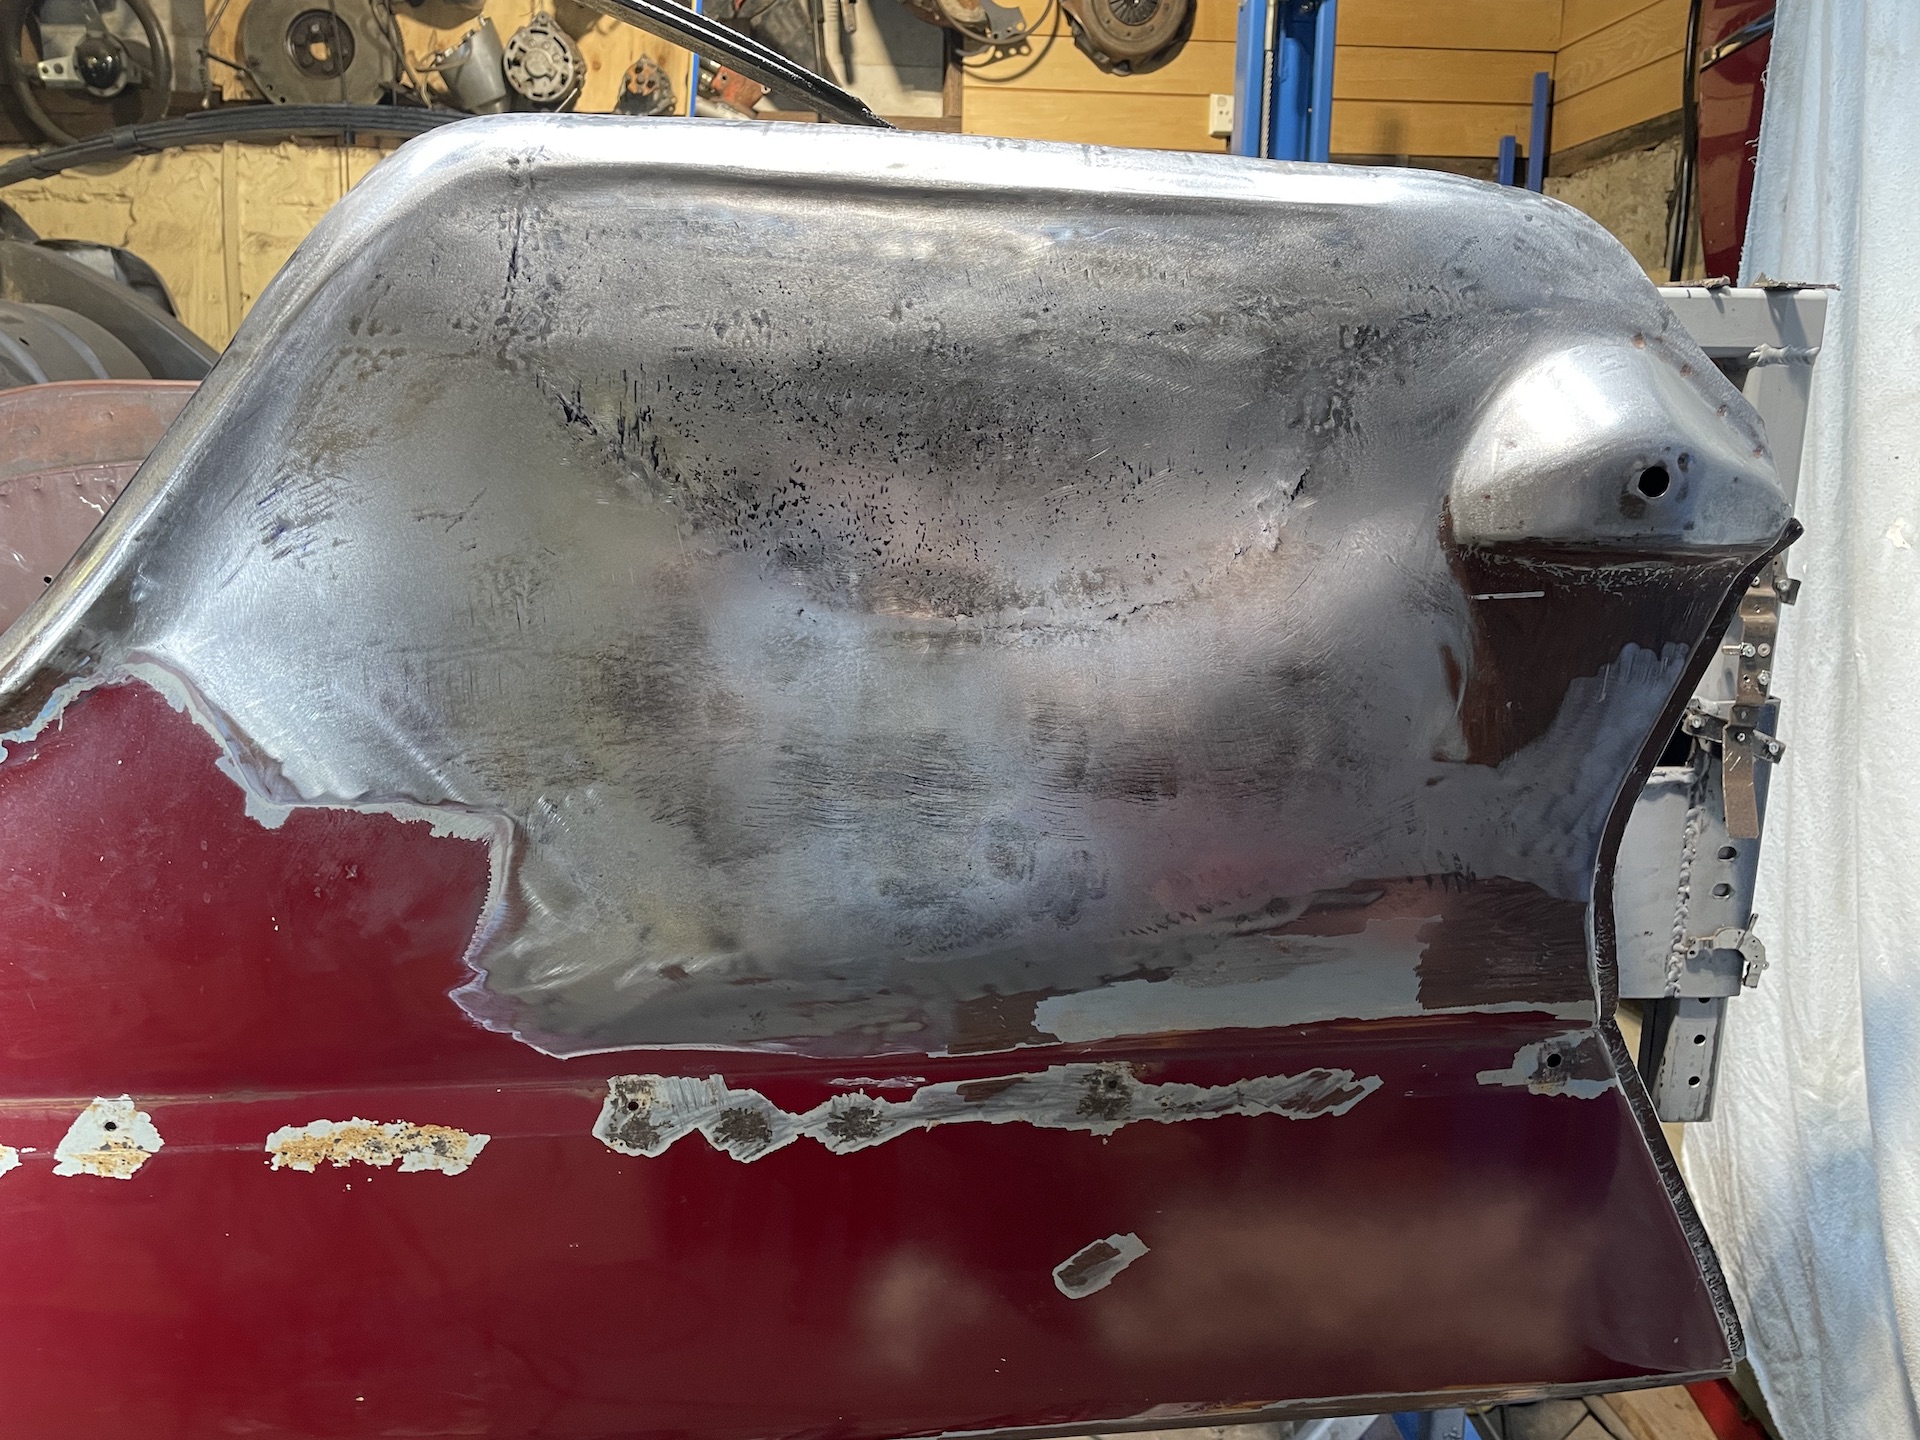
- IMG_0811.jpeg (853.27 KiB) Viewed 2934 times
All waves gone, no oil canning, and any ripples are visually under 1mm. Doesn't look great compared to attempt 1 but it's straight now.
Lessons learnt part 2, must try to read the panel better. There was a slight stretch in original that could have been shrunk out before attempt one was welded in. Shrinking the edge on the repair to straighten it should have also been done at that point, but didn't yet have the shrinker, and doing it manually must have been put in the too hard basket. Then repair bottom edge should have been shrunk to match original. Sounds easy in hindsight.
Re: Ol' Rusty - FB/EK Sedan
Posted: Wed Oct 12, 2022 3:40 pm
by Errol62
Great perserverance and learning Scott
Sent from my SM-G781B using Tapatalk
Re: Ol' Rusty - FB/EK Sedan
Posted: Thu Oct 13, 2022 11:32 am
by Blacky
love your work mate

Re: Ol' Rusty - FB/EK Sedan
Posted: Thu Oct 13, 2022 11:37 am
by Wrongway Roger
Thanks for posting, Scott.

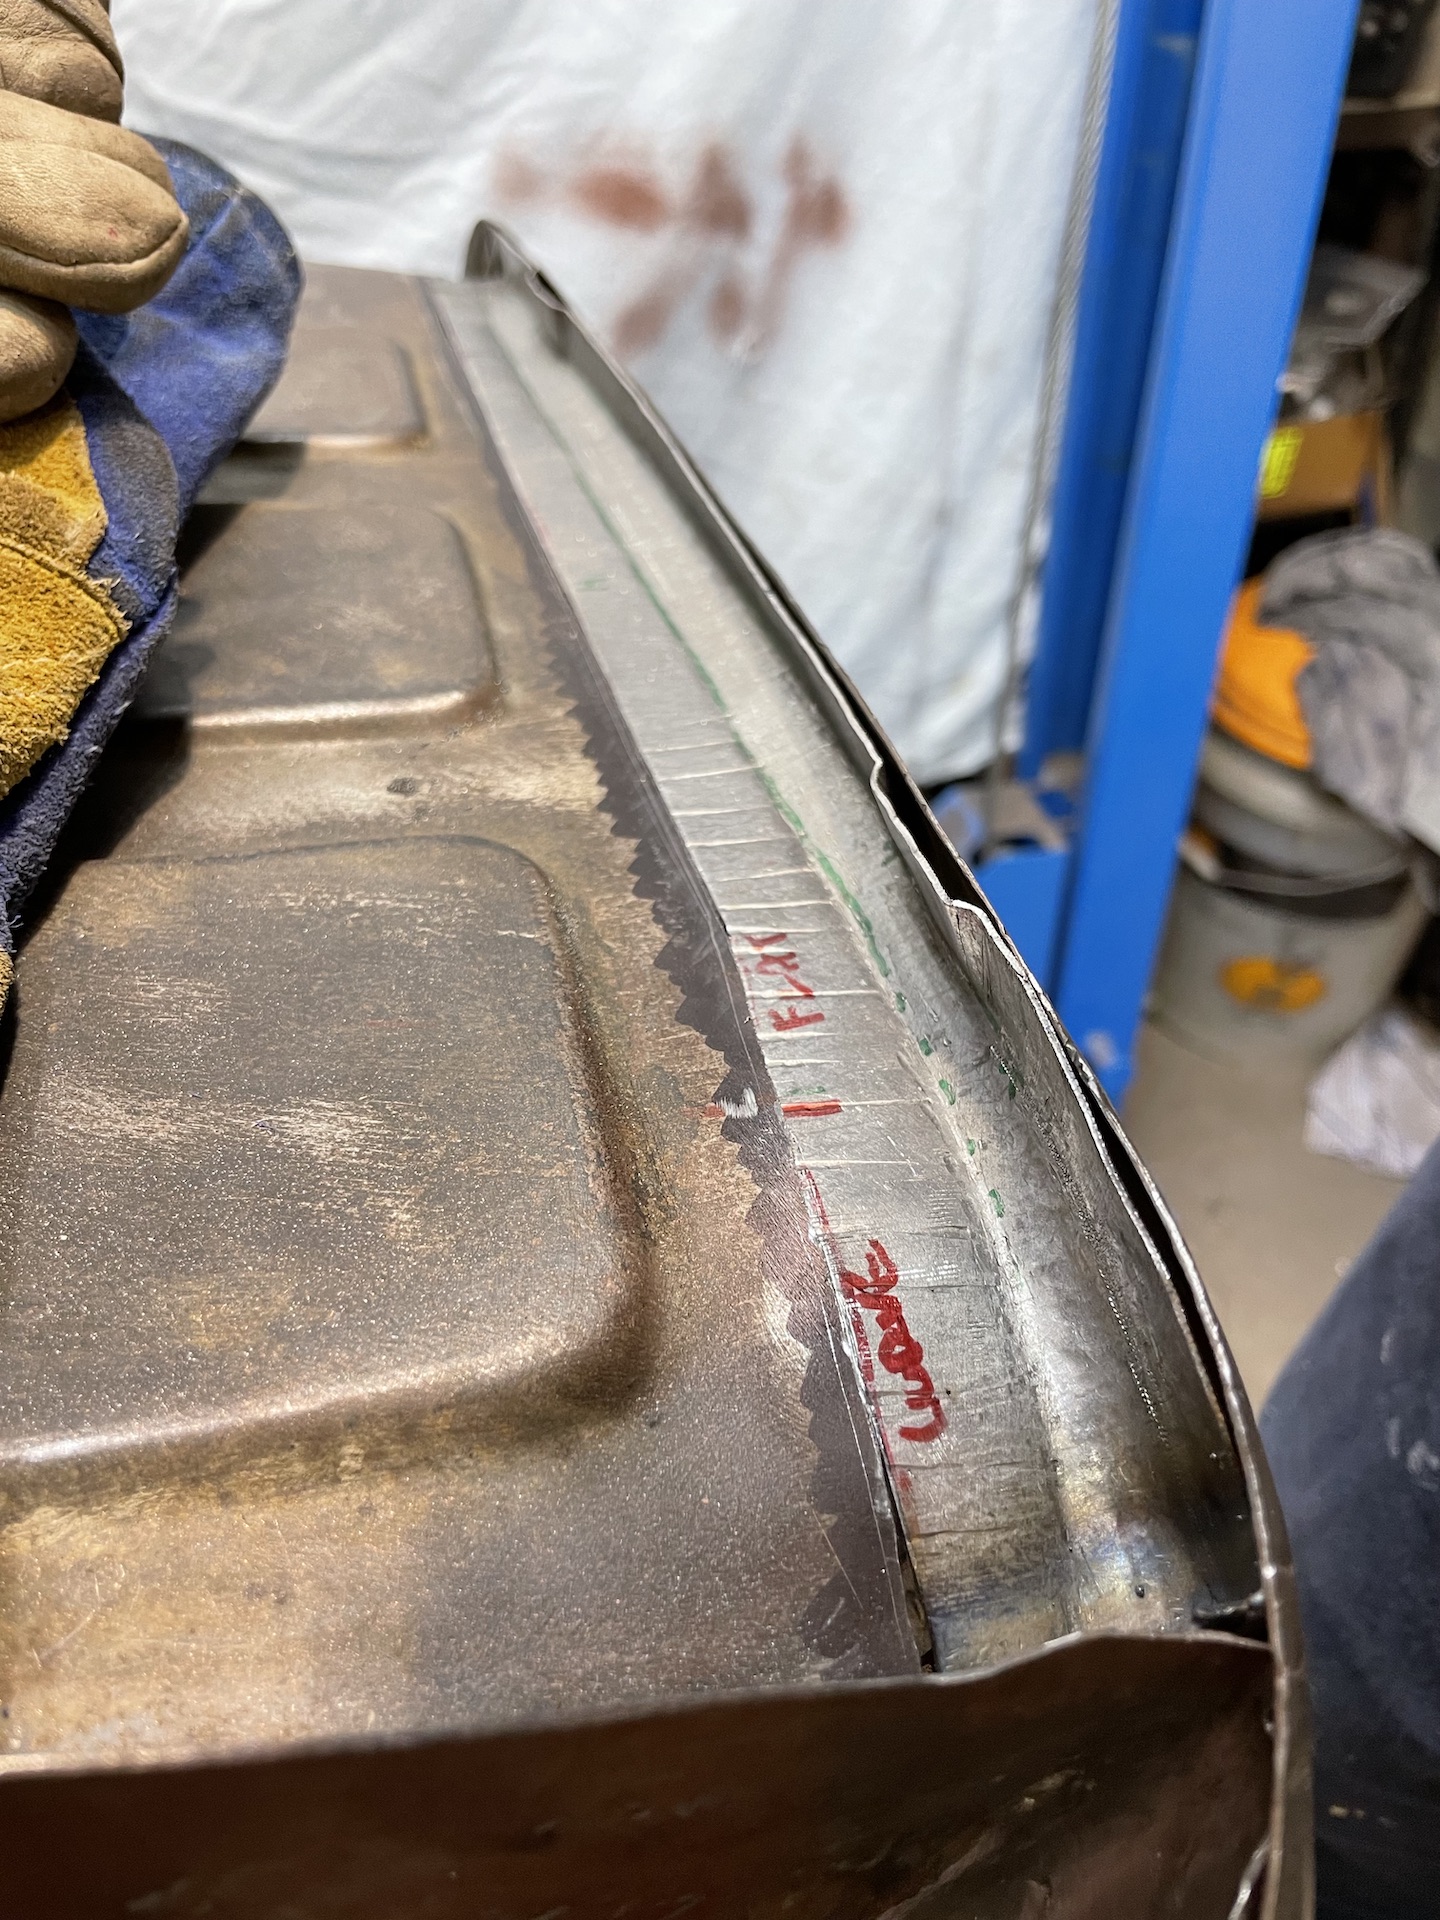
We all learn a little each time we shape metal and by watching others.
I'm still working the front guards on the ute build, to get each " flat " .
Cheers,
Roger
Re: Ol' Rusty - FB/EK Sedan
Posted: Thu Oct 13, 2022 6:10 pm
by EK283
Hi Scott,
Great work you're doing well.
To keep the panels flat you may also need to massage them as you weld. Once you tack them in place and start to fill in the gap stop cool and check for flatness. Use the hammer and dolly to adjust as you go.
It takes years of prctice to be a good panel beater and you have done a great job learning.
Looks good and it appears you are now scared of nothing.
Greg