Page 26 of 76
Posted: Mon Feb 23, 2009 11:37 pm
by Finny
Posted: Tue Feb 24, 2009 10:05 am
by mrs ratbox
he said he can early in the topic AND can have a supercharger on the 350 if he chooses to
i'm surprised every body with modified cars doesn't live in N.T.

but we can swim in our rivers


Posted: Tue Feb 24, 2009 10:24 am
by FB MAD

The way he's been cruising through this build,he'll have it ready this weekend!!
Posted: Tue Feb 24, 2009 10:41 am
by mrs ratbox
Posted: Tue Feb 24, 2009 7:37 pm
by V8EK4us
Posted: Tue Feb 24, 2009 8:12 pm
by my70wg
Posted: Tue Feb 24, 2009 9:42 pm
by V8EK4us
Posted: Tue Feb 24, 2009 9:48 pm
by mrs ratbox
did you get my PM
Posted: Fri Feb 27, 2009 9:55 pm
by V8EK4us
Posted: Sat Feb 28, 2009 5:25 am
by Trev
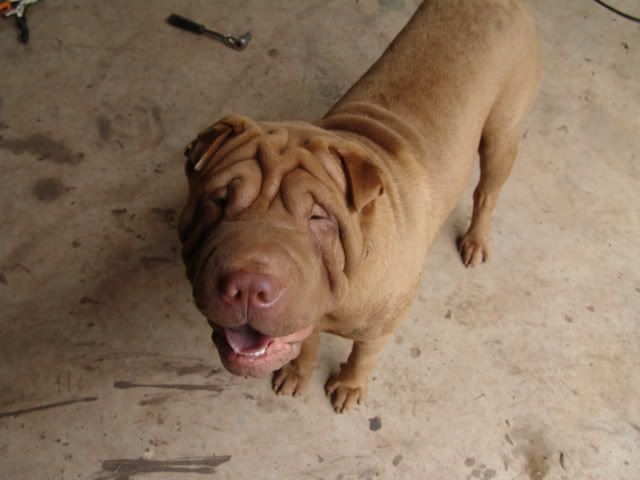
I think if I had a dog like that it would be called "Scrotum"! Don't know why
.
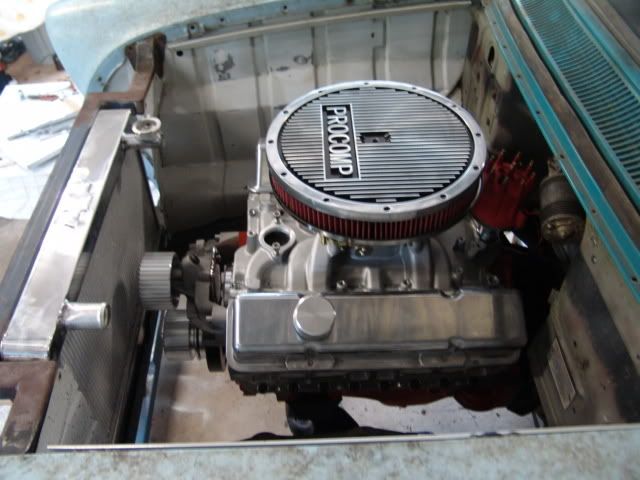
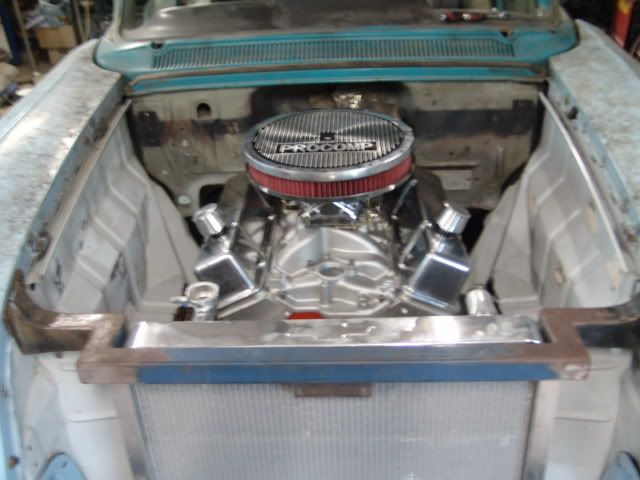
I hope you got more tension on the engine bolts the there is on "Chevie's" face skin
, Trev

.
Posted: Sat Feb 28, 2009 3:51 pm
by V8EK4us
Posted: Sat Feb 28, 2009 7:09 pm
by V8EK4us
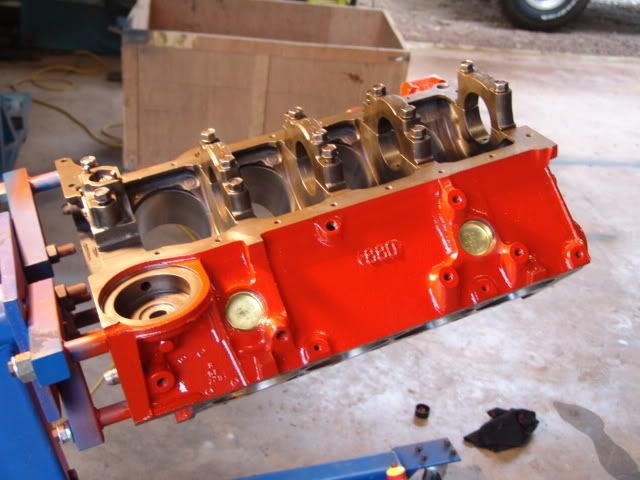
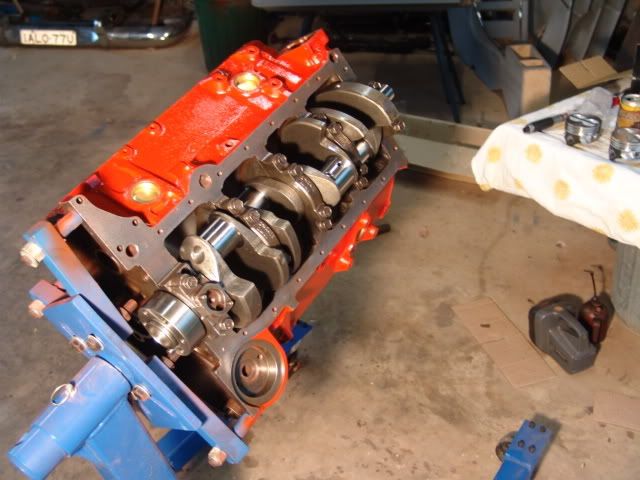
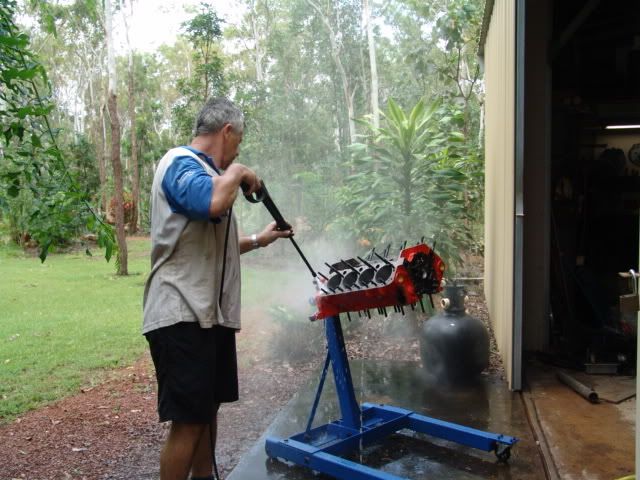
Posted: Sun Mar 01, 2009 6:53 pm
by V8EK4us
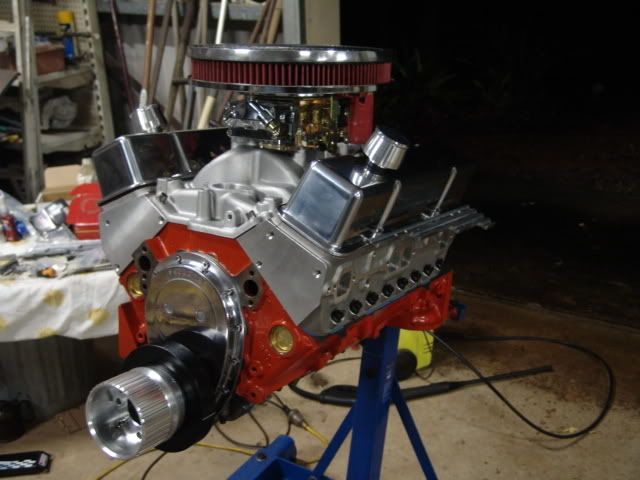
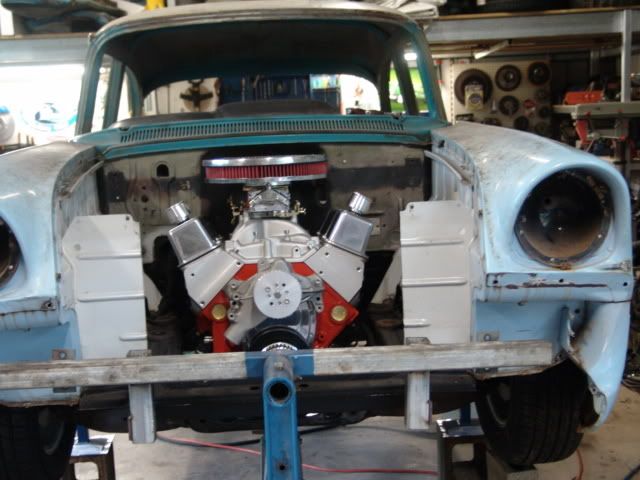
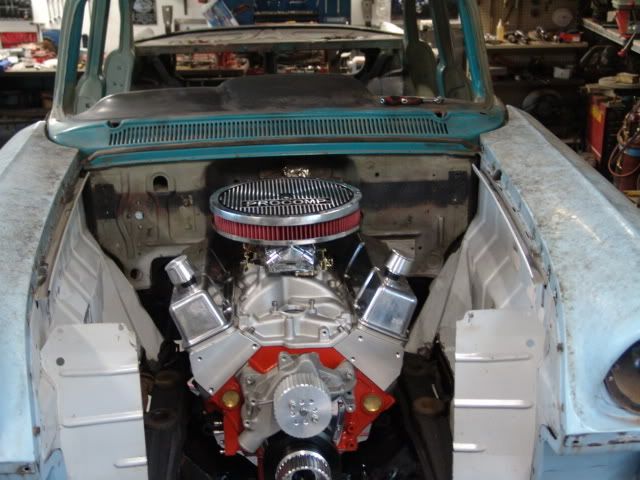
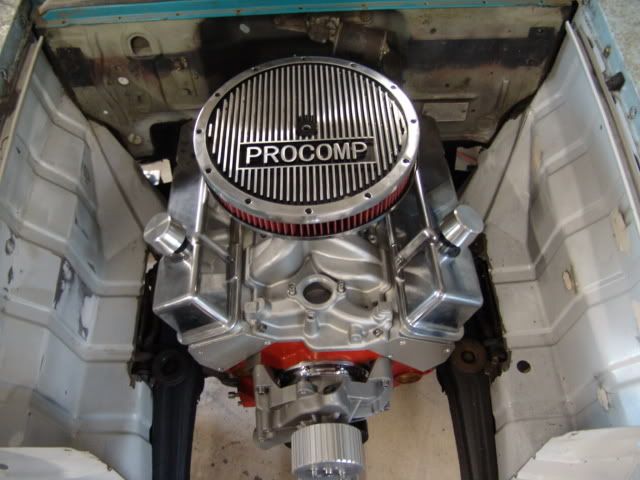
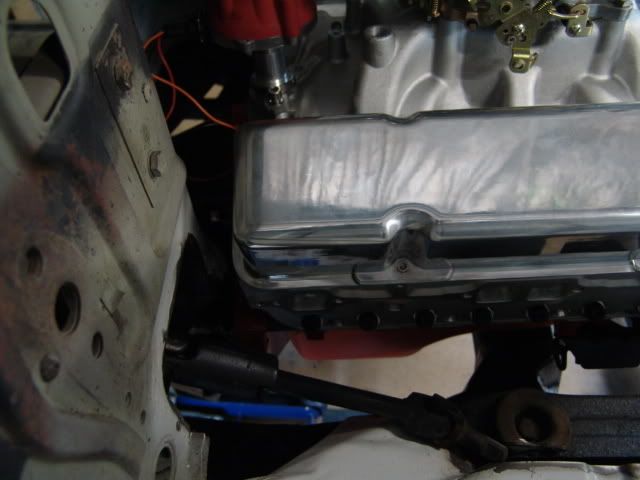
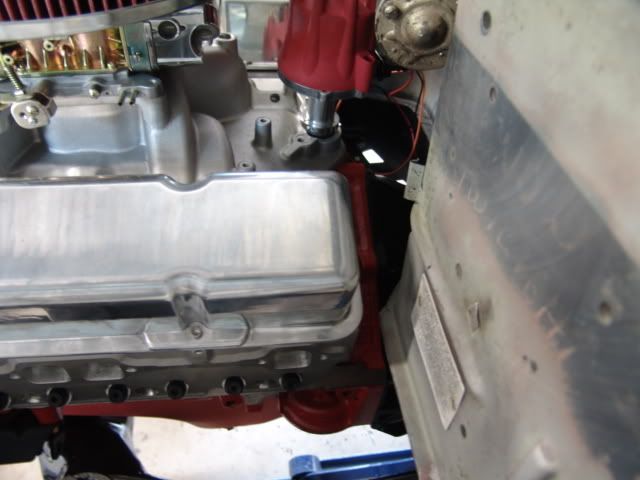
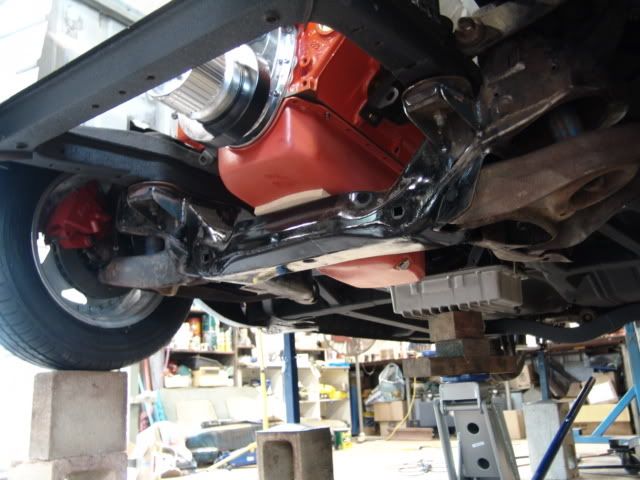
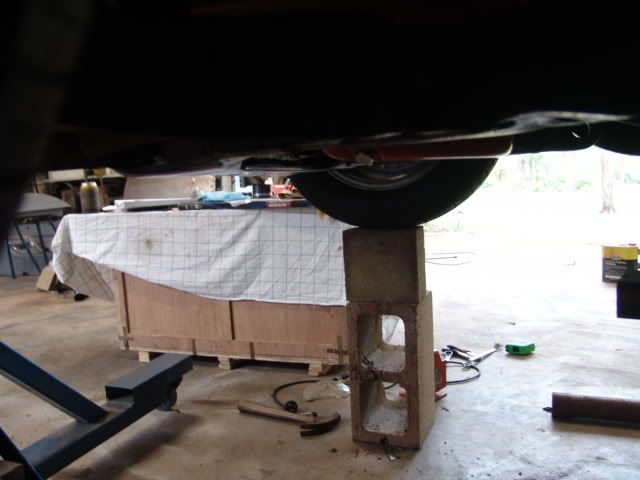
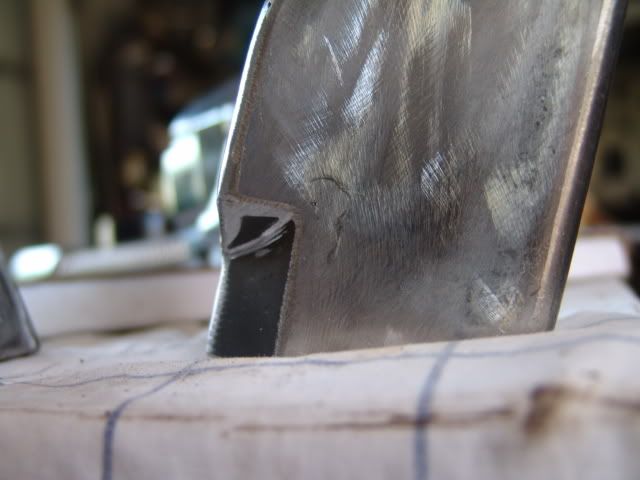
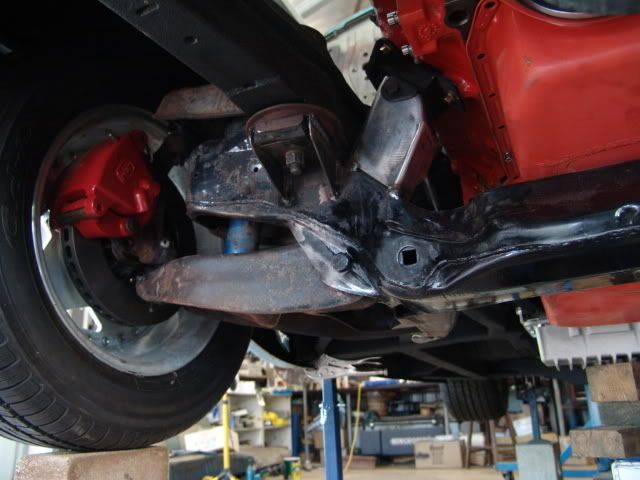
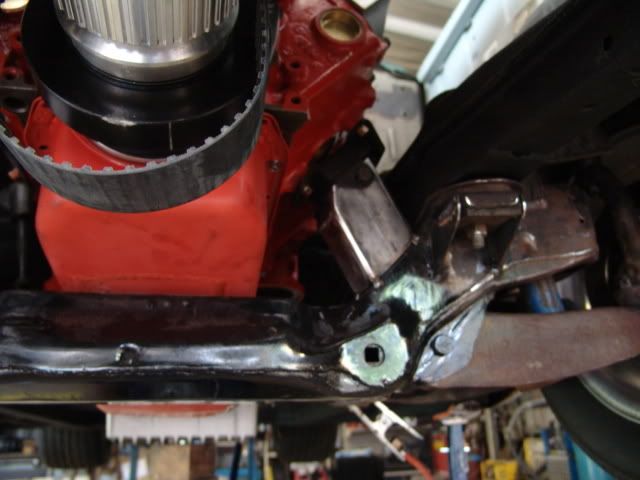
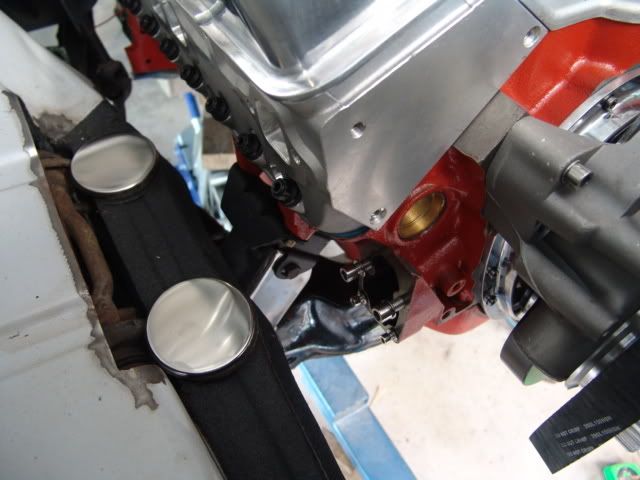
Made up the engine mounts - Chev SB to LH/LX Torana frontend.
Had to notch out a section at the rear of the right hand mount so the Torrie Rack pinion shaft clears and has a straight run to the Commodore column. Sump is a spare so I didn't have to worry about knocking it around during prefit.
Mounts are only tacked, will be removed and fully welded prior to 2 pack painting.

This is the notched area for the r & P shaft clearance. (pic below)
Posted: Sun Mar 01, 2009 10:17 pm
by Brodie
im lovin this build.
gotta be honest every time i get on here this is the first thing i look at

keep it up man
cheers,
Brodie
Posted: Sun Mar 01, 2009 10:44 pm
by Cal
Your god given talent never ceases to amaze me
I shit myself at changing a simple gasket of a fuel pump....watching you undertake this build makes me want to hide in a corner in shame