Page 24 of 50
Re: Ol' Rusty - FB/EK Sedan
Posted: Sat Nov 27, 2021 7:02 pm
by funkyscooter

There is the passenger side
Scott
Re: Ol' Rusty - FB/EK Sedan
Posted: Sat Nov 27, 2021 7:08 pm
by funkyscooter
So think l’ll just attack this with a BFH. Might need some adjustment to the firewall too. Not a fun single person job fitting the sub frame but my rotisserie stands came in handy.
Scott
Re: Ol' Rusty - FB/EK Sedan
Posted: Sat Nov 27, 2021 9:56 pm
by FbSTDwagon
Scott my frames aligned much like yours and it did my head in trying to get it right.
I looked back on the hundred of photos I took pulling it apart and it’s exactly the same as it was from the factory.
So I have left the frames as is and I’ll work hard for panel alight when the time comes.
Re: Ol' Rusty - FB/EK Sedan
Posted: Wed Dec 01, 2021 8:16 am
by funkyscooter
So the fun was short lived.
To drill the holes for the wings to bolt to the firewall I have to fully fit the sub frame. Which means getting all 4 bolts in the legs of the sub frame, and the two tapered bolts that screw the mid point of the verticals to the firewall. All these points did not change in the resto, though a lot around the verticals did. No amount of hammering/grinding /bending or swearing would get the necessary clearance to get the inner drivers side bolt in. Just could not work out a way to get the whole frame to move in 5mm further.
So after 4 attempts and several hours doing my best Catherine Zeta Jones Entrapment impressions, took the sub frame off the stands, and tried to get the bolts in with the subframe lower at the front, then tilt it up into position.
Found a few more gotchas in this lowered state (remove/bend/grind/refit), but with a ratchet strap, hammer, and long punch, finally got it lined up.
- IMG_9276.JPG (602.76 KiB) Viewed 844 times
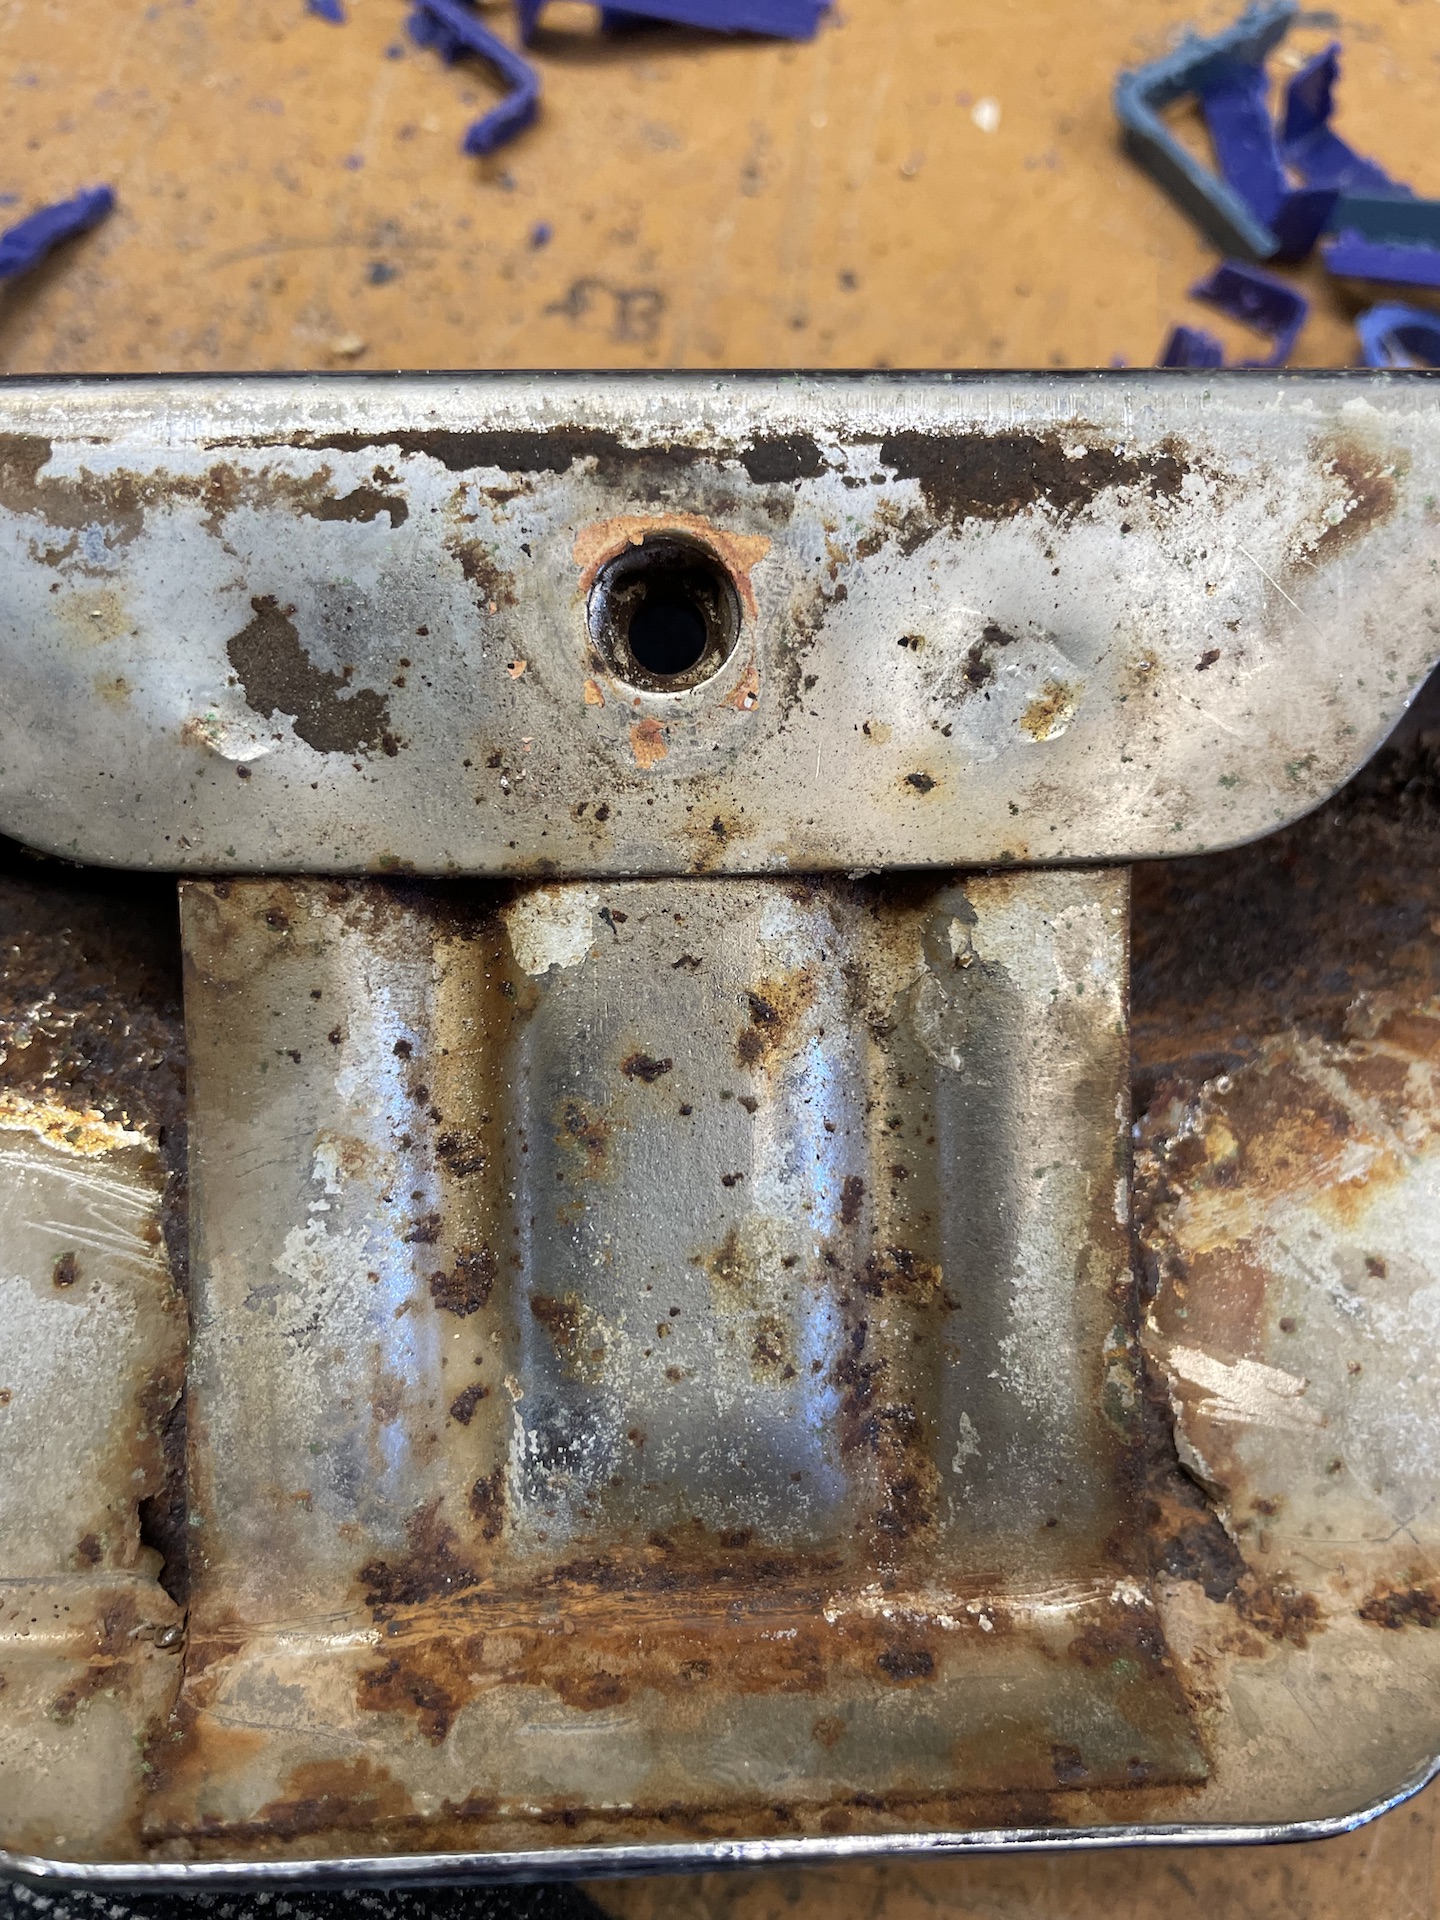
And because I was so pleased with myself, I took a phot with the bolt in.
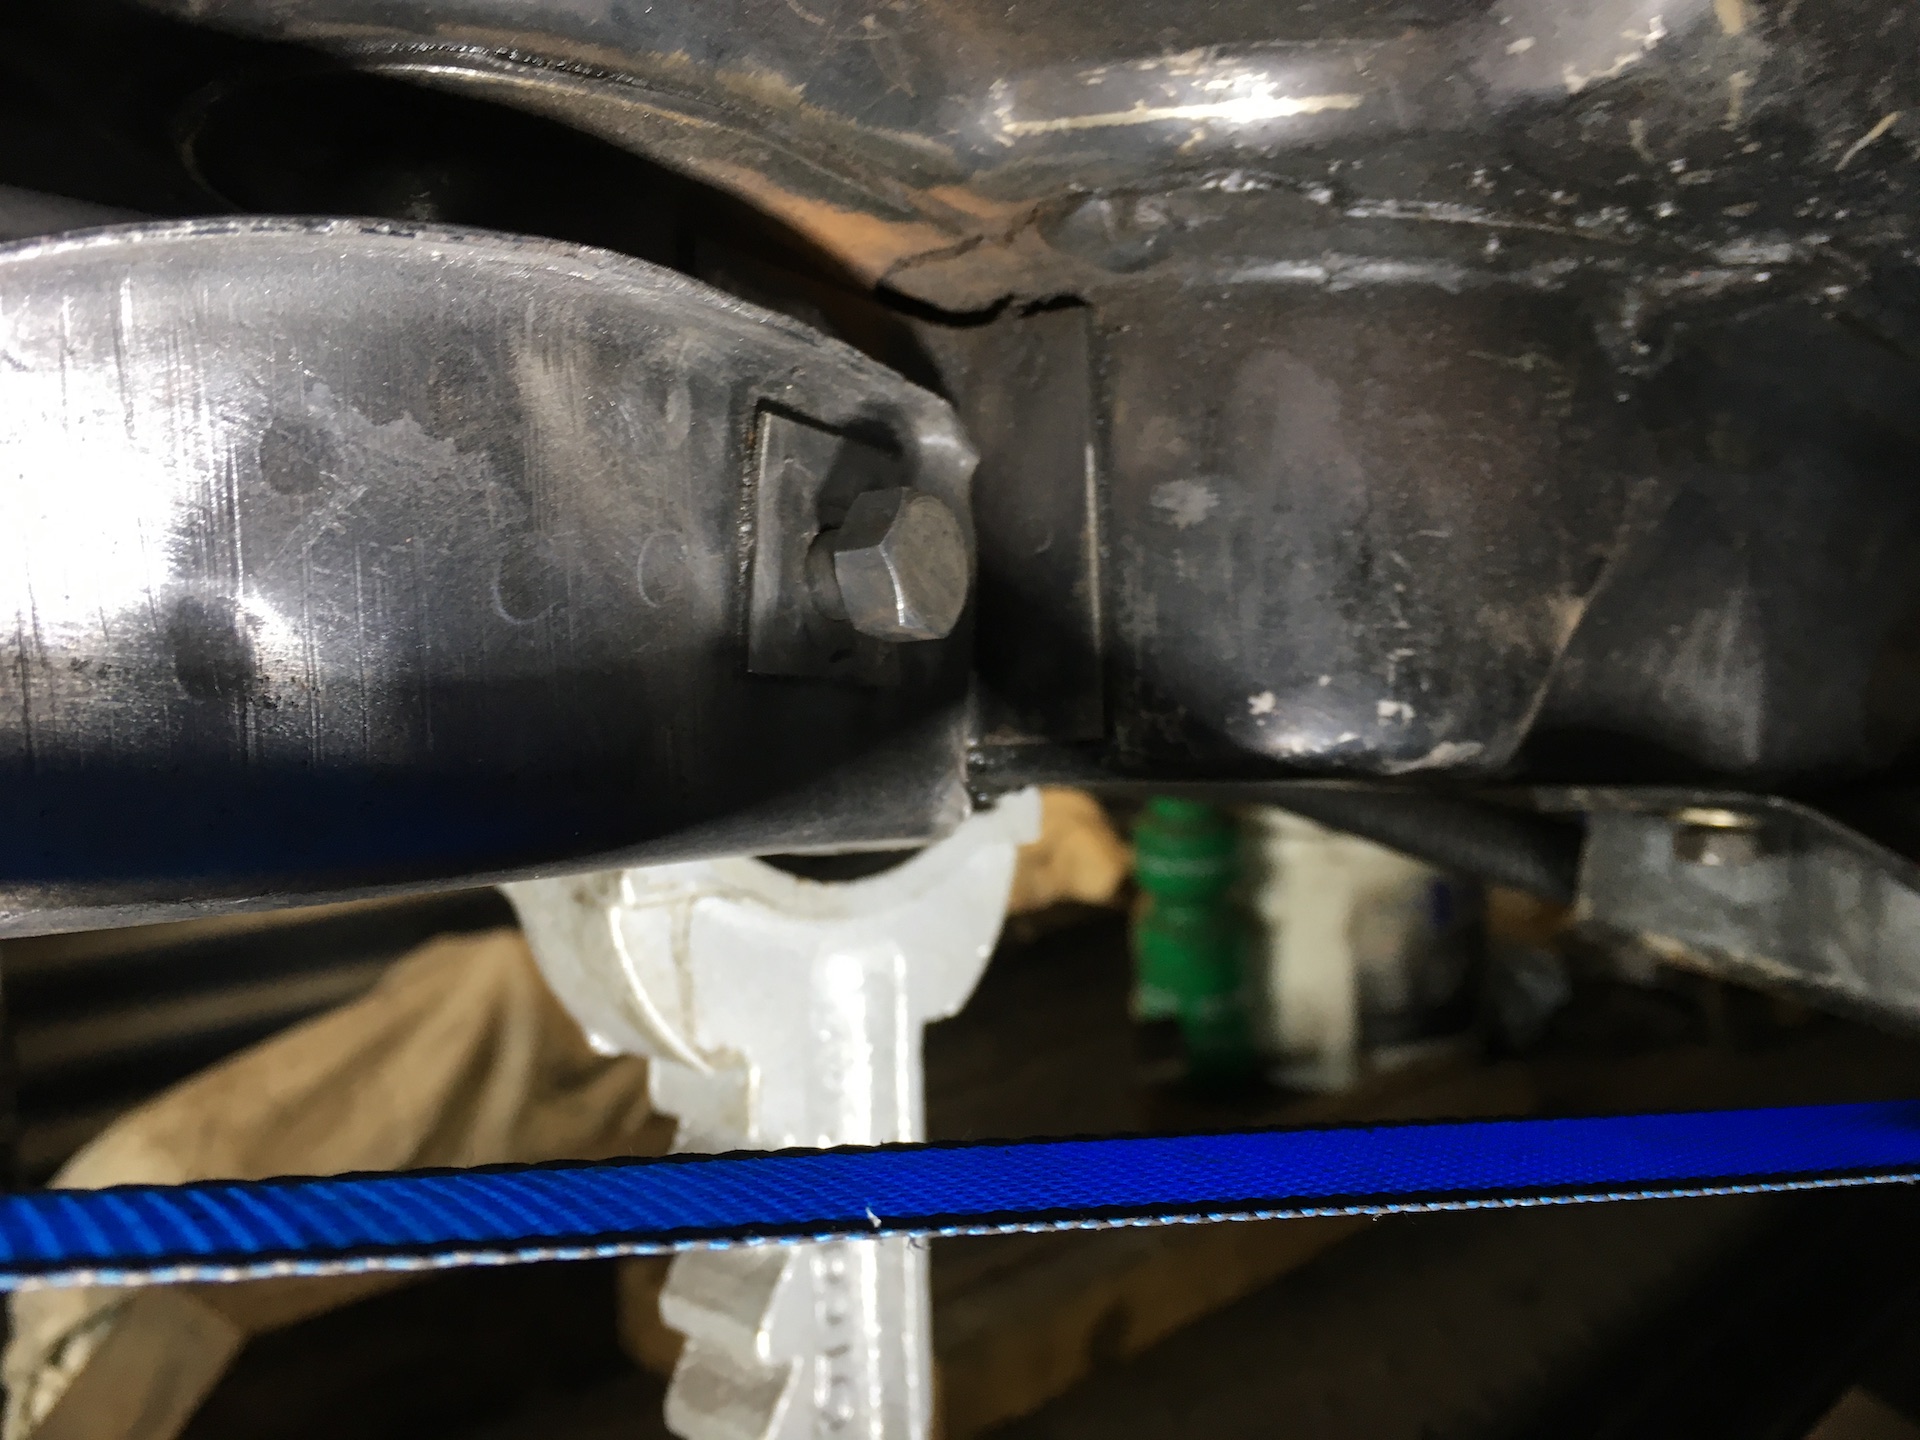
- IMG_9278.JPG (567.97 KiB) Viewed 844 times
Well almost
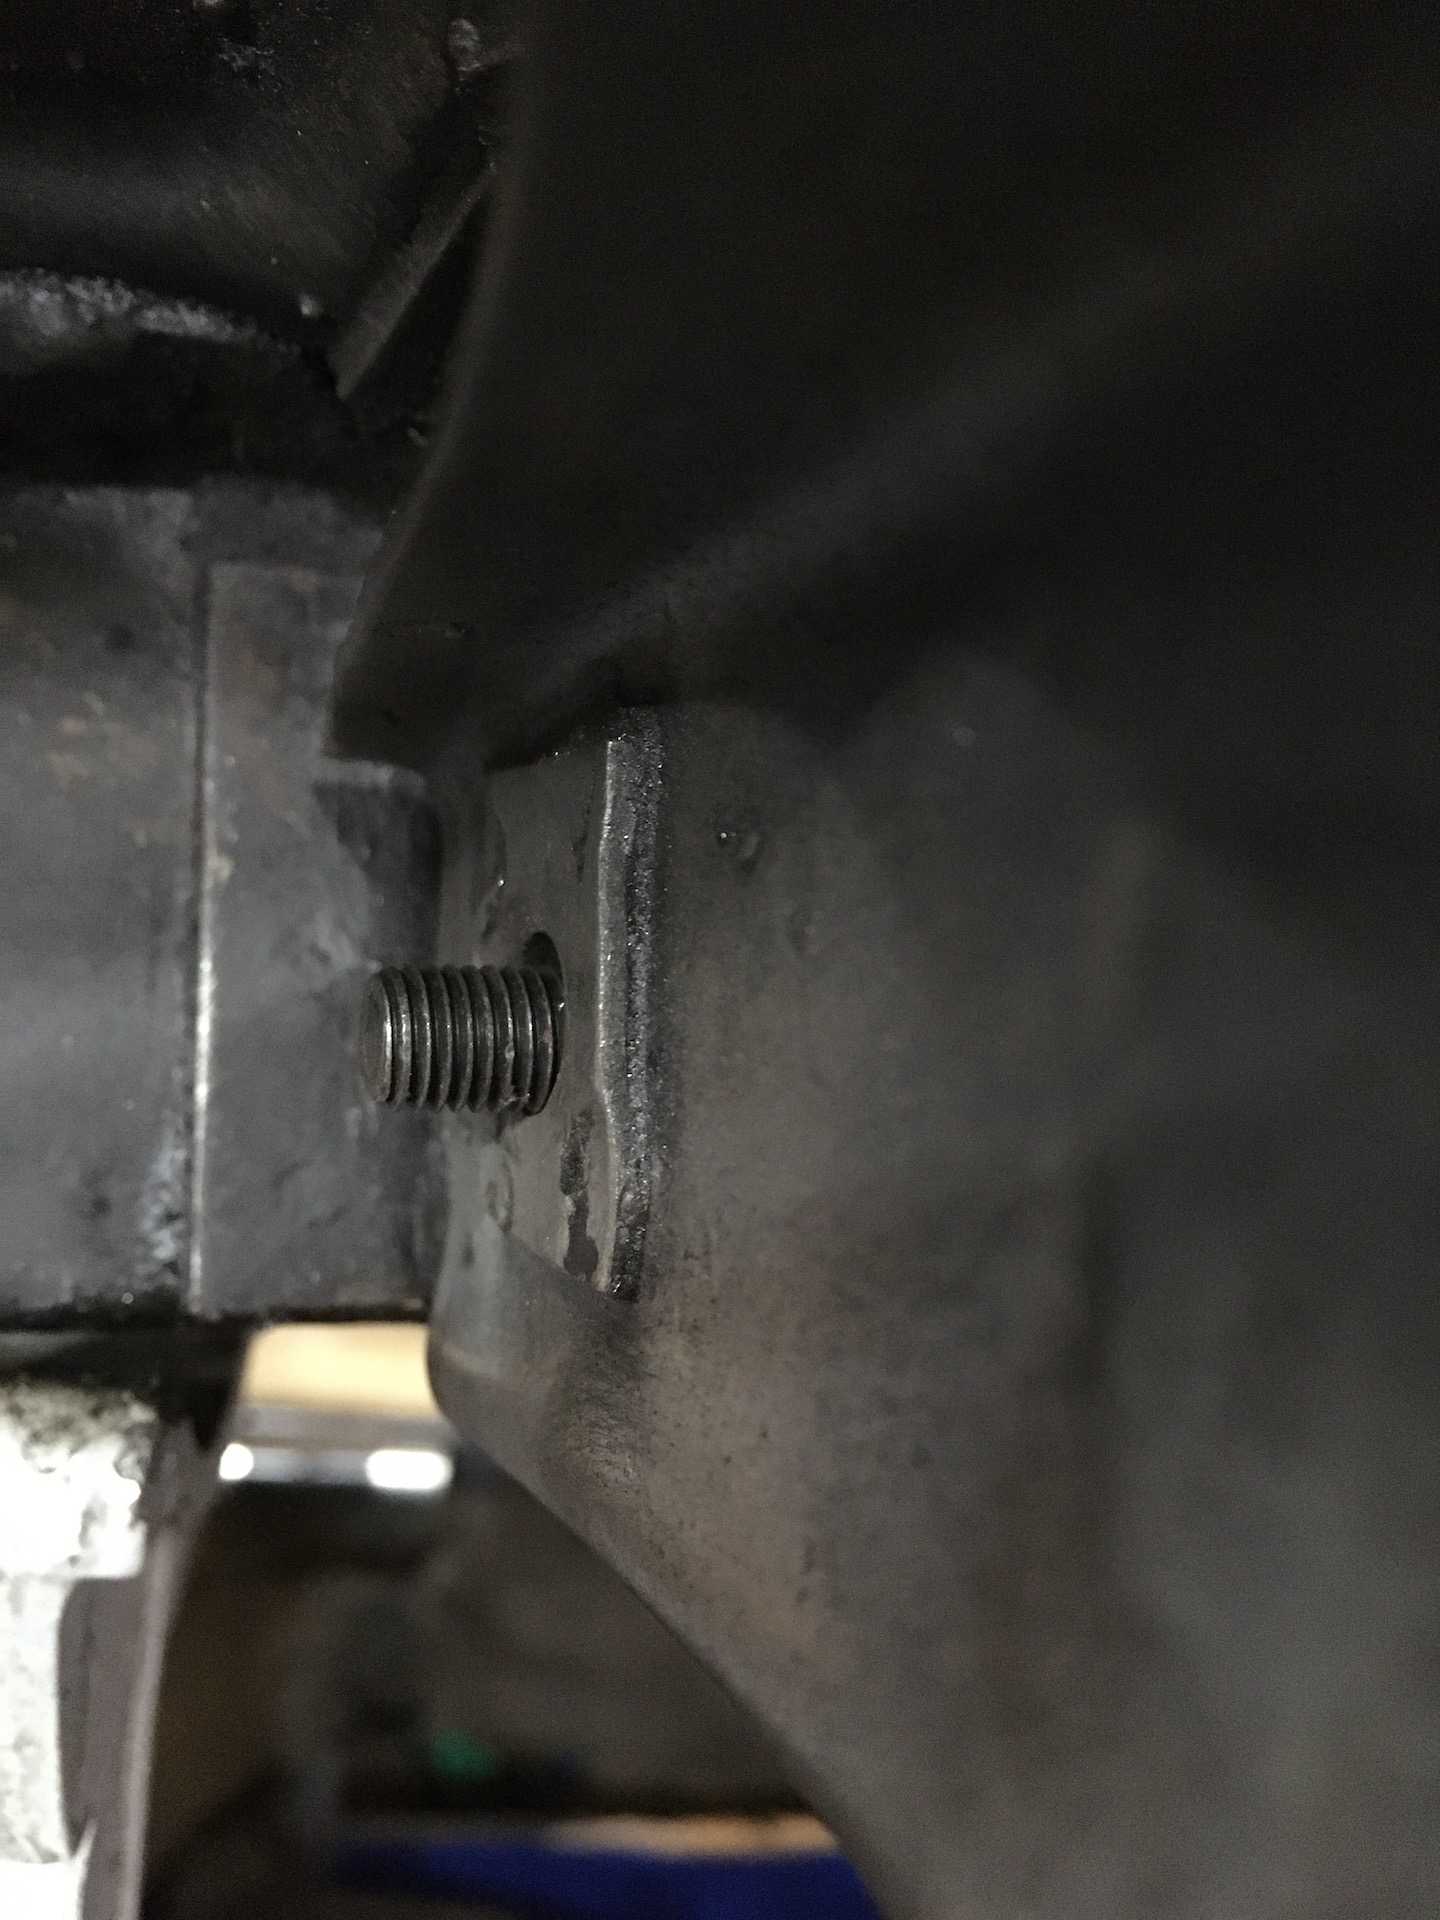
- IMG_9279.JPG (590.33 KiB) Viewed 844 times
The bolt is sitting low and for now that is the best I can do.
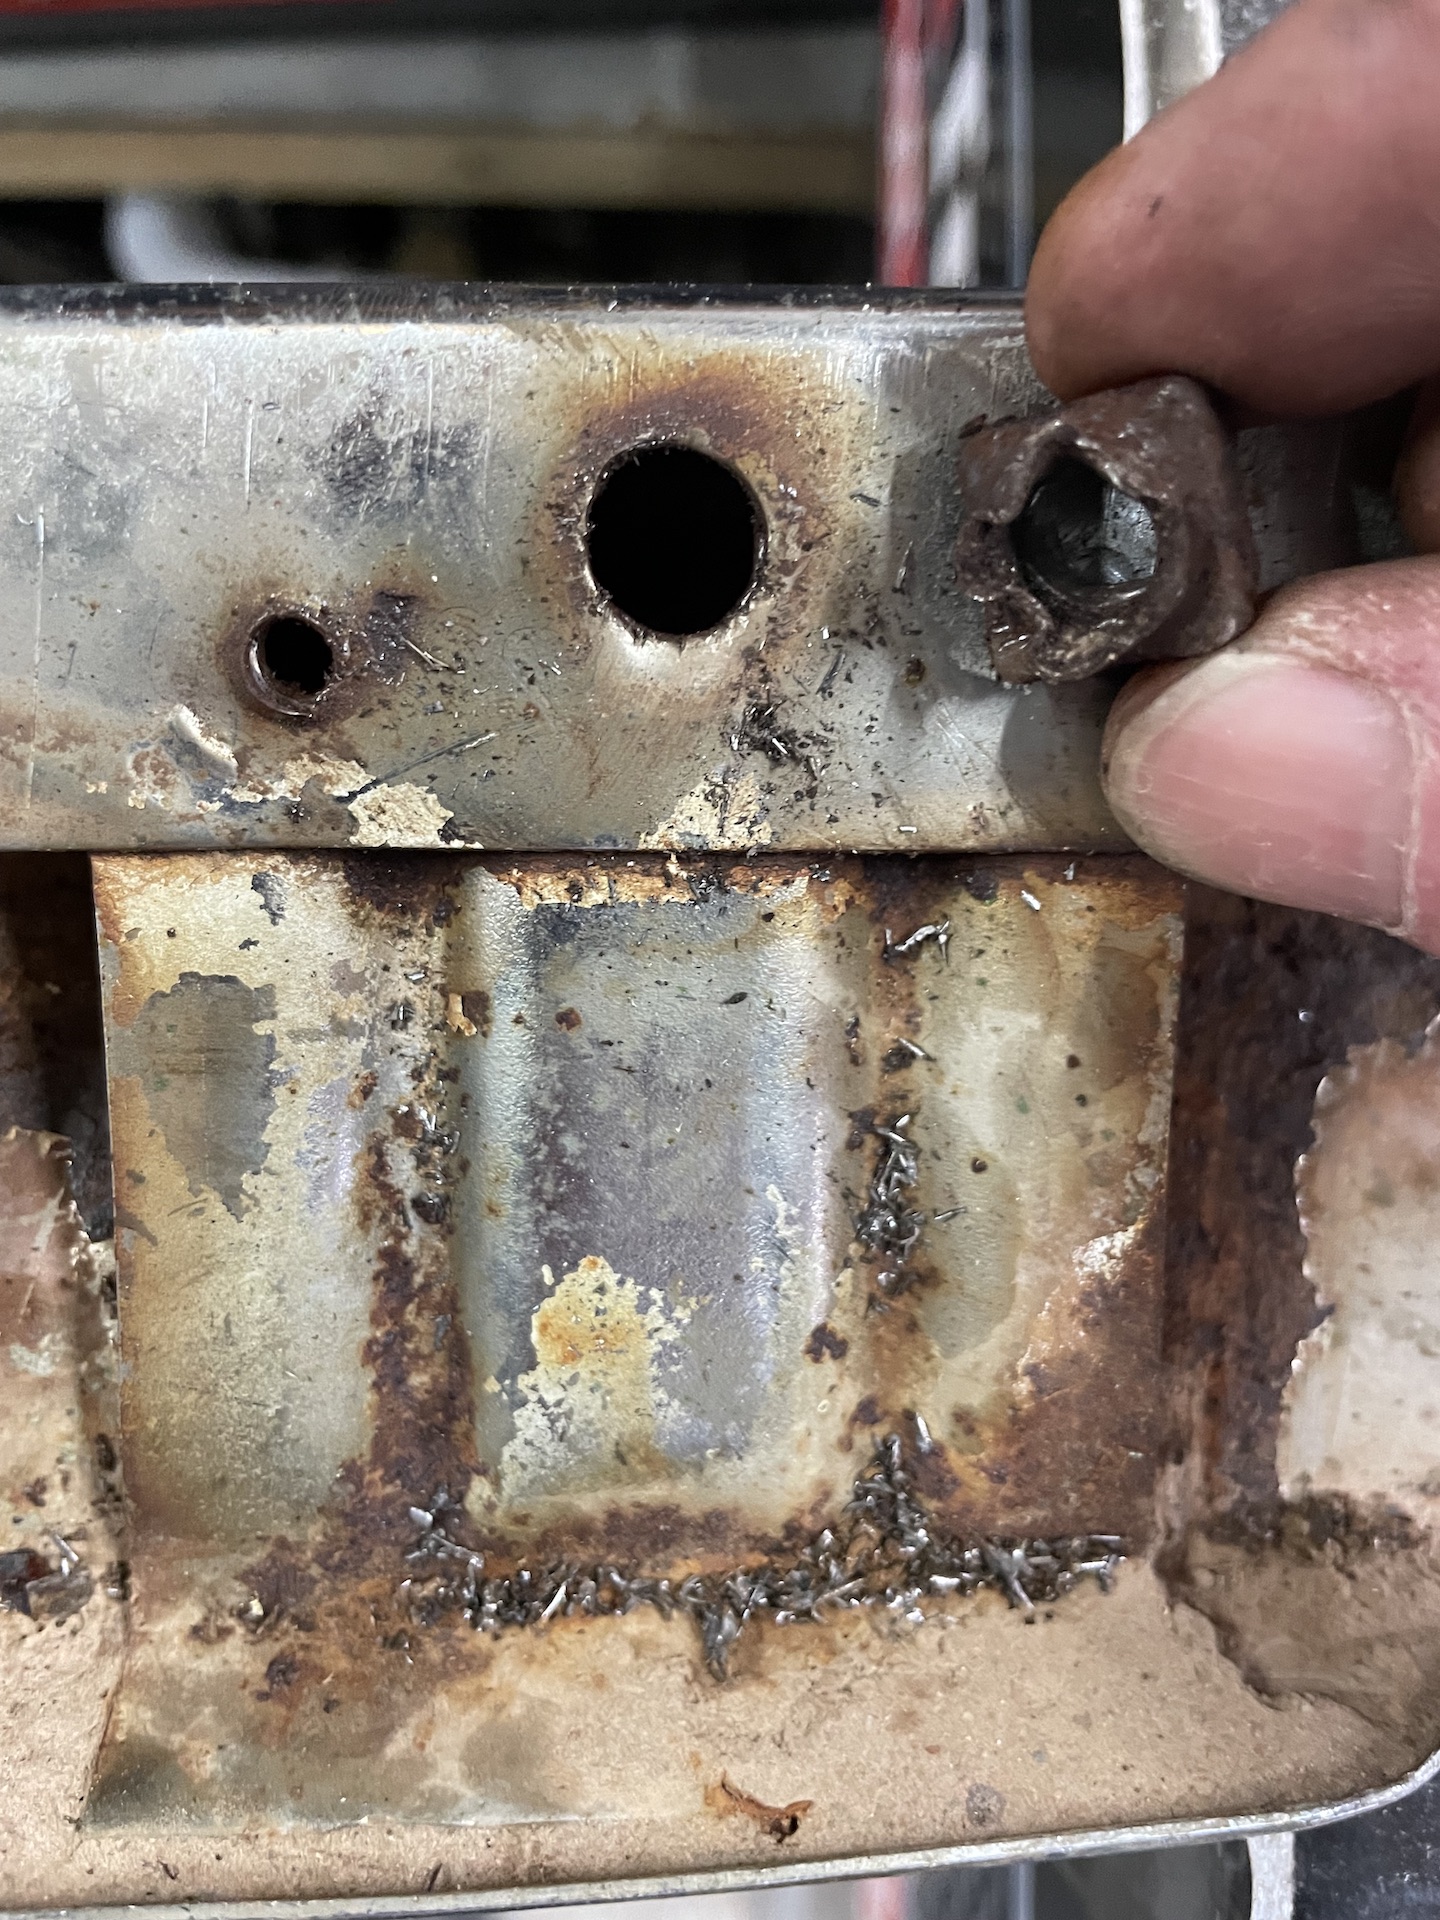
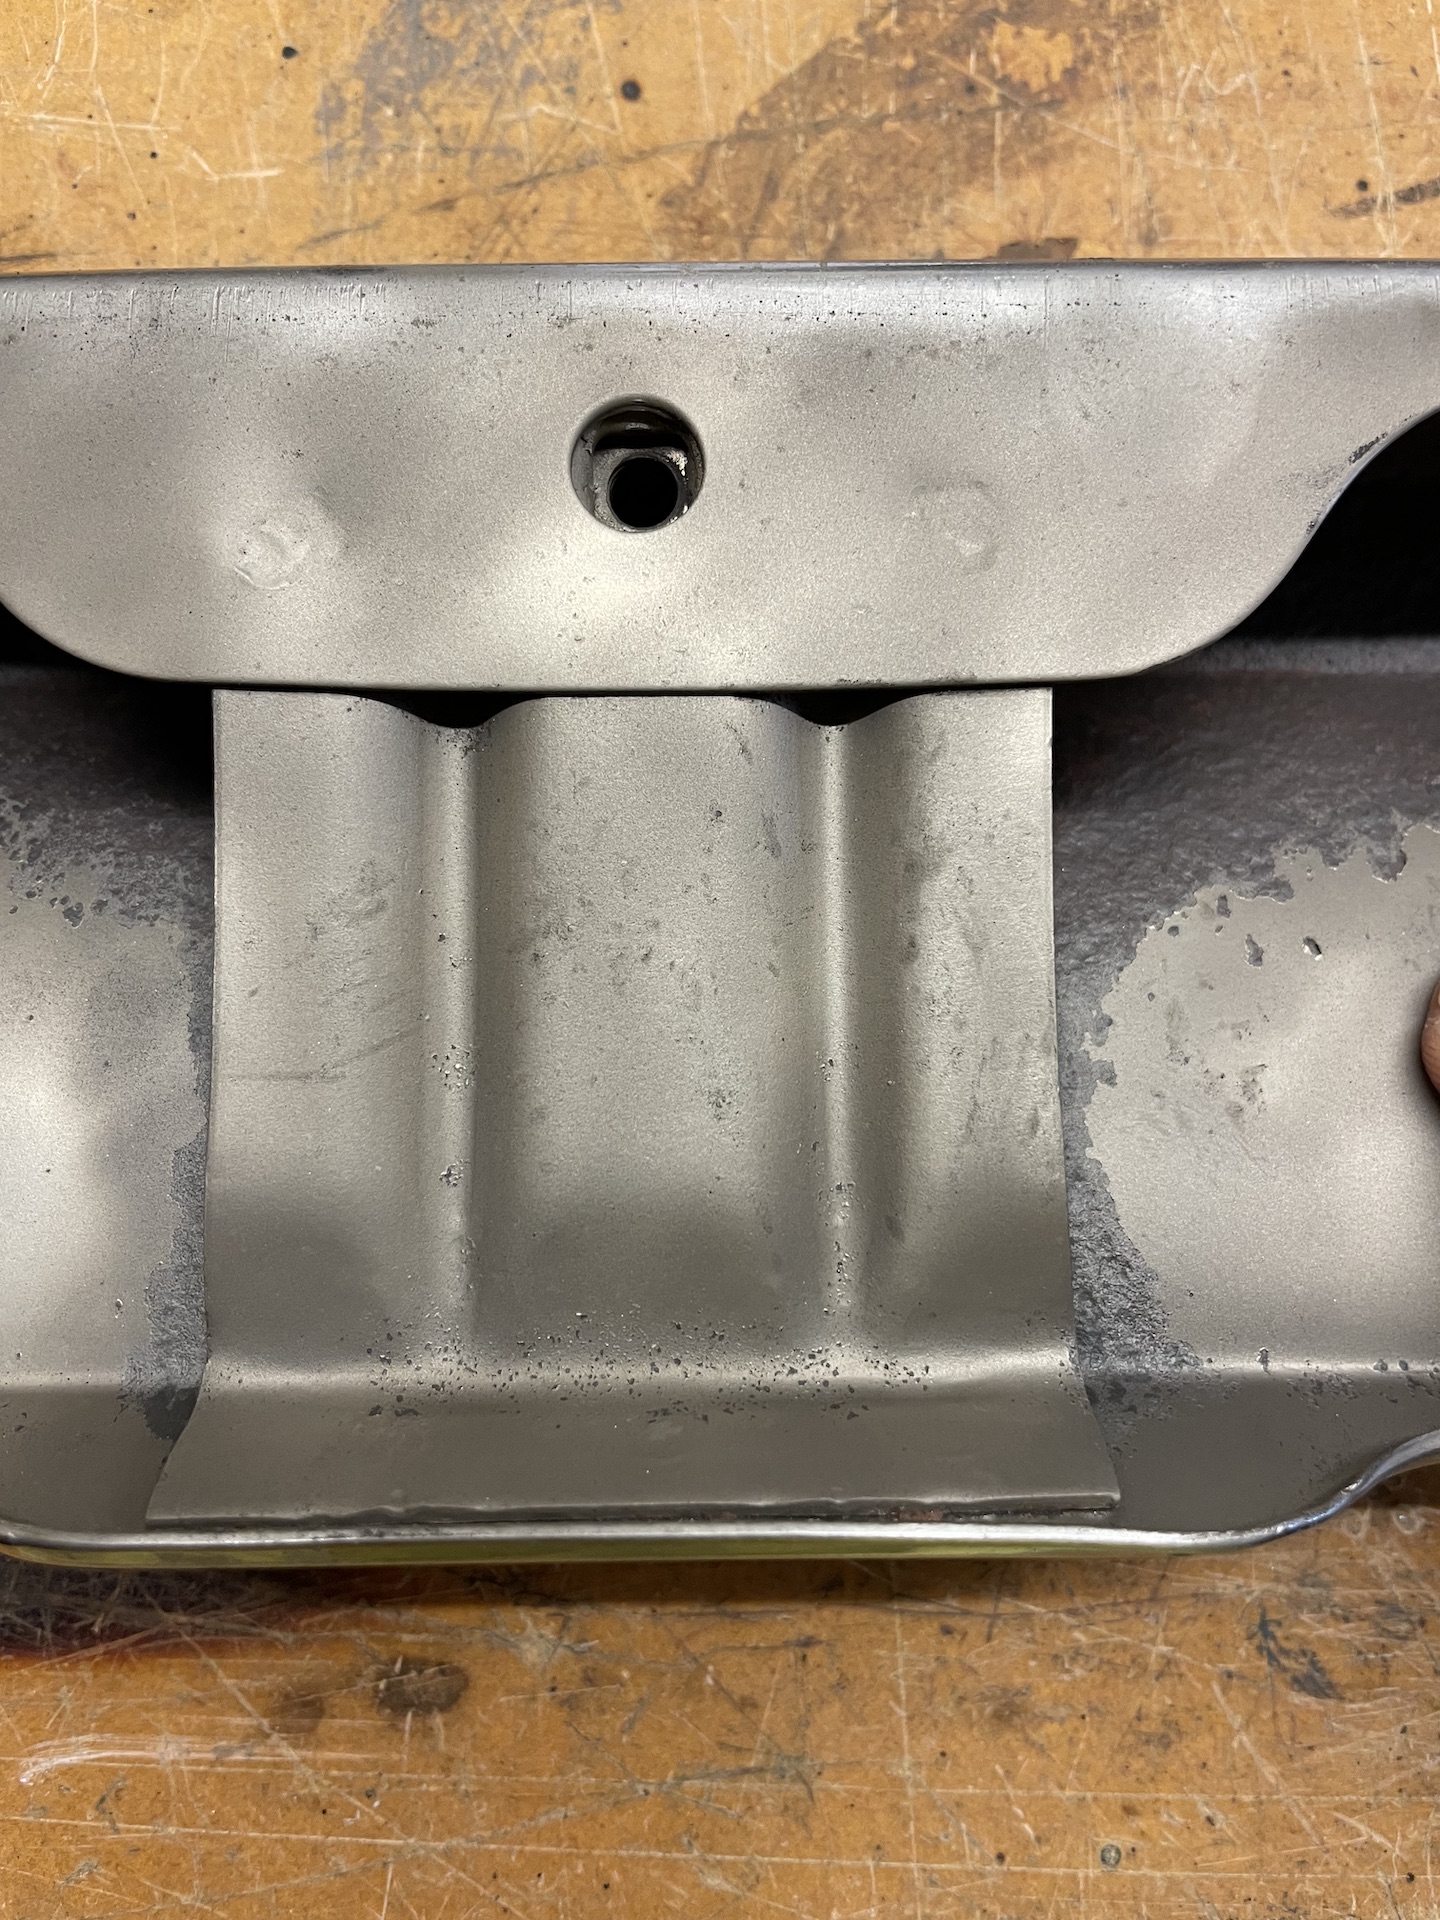
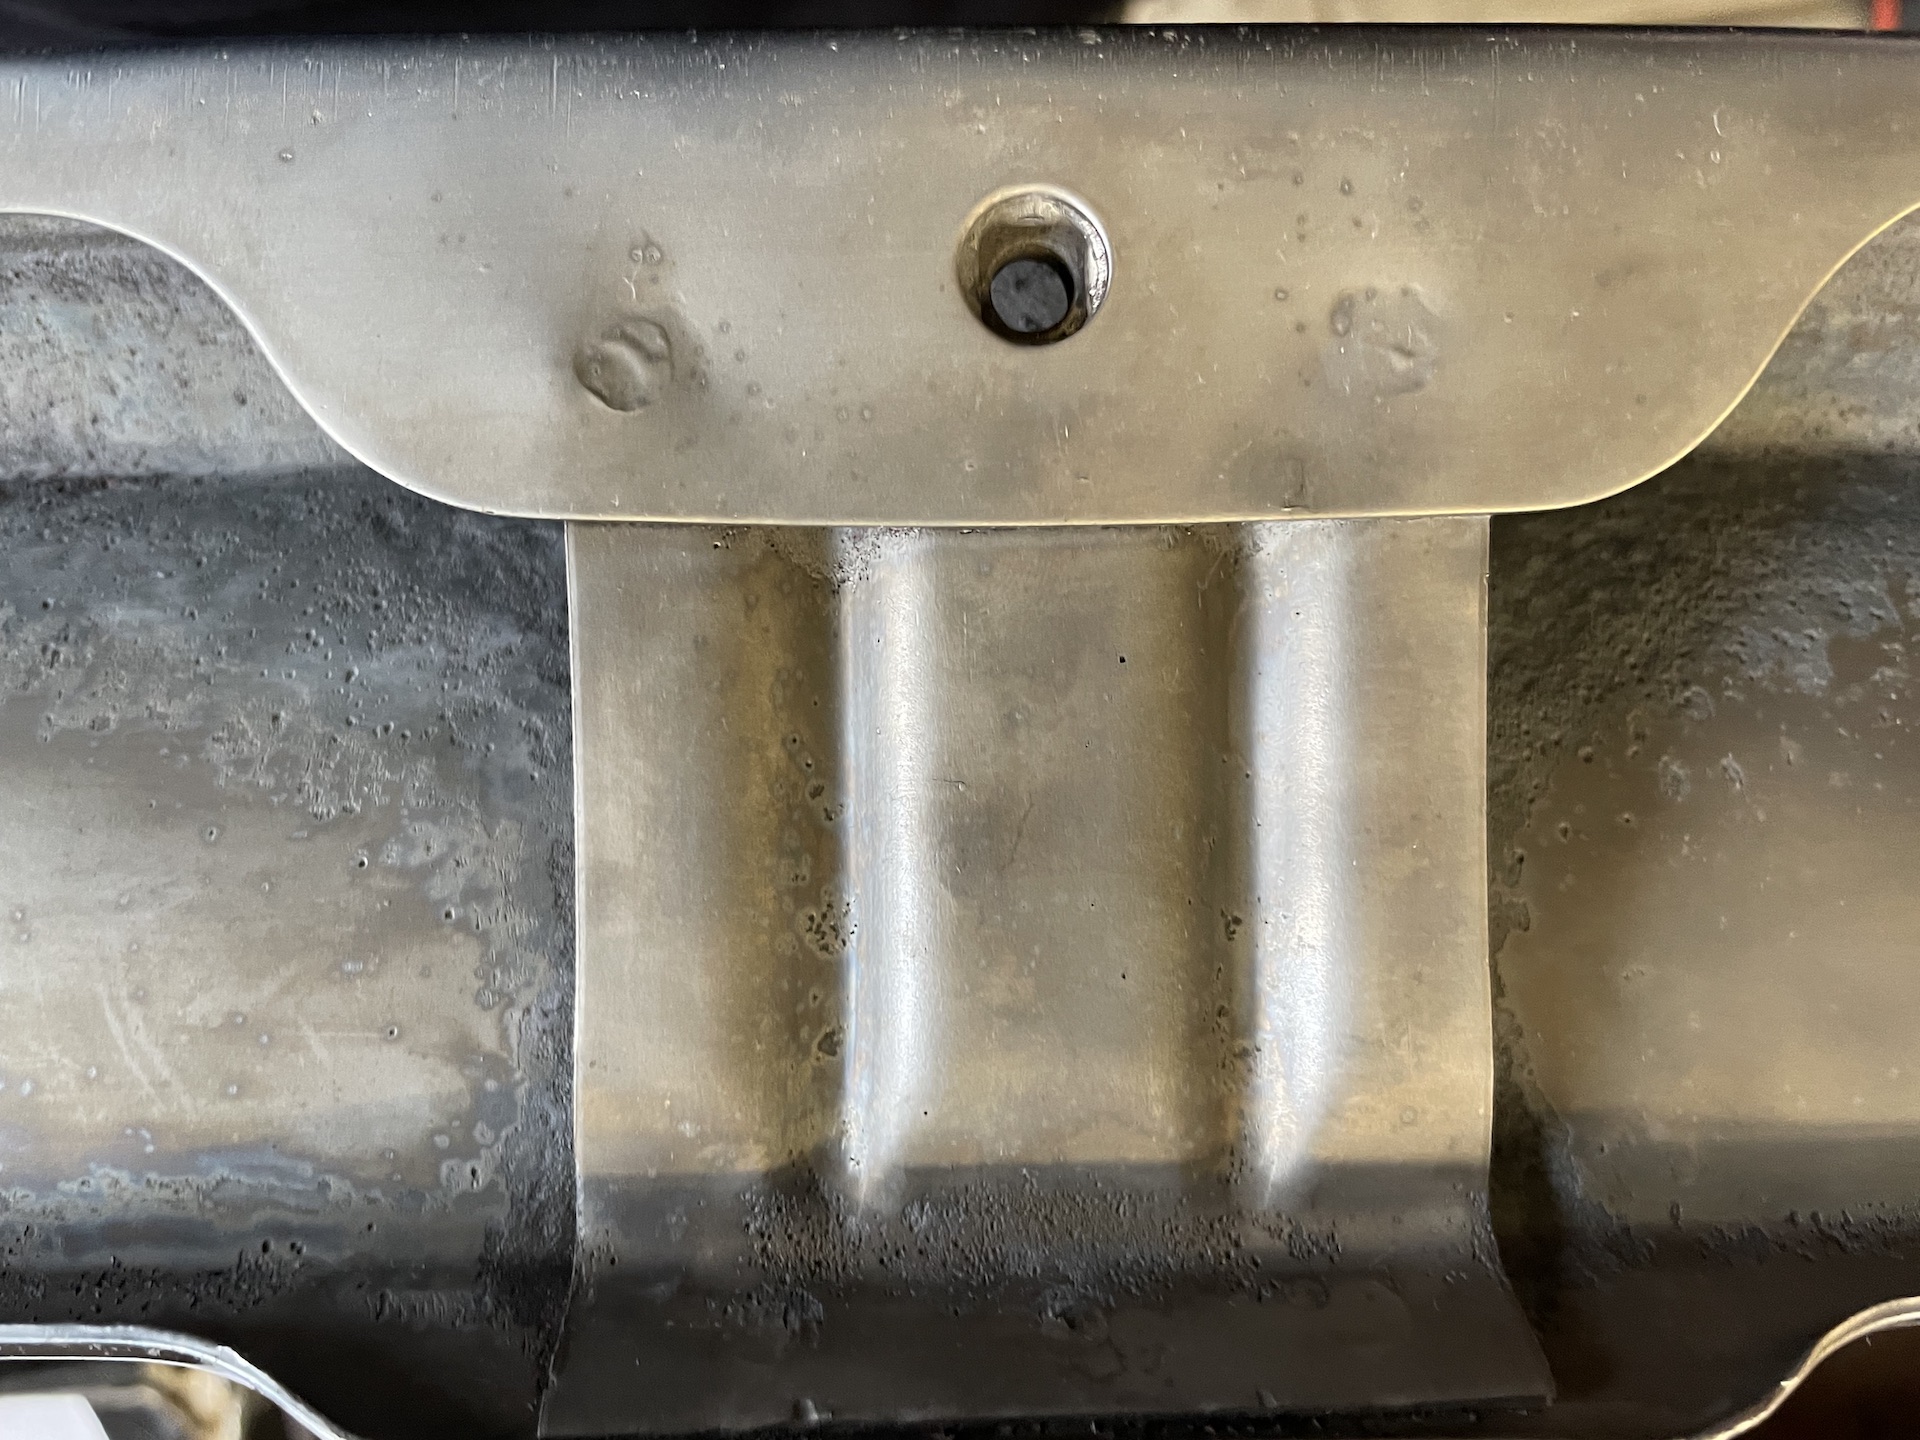
My solution for locating and fitting the outer bolts was pretty simple
- IMG_9273.JPG (534.5 KiB) Viewed 844 times
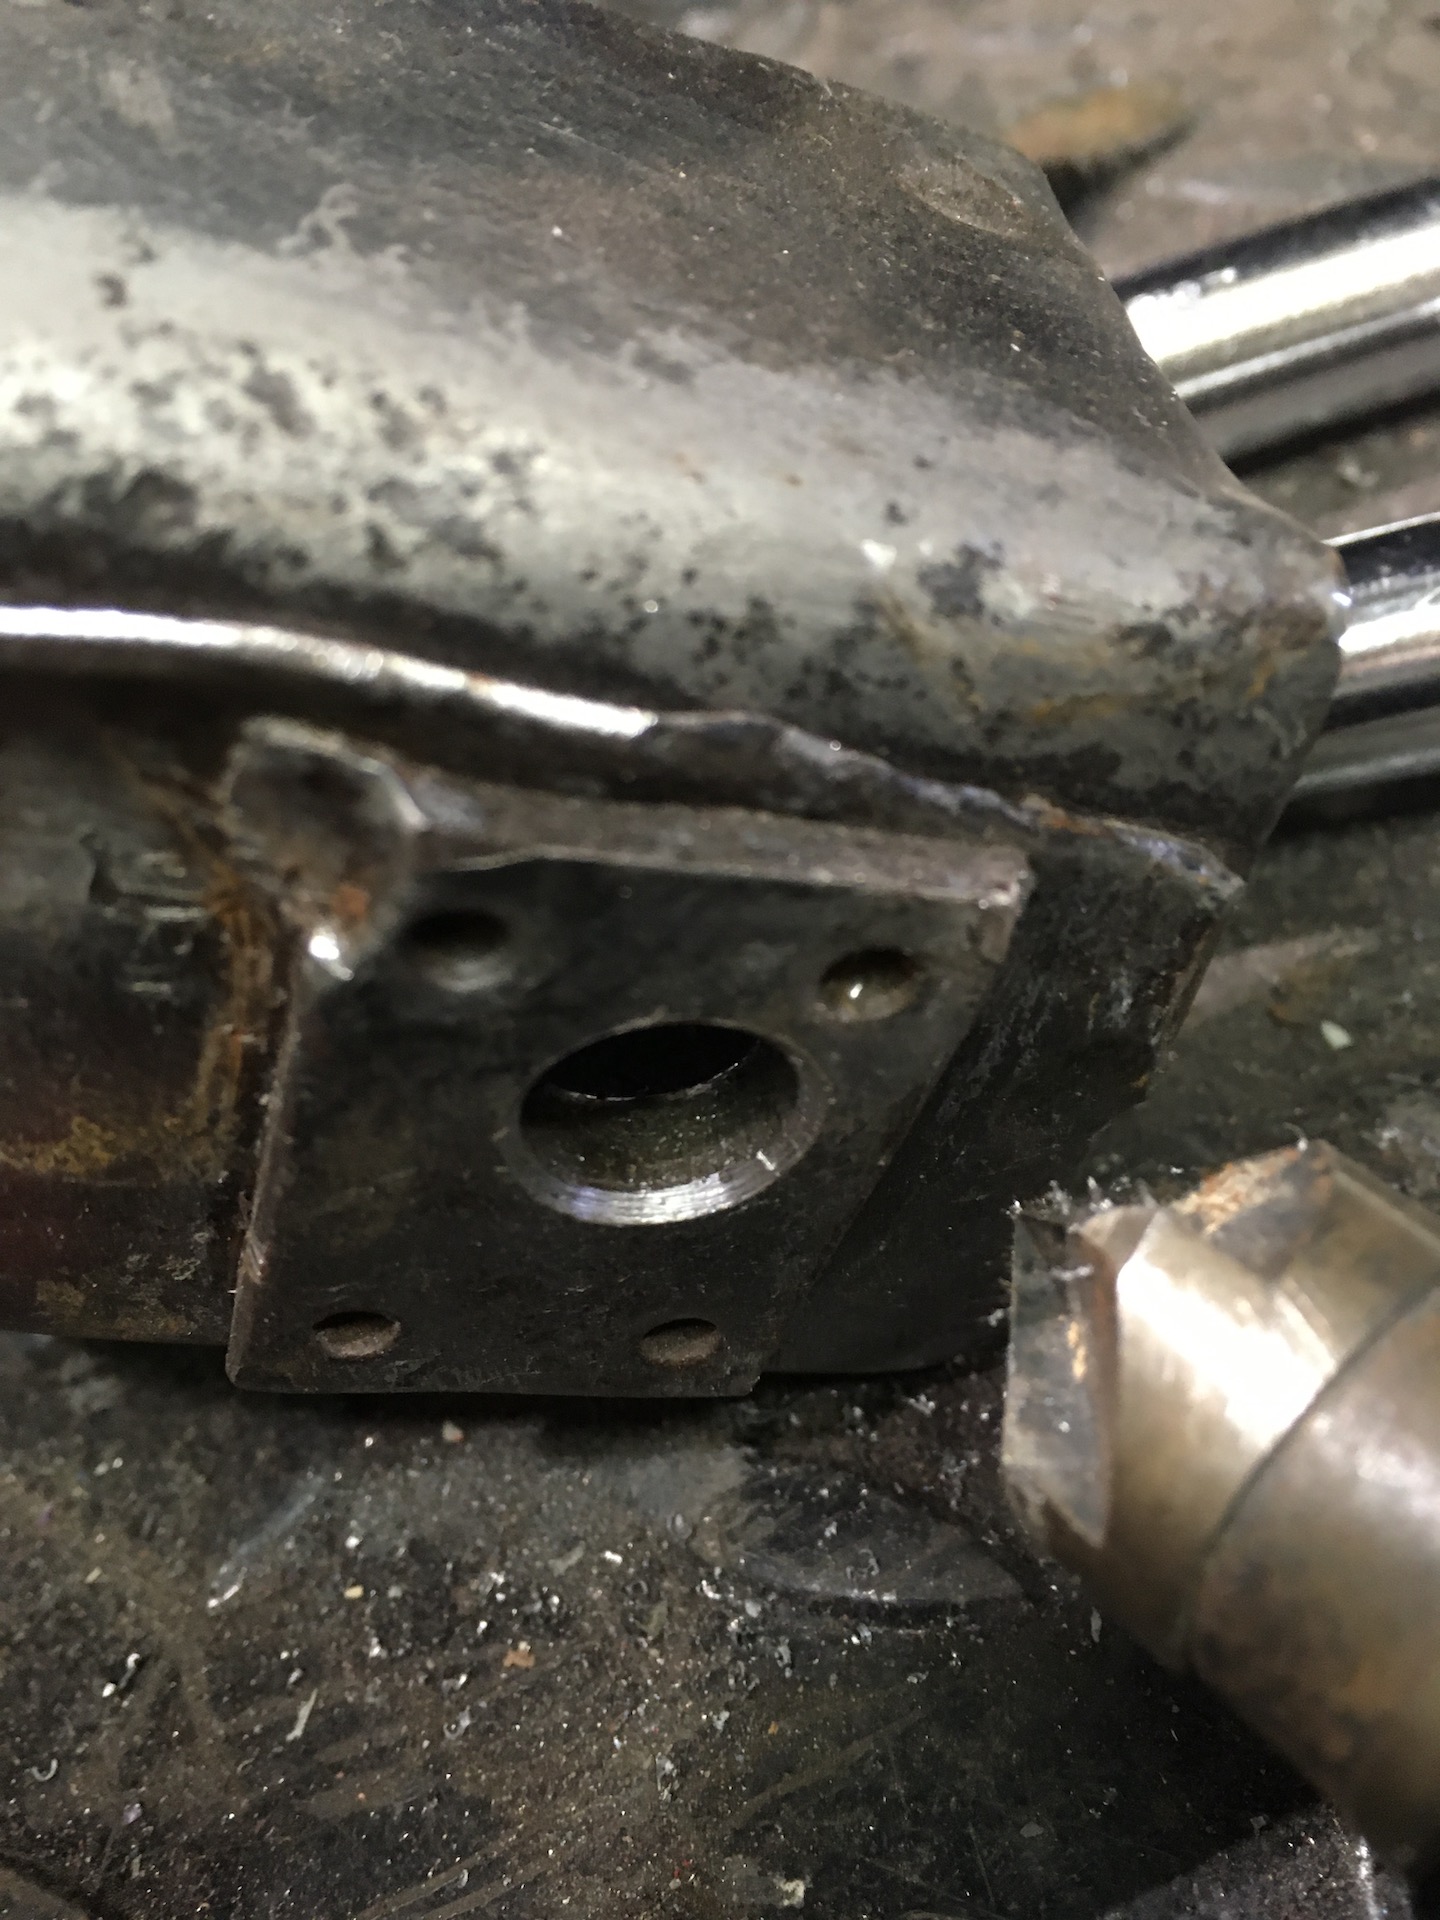
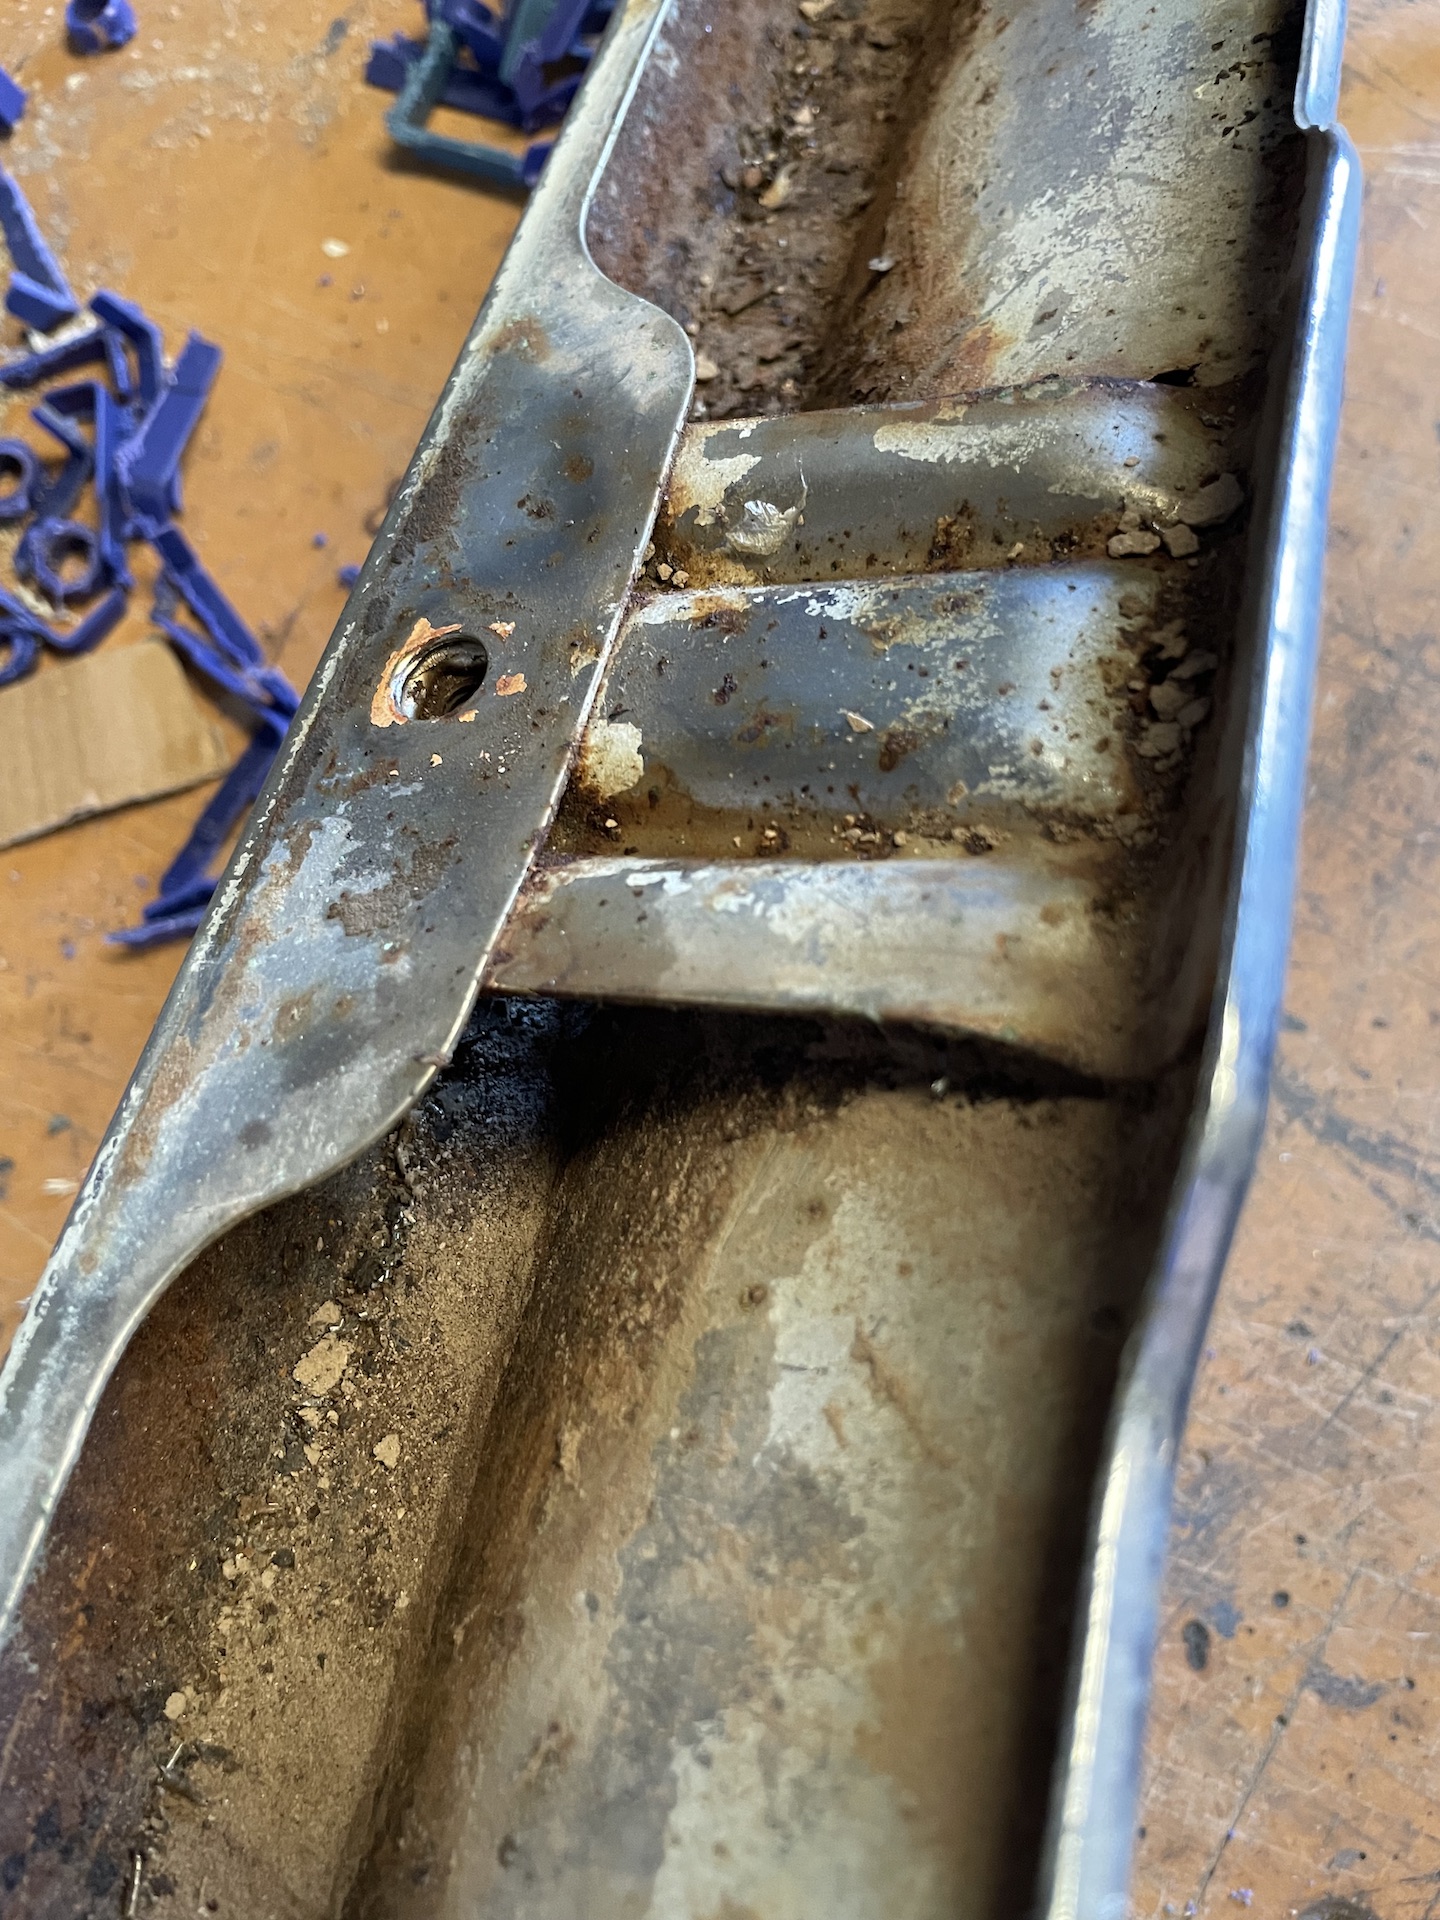
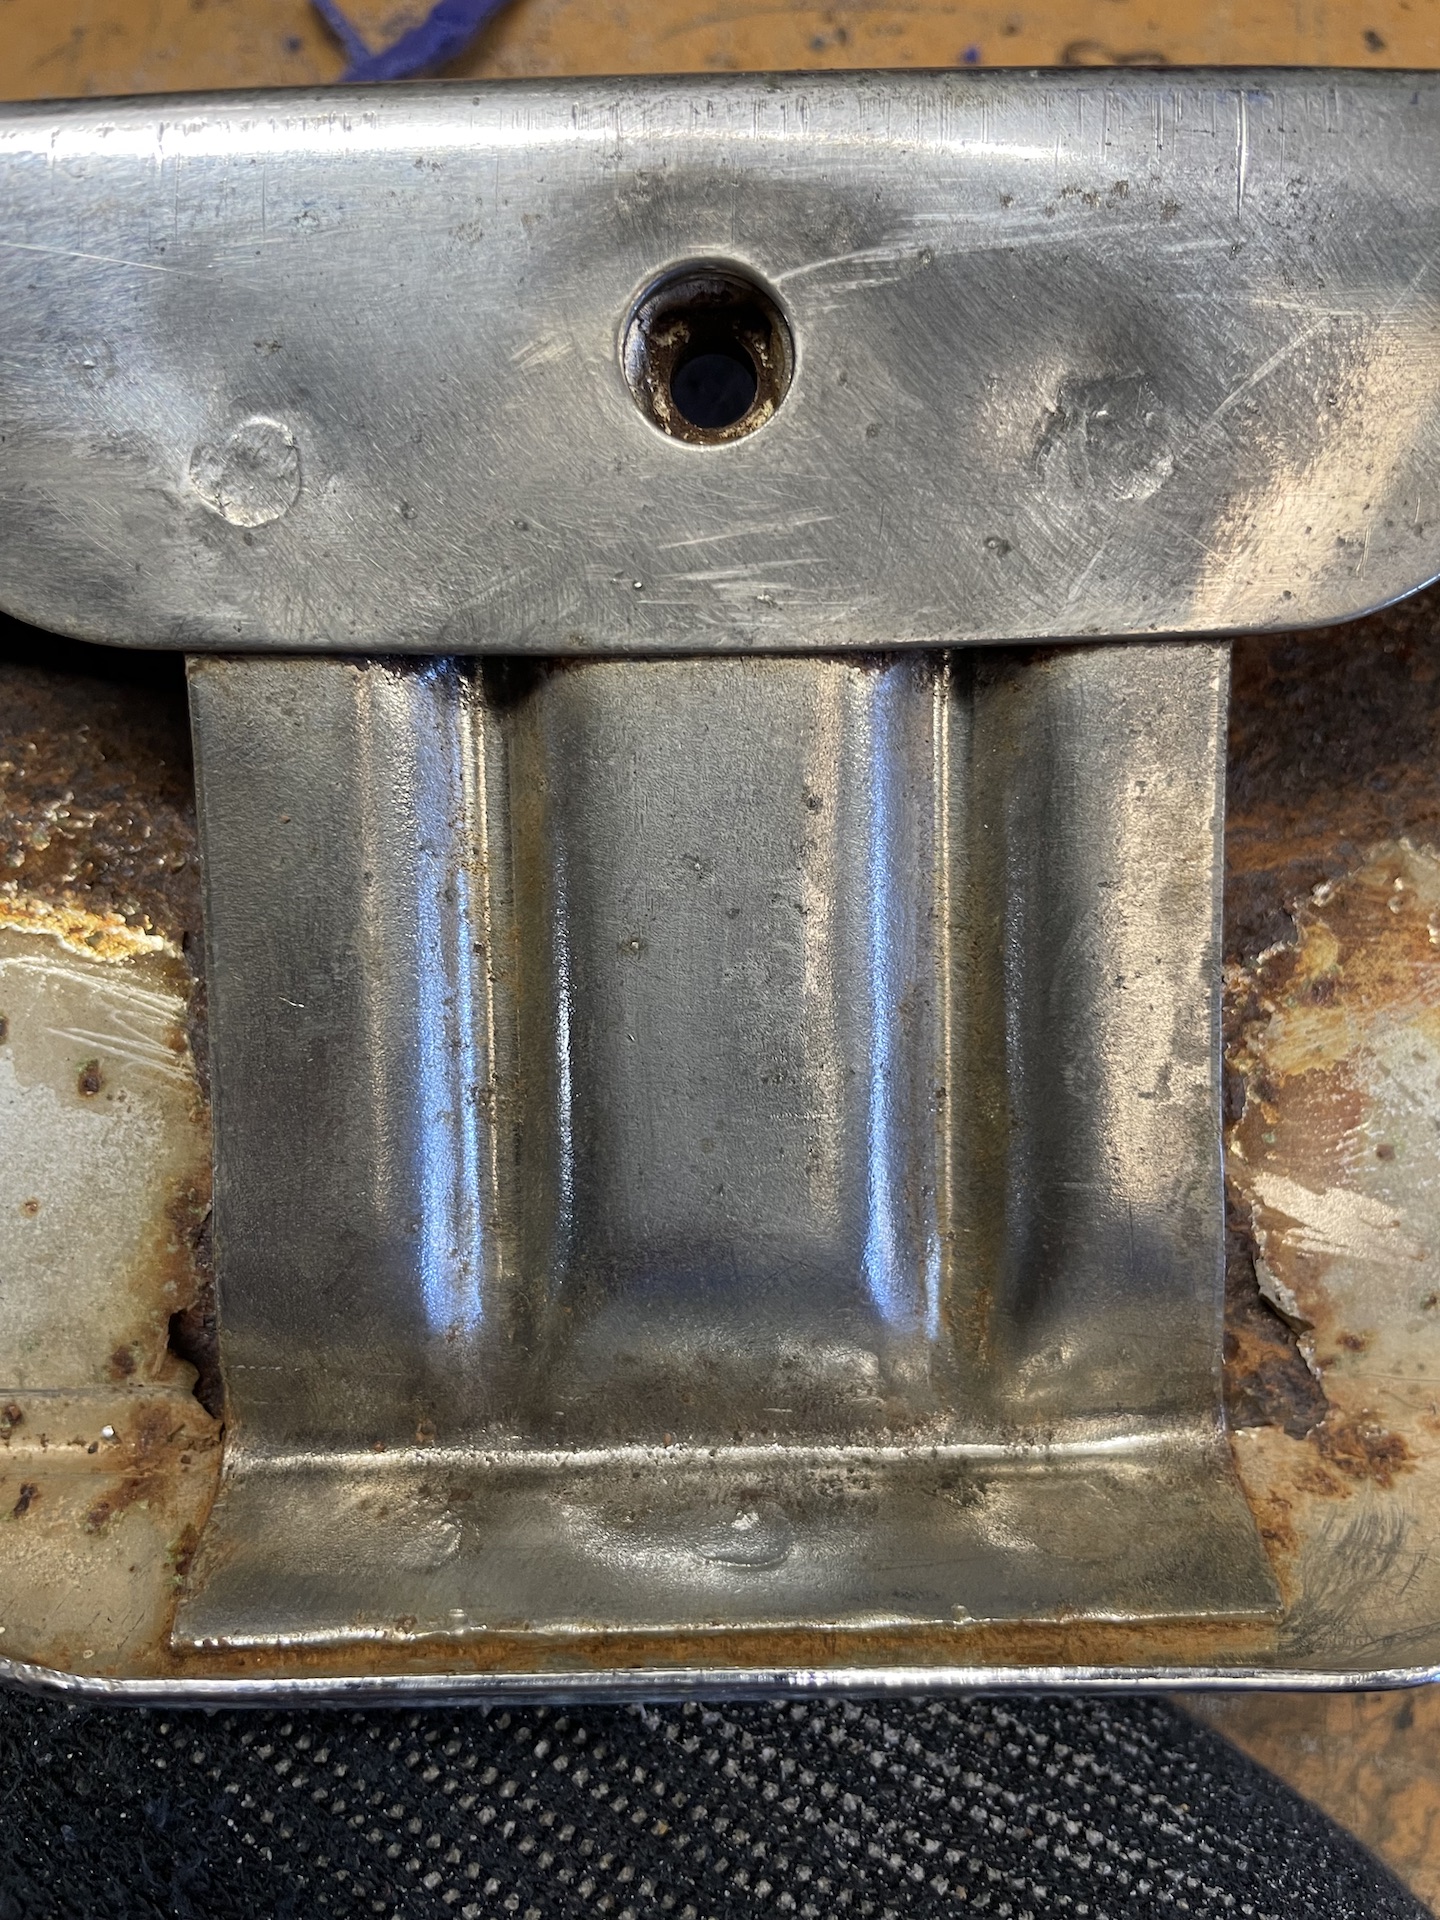
But can't do that with the inner.
And as I stared at it for long enough, was the hole in the centre of the mount used during manufacture? Can't think of another reason, except to let water and dirt in.
- IMG_9274.JPG (566.27 KiB) Viewed 844 times
Re: Ol' Rusty - FB/EK Sedan
Posted: Wed Dec 01, 2021 8:44 am
by Brett027
Hi Scott. Those holes and gaps are part of the Holden Planned Redundancy Program (HPRP). They are strategically placed so as to collect dust and water to make a rust generating poultice that gives the cars a 10year lifespan. Fuel companies had a share in the HPRP as well, with 30 kg of fine dust adding to vehicle weight and increasing fuel consumption.
I have been amazed at how many containers of dirt have been held in chassis rails, k frame arms and supports, crossmembers and sills of my current project. Rails were full from one end to the other. In Wilma everything was sealed and I will do the same in Project2.
On the other matter, I reckon if your k frame bolted straight on with no difficulty at all it would indicate a problem: something must be out of alignment!!!

Re: Ol' Rusty - FB/EK Sedan
Posted: Wed Dec 01, 2021 8:59 am
by funkyscooter
So true!!
Scott
Re: Ol' Rusty - FB/EK Sedan
Posted: Wed Dec 01, 2021 10:55 am
by Blacky
Subframe alignment seems to operate on the ouija principle ......
Re: Ol' Rusty - FB/EK Sedan
Posted: Wed Dec 01, 2021 12:15 pm
by FbSTDwagon
Scoot I’m hearing you about the sub fame mate!
Total PITA.
I think if you get the bolts in at all then you have to just take a breath and call it done.
Trying to get it better it this stage is bloody mission
Re: Ol' Rusty - FB/EK Sedan
Posted: Wed Dec 01, 2021 12:31 pm
by funkyscooter
FbSTDwagon wrote:Scoot I’m hearing you about the sub fame mate!
Total PITA.
I think if you get the bolts in at all then you have to just take a breath and call it done.
Trying to get it better it this stage is bloody mission
Glad I’m not alone!
Was hoping to get the process down so when I do the drivers side sills it would be a breeze. At least I’m prepared for the fight!
Also remember down when I took it off, the inner driver side bolt had to be hammered out, so has always been an issue.
Amazing too the difference you can make to the height alignment based on the four bolts in the wings. I thought with the center one nipped up the that wound that. But each of those 4 bolts has pushed and pulled the subframe into position.
Test fit of the front rotisserie- still have to shift the car 60mm across and 500 forwards.

Scott
Re: Ol' Rusty - FB/EK Sedan
Posted: Wed Dec 01, 2021 10:25 pm
by funkyscooter
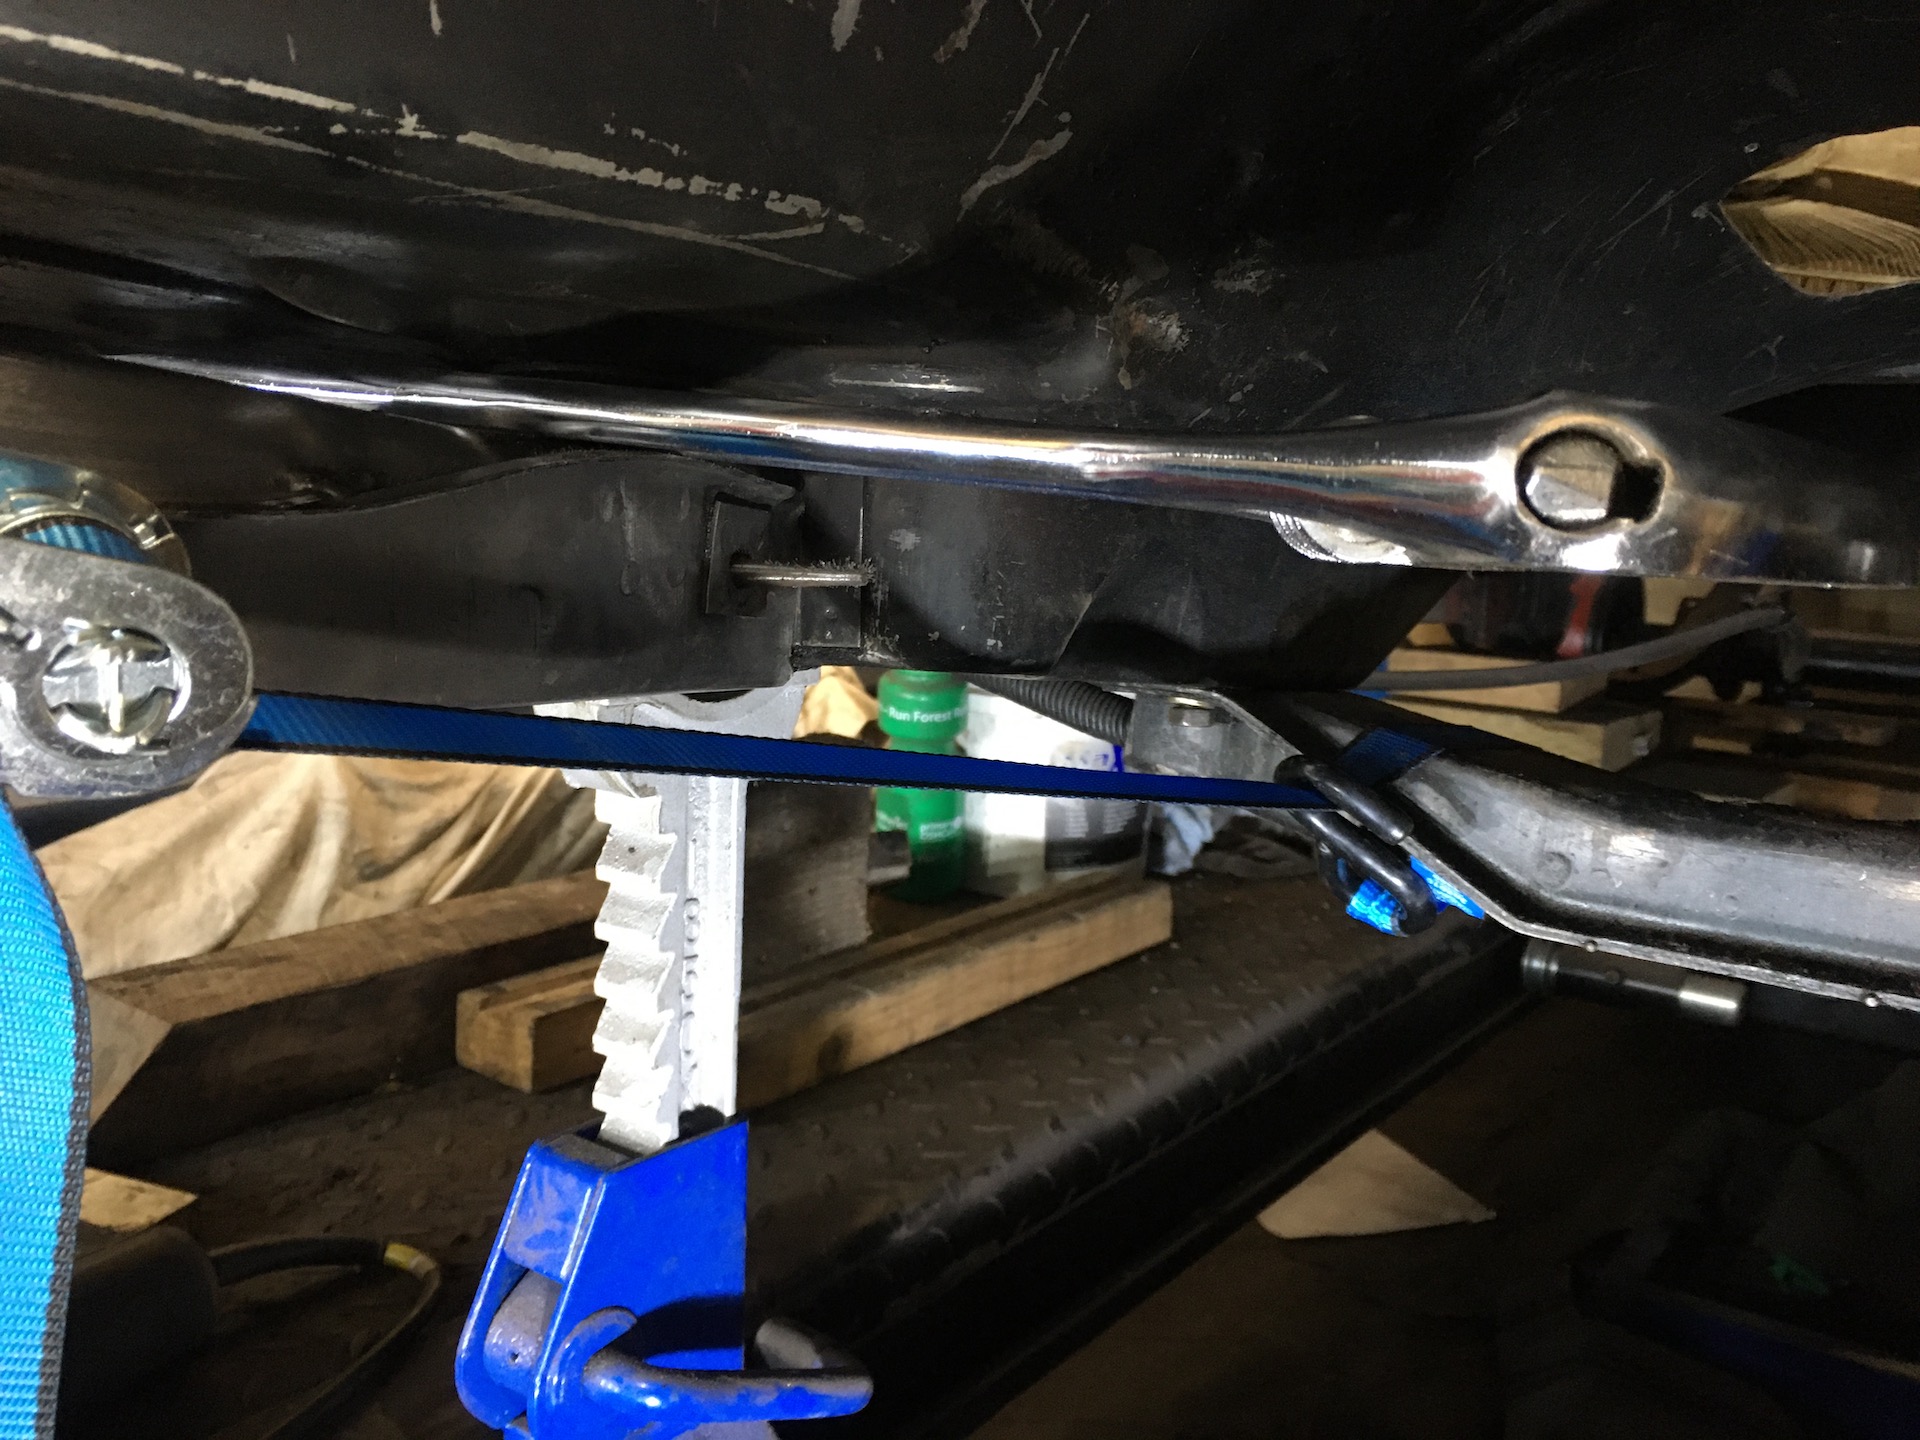
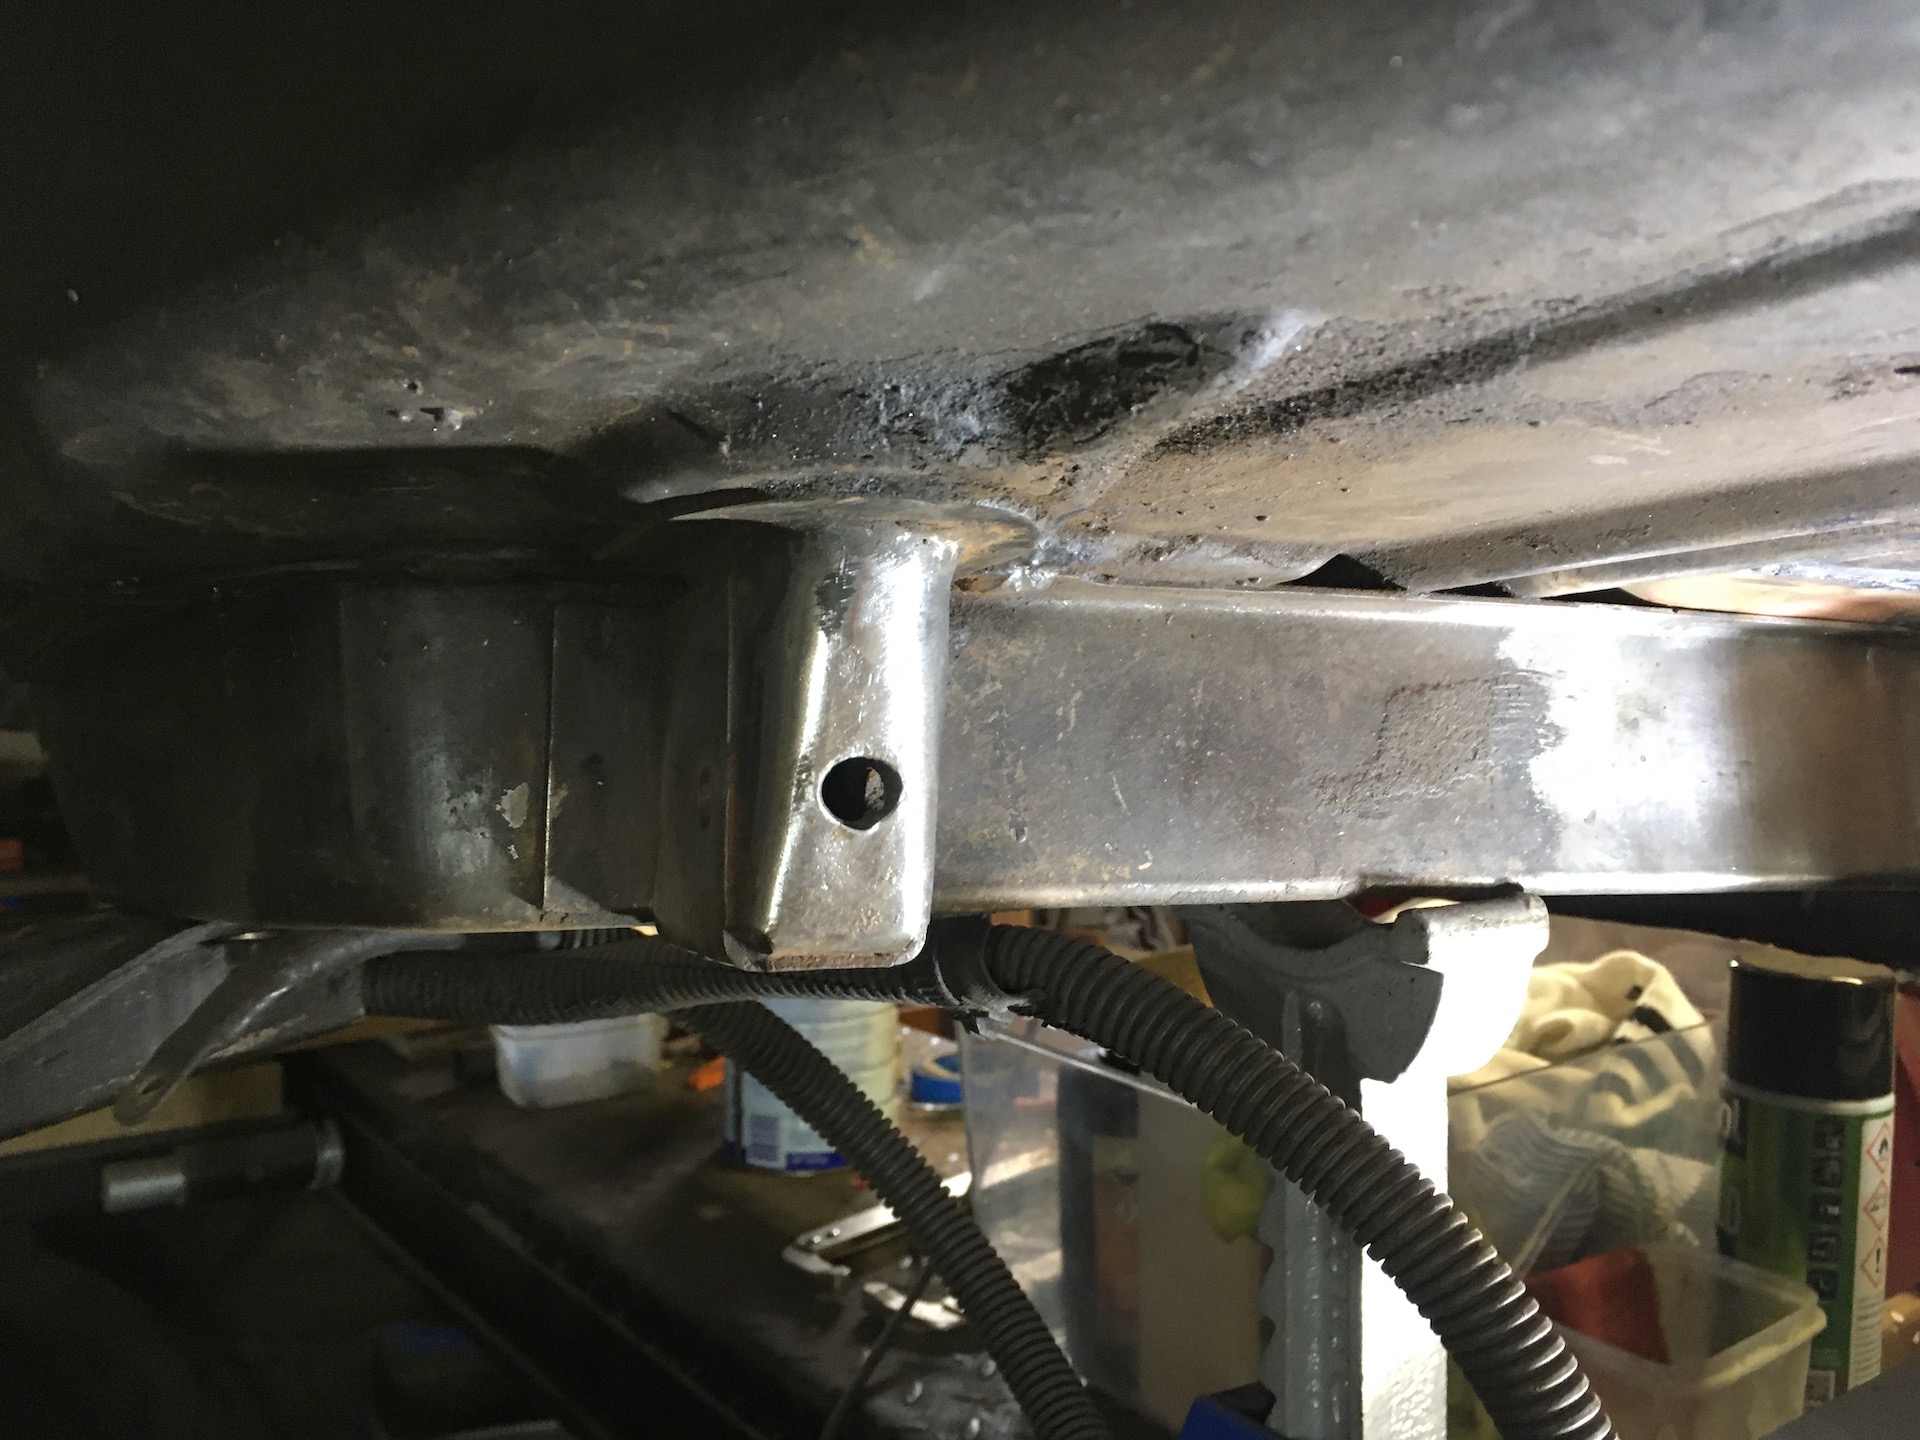
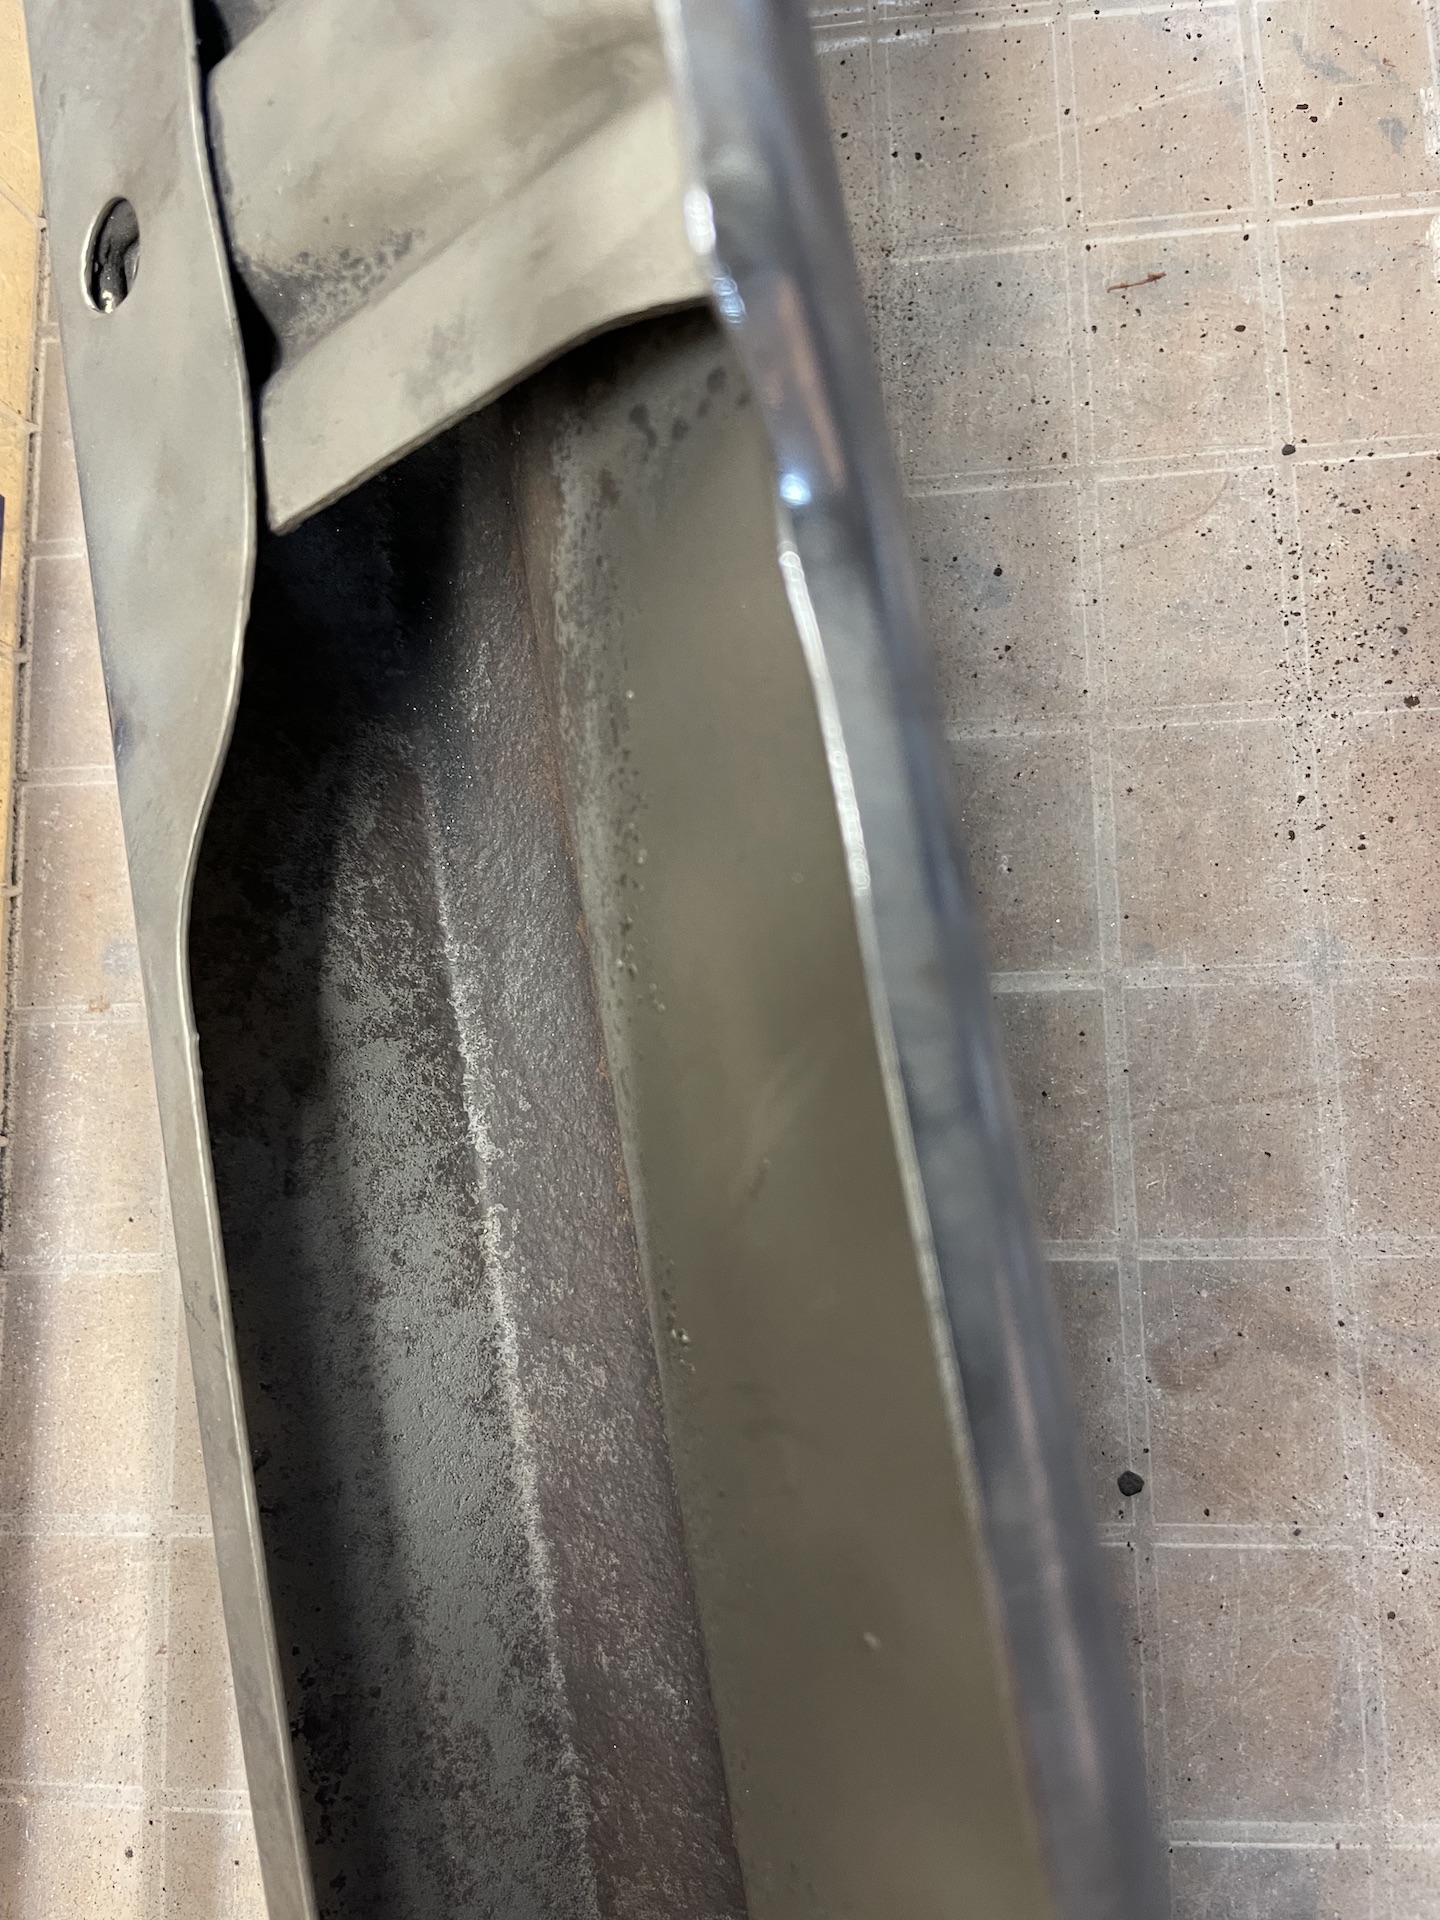
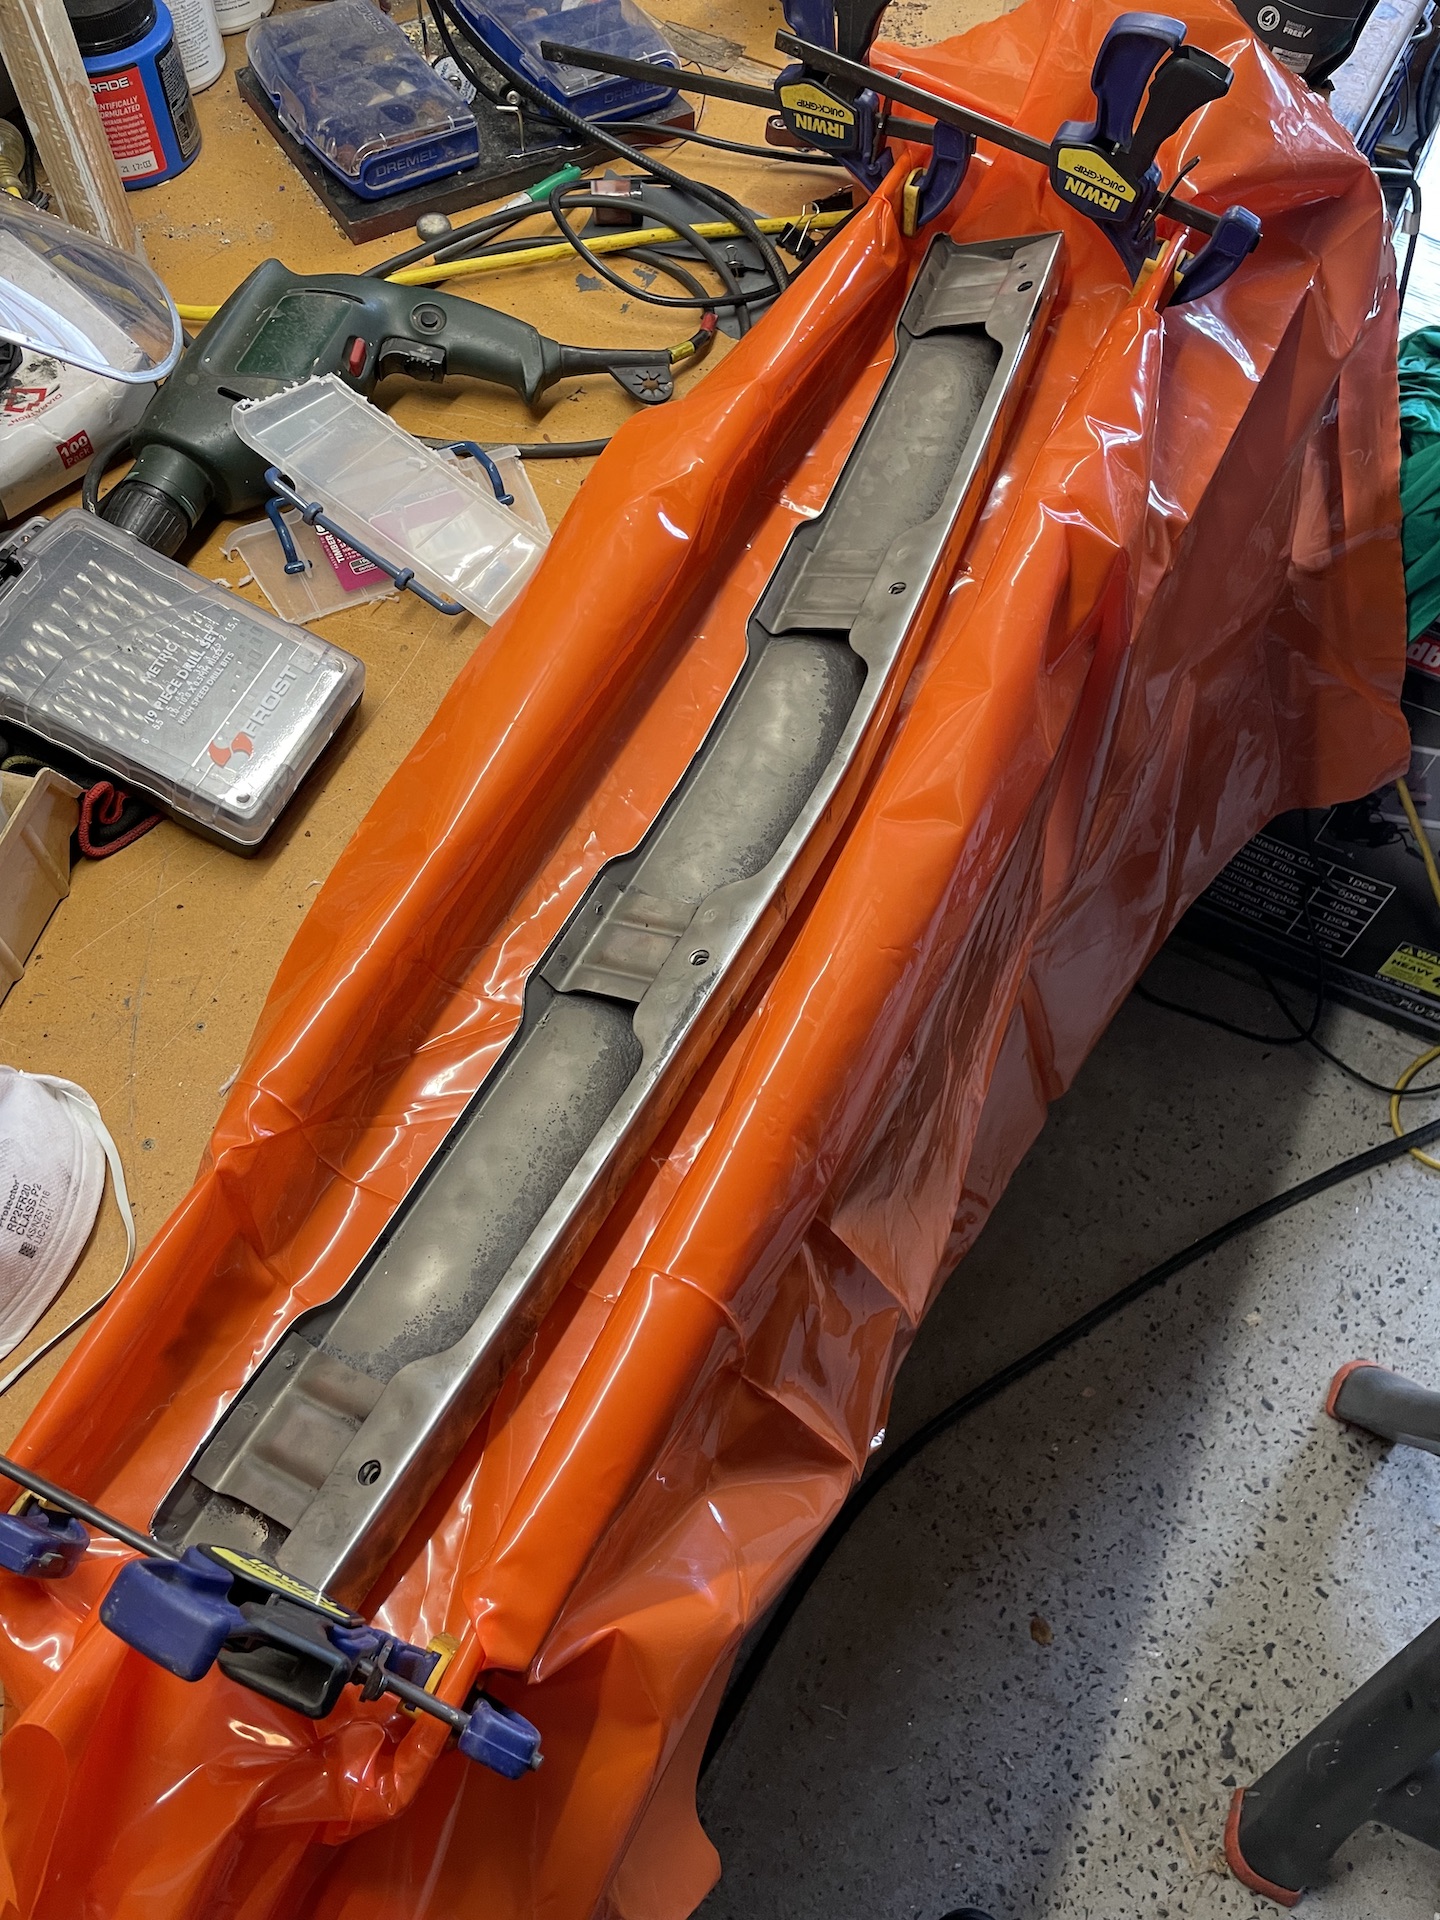
A few shots of the sub frame (temporarily) reattached.
Did as panoramas to get as much in as possible. So there are some jaggy bits where the iPhone got confused

One looking down

And a 3/4 which really pissed the iPhone off. Looks like a saw tooth.

Scott
Re: Ol' Rusty - FB/EK Sedan
Posted: Wed Dec 01, 2021 11:05 pm
by Errol62
Good bones Scott.
FB ute driver, EK van project
Re: Ol' Rusty - FB/EK Sedan
Posted: Sat Feb 26, 2022 5:14 pm
by funkyscooter
Been a while. Small update.
Got my bonnet bar and first impressions - meh
Was not a great picture so I asked the seller what the condition of the chrome was like. "A bit of pitting" was the replay. As mine is a holey mess I figured I'd take a chance knowing I would have to get it rechromed.
So expectation was not high and it has not failed to disappoint. First - unboxing. Loose rust was sliding around inside the box like sand. Looks like it has spent a fair bit of its life upside down in the weather.
- 1_BBarFront.jpeg (838.8 KiB) Viewed 1051 times
- 2_BBar Back.jpg (813.89 KiB) Viewed 1051 times
Bolts in three nuts and the fourth sheard off and replaced with self tapper. Self tapper in the bin and a bit of drilling and brute force later.
- 3_CapNutRemoved.jpeg (855.79 KiB) Viewed 1051 times
Time to do a bit of cleaning.
- 4_BeforeWB.jpeg (980.45 KiB) Viewed 1051 times
Phase one - wire brush
- 5_WB.jpeg (1.01 MiB) Viewed 1051 times
Does ok but never getting in to the nooks with this method.
So on to phase two. Sandblasting. Had to get my craft hat on to make it fit in my new supercheap cabinet.

- 6_Mod_SandB.jpeg (910.35 KiB) Viewed 1051 times
Does a lot better but really hard to see what you are doing and the cabinet is tiny, so I now how a Trex must have felt. Those glove are close together! Note: shirt as light hood - can't even see in without it, its like a mirror.
- 7_SB.jpeg (915.99 KiB) Viewed 1051 times
- 8_aSBInt2.jpeg (798.67 KiB) Viewed 1051 times
Re: Ol' Rusty - FB/EK Sedan
Posted: Sat Feb 26, 2022 5:16 pm
by funkyscooter
Did a test on the front as well for sh!ts and giggles. Hasn't really done much more than brush the chrome. Media might need a change to something more aggressive.

- 9_SBFront.jpeg (885.16 KiB) Viewed 1048 times
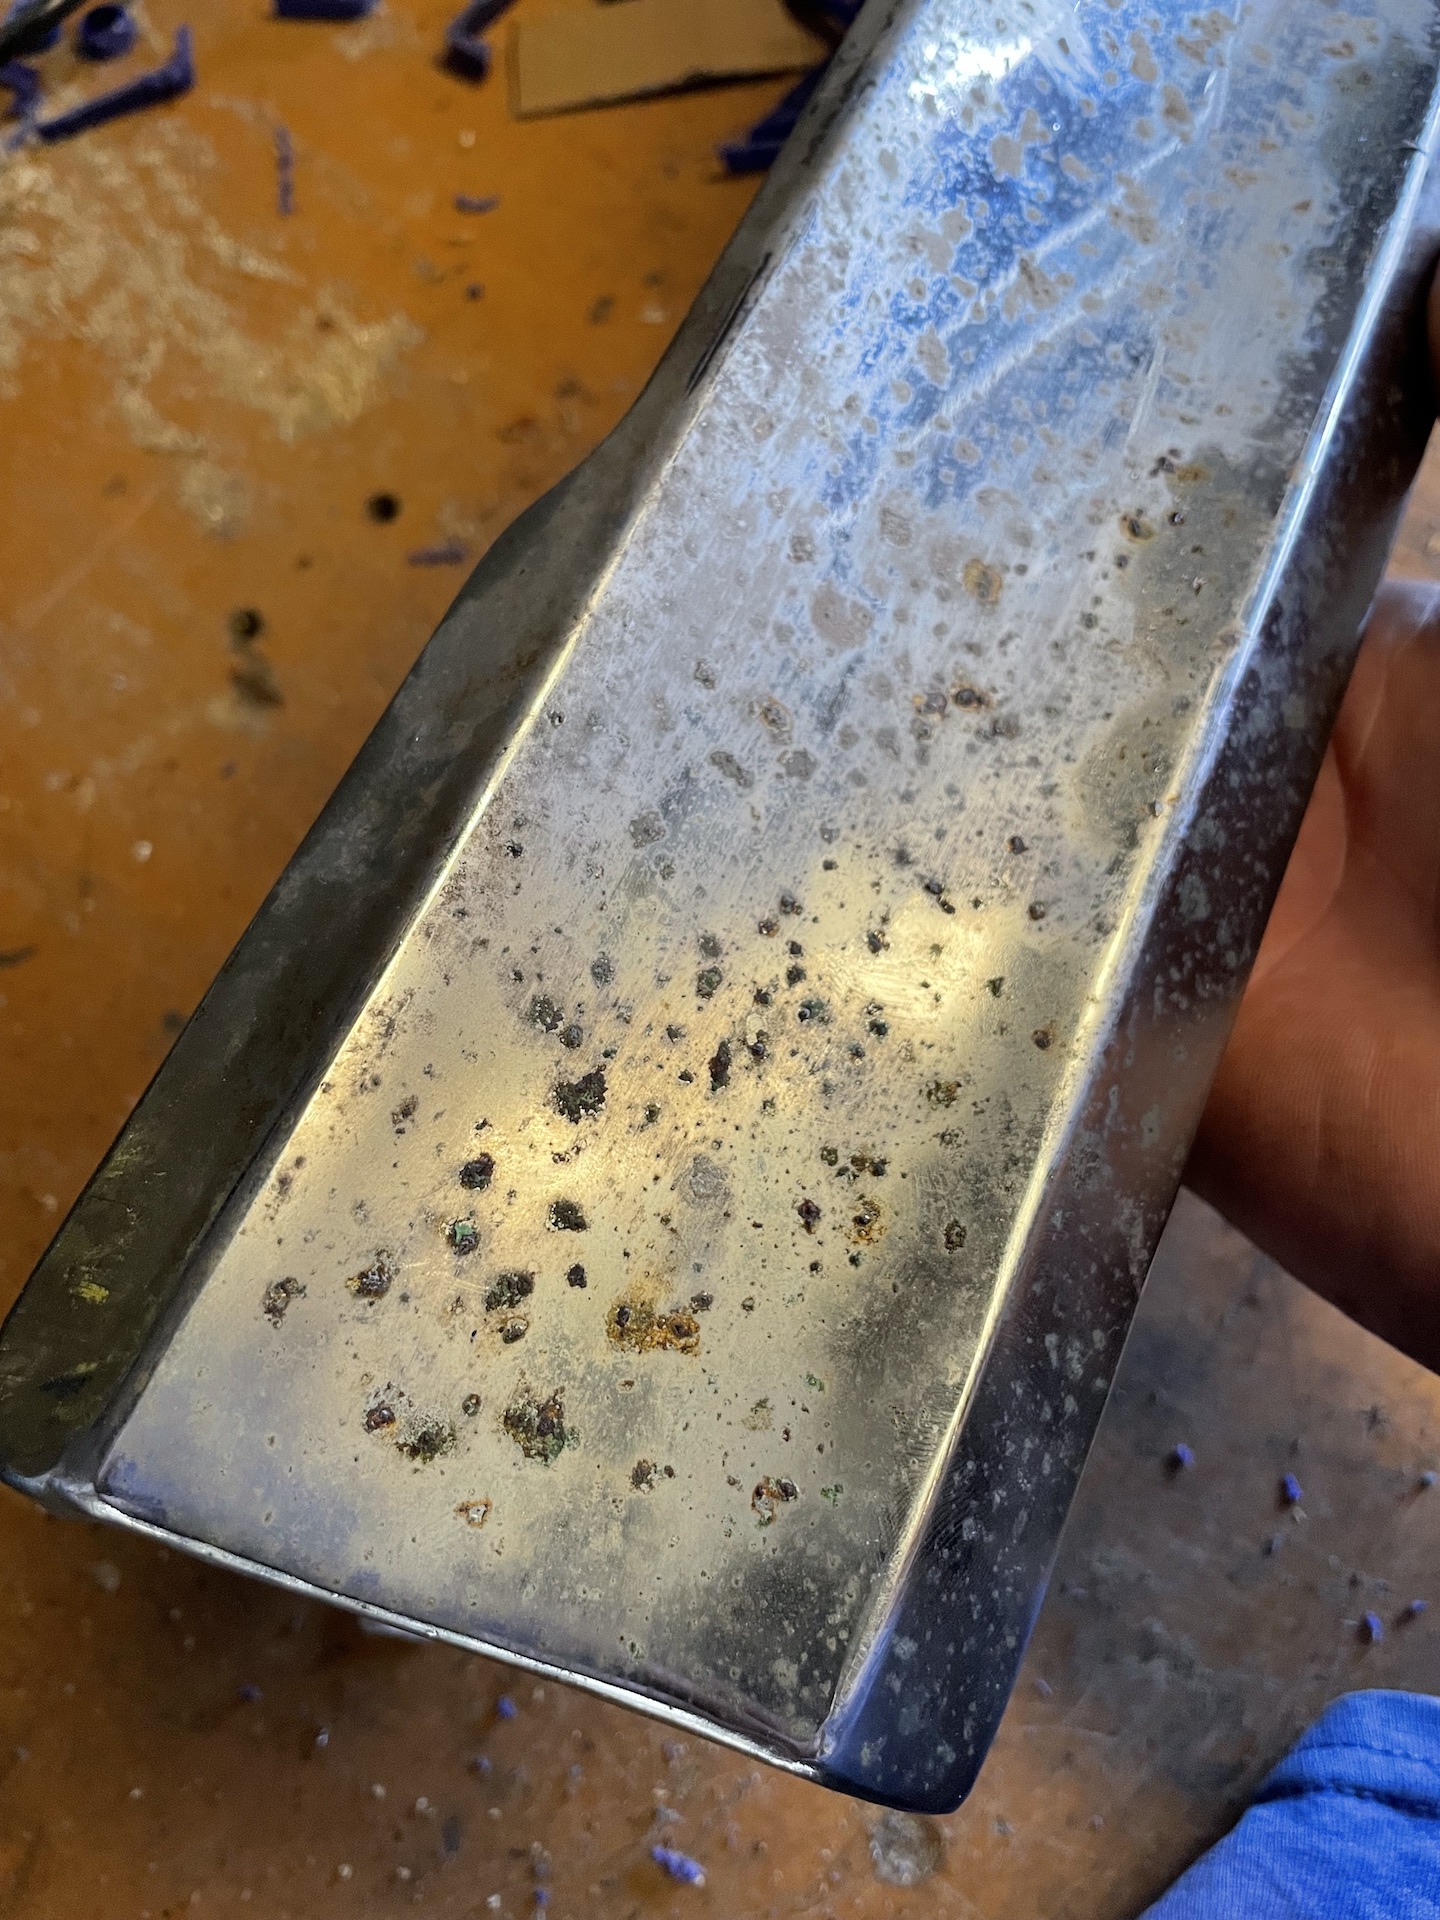
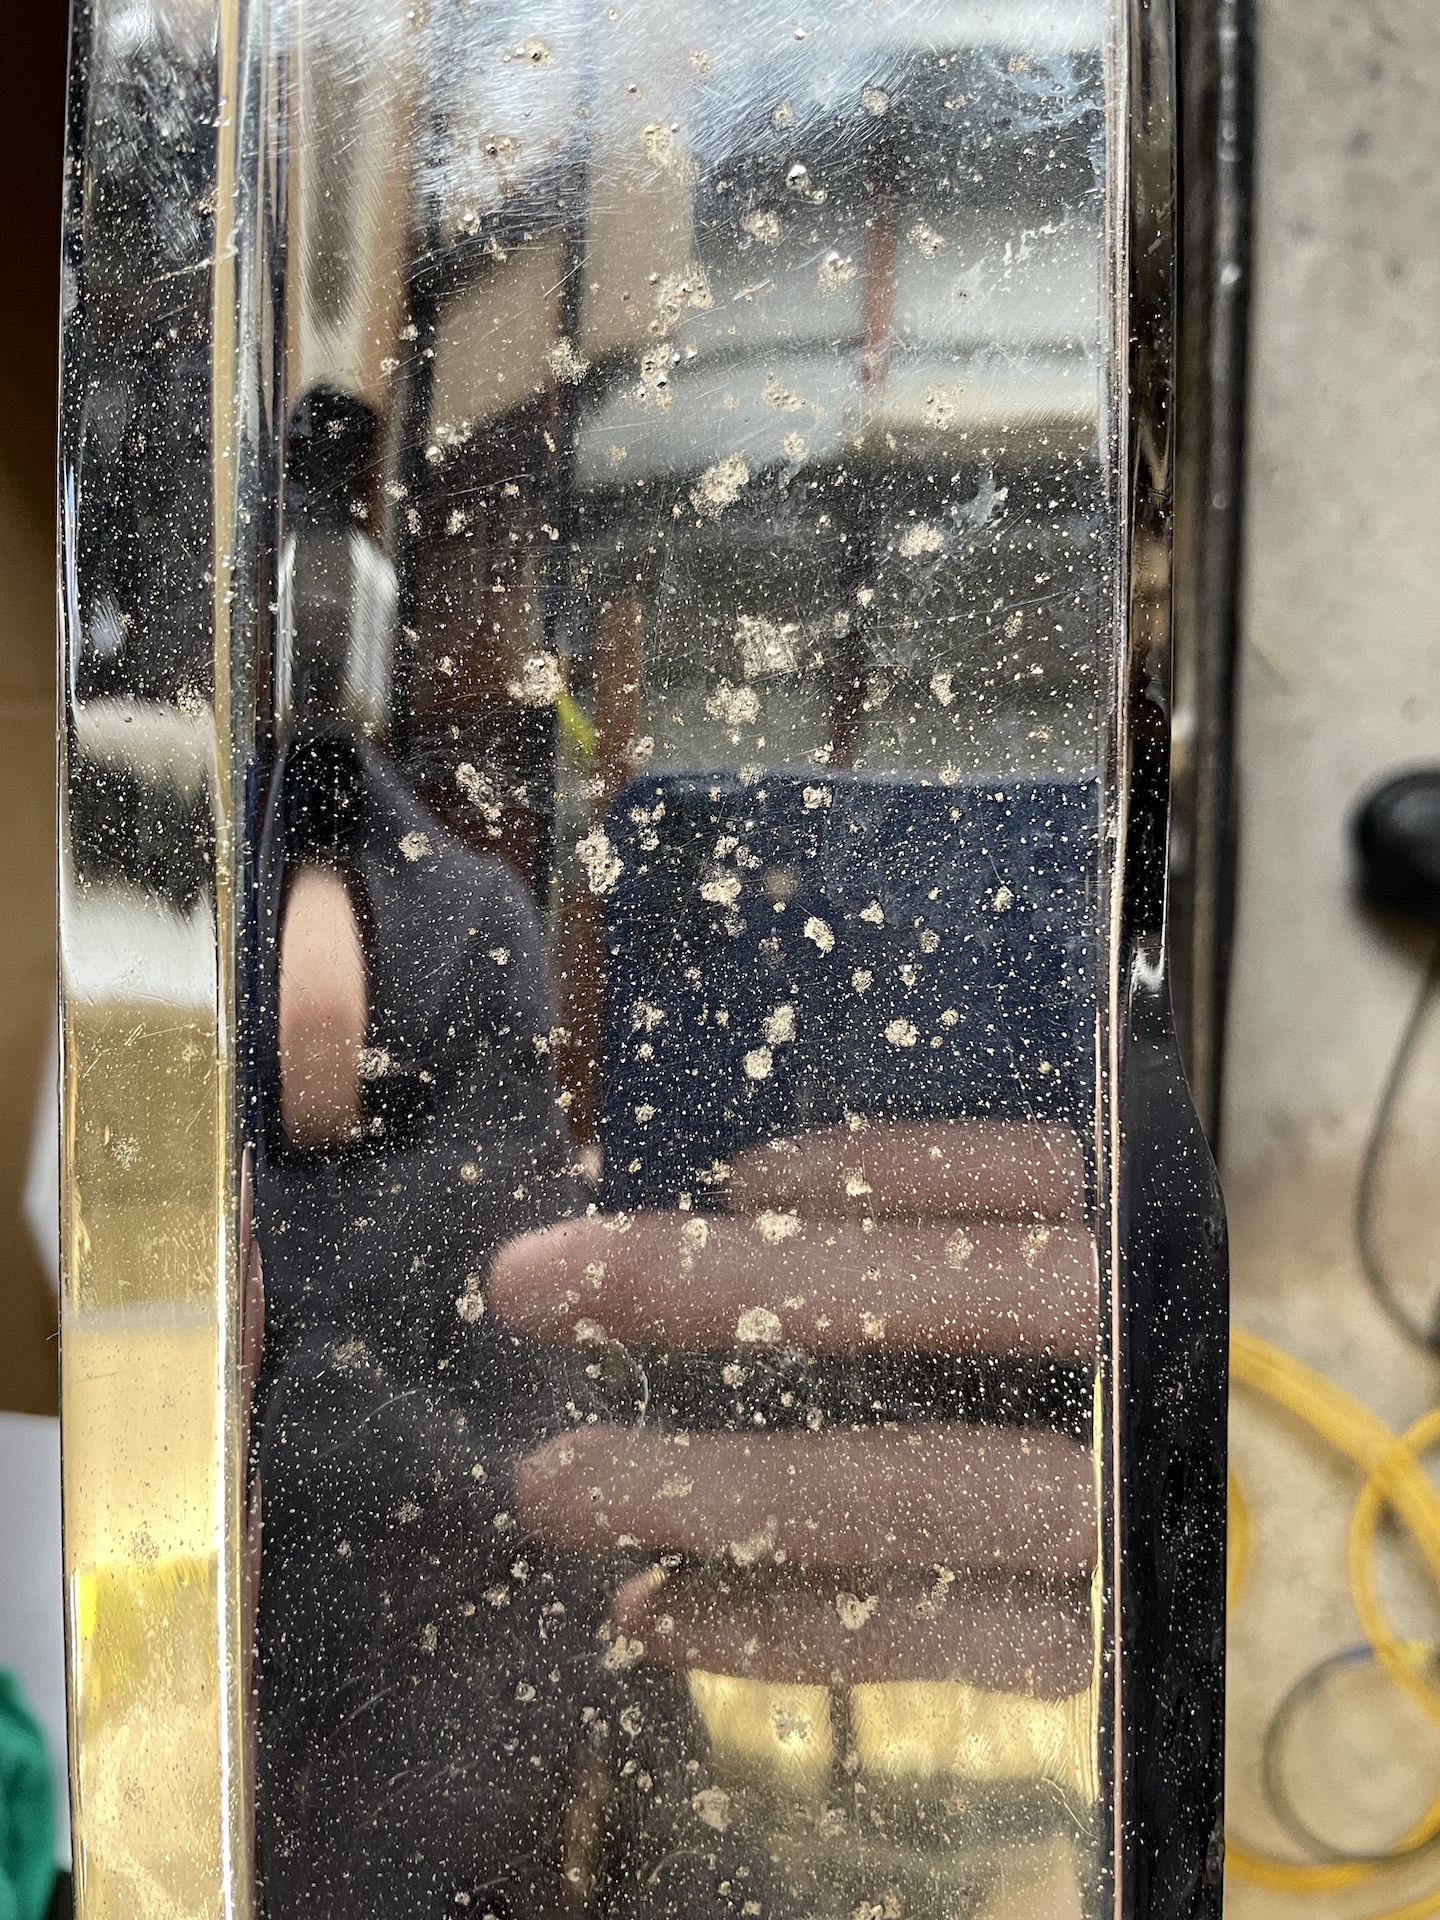
A bit on the top plus a close up of the pitting in the chrome.

- 10_SBTop.jpeg (660.78 KiB) Viewed 1048 times
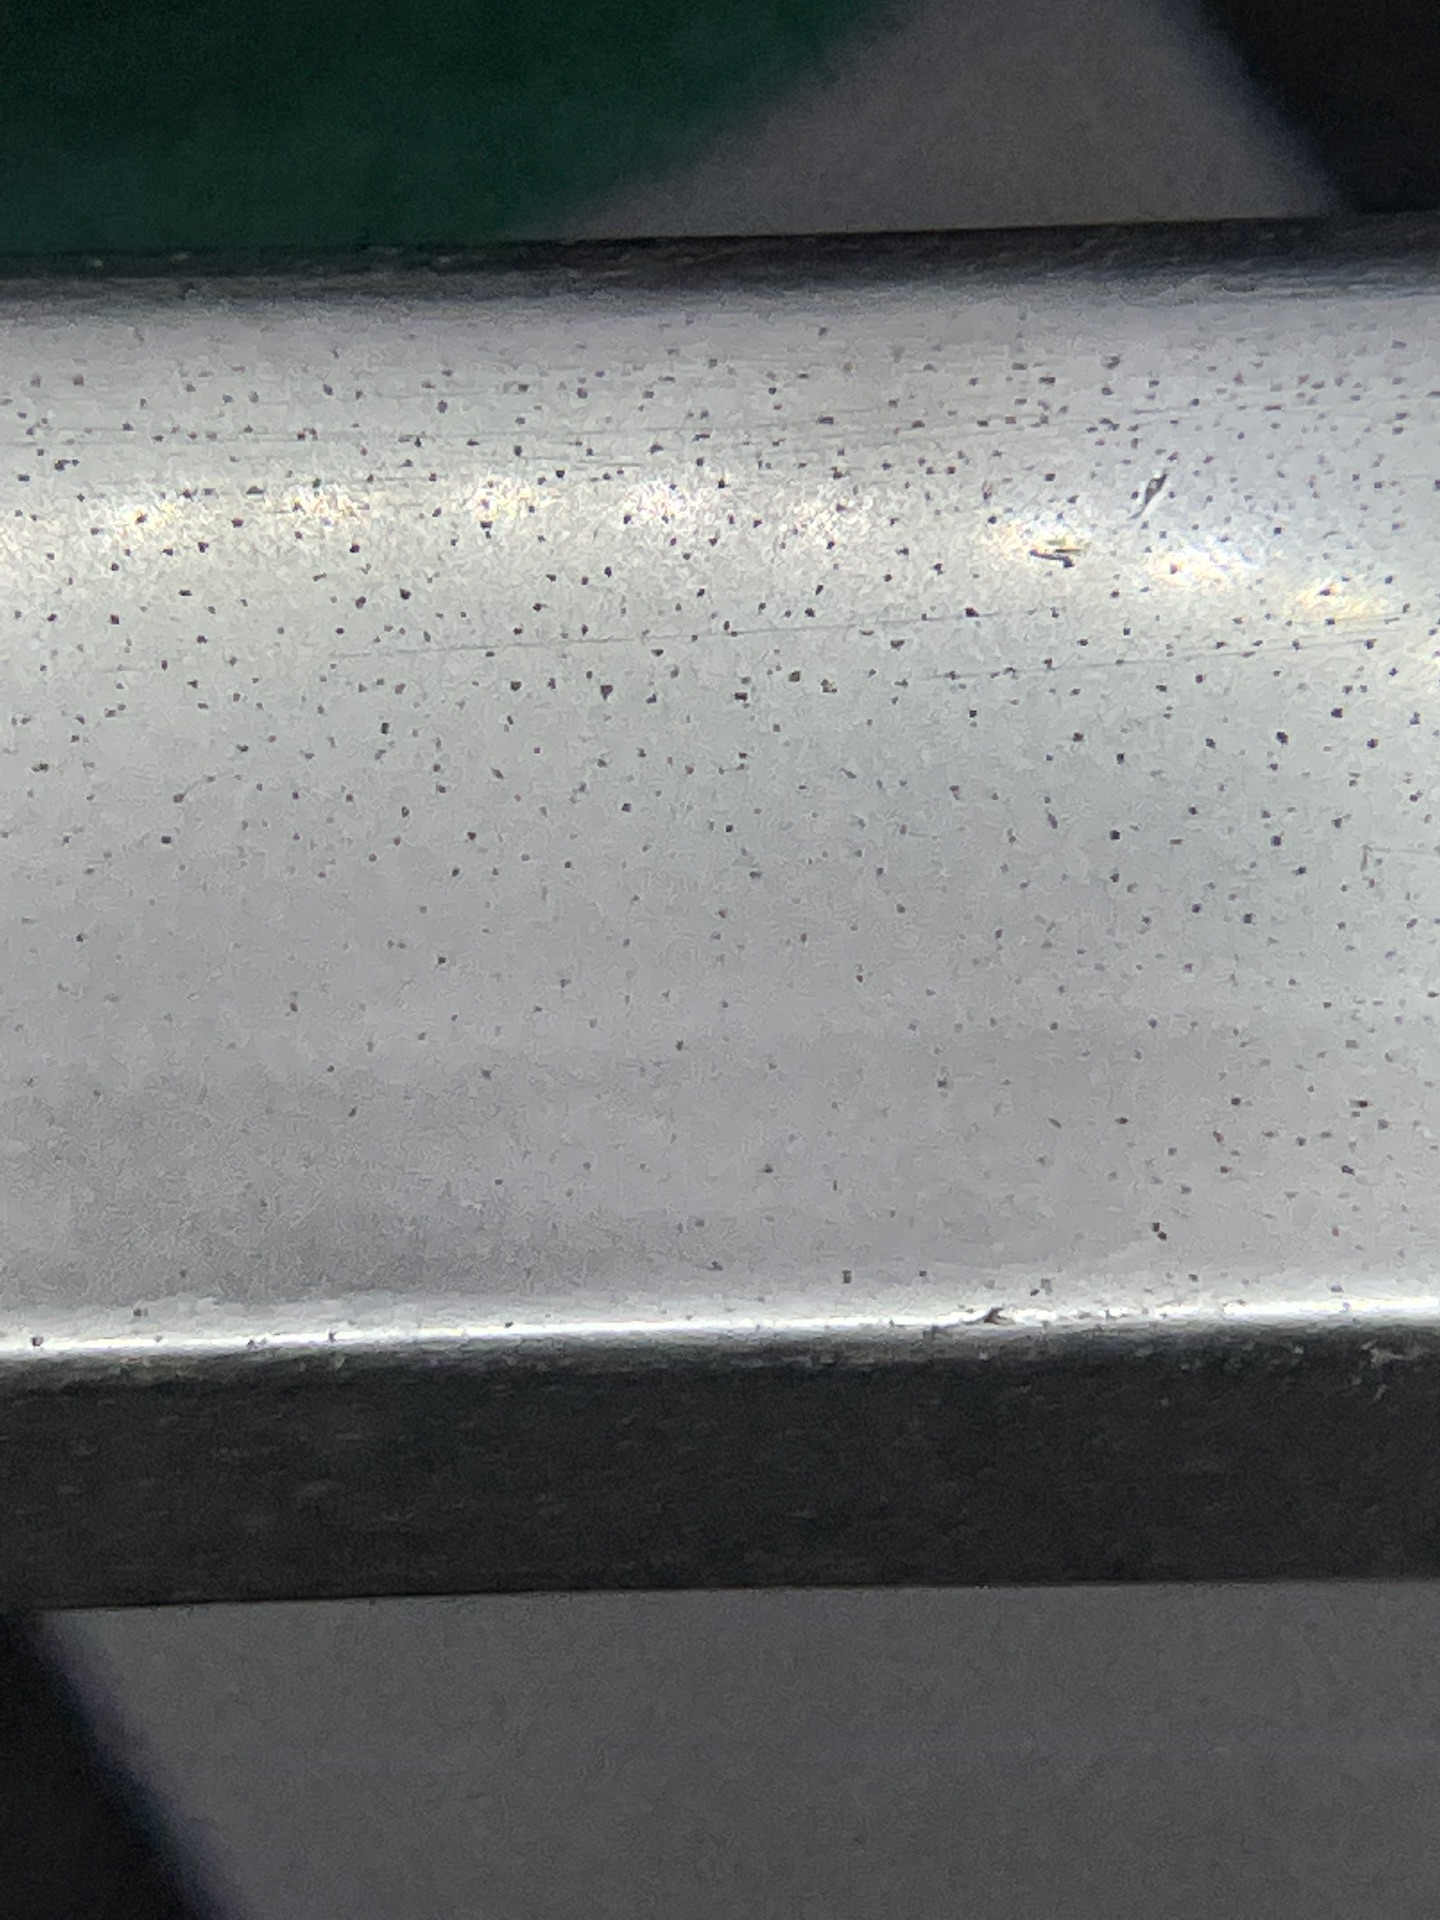
- 11_SBTopCU.jpeg (547.63 KiB) Viewed 1048 times
And finally Phase Three. Citric Acid (Wonder if Clay has been thinking "why didn't he just do this at the start?)
- 12_BathTime.jpeg (910.89 KiB) Viewed 1048 times
Ratio used was 500grams to 8 litres of water. From lots of reading that seemed to be a good strong mix. After a few hours gave it a scrub with a toothbrush, then left it in overnight. Blast with the gurney in the morning and here is the result.
- 15_CA.jpeg (716.4 KiB) Viewed 1048 times
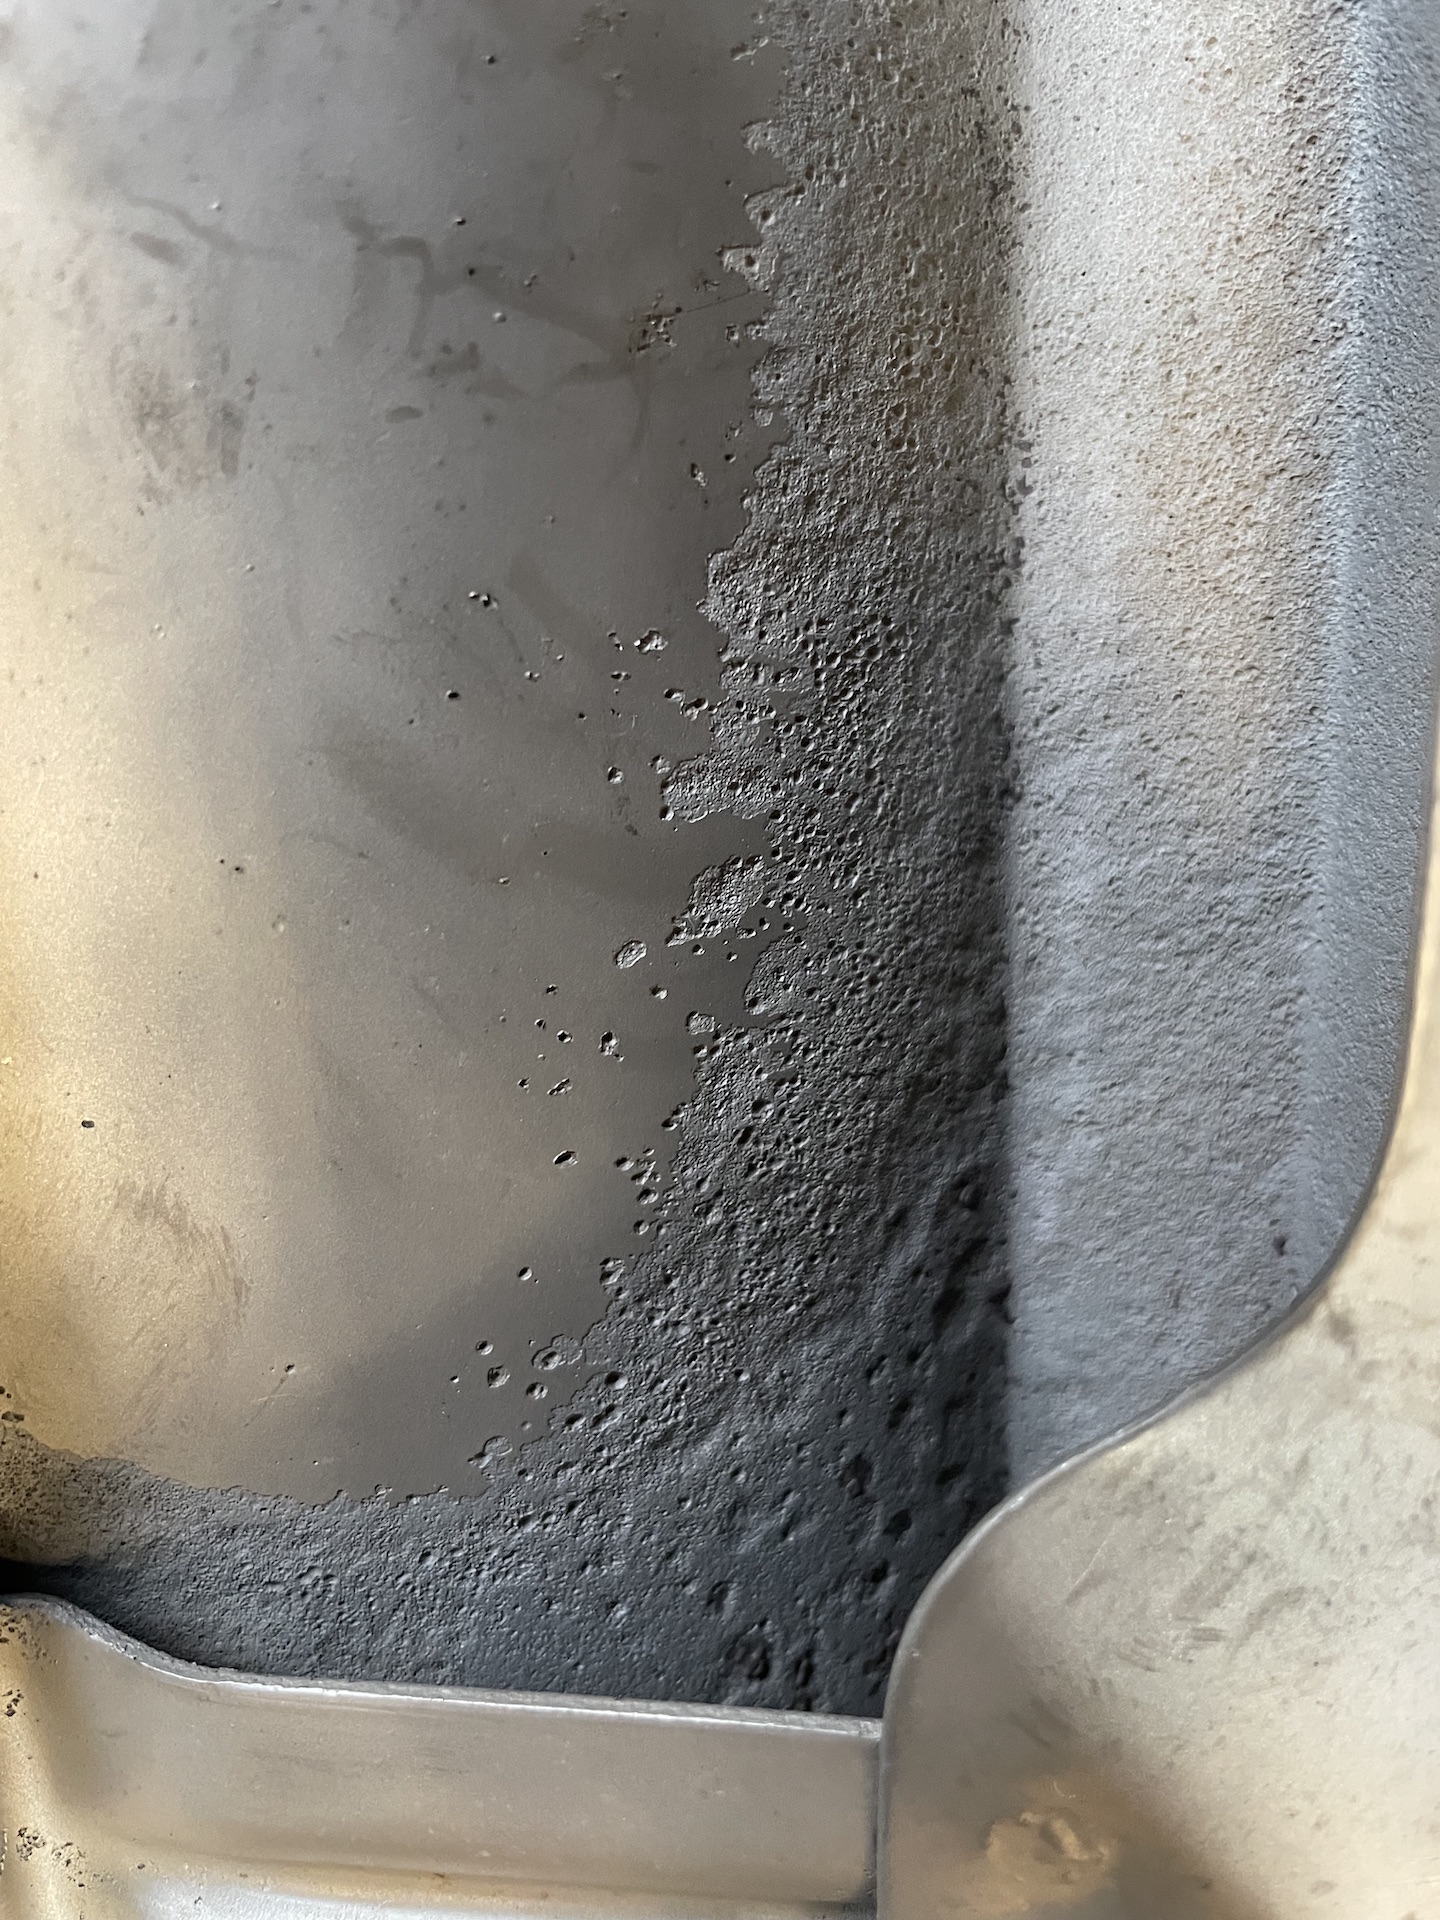
- 14_CABack.jpeg (914.23 KiB) Viewed 1048 times
Got into most of the nooks, but still ended up getting the last few spots off with the sand blaster. These were only found when I gave it a scrub with deoxide.
And the front still looks a bit sh!t.
- 13_CAFront.jpeg (1.23 MiB) Viewed 1048 times
Re: Ol' Rusty - FB/EK Sedan
Posted: Sat Feb 26, 2022 5:18 pm
by funkyscooter
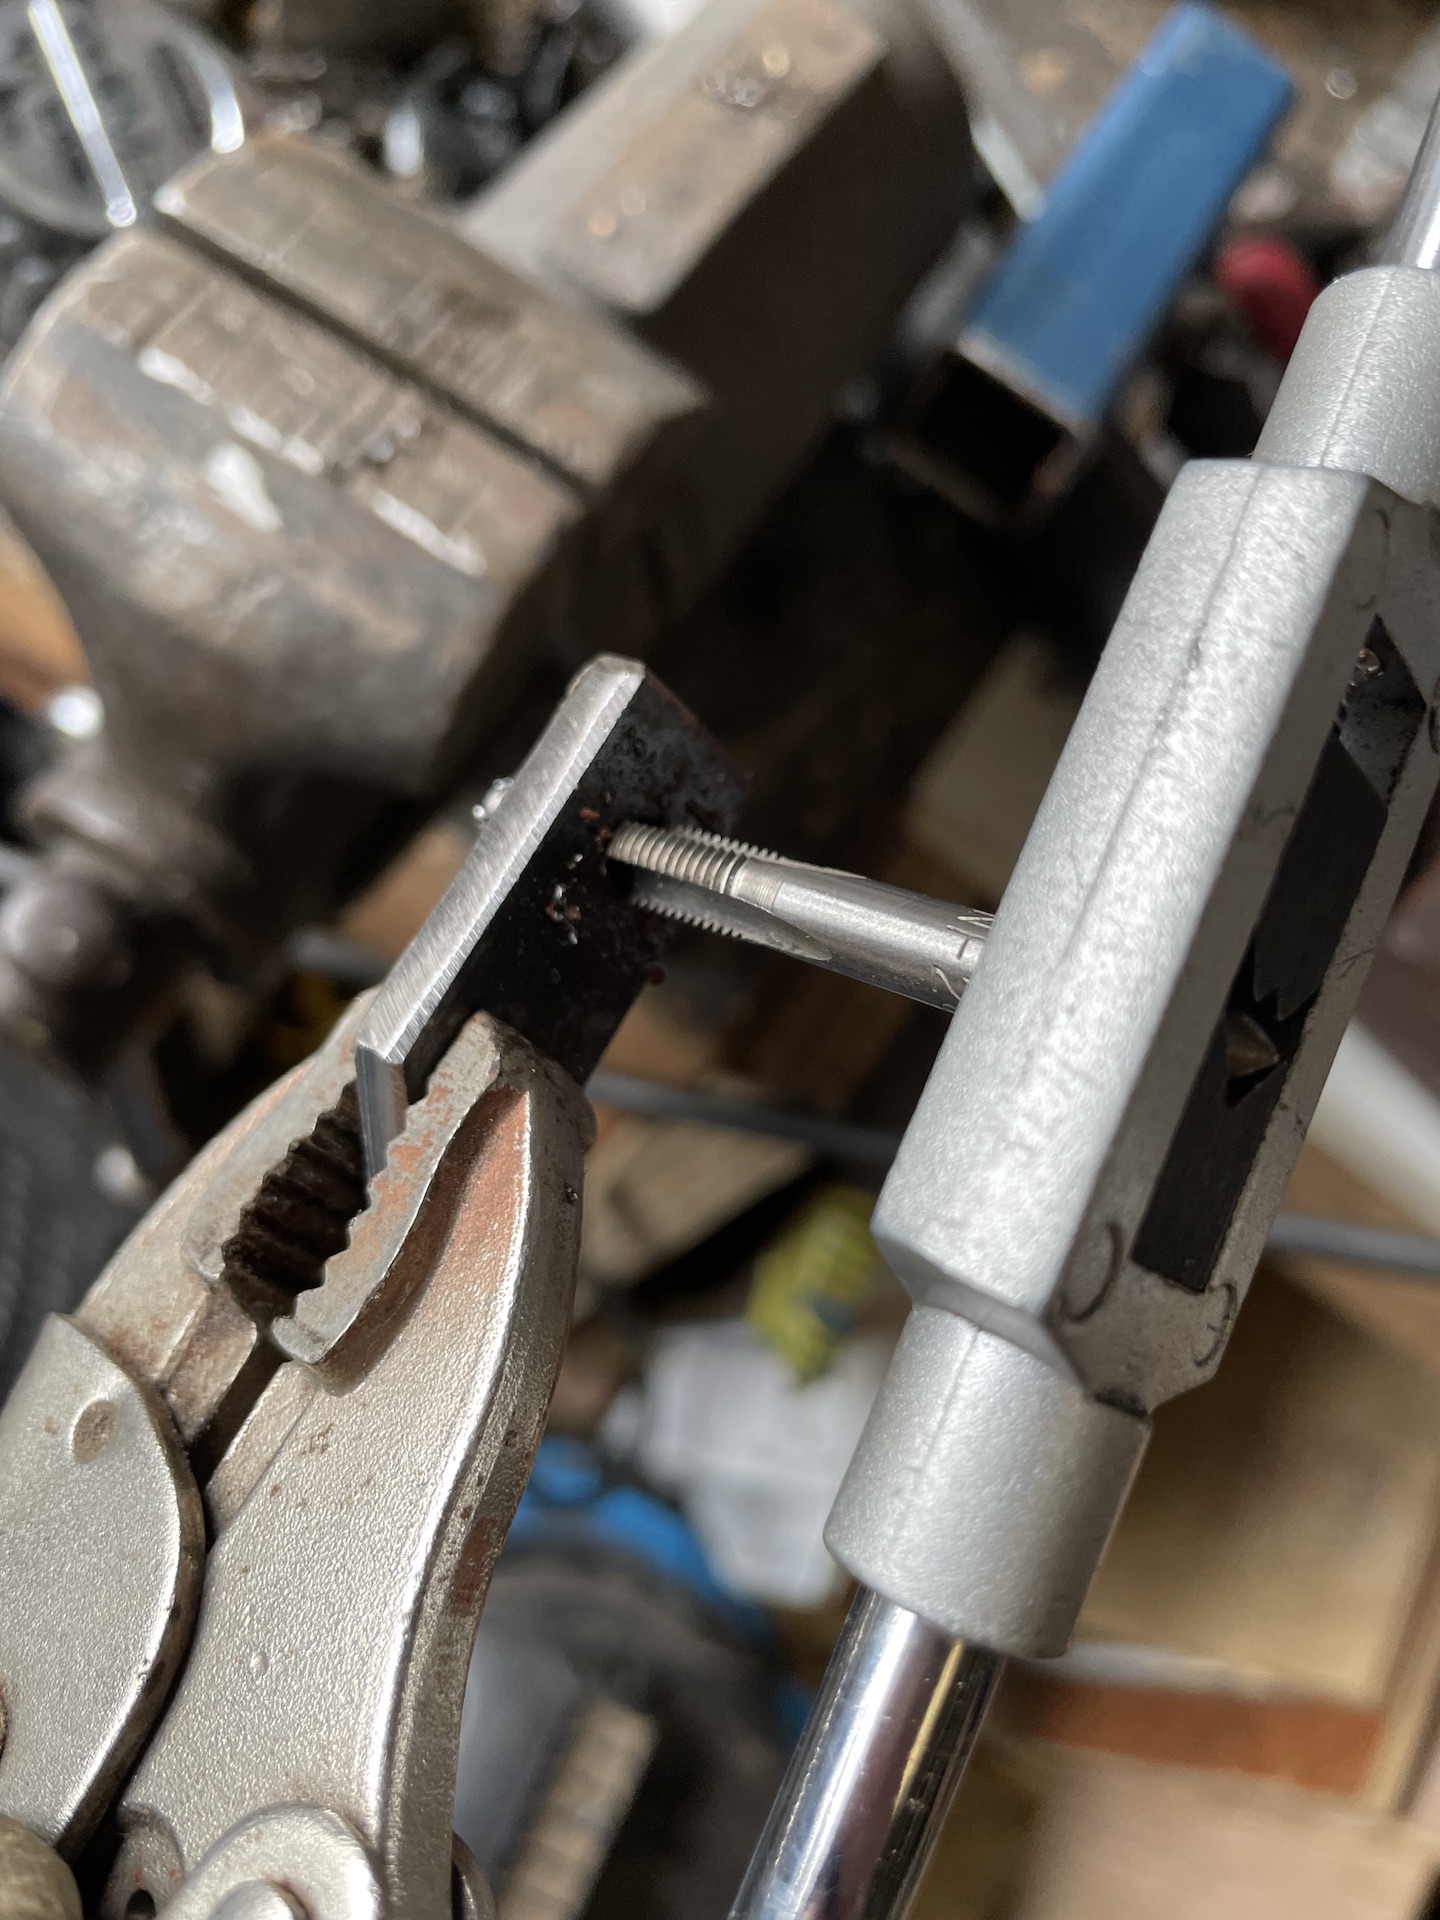
Next job - fix the captive nut. Thought about folding a sheet metal bracket round a nut but I didn't have a square nut and it all seem too hard. Instead I got an offcut of mild steel 5mm bar from the rotissery build (still a work in progress), and cut it down to fit between the ribs of the brace.
- 18_Nut.jpeg (601.36 KiB) Viewed 1046 times
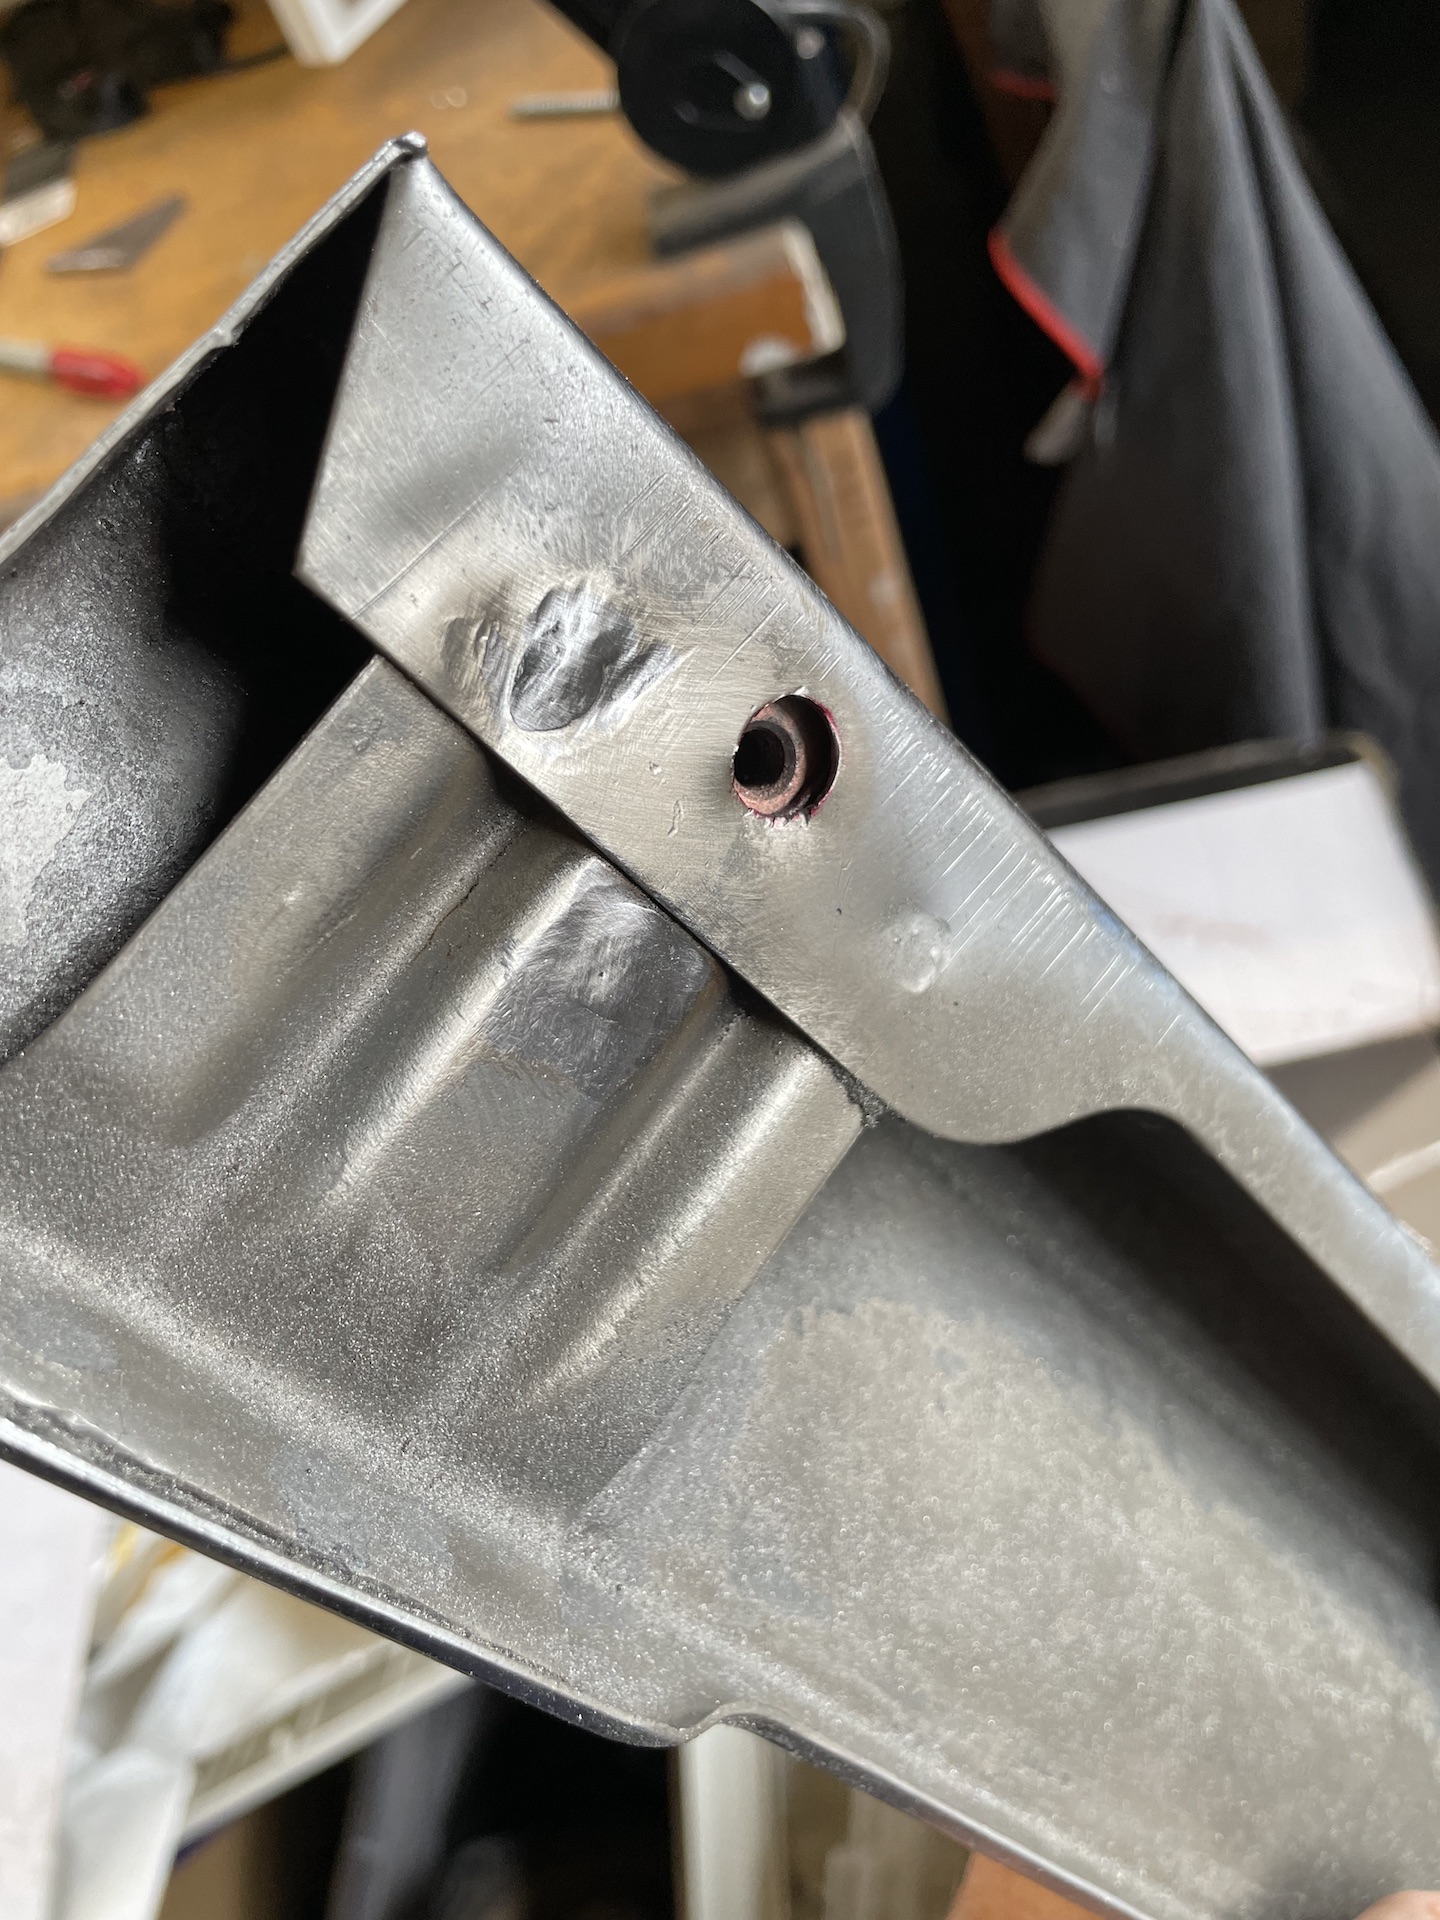
Then drilled a 7mm hole in the brace and plug welded it in . Also filled in the self tapper hole.
- 19_WeldedIn.jpeg (740.38 KiB) Viewed 1046 times
Lastly, gave everything a spray with Easyphos, to protect it for now. Bought a fancy re fillable can online and put the EasyPhos in.
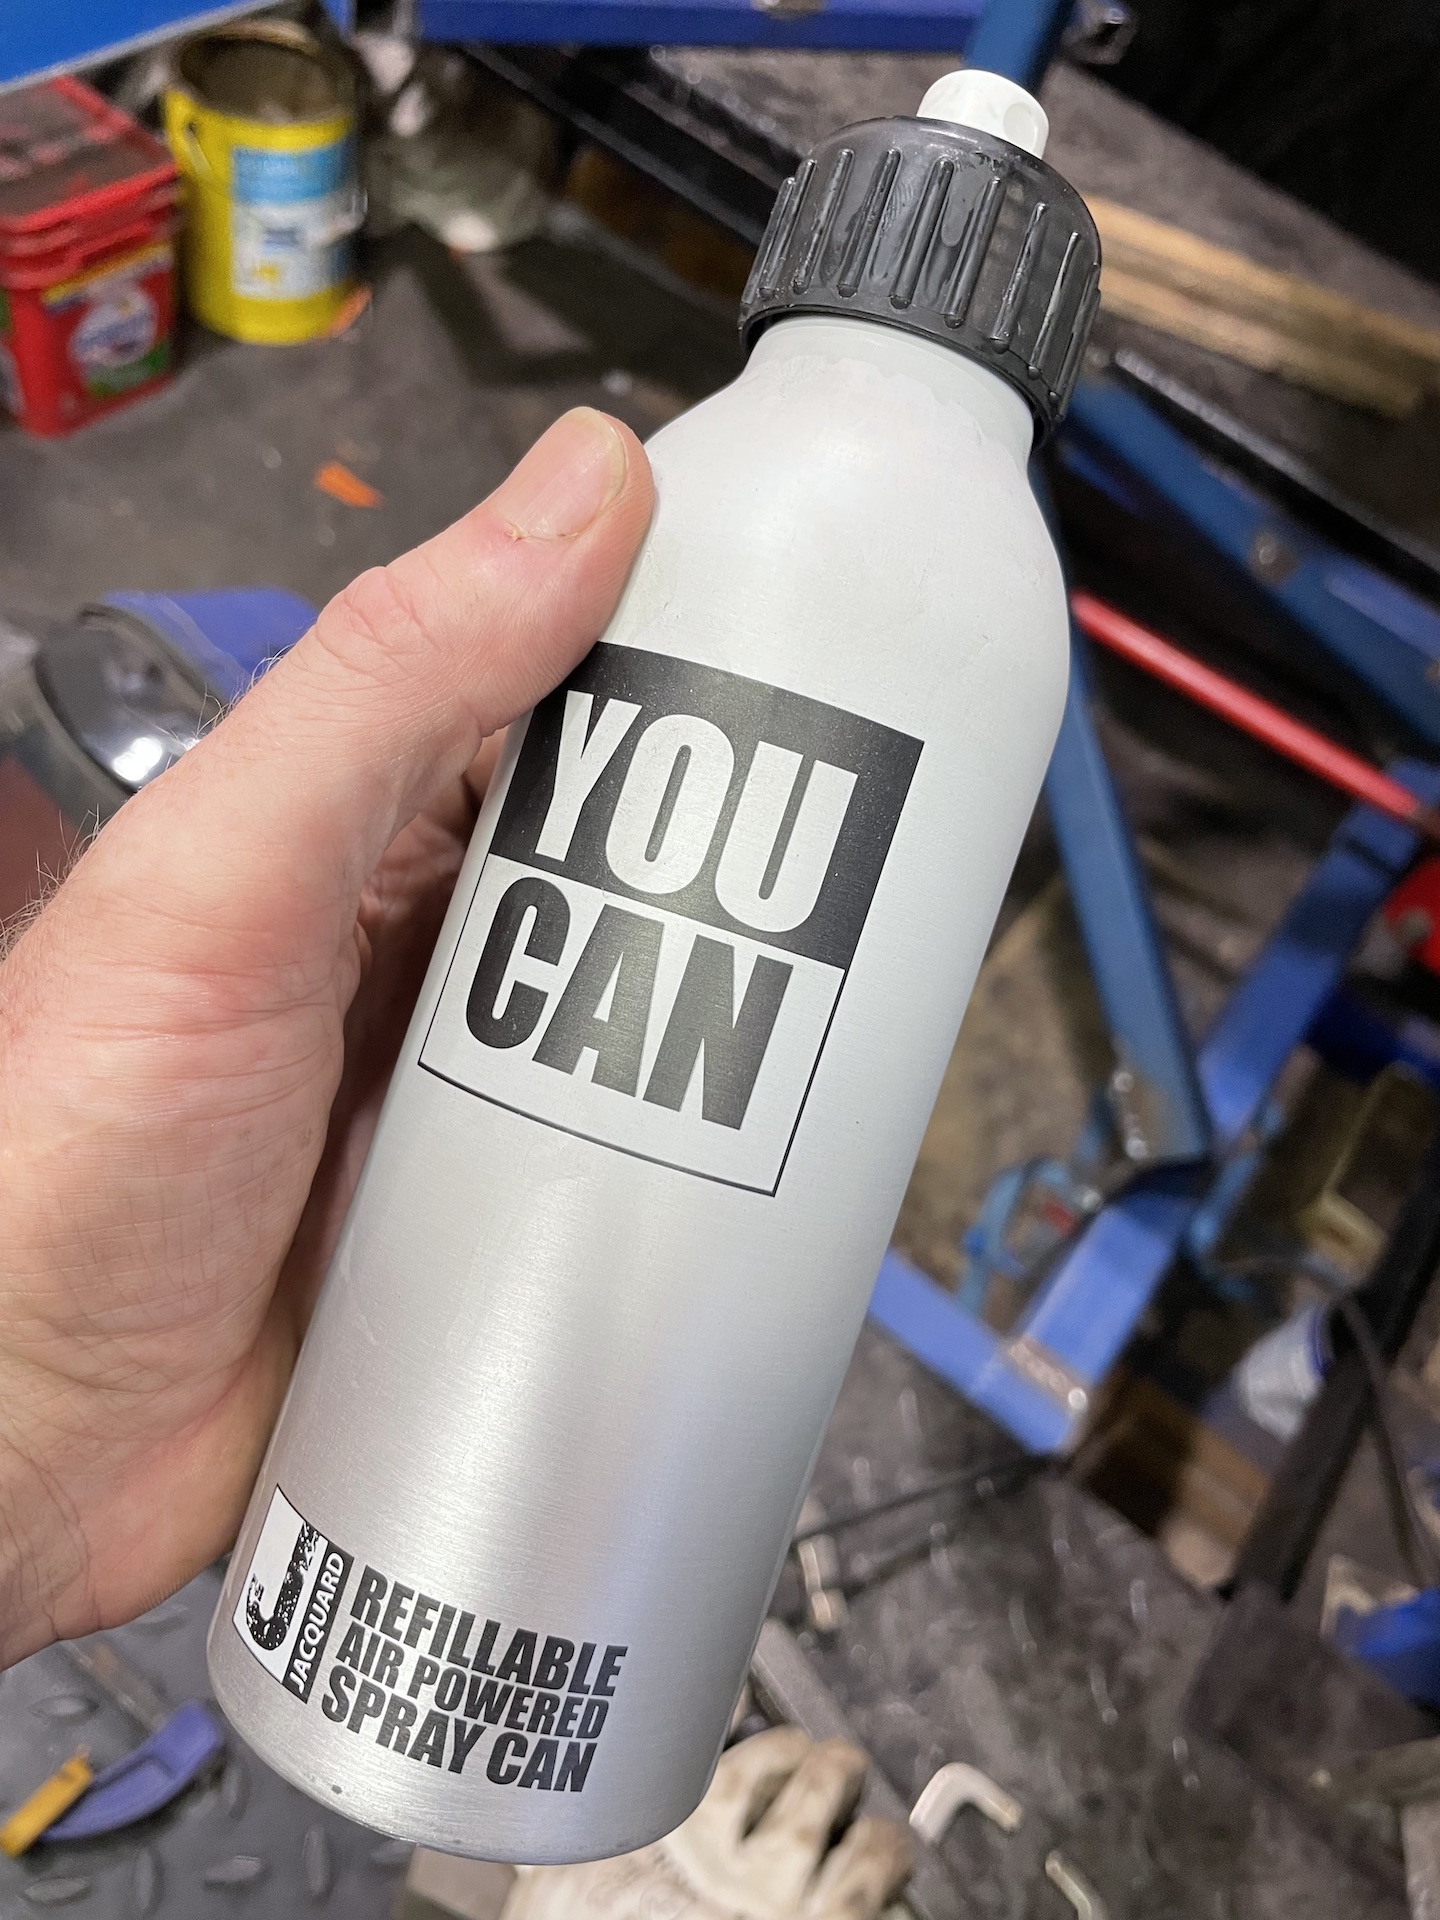
- 21_Ucan.jpeg (716.14 KiB) Viewed 1046 times
You charge it by filling 1/3 full then remove spray and put this tyre valve gizmo on top. Says not to go over 100 psi, so, safty first, I did 75.

- 20_UcanAd.jpeg (538.26 KiB) Viewed 1046 times
Worked a treat the first time but runs out of puff pretty quick. So same process to recharge.
Only problem, this time the valve jams open, easyphos back flows into my tyre inflator. Flexible tyre inflator hose is NOT compatible with EasyPhos and lets go with and almighty bang, sending easyphos everywhere.
Not to be defeated, spare hose from old inflator installed, and can charged holding upside down so liquid is less likely to escape. Success. Must find the tyre valve remover......
Re: Ol' Rusty - FB/EK Sedan
Posted: Sat Feb 26, 2022 5:32 pm
by Errol62
Well it looks good enough to get rechromed anyway. What about an old windex bottle for the easyphos Scott? I would have it in citric for a few days then should get most of it. End of a file or small cold chisel chip off tough bits.
Sent from my SM-G781B using Tapatalk


