Page 23 of 76
Posted: Fri Feb 06, 2009 12:47 pm
by mrs ratbox
thanks for that
and greg as V8EK4us said all toranas are manual but i've seen a couple with the TE cortina power steer conversion done a mate actually had one and he was a torana freak and loved the conversion
Posted: Fri Feb 06, 2009 4:19 pm
by EK283
Thanks guys,
Im at the point where power steering is extremely atractive and I have time to change my direction!
Anyone want to buy a HR front end with rack and pinion to suit a chev into FB EK????????
Would be keen on info if anyone has it on the cortina powersteer to the torana front end.
Sorry for the hijack Gary.
Regards Greg
Posted: Fri Feb 06, 2009 8:54 pm
by t950cat
PM sent Greg
Posted: Sat Feb 07, 2009 8:50 am
by V8EK4us
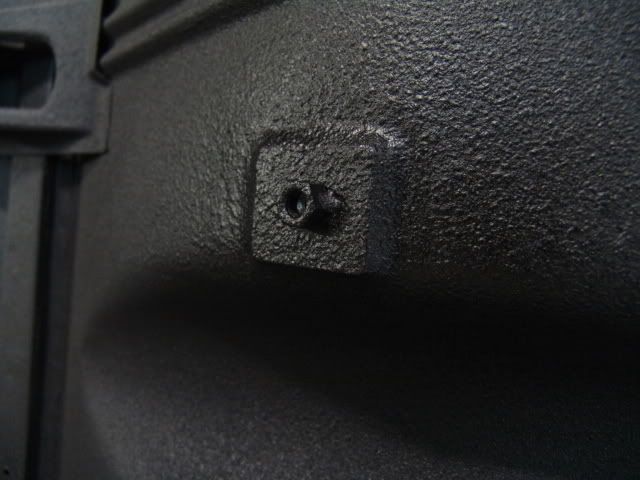
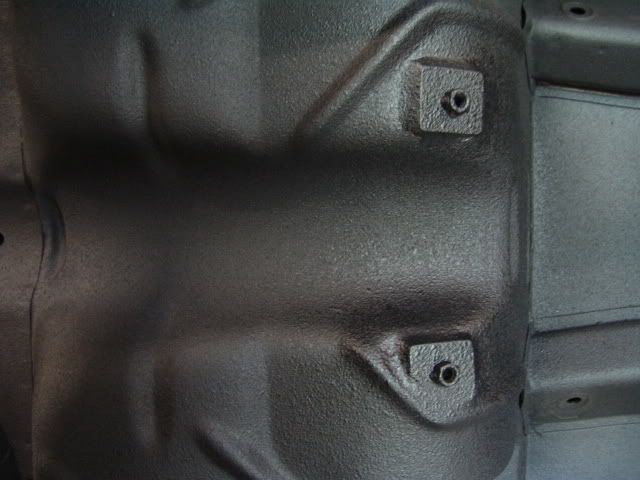
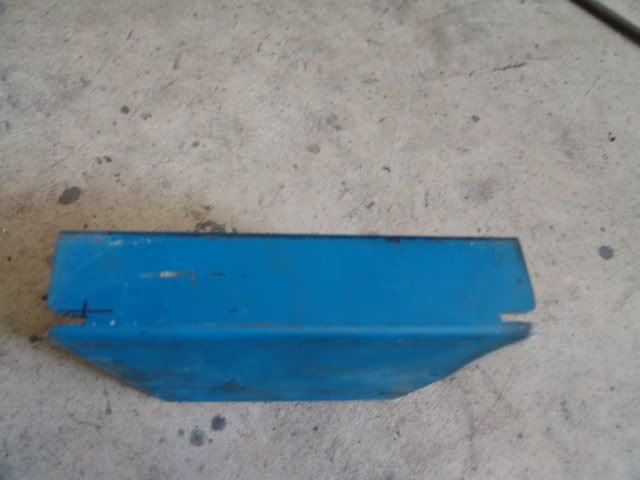
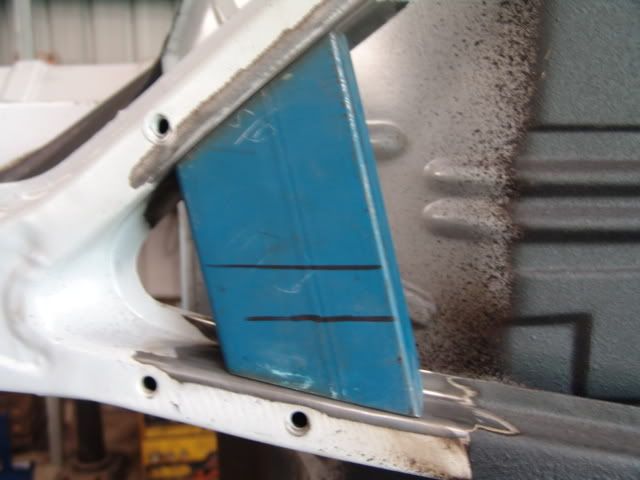
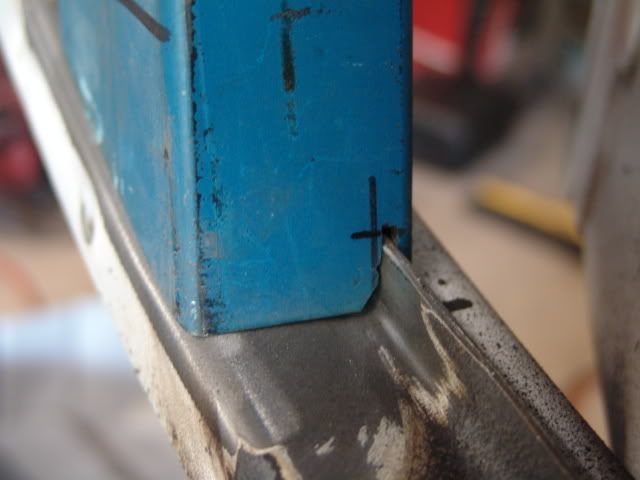
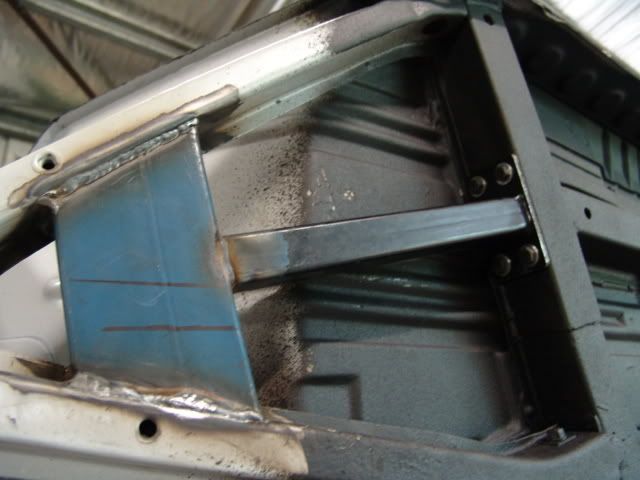
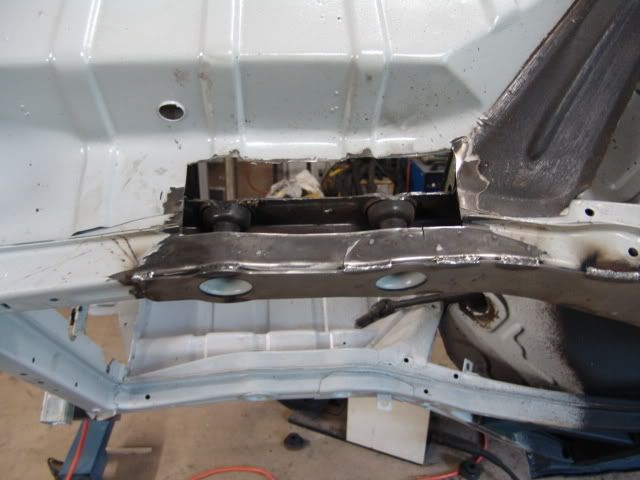
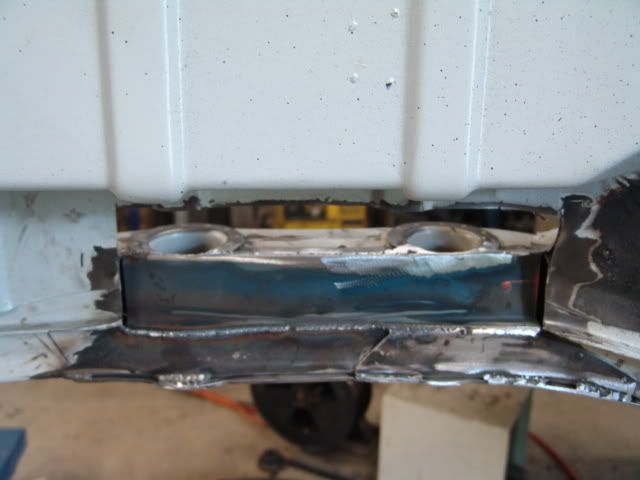
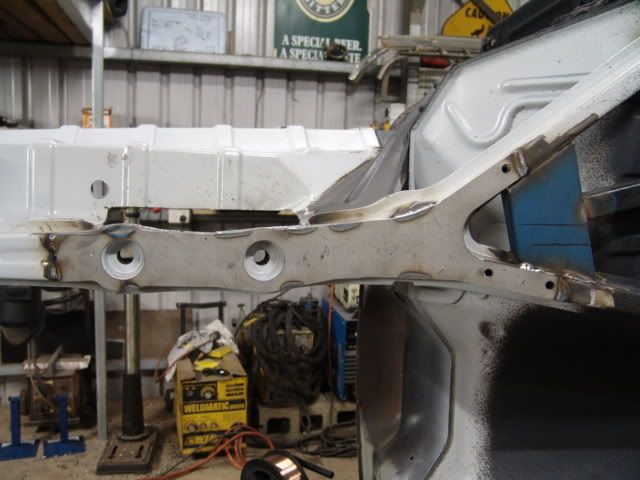
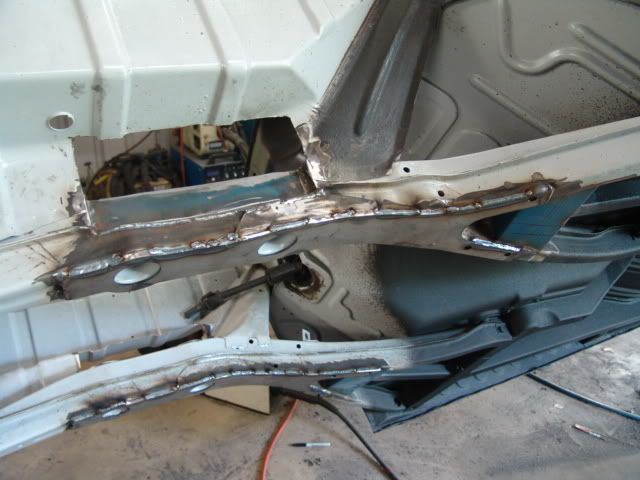
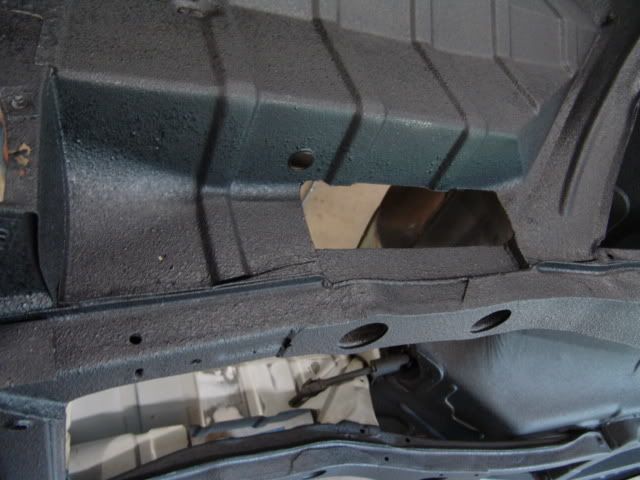
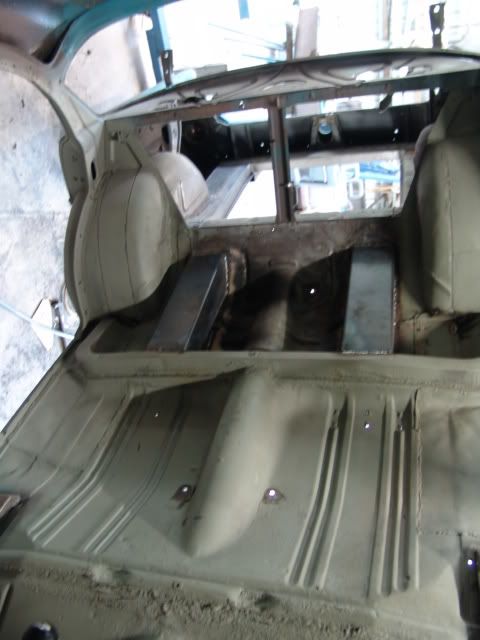
Here is a pic of the 4 link covers under the rear seat area. The rear seat spring fouls on the rear of the cover, the seat frame will be modified to clear it by about 10mm. This is actually under the backsupport, so it shouldn't effect the comfort or apperance of the seat.
Posted: Sat Feb 07, 2009 3:13 pm
by mrs ratbox
just thought i'de bring it to yor attention that yor title says blown or injected, not blown and injected

i know it's just a simple typo


Posted: Sun Feb 08, 2009 12:35 pm
by stubby
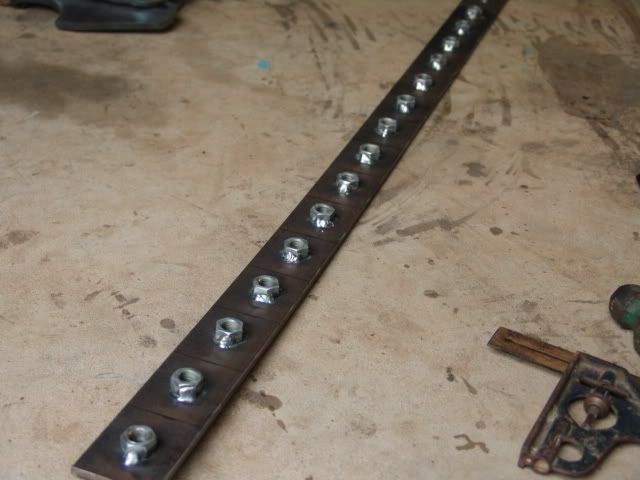
hey mate any chance of pm me your measurments for the chassis rails? cheers stubby
Posted: Sun Feb 08, 2009 9:09 pm
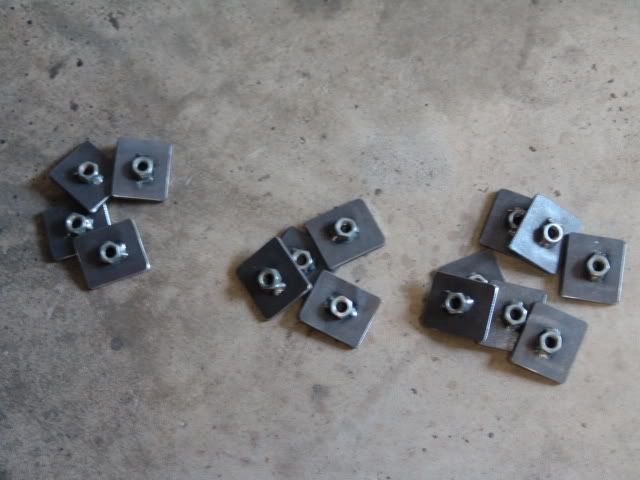
by V8EK4us
Posted: Sun Feb 08, 2009 11:13 pm
by Dave
I love watching this build. Thanks heaps for the photos.
Malcolms build blew me away, now this one is blowing me away.
Fantastic! Wish I had half your talent & dedication.

Posted: Mon Feb 09, 2009 3:25 pm
by FB MAD
Gotta agree there Dave

,
This build has to be one of the best,quickest and most picture informative that I've seen here and on other forums in last few years.
It's an absolute credit to you V8EK4us to your engineering and fabrication skills.

.
Keep all the build up pics for when you go to get it engineer certified for rego.
............
Posted: Mon Feb 09, 2009 5:24 pm
by DNA
Im continually amazed at your dedication and to the extent in which you have and are going to for this car..........
Most definitely a credit to you...........
Posted: Tue Feb 10, 2009 7:19 pm
by V8EK4us
Posted: Tue Feb 10, 2009 8:23 pm
by NoMAD
looking sweet man...pure awesomess !
cheers
NoMAD
Posted: Tue Feb 10, 2009 8:53 pm
by Oldnblue
The credit to you, beyond what everyone else has posted, is that you make it look so damn easy (which of course, it's not). Makes me wanna get out and build me a car.
This is a killer thread to watch. Amazing to see the different types of builds which are going on at the moment.
Cheers, Scott
Posted: Tue Feb 10, 2009 9:00 pm
by Craig
Nice work
Posted: Wed Feb 11, 2009 12:49 am
by oldnek
Its a shame you have to cover over all that nice work with black shit. Thats fantastic work your doing Garry.
Very professional with a lot of thought gone into her before hand. Makes me want to do another one.
Regards John