Page 22 of 76
Posted: Mon Jan 26, 2009 12:35 pm
by V8EK4us
Thanks EKSPCL, Billy, Trev and Nomad!!
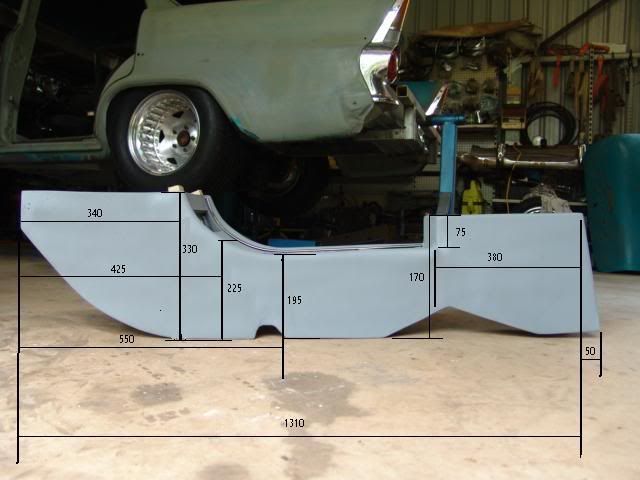
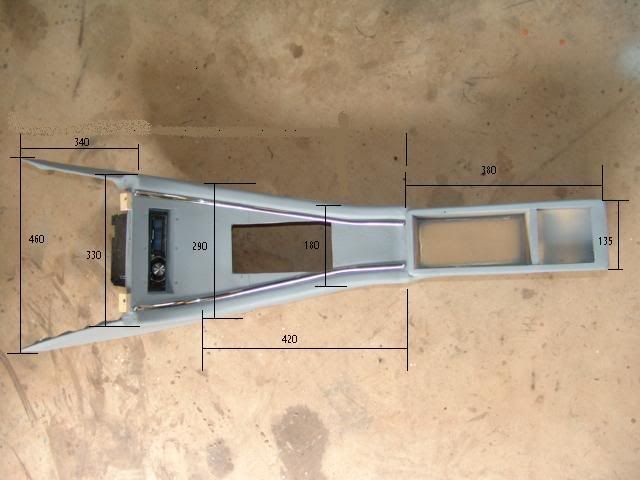
Here are the console dimensions for you Billy

. Remember that I have the A/C ducting panel between the console and the dash, you need to add 100mm to the overall height measurement (instead of 330mm make it 430mm, keep all other measurements the same) if you are just having the console. Hope it helps mate
. Also my tunnel is "Auto" you may have to profile the bottom of yours to suit your tunnel shape. If I have missed anything let me know and I will get it for you.
Posted: Mon Jan 26, 2009 2:29 pm
by Devilrod
Wow, looking good.

And even time to measure and mark up photo's!!!
POST SUBJECT
Posted: Mon Jan 26, 2009 9:30 pm
by BILLY BLACKARROW
Thanks a lot you have done far to much for me already Billy
Posted: Fri Jan 30, 2009 9:02 pm
by V8EK4us
Posted: Wed Feb 04, 2009 9:24 pm
by V8EK4us
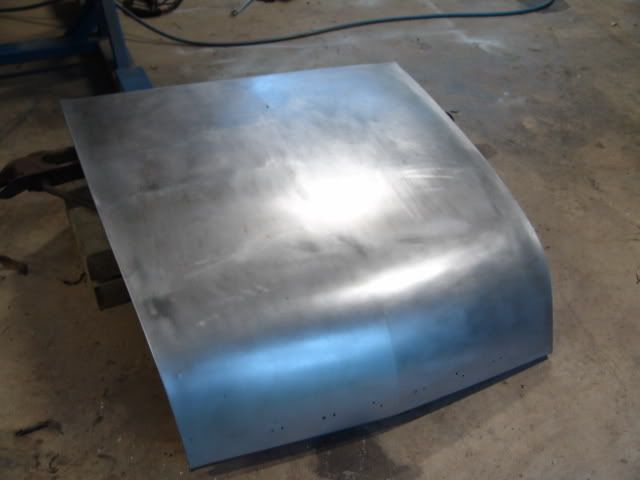
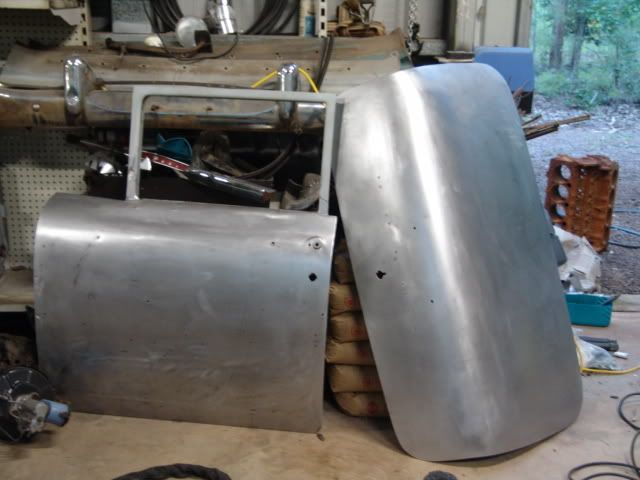
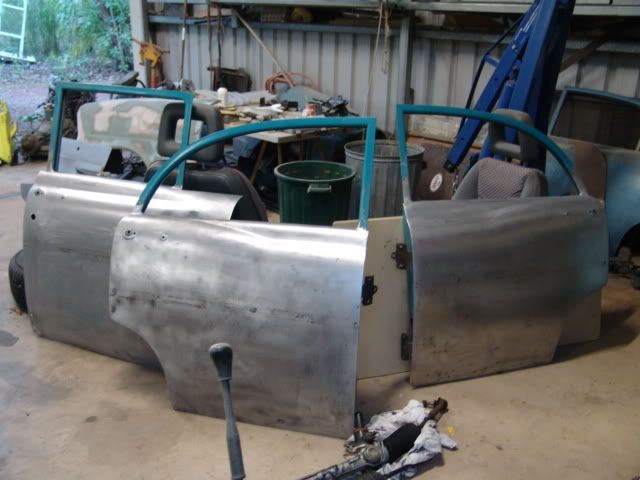
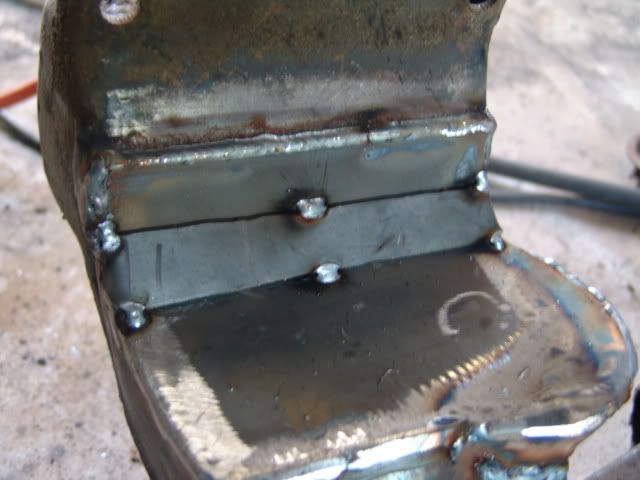
Update ....... no pics

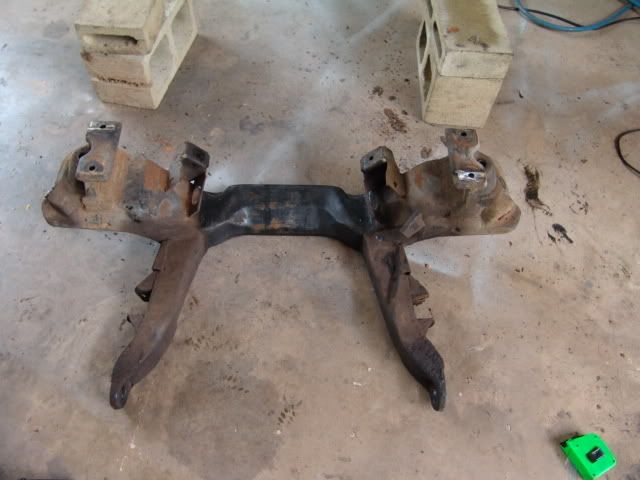
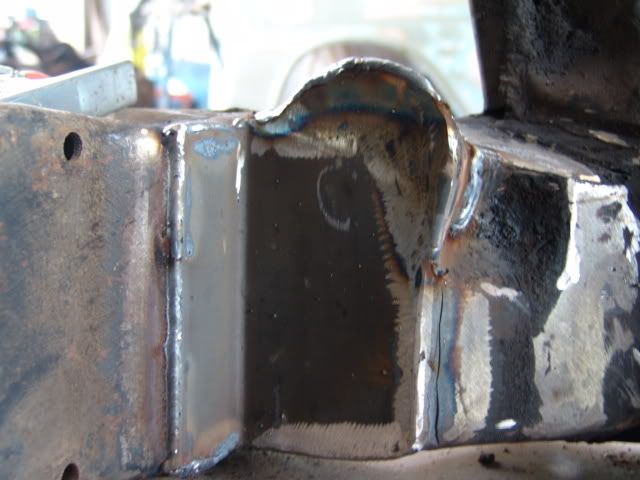
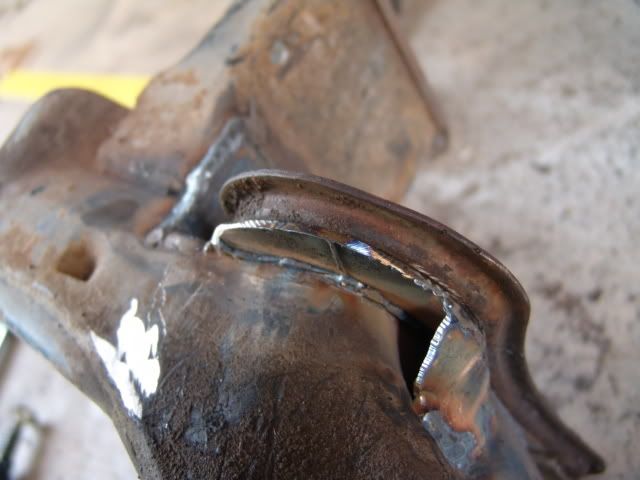
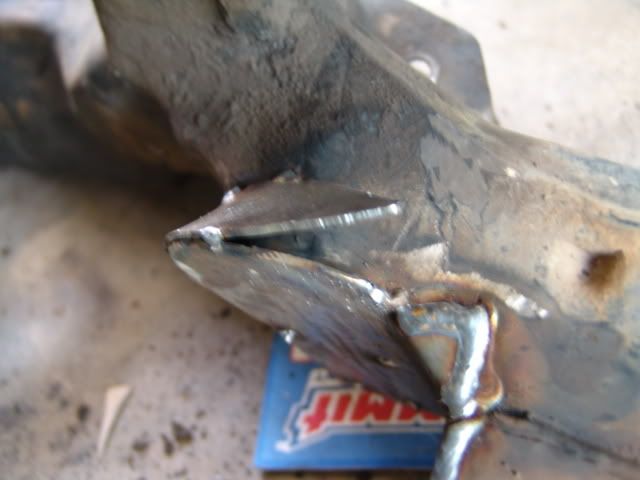
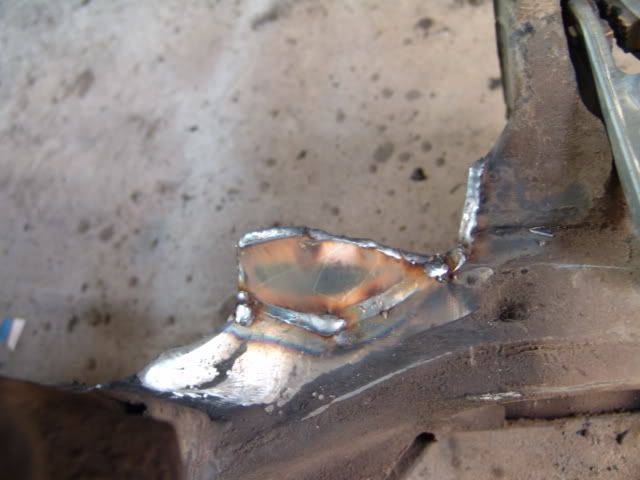
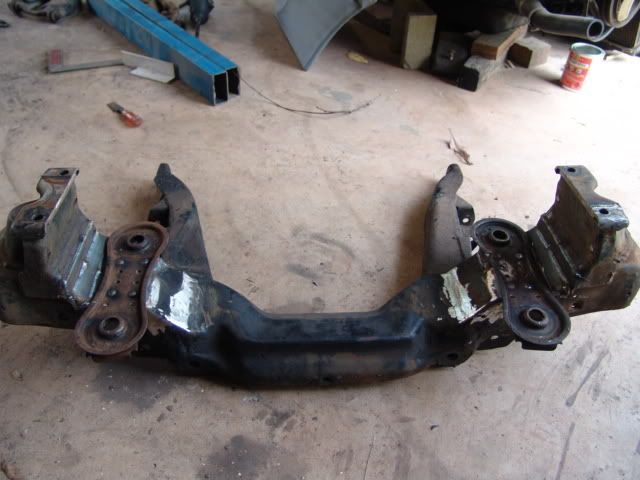
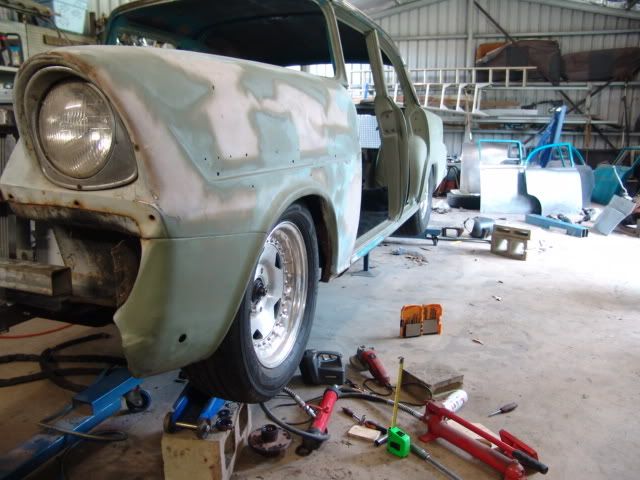
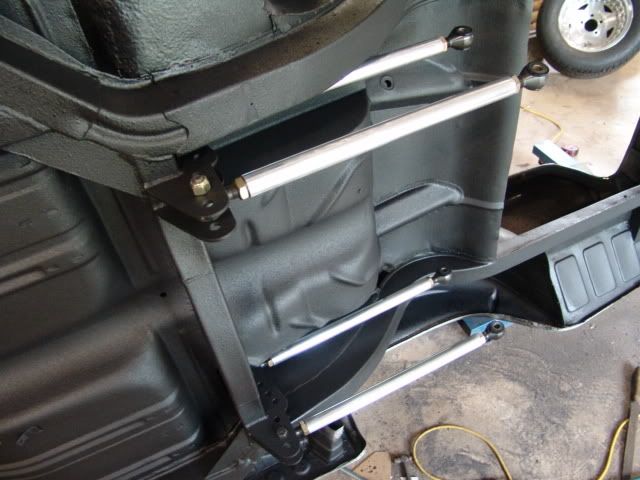
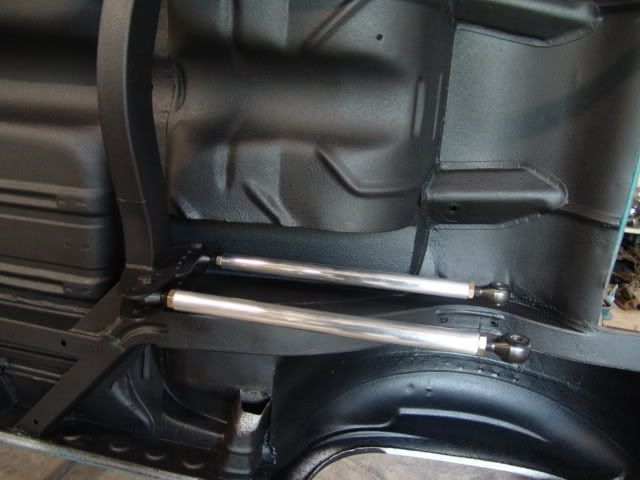
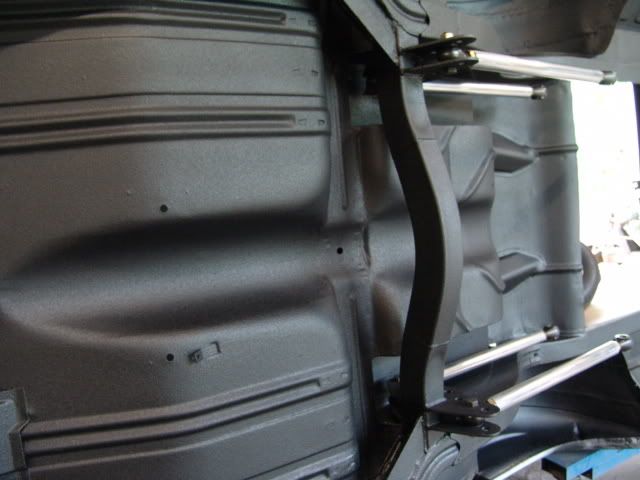
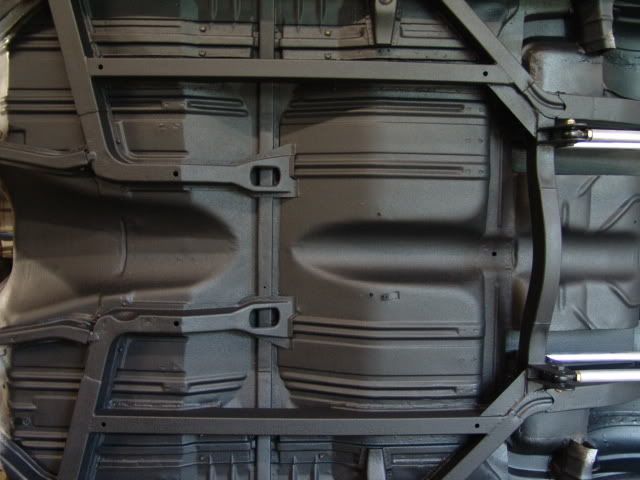
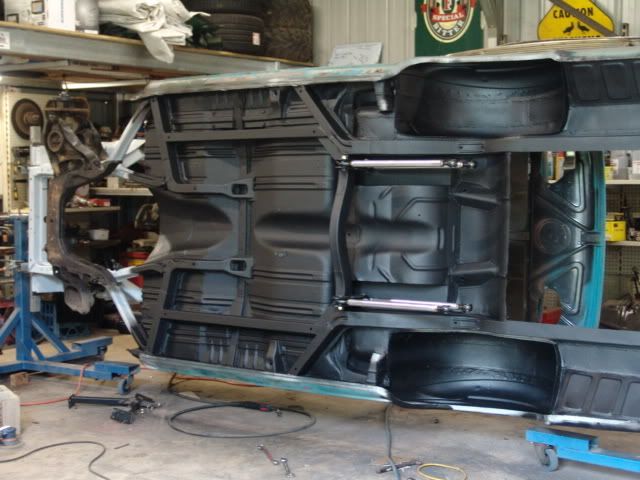
Bolt on panels are sand blastered (window frames and internals only to avoid distortion of the main skins which were done by hand) and primed. Car is back on its side getting the finishing touches underneath before it's appointment with the spray booth. I have fitted an LX Torana frontend

(yep, I changed my mind...again

), had brakes made to reduce track by 32mm (Hopper Stoppers) and ordered the motor (at last!). Motor setup has changed since original plan and will be all under the bonnet ("semi" sleeper!).
Upholstery has started.....been whippin' Sue (gotta be careful that she doesn't enjoy it too much.... the whippin' that is!!

) We bought a Singer Industrial sewing machine off EvilBay for $500, very happy with it.
Geeeesss..... is it February ALREADY!!!!!! March....April....May ... Nationals ......
Posted: Wed Feb 04, 2009 9:47 pm
by basic.green
Posted: Wed Feb 04, 2009 9:56 pm
by spyder6052
i laughed at "keep it a semi sleeper"
then thought.... not with those boots on the arse end

Posted: Thu Feb 05, 2009 7:37 am
by parisian62
lookin good. Fingers crossed for the Nationals...
Posted: Thu Feb 05, 2009 8:05 pm
by V8EK4us
Posted: Thu Feb 05, 2009 8:17 pm
by NoMAD
Posted: Thu Feb 05, 2009 8:21 pm
by FATBOY
now going back to na motor blown or nothing
regards fat
Posted: Thu Feb 05, 2009 9:57 pm
by V8EK4us
FATBOY wrote:now going back to na motor blown or nothing
regards fat

See ya at the Nostalgia drags
Posted: Thu Feb 05, 2009 10:43 pm
by mrs ratbox
hate to pik yor brains, but in the pick with the wheel on where do you have the suspension set on the bump stops or down so it would have travel and what stub axle and disc rotor is on it
so pissed too already have one front and could have bought another in bits on the weekend cheap and didn't really think about it till i left the swap
once again wish i could weld
had a go today and tonite my eyes feel like shit
is it easier to weld if you have a shield

started with a small hole and end up with a big one

but then put a small piece of metal and all was good
Posted: Fri Feb 06, 2009 7:21 am
by EK283
Hey,
Ratbox its just practice and you could use your cool sunnies
Have a question for both of you guys.
Do the cars the front end come off have power steering???
Room for adjusting things on the car smart man.
Gary keep it up its looking sharp
Regards Greg
Posted: Fri Feb 06, 2009 8:27 am
by V8EK4us
ratbox wrote:hate to pik yor brains, but in the pick with the wheel on where do you have the suspension set on the bump stops or down so it would have travel and what stub axle and disc rotor is on it
Mick, as per height in pic there is 45mm left until the bump stop will contact. Stub - LX torrie, Disc - P76 supplied and modified by Hopper Stoppers with HQ caliper and adapter.
EK283 wrote:Hey,
Ratbox its just practice and you could use your cool sunnies
Have a question for both of you guys.
Do the cars the front end come off have power steering???
Room for adjusting things on the car smart man.
Gary keep it up its looking sharp
Regards Greg
Greg, it is a manual rack on the frontend, TE cortina Power steering rack "almost" fits straight in, very minor work required.
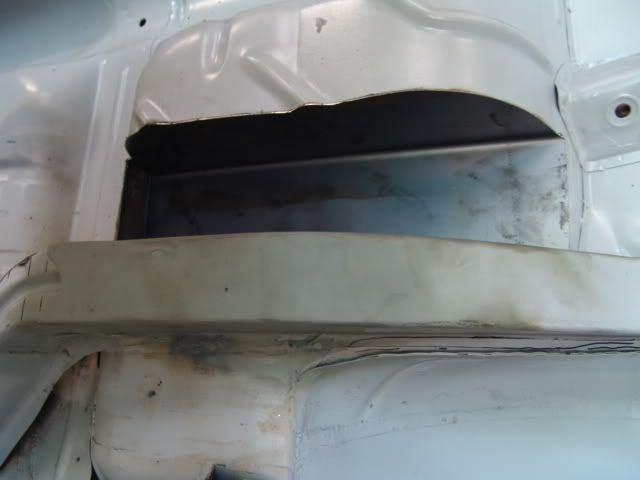
To adjust the wheel alignment it is necessary to open the inner guard, will post a pic of this later when finished.