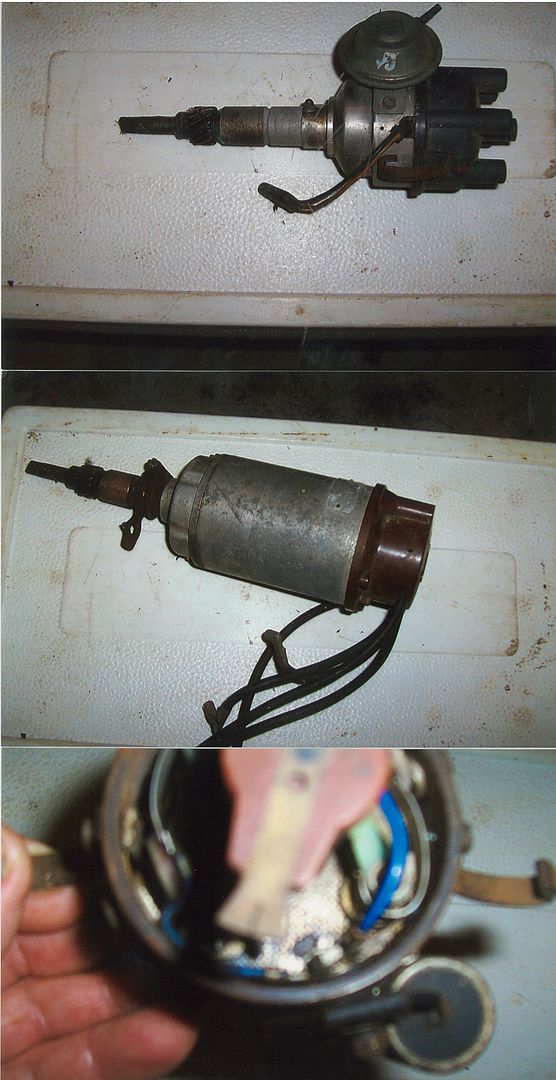
As part of my magneto learning, I’m going to do some testing on early Holden ignition systems, and compare them against each other under load. It will take me a while to get this project rolling, but as I do I’ll post the learnings here.
So far the lists of tests I want to do are:
a) standard Holden grey motor Kettering ignition system (either Bosch or Lucas) – distributor and coil. Mechanical advance only.
b) standard Holden grey motor Kettering ignition system with coil replaced by a Bosch GT40 coil.
c) Scintilla Vertex NV6 magneto with fixed advance.
d) Scintilla Vertex NV6 magneto with mechanical advance.
e) Red motor Scorcher ignition – standard Holden coil.
f) Petronix Ignitor I (model 1864A) electronic ignition system – standard Holden coil.
g) Petronix Ignitor I (model 1864A) electronic ignition system with Petronix Flamethrower 40,000V coil (3Ω, 12V part number 5903: 40501 for chrome or 5905: 40511 for black).
h) Mallory Double-Life model YC476HP dual point distributor to suit Holden grey motor – standard Holden coil.
i) Mallory dual point distributor to suit Holden red motor (part number 2562701… Mallory still make these as 2362701) – standard Holden coil.
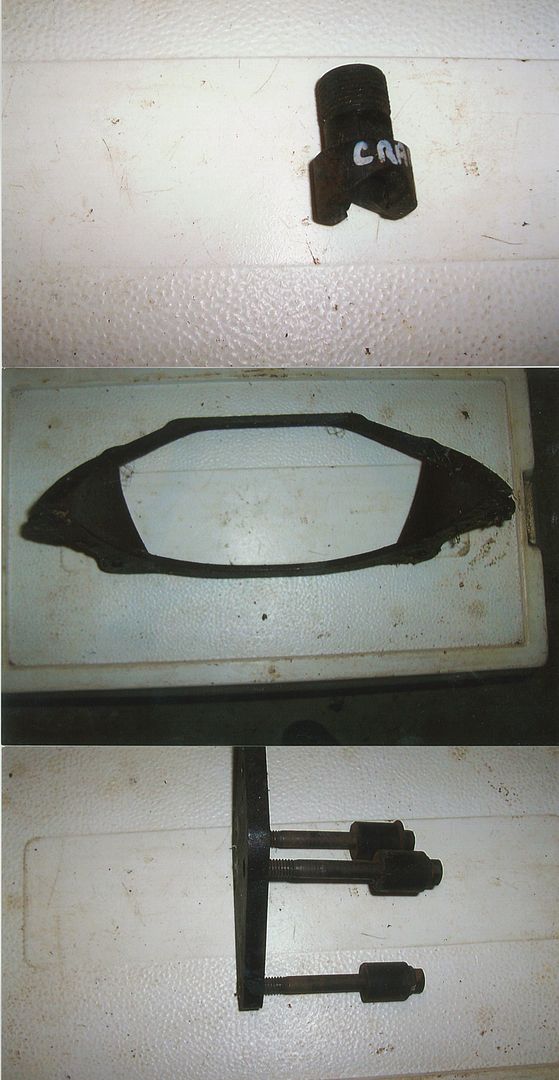
For the curious, I will take a Holden camshaft (or at least the area around the distributor drive gear), and machine down the 4-6” of cam to make a shank that that will fit into a drill chuck (with thanks to the gentlemen volunteering both cams and machining - appreciated). Some learning so far shows that the drive gear for a grey and red/black dizzy is near identical (the later ones are just wider than the grey moror). I will fit the shank into a right-angle driver, and put the driver onto my drill press. This will give me a drive gear running horizontally. I’ll jig up a grey (or red) motor dizzy so that I end up with my drill press running the dizzy in the normal vertical position. By changing the drill-press belt configuration between tests, the drill press allows for the following speeds (remember that dizzy speed is half crankshaft speed):
Distributor Crankshaft
160 320
195 390
290 580
310 620
420 840
470 940
490 980
610 1220
680 1360
740 1480
765 1530
1490 2980
1550 3100
2350 4700
2410 4820
3645 7290
12V power supply is taken from a standard car battery. The secondary ignition system is connected to six spark plugs mounted in a metal rack, earthed back to the battery. Distributor speed is monitored by a hand-held digital tachometer. Coil temperature is monitored via a hand-held infrared thermometer.
Now for the cool bit. I managed to lay my hands on an oscilloscope (with many thanks to the gentleman who sorted it out). The kids think I’m setting up a secret lab. This will measure some 0-600V and 4-10A on the primary side. I’m looking for peak voltage as a reflection of primary circuit capacity (higher voltage = more ability to provide higher voltage in secondary circuit). Also looking for evidence of lower primary voltage at higher distributor speeds (insufficient coil charge time). Tests to be conducted over a period of time until coil temperature stabilises, and both initial and final test values compared to evidence the effect of heat soak and increased primary winding resistance.
I need to do some more homework, but with some jiggery pokery I should also be able to measure the secondary side (60kV and 10-100mA). I really want to measure the secondary current too. Looking for peak voltage as an indicator of the ability of the secondary circuit to ionise “difficult” air/fuel mixtures. Looking to measure spark duration as opinions vary as to whether a long or short spark is better. Looking to calculate ignition energy (volts x amps x time) as a measure of the overall energy put into the air/fuel mix.
After three weeks of mucking around with JayCar, I now have a set of probes for the oscilloscope. Still got a lot of reading and understanding to do on the oscilloscope side.
Now to teach y’all some Sciencey stuff. Time to learn about Pashchen (and no, not the kind of Pashchen you find in the back of panelvans).
In the late 1800’s, Pashchen discovered that as the pressure surrounding an electrode increases, or the electrode gap increases, so too does the voltage needed to fire the gap. At low pressures, the voltage does some funky stuff that keeps engineers awake at nights

. At higher pressures, the voltage is a lot easier to predict. Luckily for us, spark plug operating conditions are in this “normal” area. For our trusty sparkplug, the voltage needed to make the spark jump is proportional to the product of the cylinder pressure and gap length
i.e. voltage α (pressure x plug gap)
So what does this mean for our magneto testing? Instead of taking our maggie and making it spark inside a hottie grey motor cylinder at 200psi, I’m going to make it’s life easier and let it zap away at ambient pressure (14psi). Because I’ve reduced the pressure by 93%, the voltage the magneto needs to produce on the test bench is only 7% of what it would need in a grey motor. This is one of the reasons that ignition system sparks look so massive on a test bench… they are a hell of a lot tamer when they are squeezed into cylinder pressure.
To make the testing realistic, we need to load the magneto up on the test bench. Remembering our Pashchen’s Law, we can compensate for the low pressure by increasing the plug gap. The Vertex Magneto Instruction Manual suggests testing at a plug gap of 0.3125, whereas a normal magneto plug gap is around 0.020”. For our grey motor maggie, changing from a 200psi cylinder and a 0.020” plug gap to an atmospheric test bench and 0.3125” plug gap means that the voltage required (14x0.3125÷214÷0.020) is 102% of that required in a normal running engine (i.e. increasing the plug gap will load up the ignition system almost exactly like normal).
So for our monster gapped (0.3125”) plugs, I’m planning on running standard (late) grey motor candles – NGK BP5S. I could use the earlier grey motor BP4’s, but I figure once the testing is done the BP5S’s will end up in the FB anyway. I’ve taken a foot or so of 1.5”x1.5” angle iron, drilled it out for the candles and tapped the holes to M14x1.25 (remind not to buy a cheapo tap next time).
Cheers,
Dr FrankenHarv.


