Page 20 of 45
Re: Ol' Rusty - FB/EK Sedan
Posted: Mon Aug 16, 2021 11:22 am
by Errol62
Nyzewerk
Spatter burnt a hole in my ear drum but healed up eventually, what? Friend got big bit in his ear which burned down through osophegus and ended up in his stomach. Had to drive himself to hospital as he was working back on a Saturday.
FB ute driver, EK van project
Re: Ol' Rusty - FB/EK Sedan
Posted: Mon Aug 16, 2021 12:26 pm
by Brett027
You're all sooks. I use it to keep ear and nose hair trim and tidy

Re: Ol' Rusty - FB/EK Sedan
Posted: Mon Aug 16, 2021 1:04 pm
by funkyscooter
Clay, I think it was your story that freaked me out!
Re: Ol' Rusty - FB/EK Sedan
Posted: Mon Aug 16, 2021 2:12 pm
by In the Shed
Far out........ maybe a good thing I don’t have a mig welder (yet). Mind you could probably still happen with my oxy or arc welder

Re: Ol' Rusty - FB/EK Sedan
Posted: Tue Aug 17, 2021 1:17 pm
by funkyscooter
So before I go all crazy with the welder, what holes on the battery side of the subframe should I keep. Battery is in the boot. Only ones I can think of are the two for the headlight terminal block. Tempted just to fill in the lot and re drill what I need, but if there are any obvious ones let me know


Scott
Re: Ol' Rusty - FB/EK Sedan
Posted: Tue Aug 17, 2021 1:27 pm
by Errol62
There should be only two or three for the wiring clips as far as I am aware, and speedo cable clip. Large holes at front for headlight tails of course.
FB ute driver, EK van project
Re: Ol' Rusty - FB/EK Sedan
Posted: Tue Aug 17, 2021 2:30 pm
by funkyscooter
Thanks Clay. Not after concourse - just keep the obvious to save doing anything unnecessary and close up the rest
Scott
Re: Ol' Rusty - FB/EK Sedan
Posted: Tue Aug 17, 2021 4:44 pm
by Blacky
If you run your wiring up under the guard you wont need any - I have done this with the rattler, drill a hole through to under the dash in firewall and run your headlight, parklight and horn wiring under the guard, I put longer bolts in the guard bolts and used P clips and nuts to support the cable.
Re: Ol' Rusty - FB/EK Sedan
Posted: Tue Aug 17, 2021 6:00 pm
by funkyscooter
Hey Blacky - love the hidden cable idea but hadn't thought very hard about how to rout. Had some crazy idea of running a box down the outside of the firewall on each side to run cables and fresh air from the front of the car. Then delete the plenum

P clips sound a whole lot easier for the cables. And the plenum is half fixed so that can stay too.
Re: Ol' Rusty - FB/EK Sedan
Posted: Fri Aug 20, 2021 7:30 pm
by funkyscooter
So working my way round the subframe and came to this. The first wing I repaired.

Thems some blobbing bits I just had to get rid of. Hour and a bit of grinding and welding some holes.

Now it matches the other side.
Scott
Re: Ol' Rusty - FB/EK Sedan
Posted: Fri Aug 20, 2021 7:38 pm
by Errol62
Project bell curve Scott. You make a start but then skills and expectations increase. When you get near the conclusion you start cutting corners to get it finished. Well that’s my experience. Anyway it looks bloody perfect mate.
FB ute fixer upper, EK van on rotisserie
Re: Ol' Rusty - FB/EK Sedan
Posted: Fri Aug 20, 2021 10:01 pm
by FbSTDwagon
I know what you mean about the bolt holes on the tie member…
This ends just got cut off on mine and I welded some 3 mm plate on to match the correct width of the side sub frame, even got the holes in the right spot.
Had to also extend the tabs as I fabricated my side sine frames, had to make it all match up but it was a good result in the end.
Re: Ol' Rusty - FB/EK Sedan
Posted: Mon Sep 13, 2021 5:38 pm
by funkyscooter
Still working my way round the sub frame getting back to bare metal with the wire (nylon) wheel.
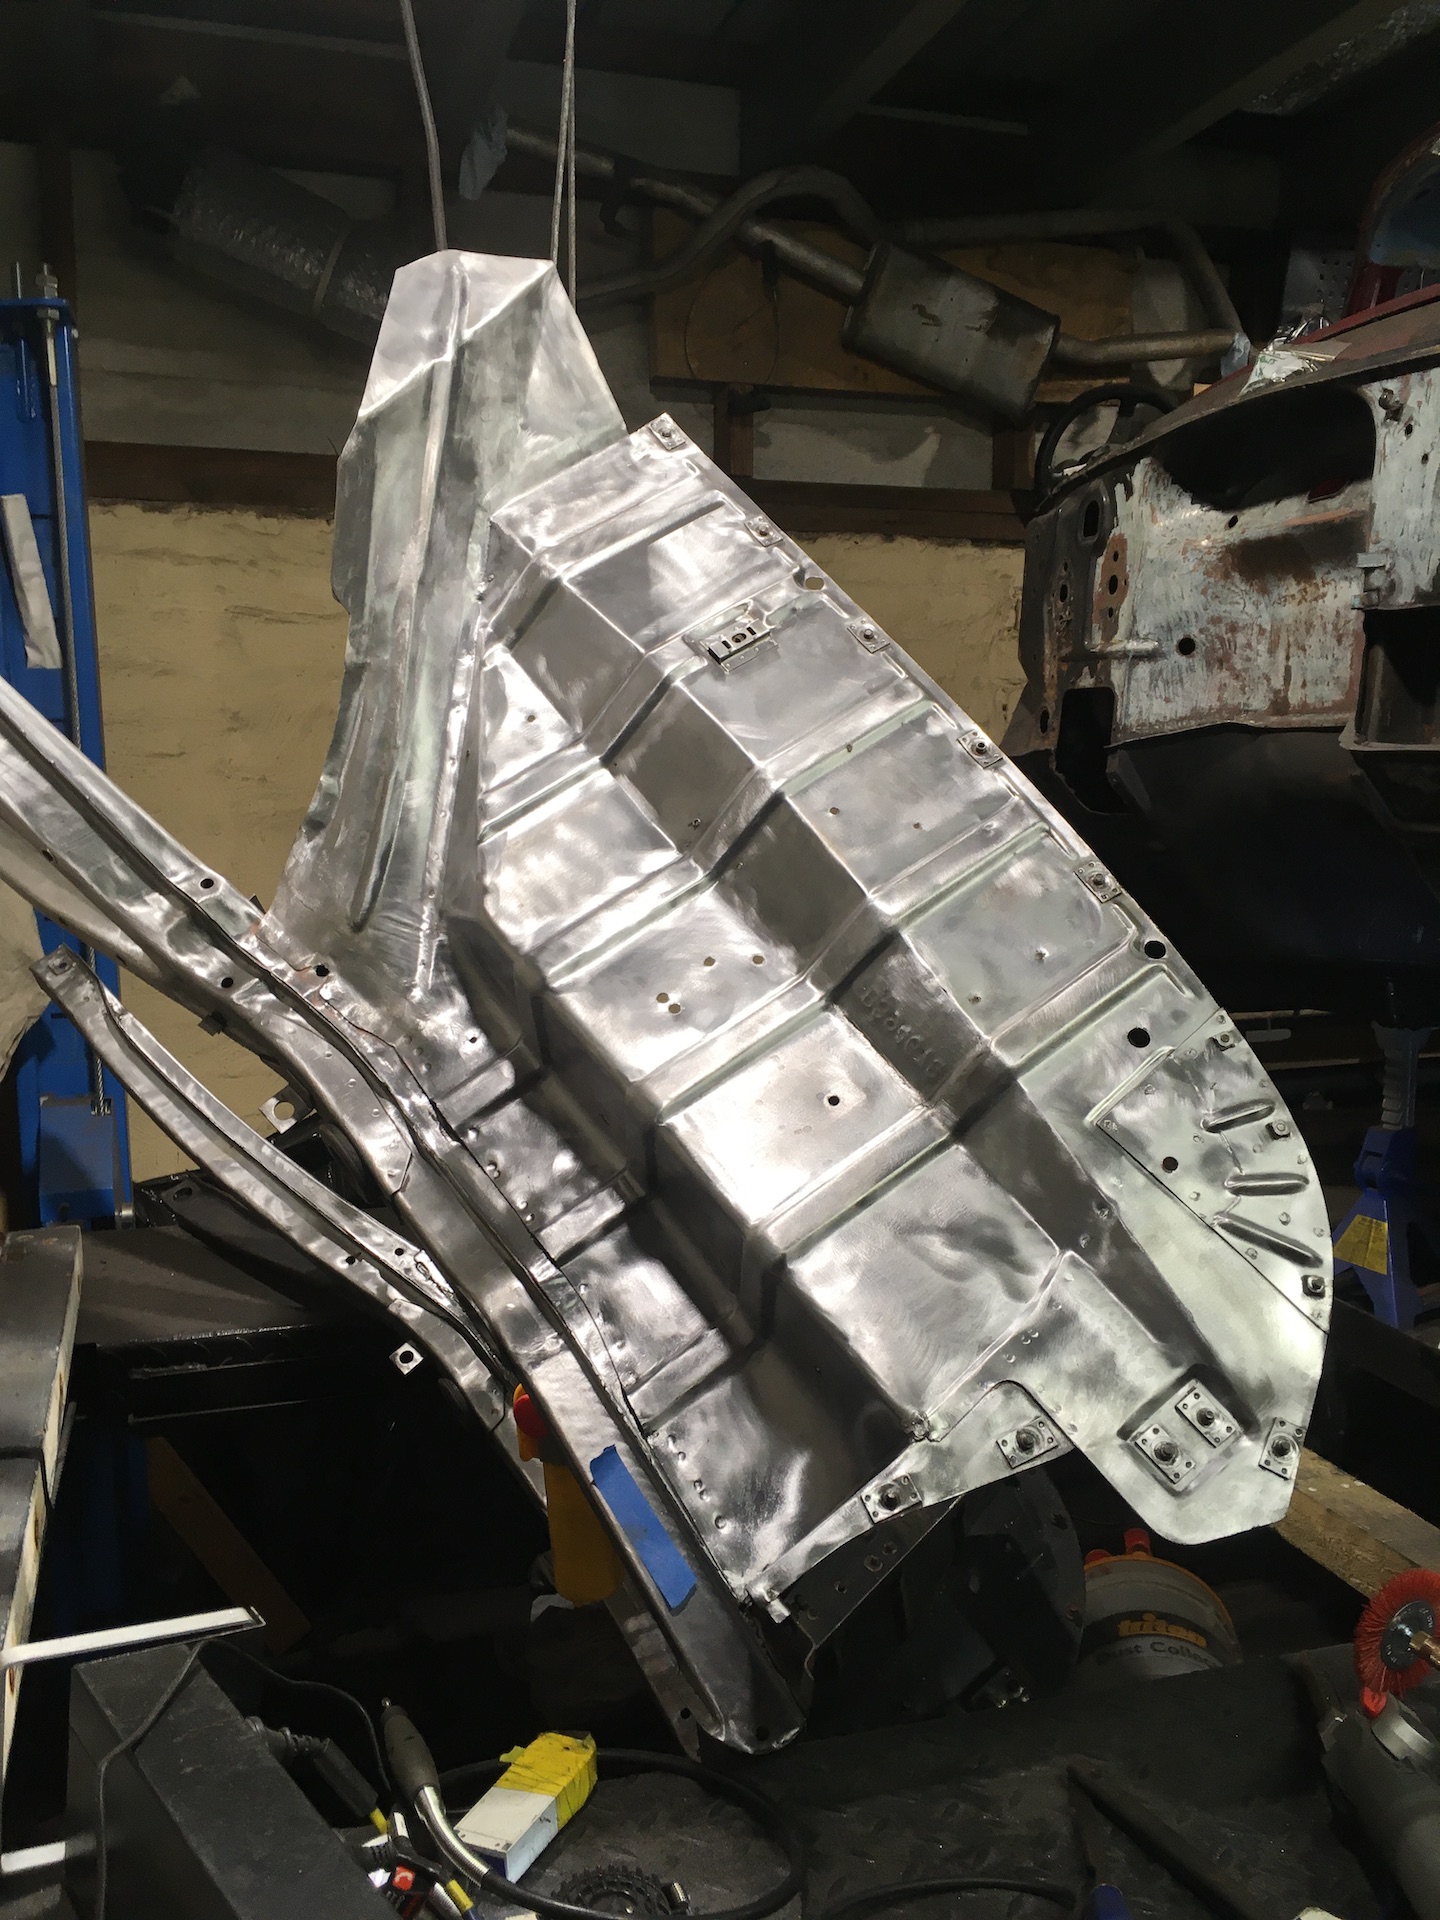
- IMG_8907.JPG (698.38 KiB) Viewed 966 times
Filled all the holes on the drivers side with weld. Then procrastinated for a bit with the area around the battery on the passenger side. There is a number of drill holes, and pitting around where I guess the battery tray would have been.
8956
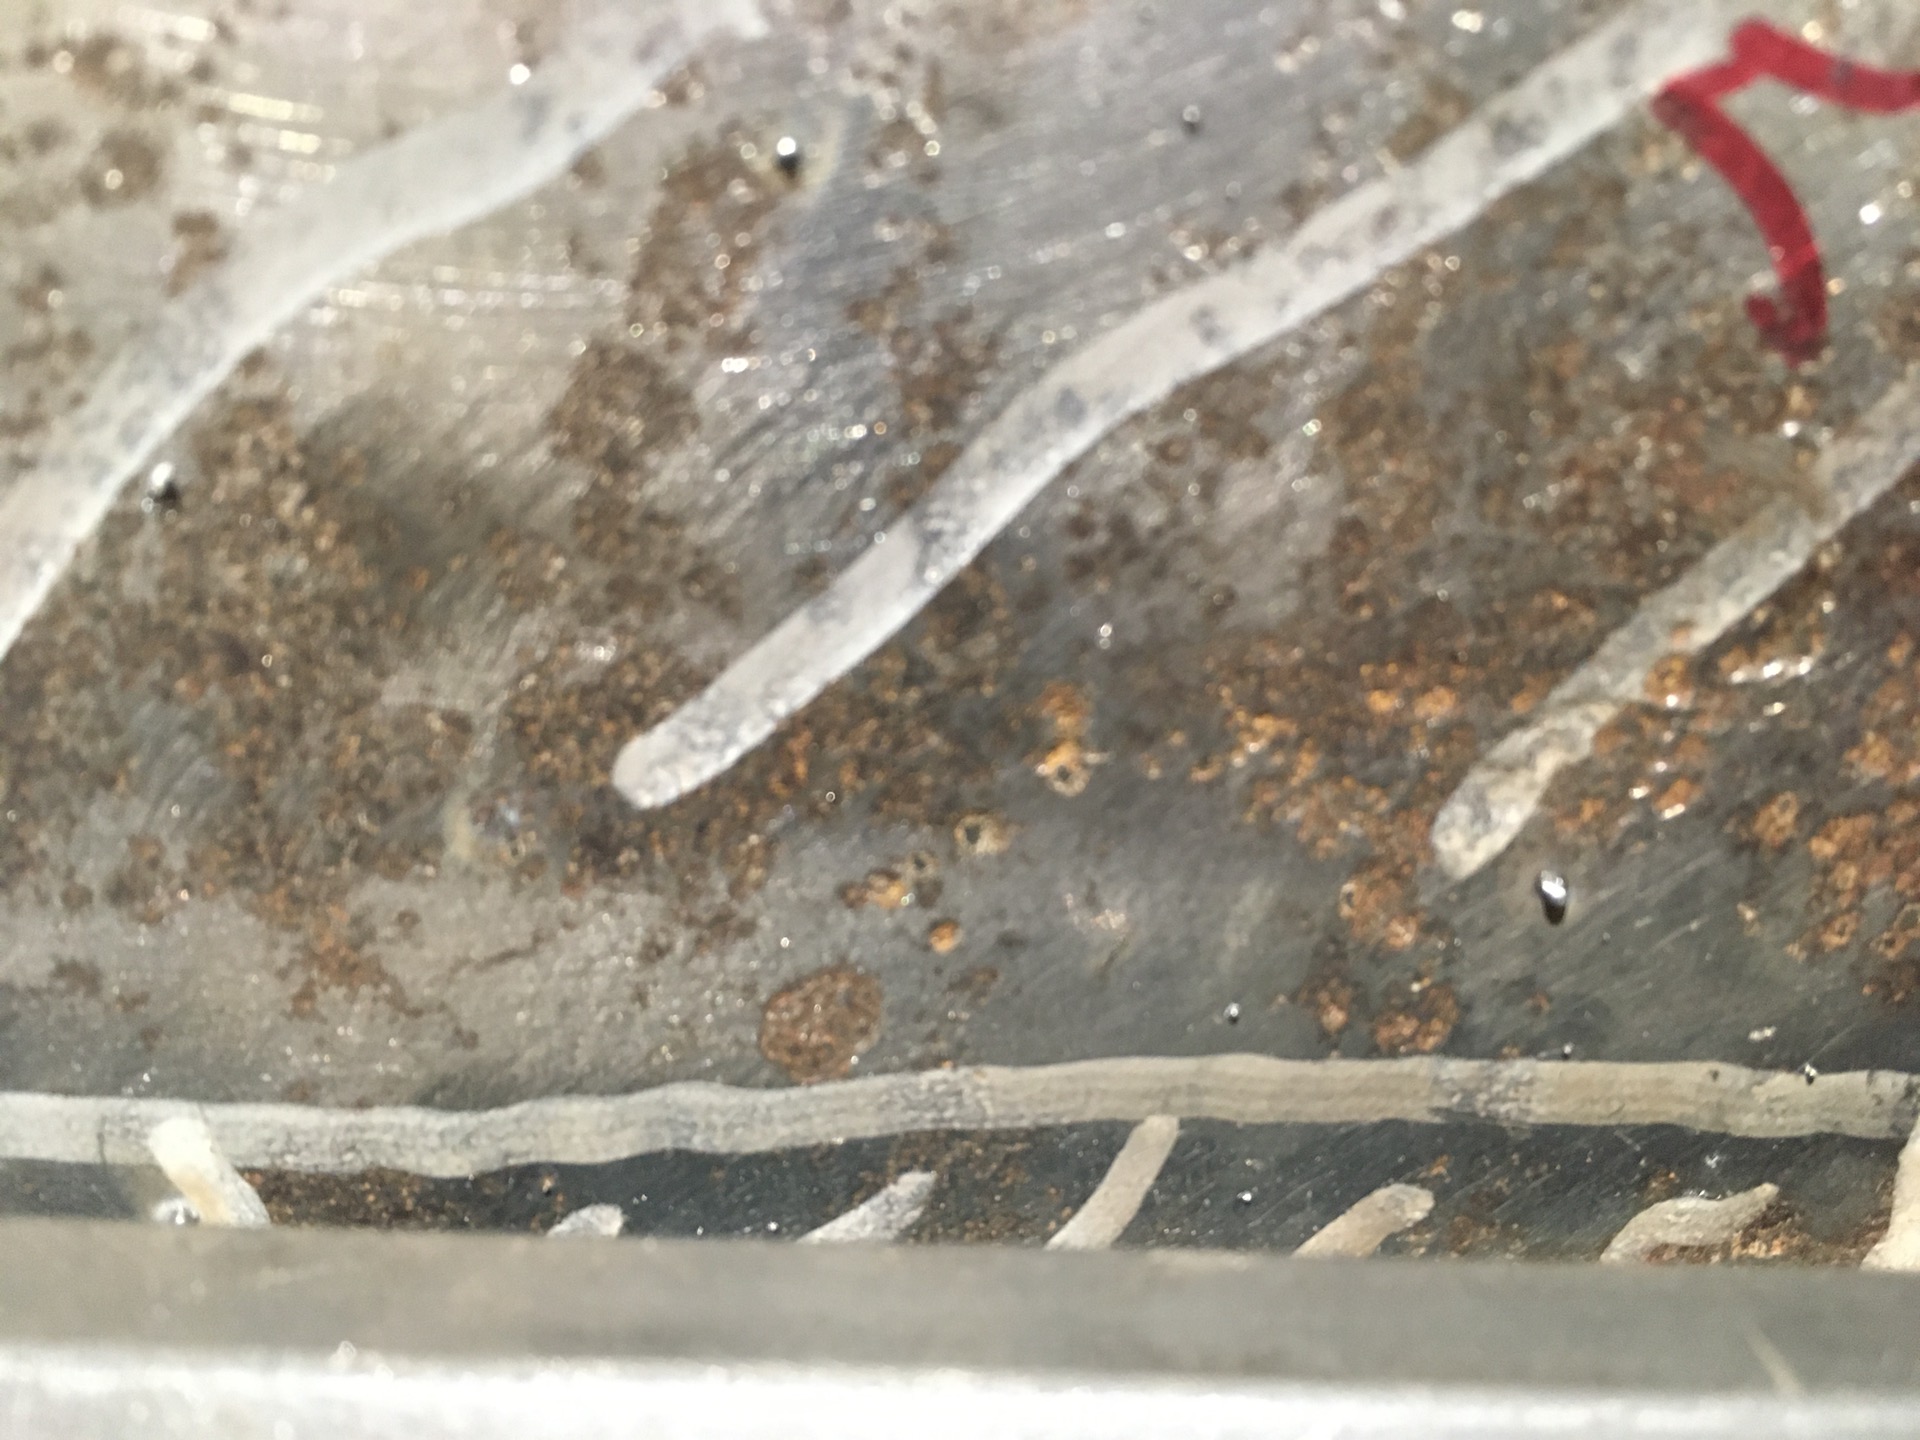
- IMG_8954.JPG (515.96 KiB) Viewed 966 times
It’s not the worst but I can see it starting to show on the other side in places.
There is also a drain hole and indents on the side for the battery that I wanted to delete. Figured I could never make such a complex shape, so I broke it down into many smaller challenges.
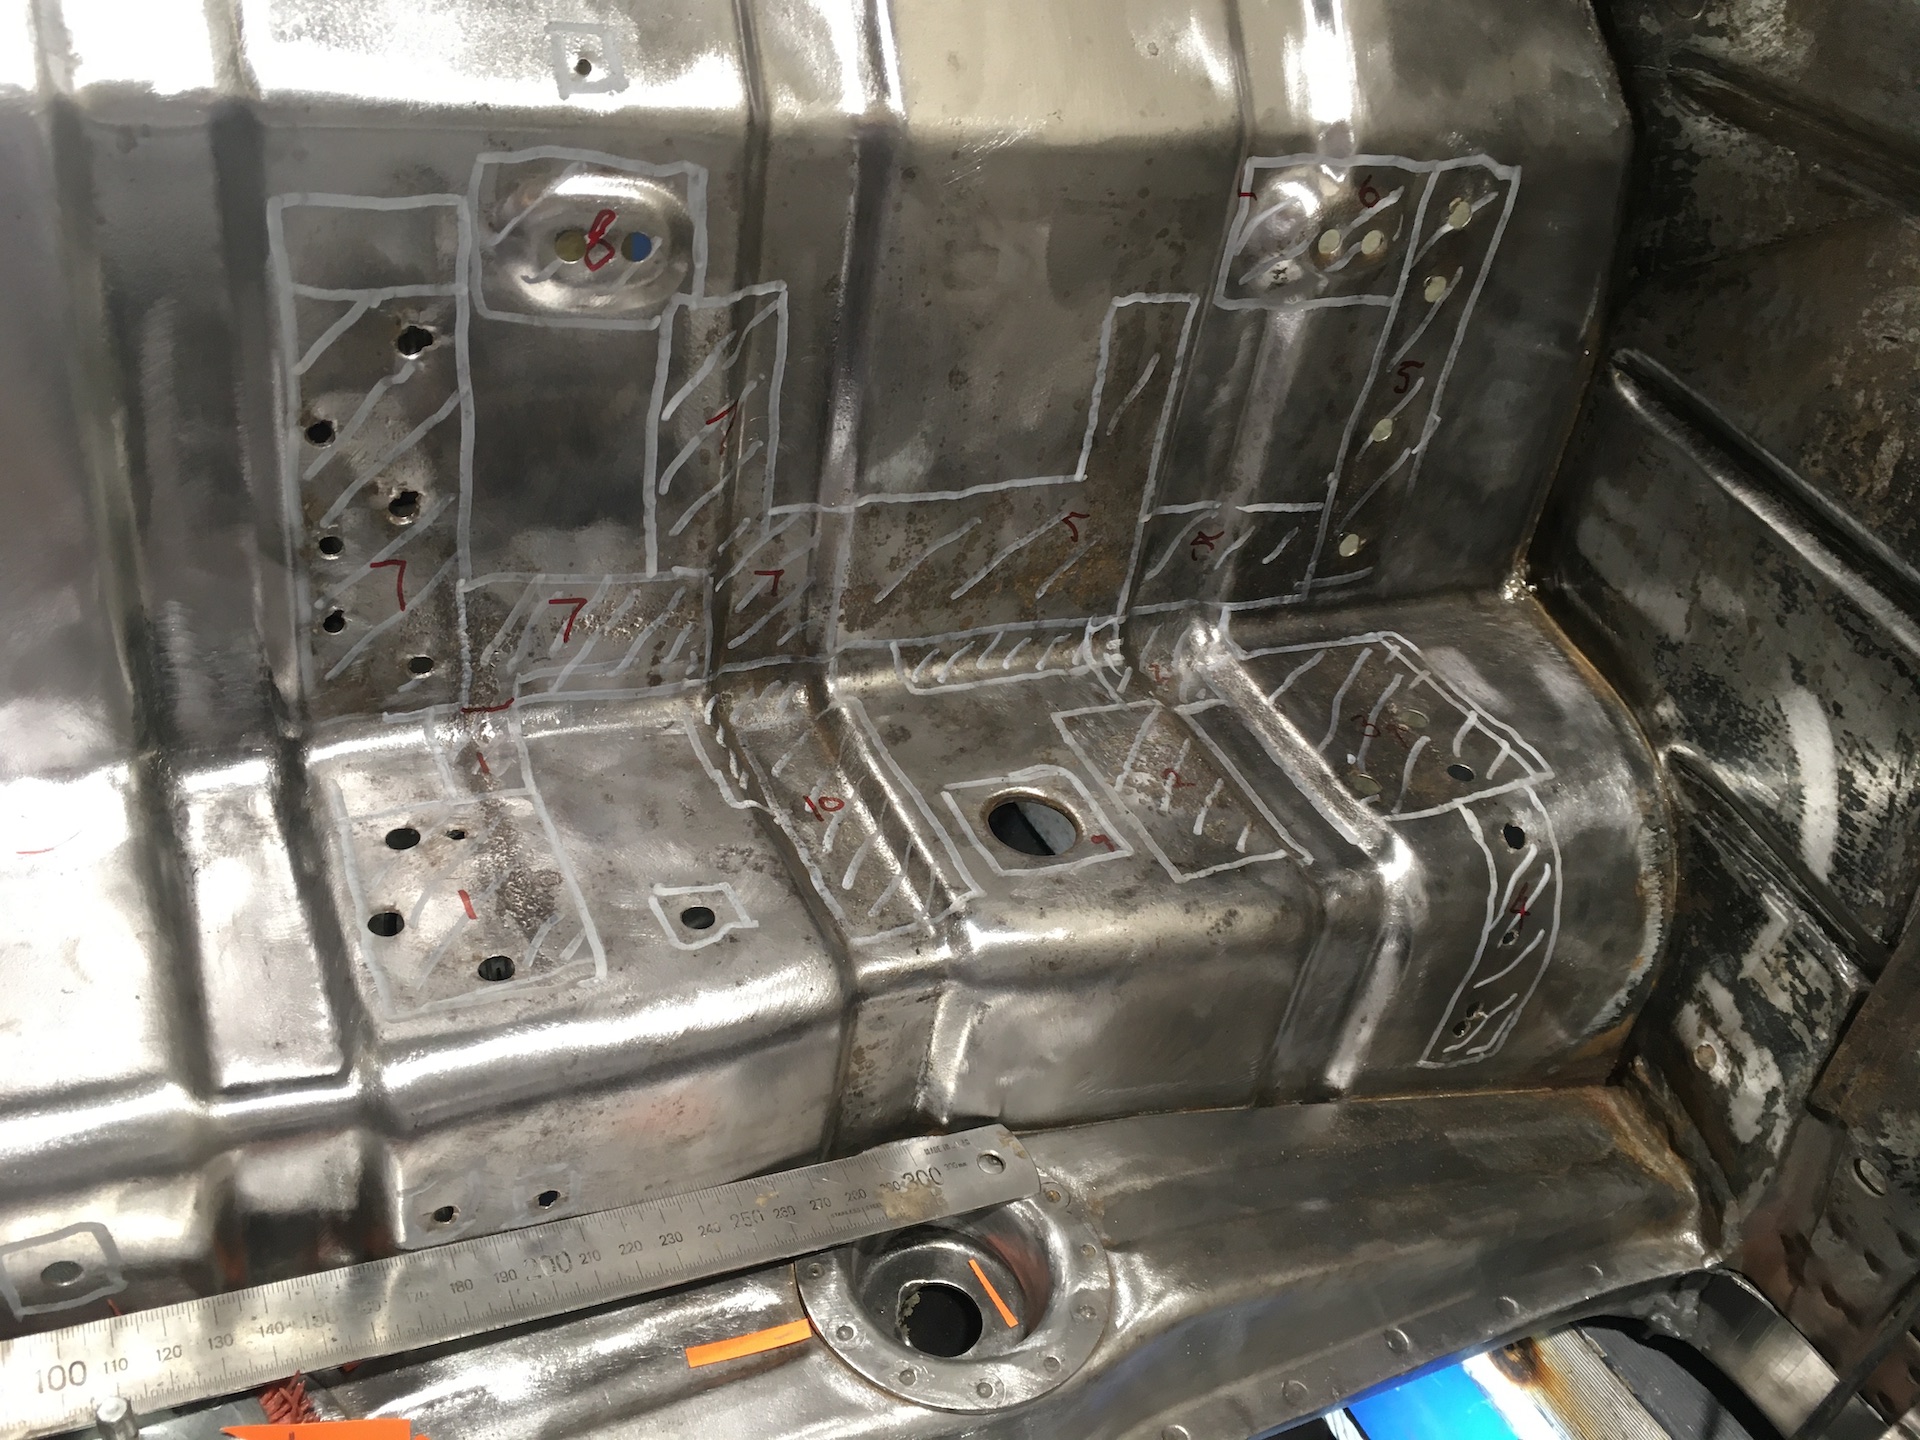
- IMG_8940.JPG (759.96 KiB) Viewed 966 times
Played a game of tetris
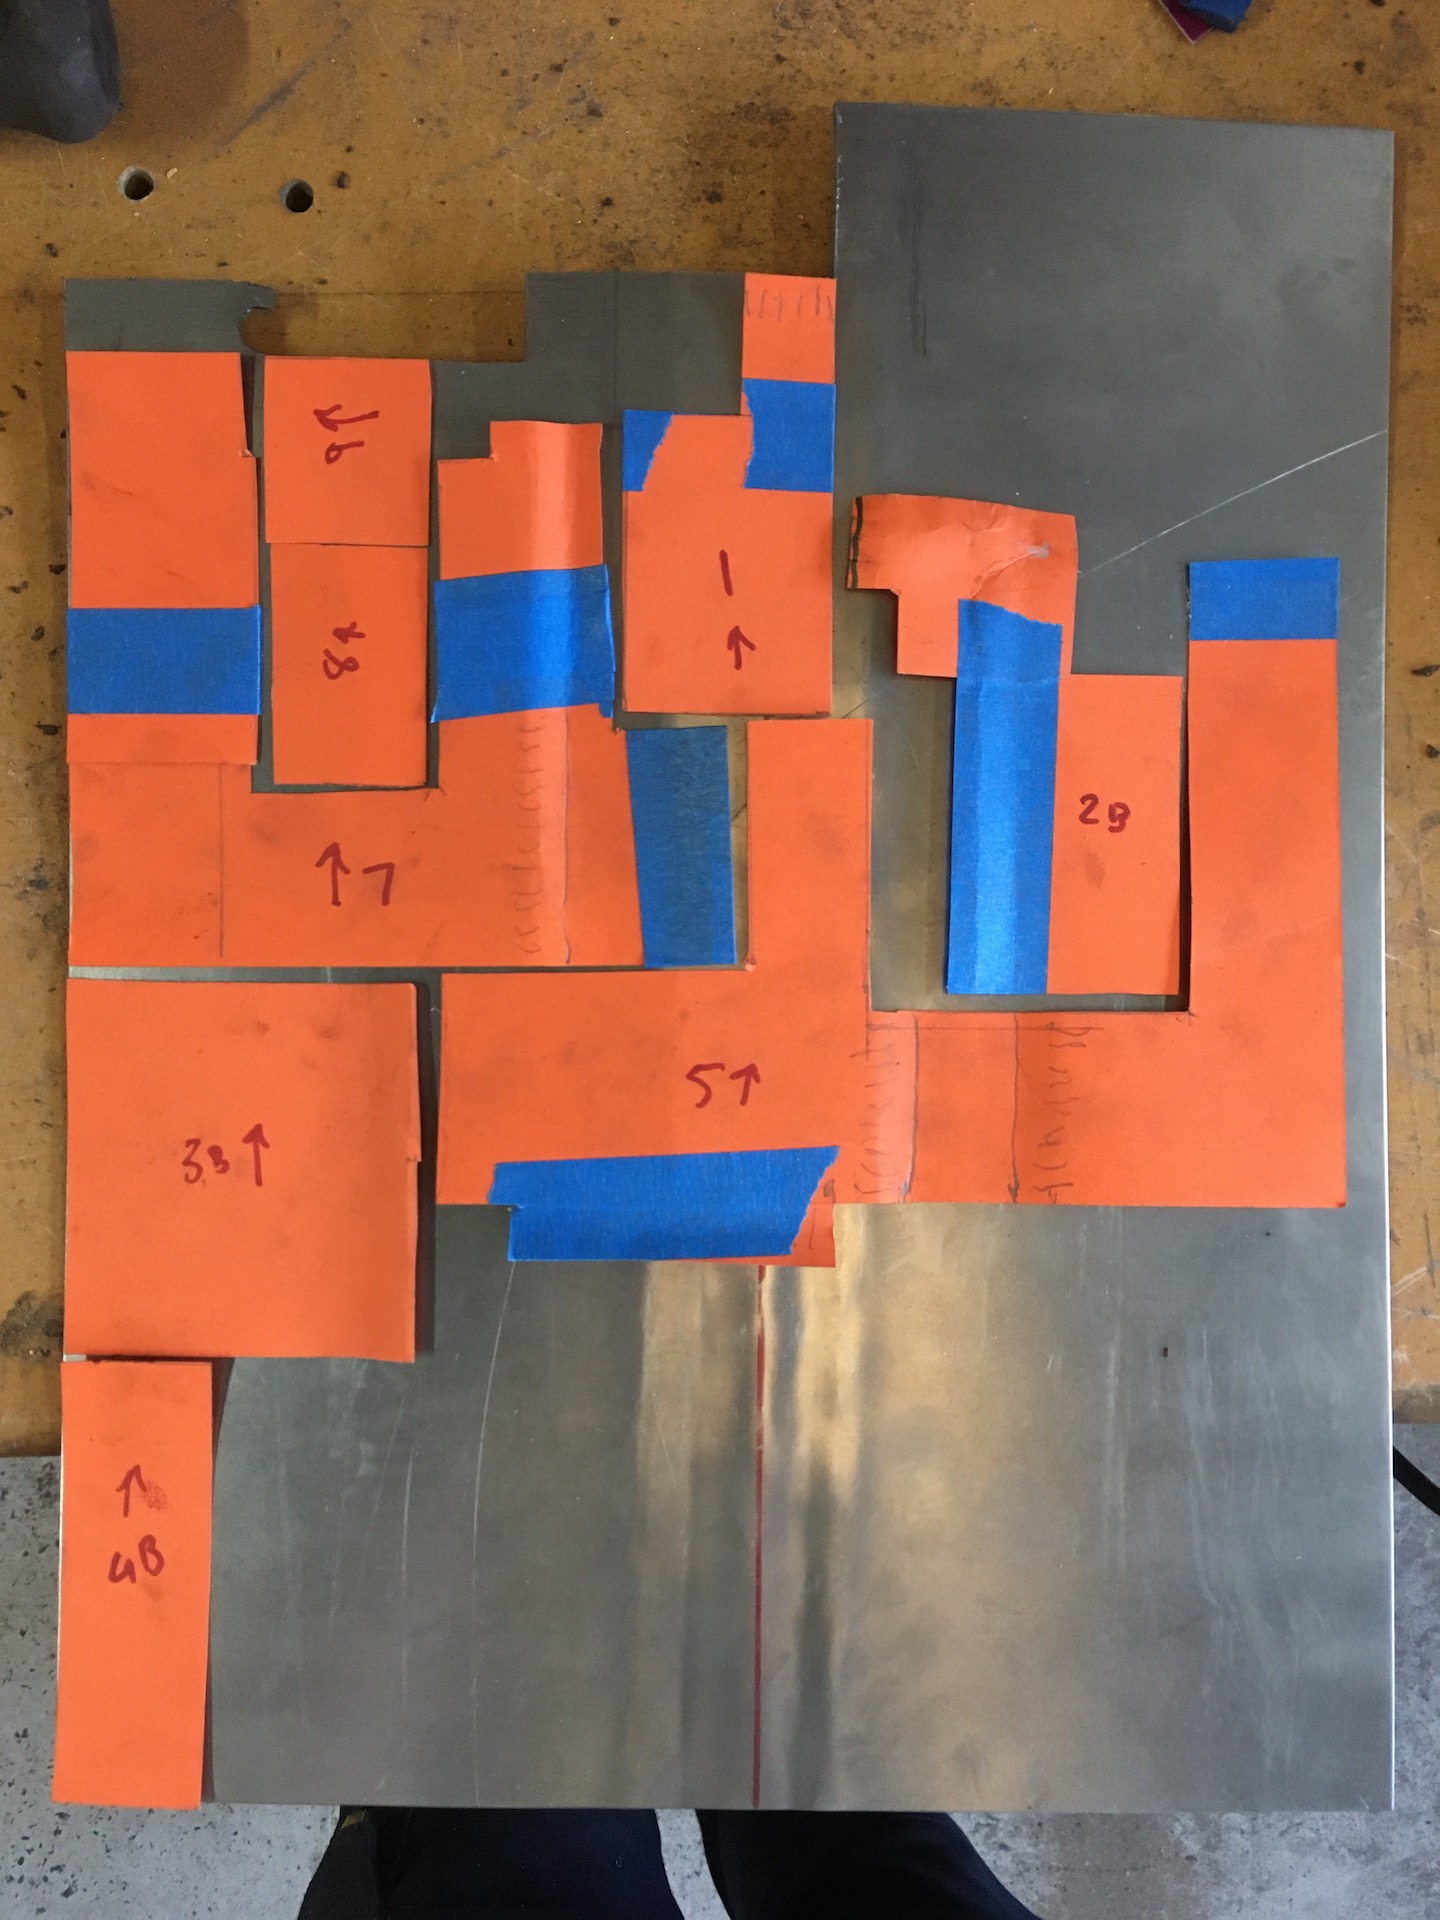
- IMG_8942.JPG (495.75 KiB) Viewed 966 times
Started forming and fitting. 1 piece at a time. Welding is a bit rough and now being punished as all that weld has to come back off with the grinder.
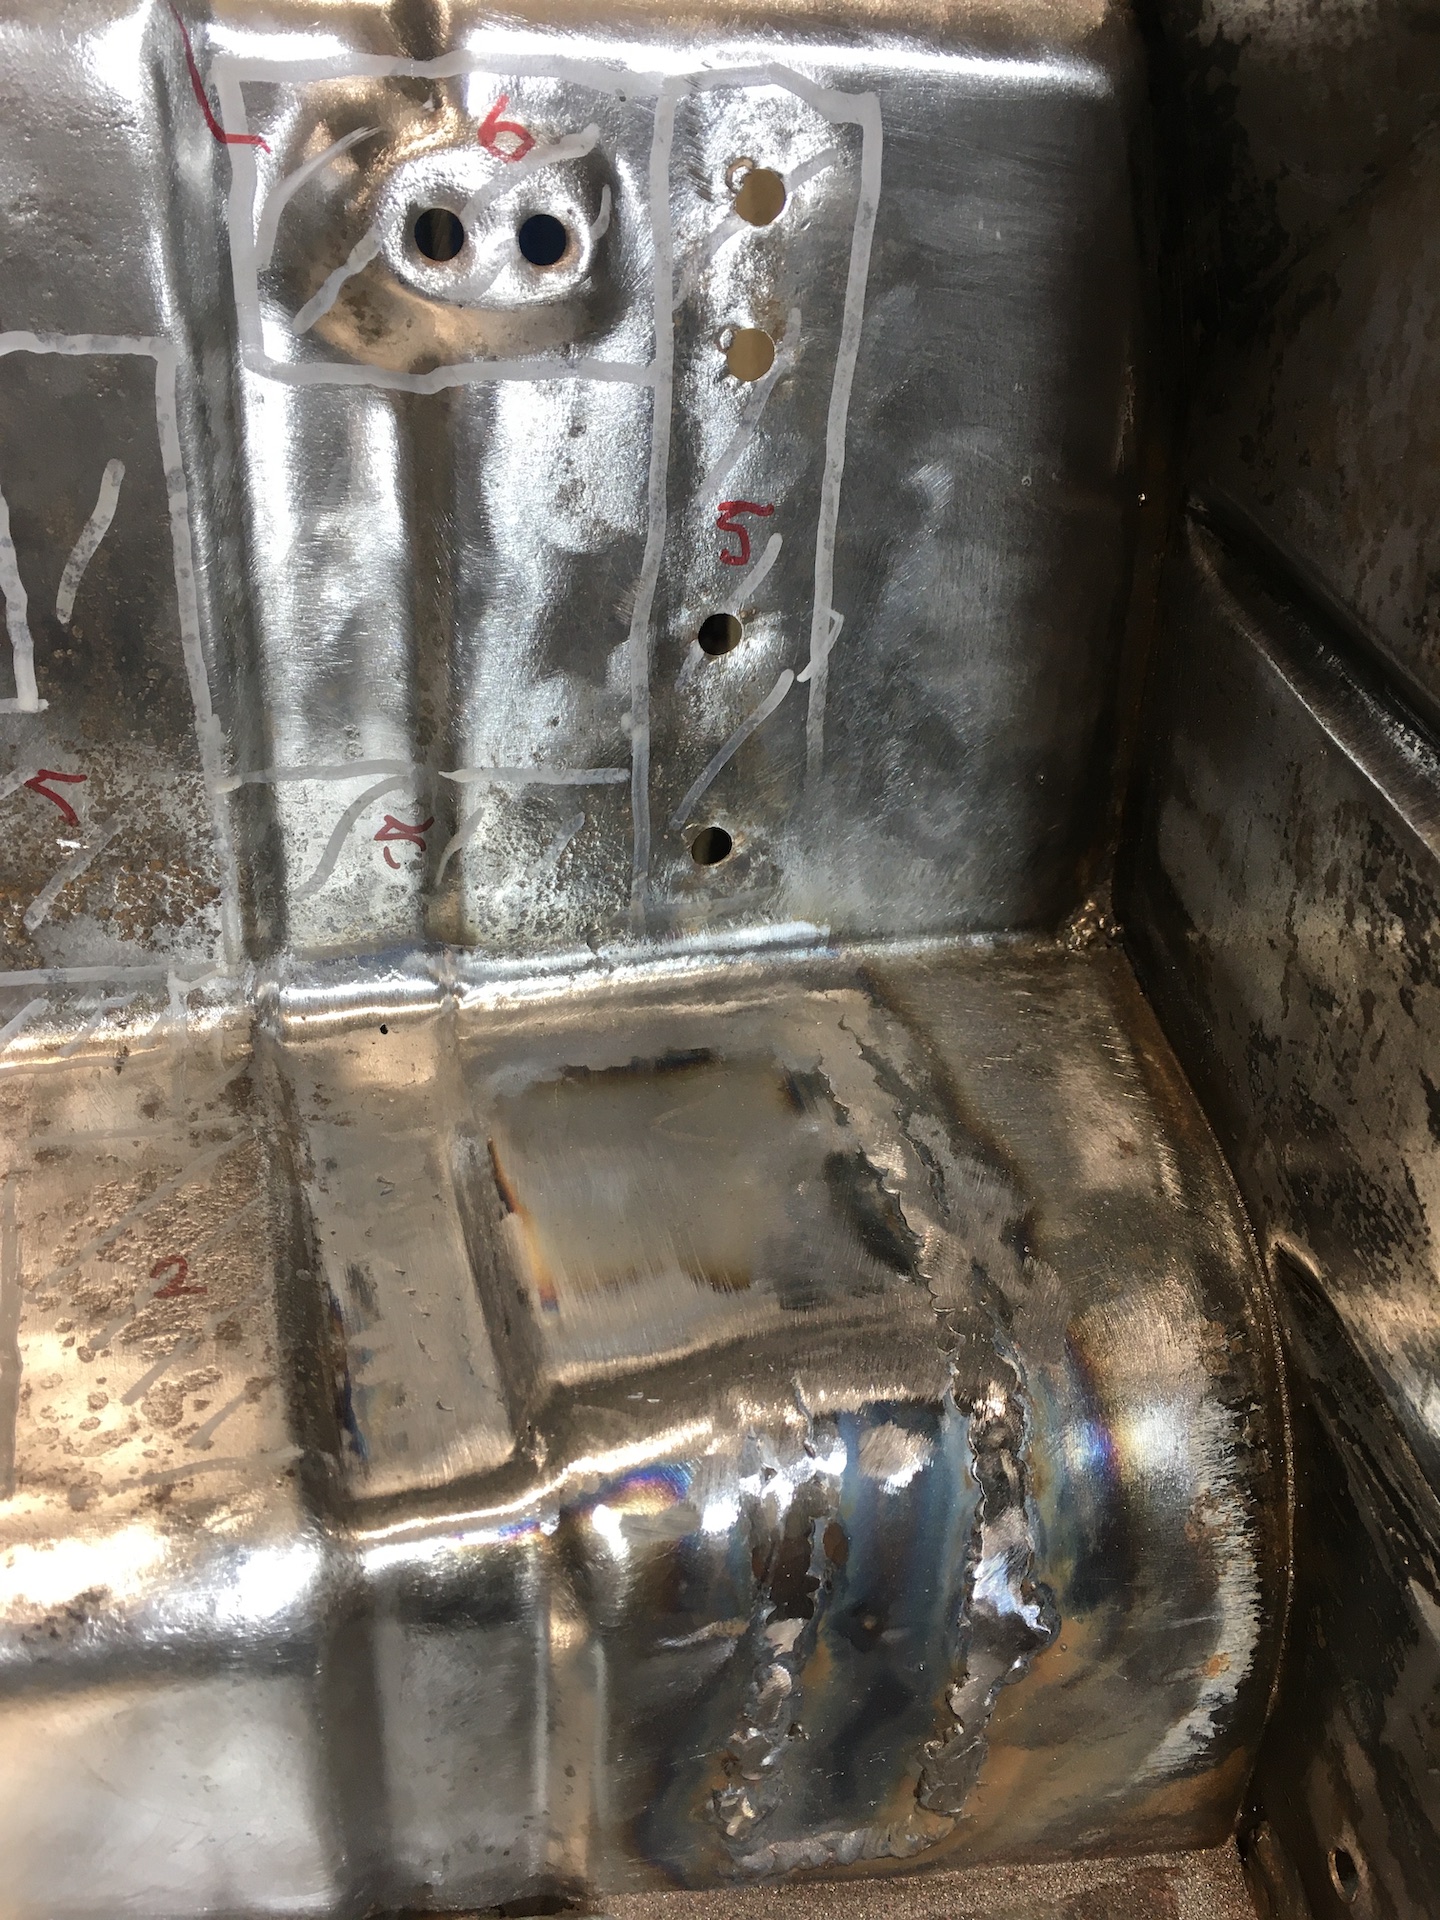
- IMG_8947.JPG (952.52 KiB) Viewed 966 times
The grinder gods punished me by seizing the bearing on my powerfile. Replacement from locked down Bunnings took a few day to sort.
Doing all the easy ones first
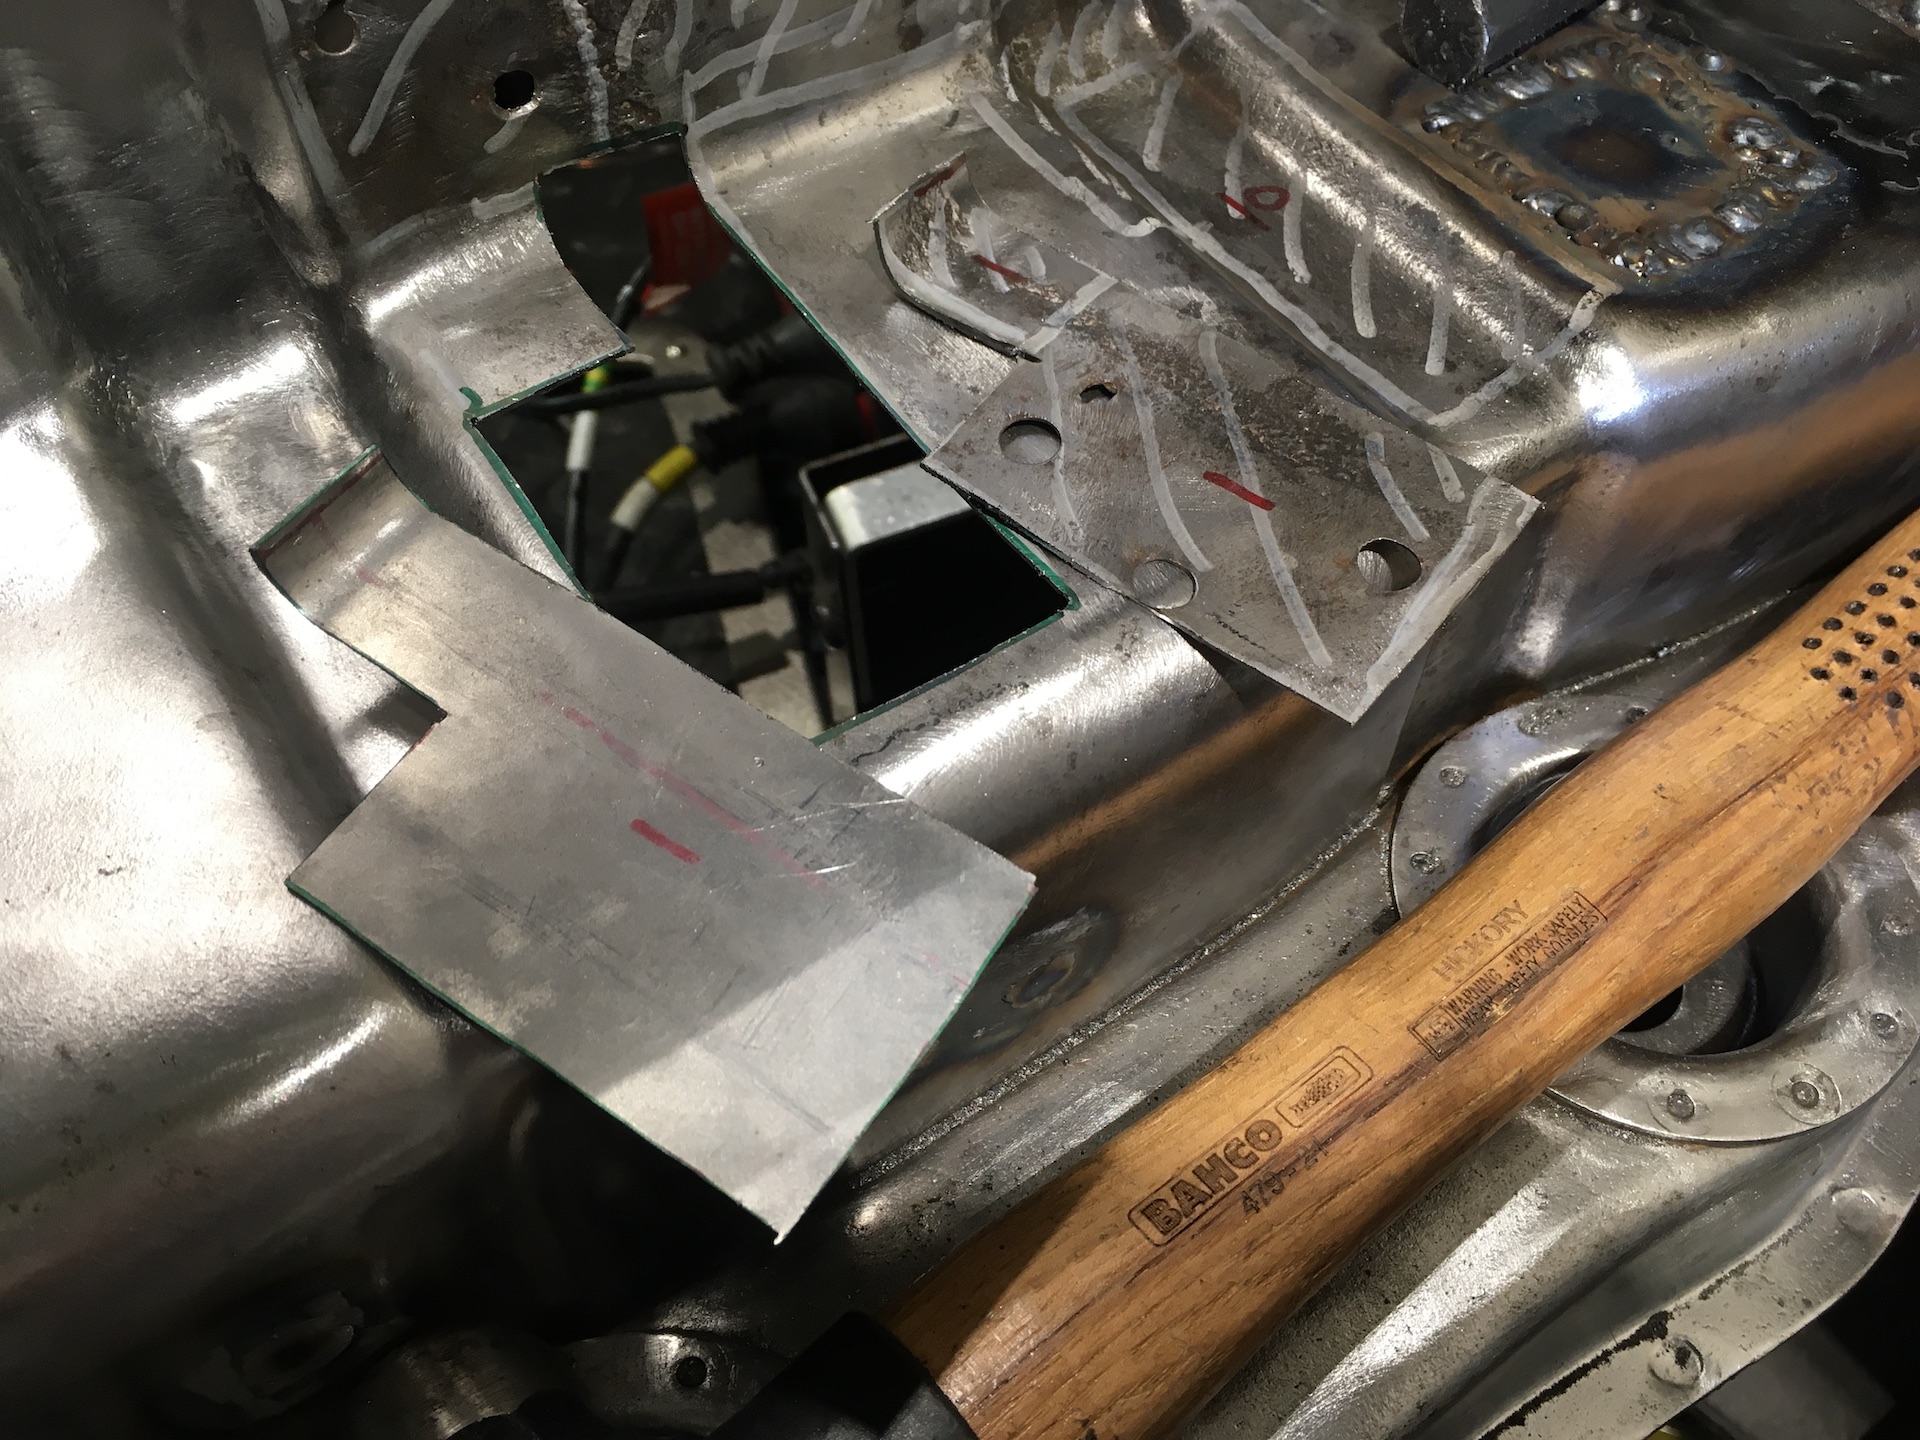
- IMG_8955.JPG (805.72 KiB) Viewed 966 times
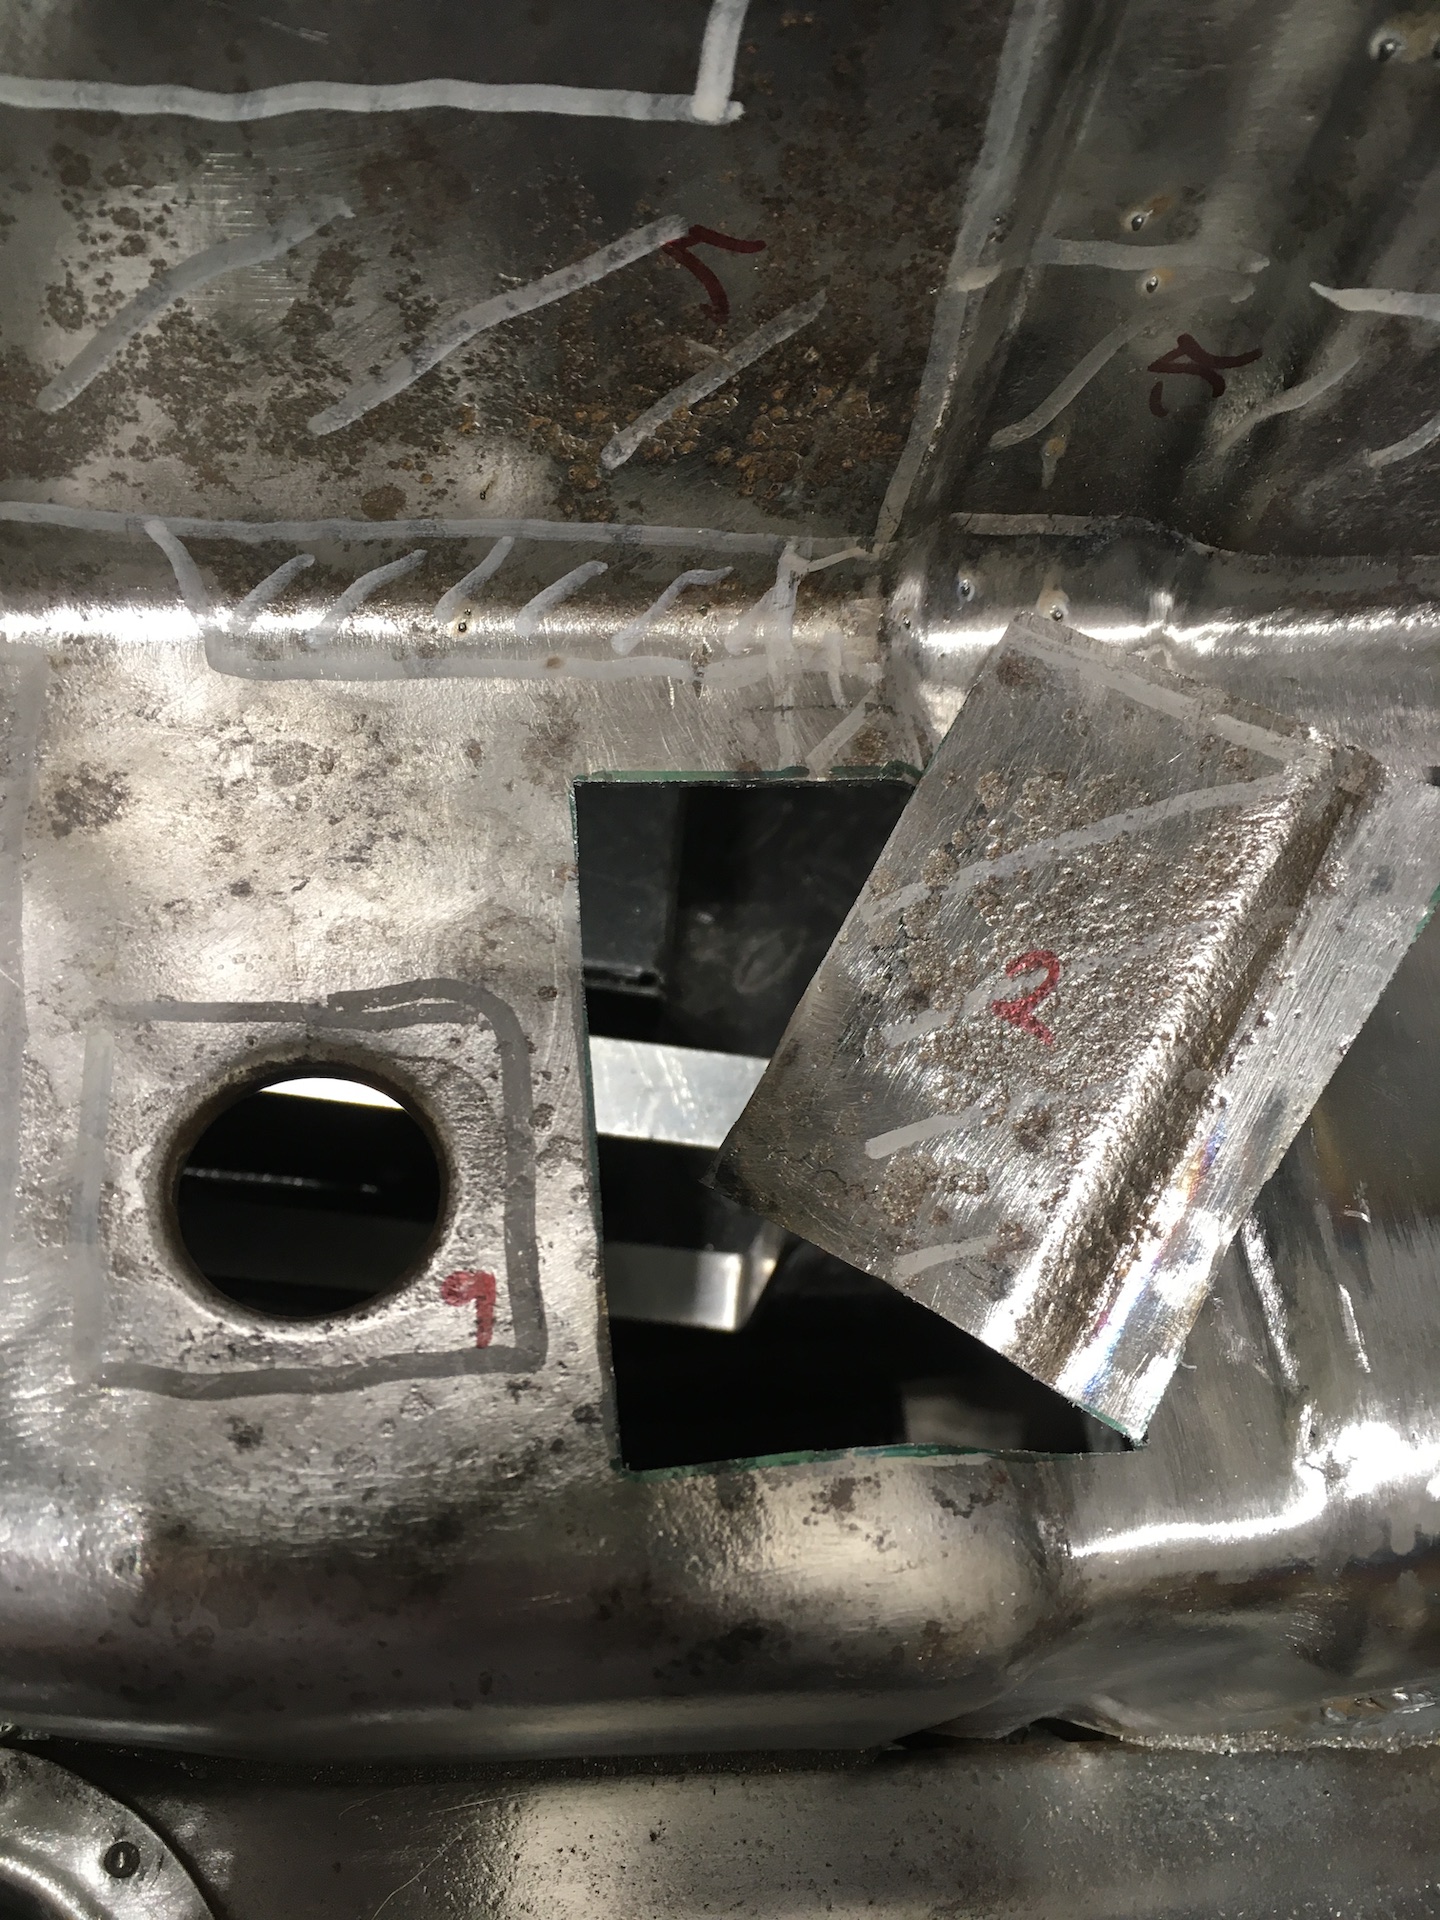
- IMG_8950.JPG (852.23 KiB) Viewed 966 times
About half way there for forming and welding. Then a day on the grinder to finish.
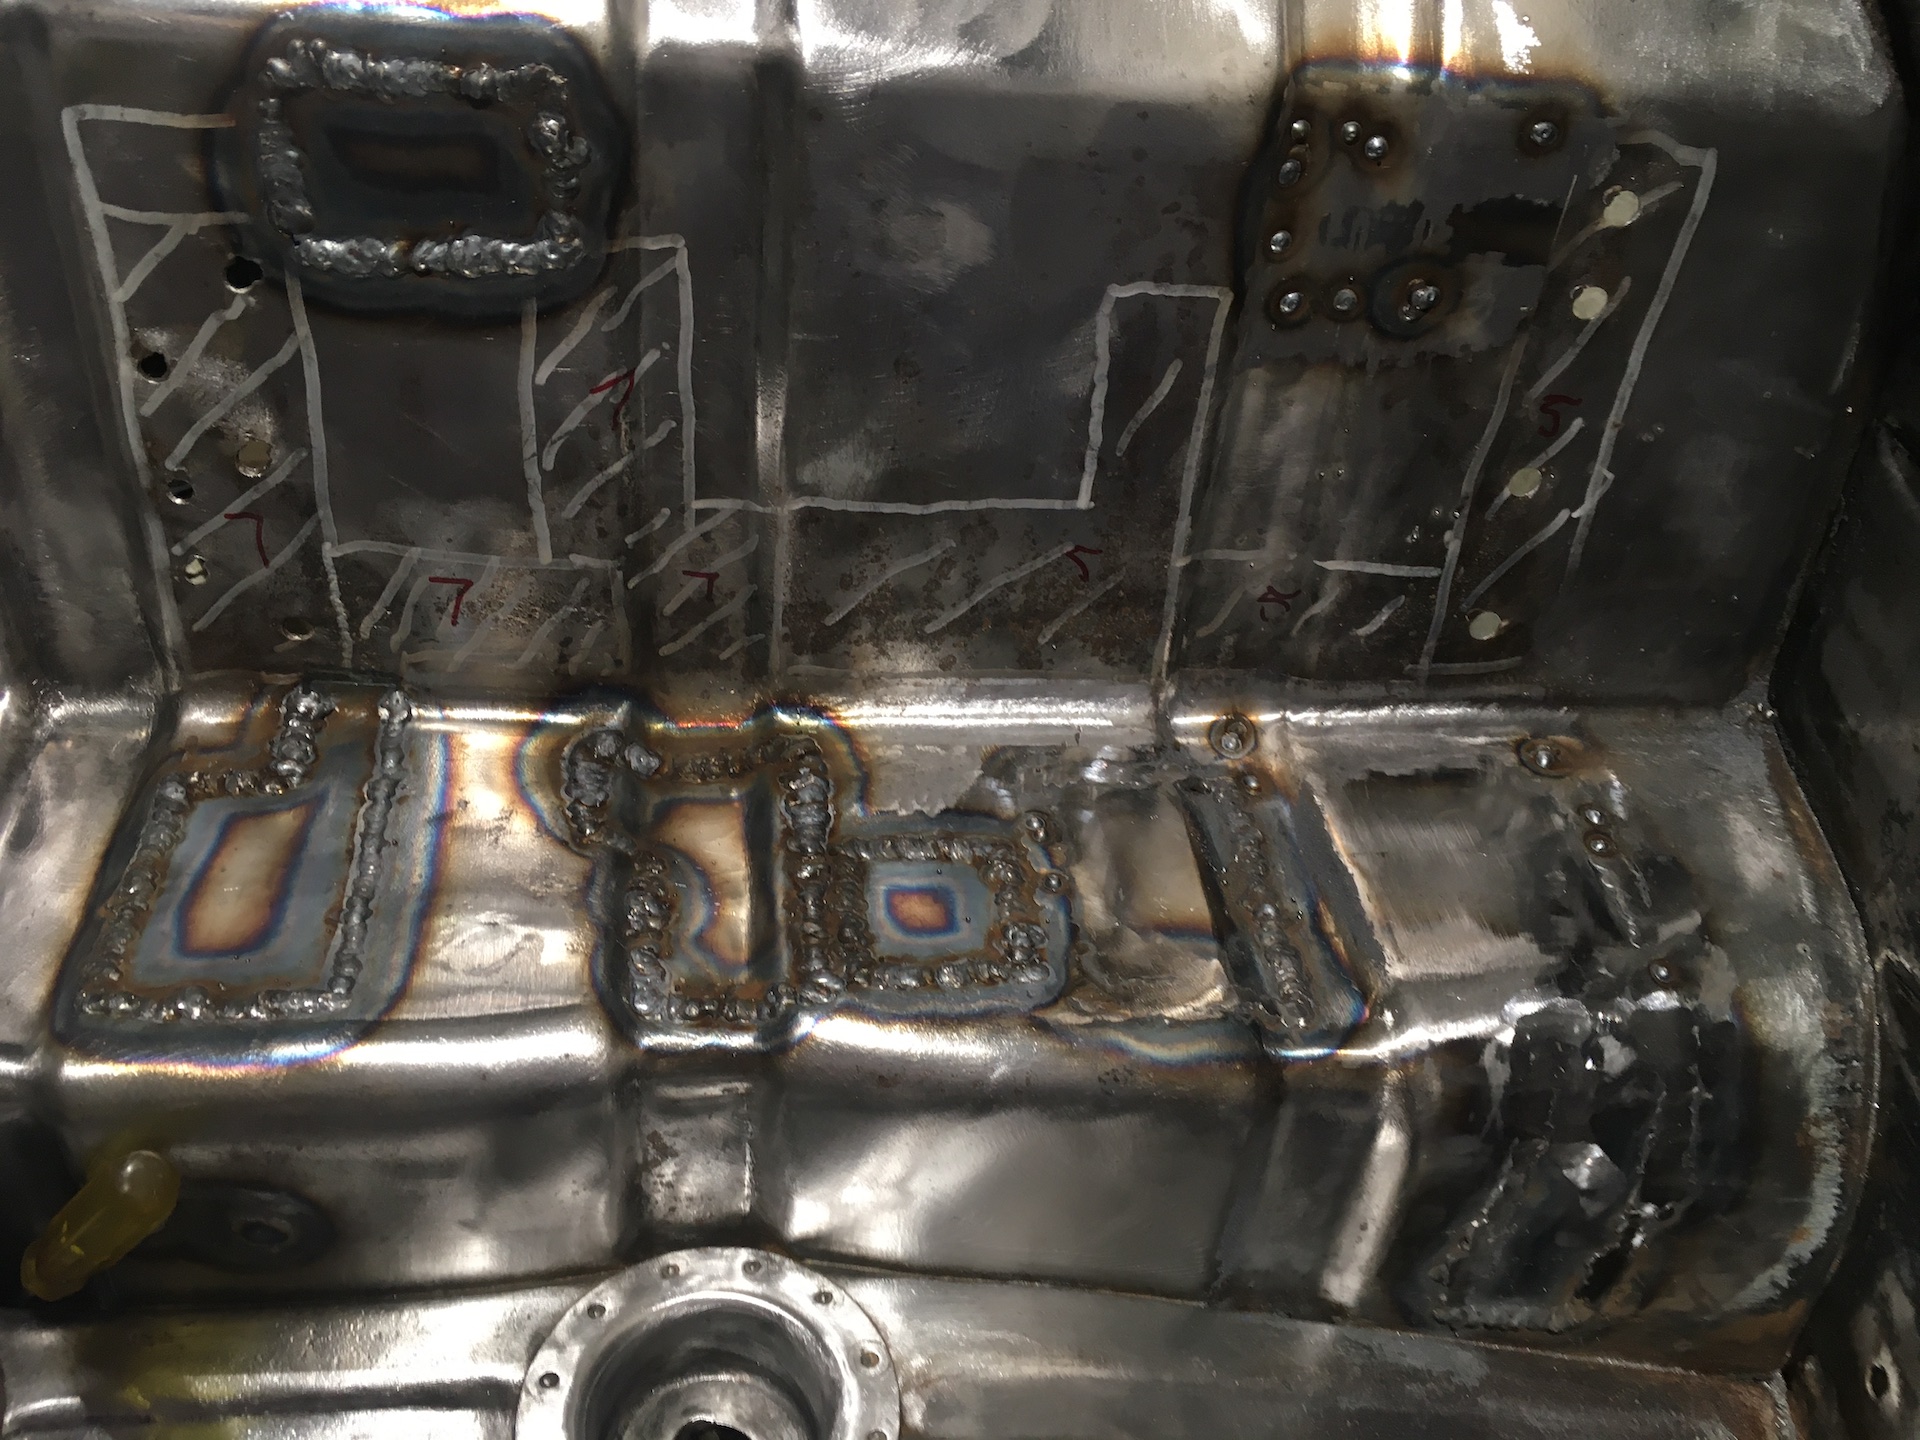
- IMG_8956.JPG (699.95 KiB) Viewed 966 times
Re: Ol' Rusty - FB/EK Sedan
Posted: Mon Sep 13, 2021 5:39 pm
by funkyscooter
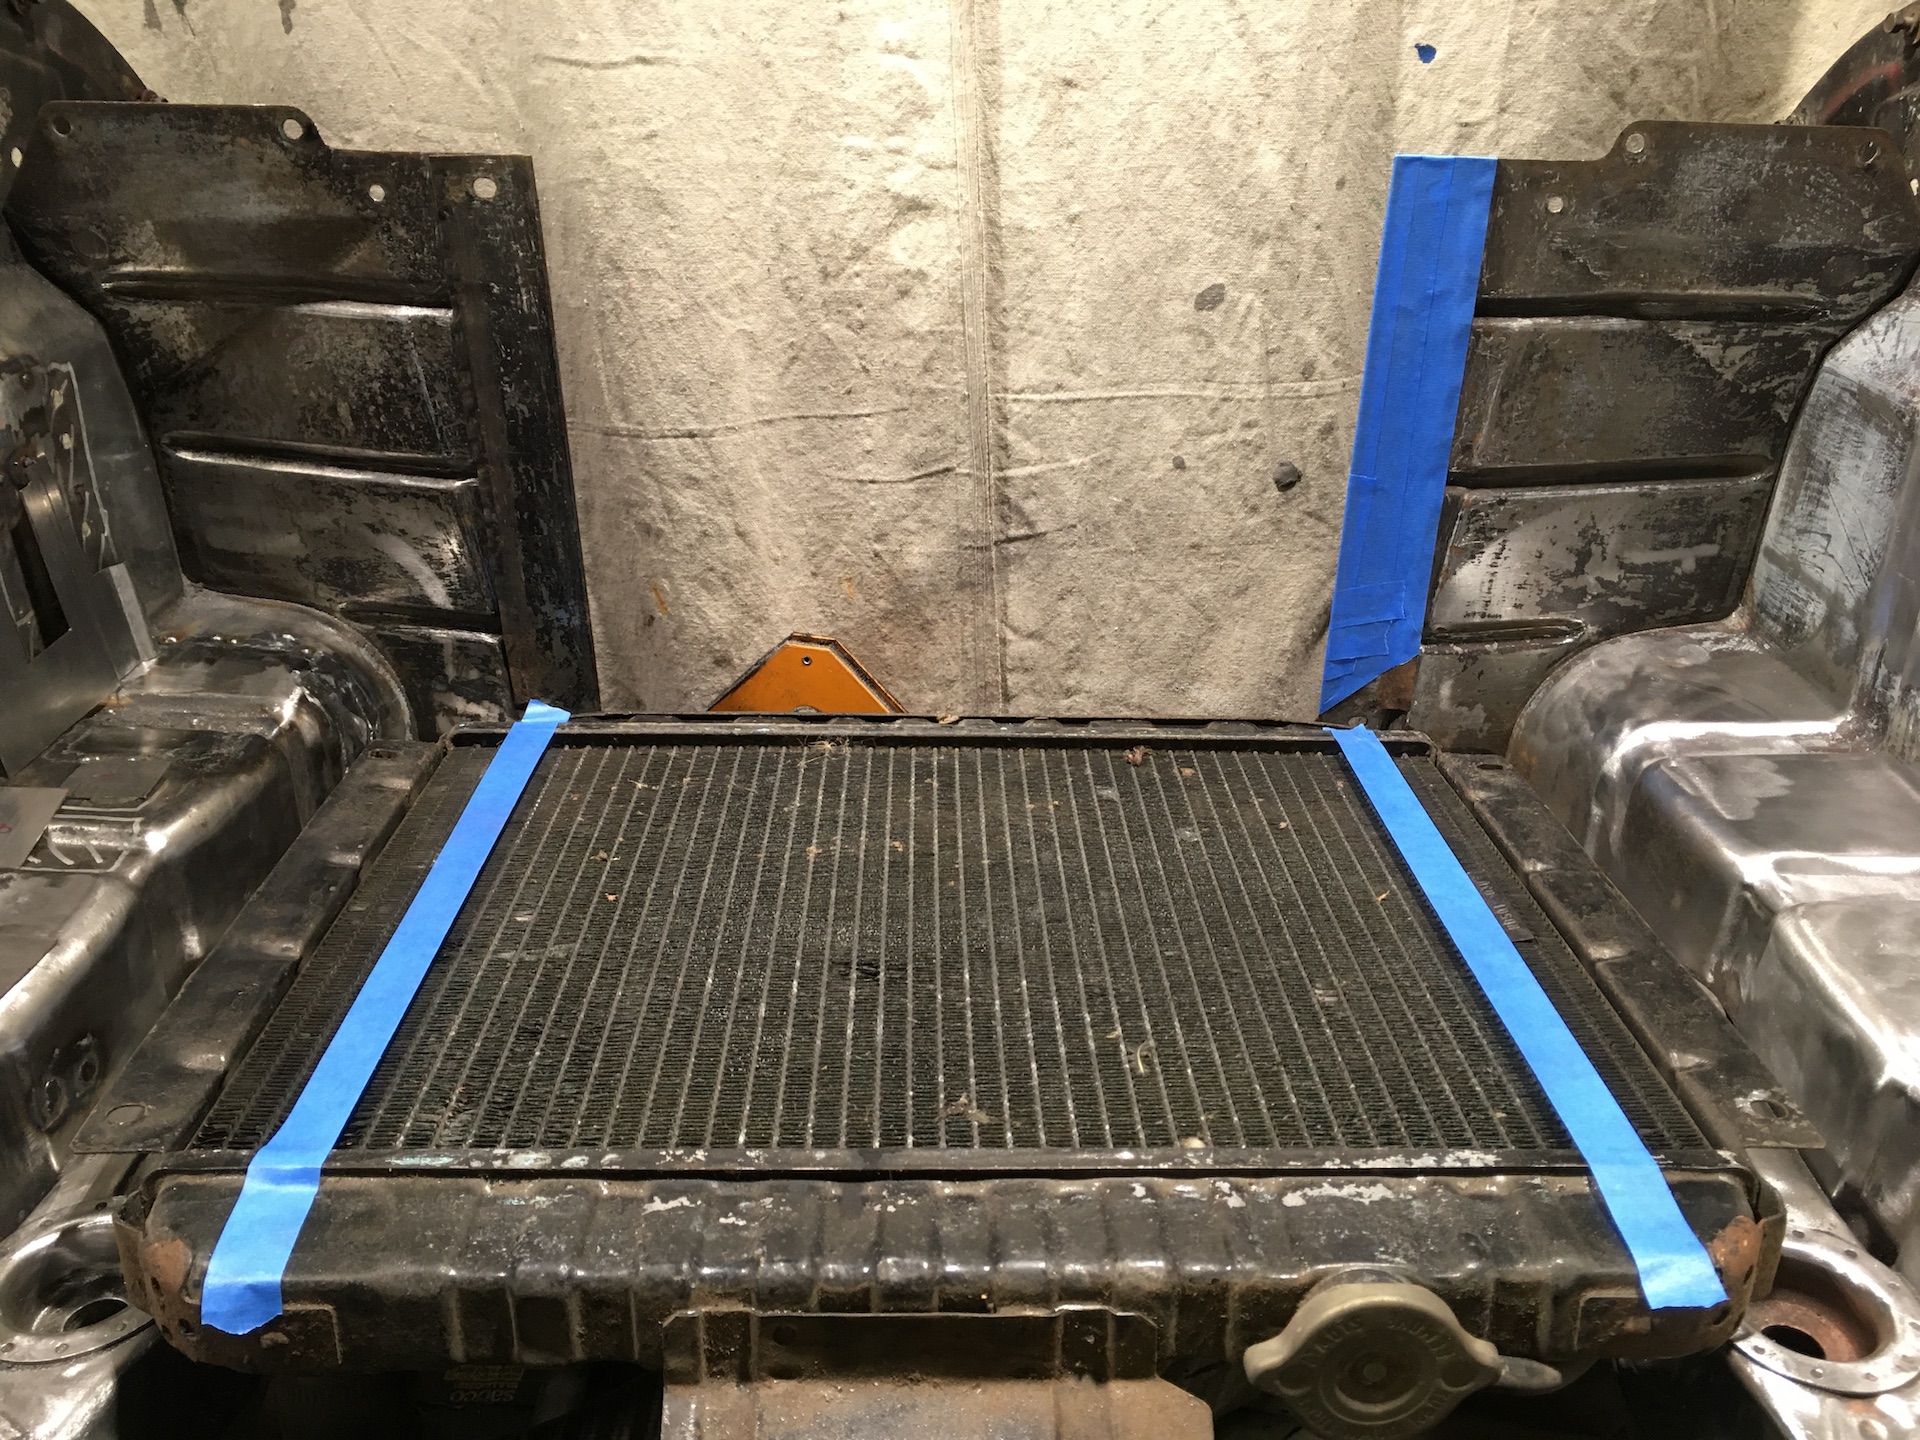
Whilst I’m welding away I have been thinking about the area around the radiator. When the larger radiator was installed with the 202, it looks like they hammered a metal flange over on both sides (I guess that helped position the original radiator and gave the front sheetmetal some strength), to fit it flush. Blue tape on the radiator represents the area that is blocked by the front of the sub frame and gets no airflow.
- IMG_8952.JPG (1000.49 KiB) Viewed 965 times
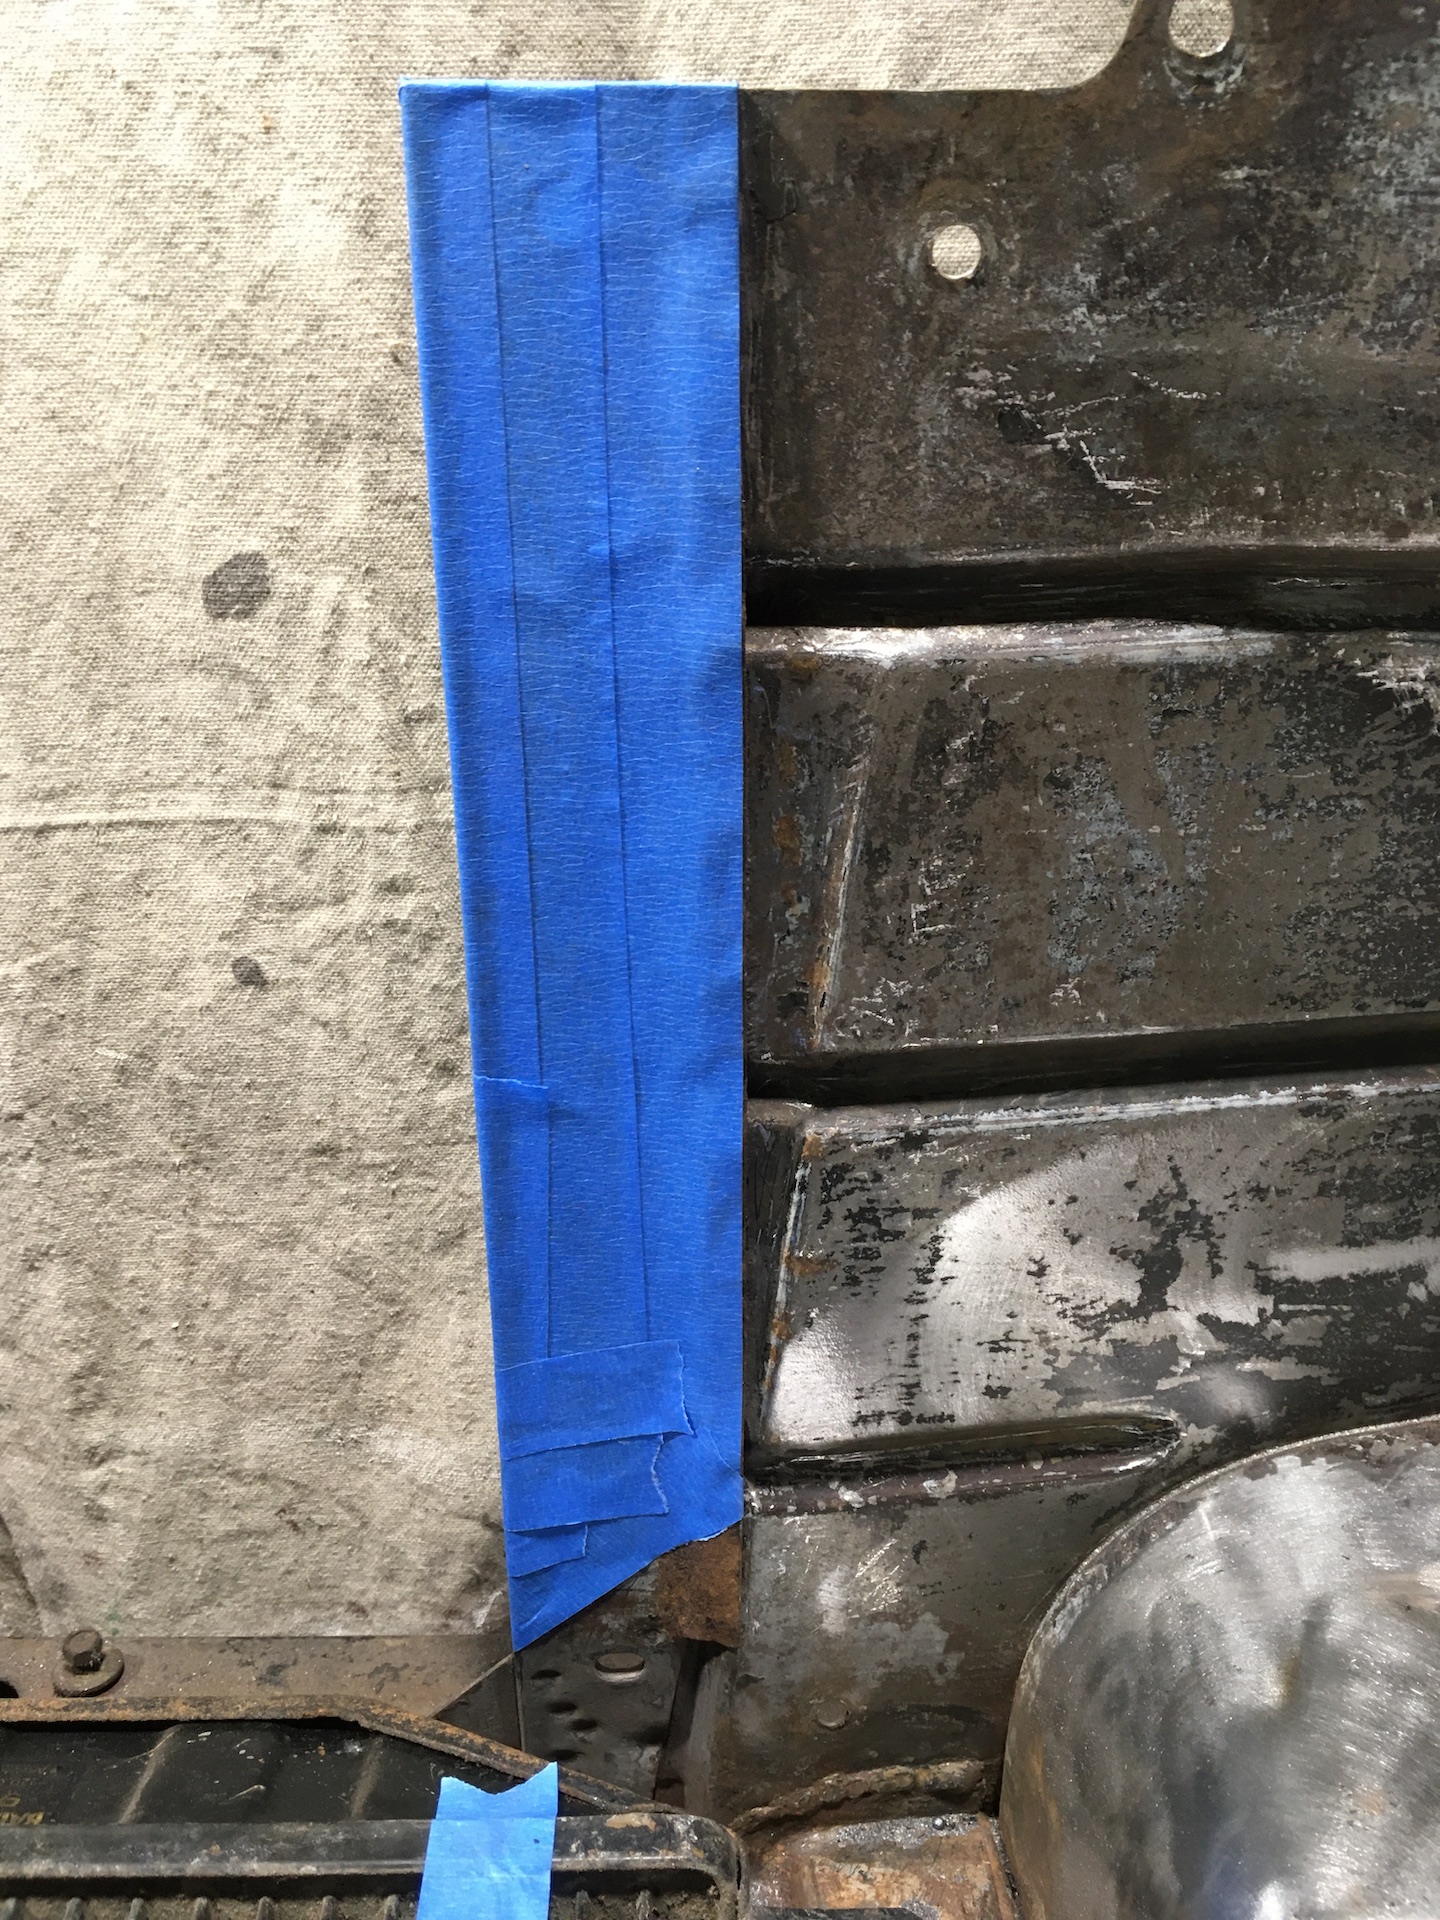
Many trips down the Hume to Melbourne and back, and I can only recall once running the heater in the middle of a scorcher with all the windows down trying to keep temps in check! Seems stupid to leave it as is. So closer pic is the area I would be looking to delete.
Any issues that I should be looking to address here? Cutting out all this metal will lose the folded double layer that the original radiator bolted to. I was thinking of adding an extra layer of metal where this radiator is bolted through.
- IMG_8953.JPG (1.01 MiB) Viewed 965 times
Re: Ol' Rusty - FB/EK Sedan
Posted: Mon Sep 13, 2021 6:20 pm
by Blacky
I guess its too late now but you could have saved yourself a swag of work if you had of cut a strip out of the inner guard and taken it to a sheetmetal shop and got them to press you up a sheet big enough to cut 2 big patches and welded them in rather than all those little ones

A strip of flat bar tacked down either side of the new larger radiator hole should do the job


