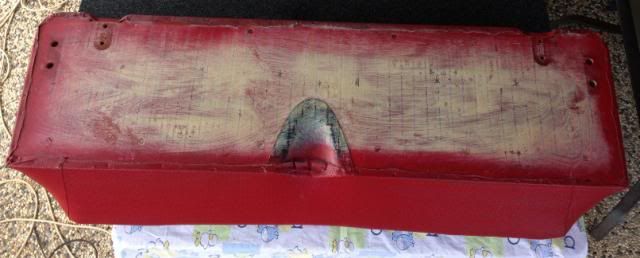
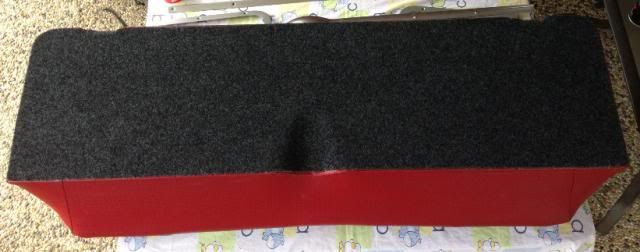
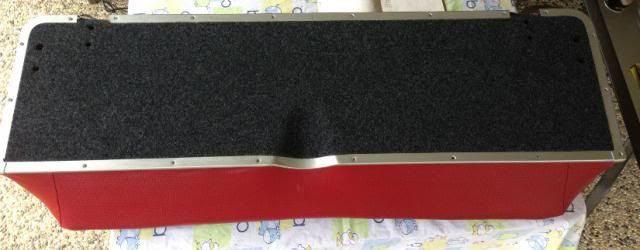
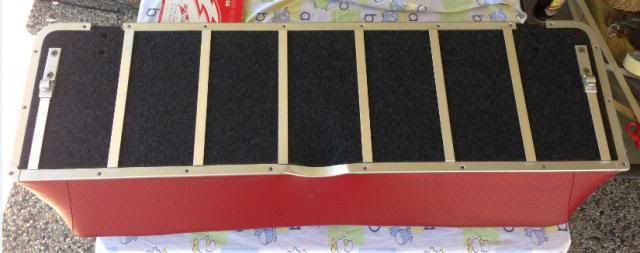
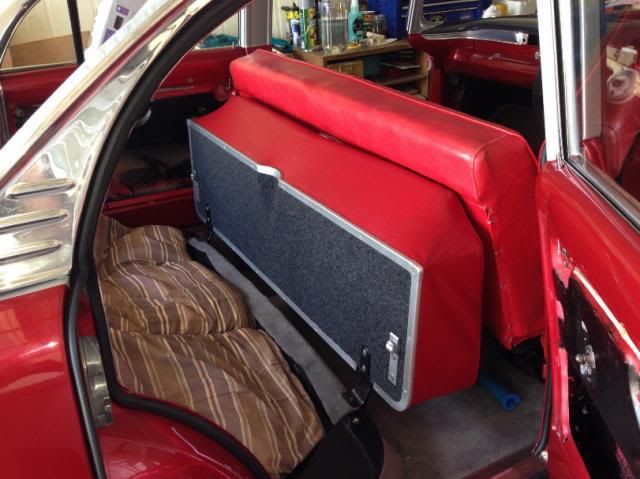
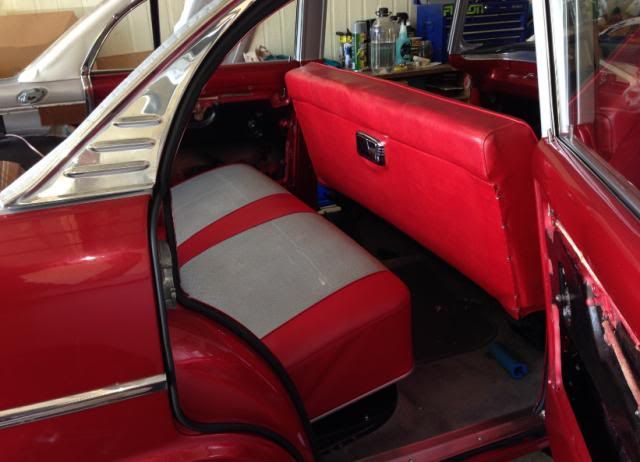
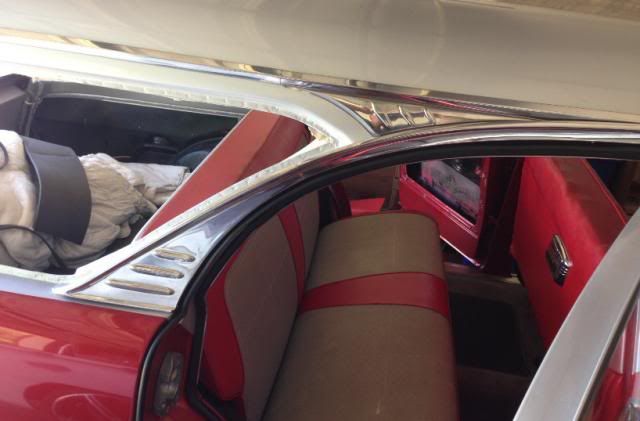
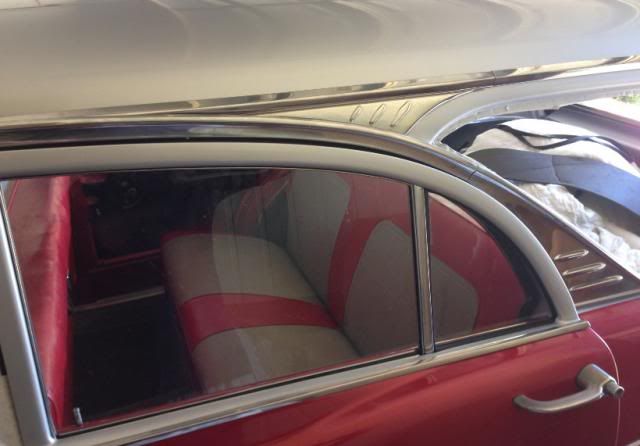
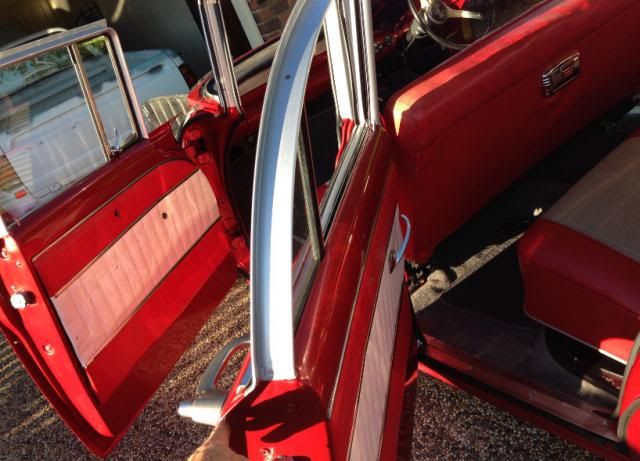
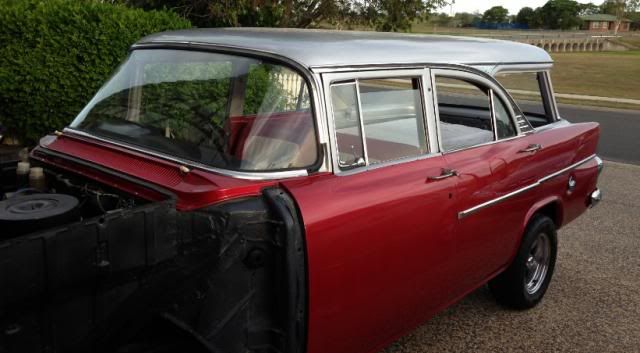
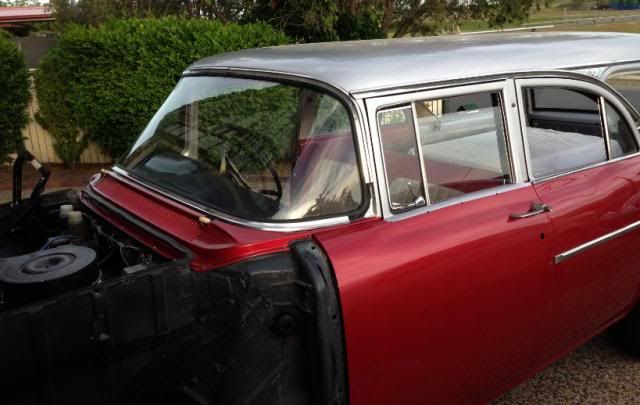
It was a Motospray fabric paint - satin Red.Harv wrote:Finny,
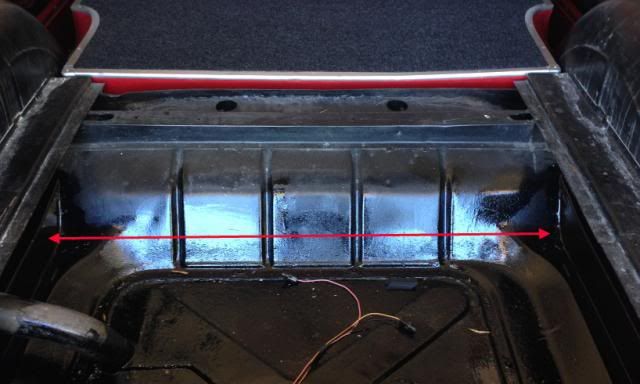
FB/EK's shared a common "front centre" and "front ends". The "front centre" was also used as the sedan "rear centre". Wagons had different "rear ends" and "rear centres". FB utes and vans had different "rear ends". From memory the wagon rear bumper centres have slots in them that show up if they are used as sedan centres (ask me how I know... if the FB was here I'd take photos for you).
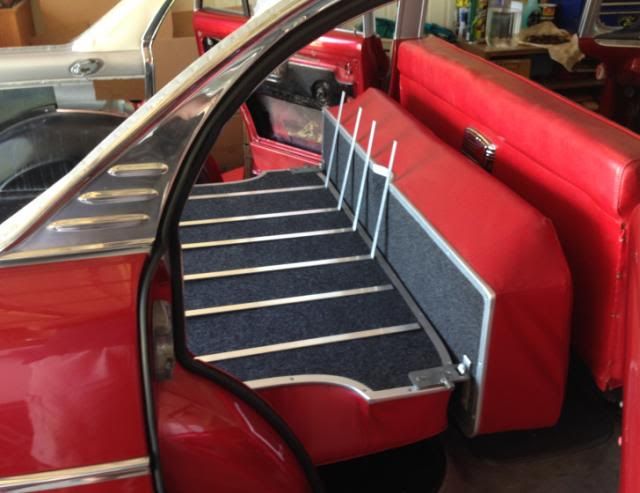
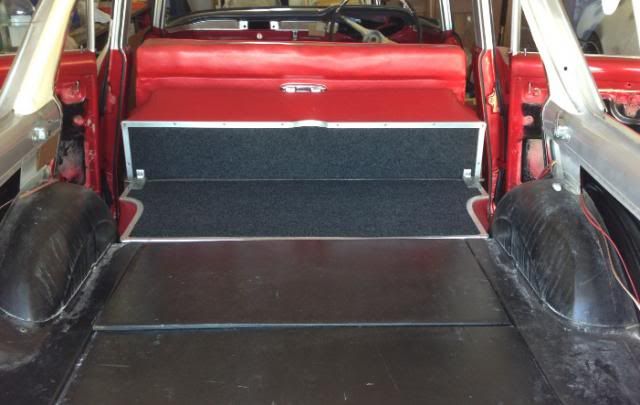
Those painted seats came up damn well. What product did you use for the red colour?
Cheers,
Harv.
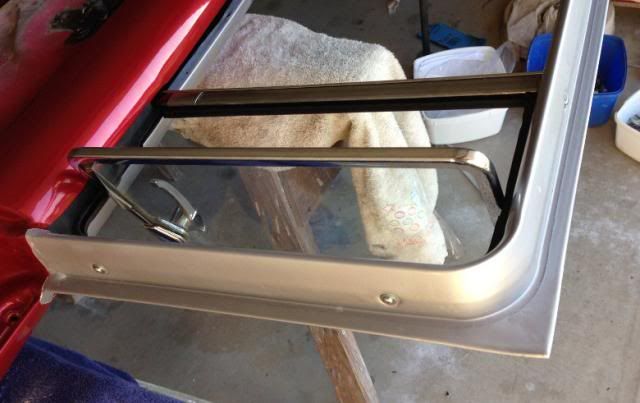
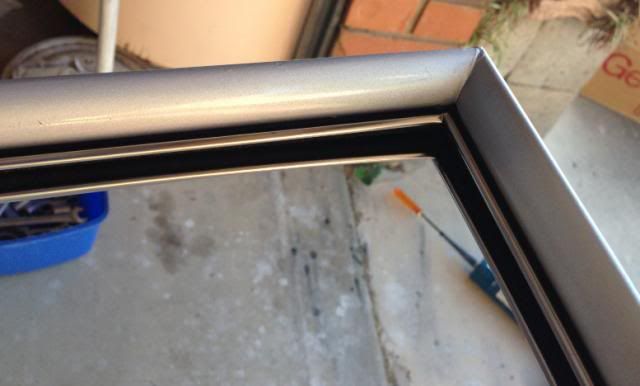
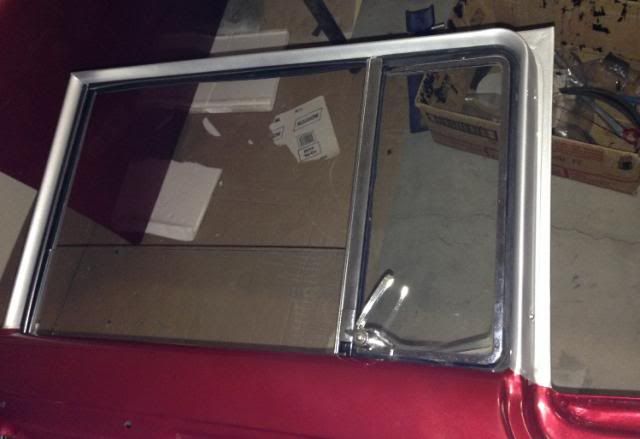
Just a shame they didn't make a silver.
It actually looks just as good in real life.