EK Wagon project - Total rebuild
Re: EK Wagon project - Total rebuild
Good stuff Finny, loving this build 
I started with nothing and still have most of it left.
Foundation member #61 of FB/EK Holden club of W.A.
Foundation member #61 of FB/EK Holden club of W.A.
Re: EK Wagon project - Total rebuild
Looking good finny
great advice from John check your nozzle size could be to small
and remember with metalic keep your gun straight this keeps the metal flake in the paint standing up
if you hold your gun un even ( eg slightly pointing up or down or to one side when spraying it makes the flake
lay down flat wich will give you lines or mottle look i learnt this the hard way on my bonnet on the green car
i was told when spraying metalic use wide fan setting on the gun and dont hold gun so close to panel
anyway looks like you doing a great job mate loving the color scheme
EK JAY SINCE 1990
-
parisian62
- Posts: 3997
- Joined: Wed May 11, 2005 2:19 pm
- State: NSW
- Location: Sydney
- Contact:
Re: EK Wagon project - Total rebuild
Well done Finny
Feelin free in a '61 FB.
Member of FB-EK Holden Car Club Of NSW Inc.
Check out the Rebuild of Old Timer
Member of FB-EK Holden Car Club Of NSW Inc.
Check out the Rebuild of Old Timer
-
bootlegger
- Posts: 2070
- Joined: Sat Sep 26, 2009 7:52 pm
- State: NOT ENTERED
- Location: sydney
Re: EK Wagon project - Total rebuild
Well done. It seems you have over come your problems. It should come out great after a slice and buff.
Re: EK Wagon project - Total rebuild
Spent time putting bits back on the wagon today. 
It appears that finding the right bolts/screws etc will be an ongoing issue.
I can struggle to remember what I had for breakfast, let alone trying to remember how I disassembled parts 5 years ago.
And where I put them ?
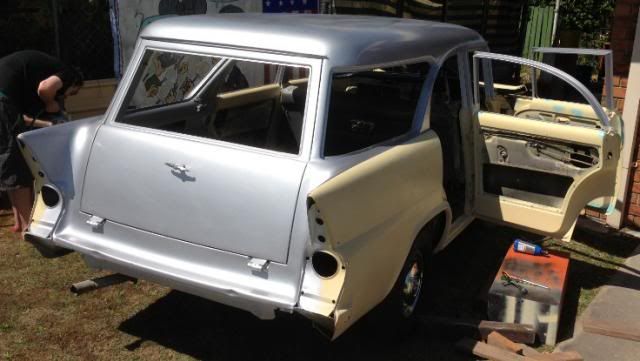
Anyhow I eventually reinstalled all the tailgate items and put up some trim just for looks.
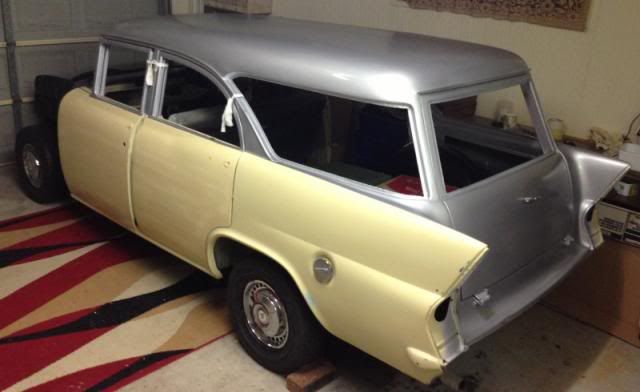
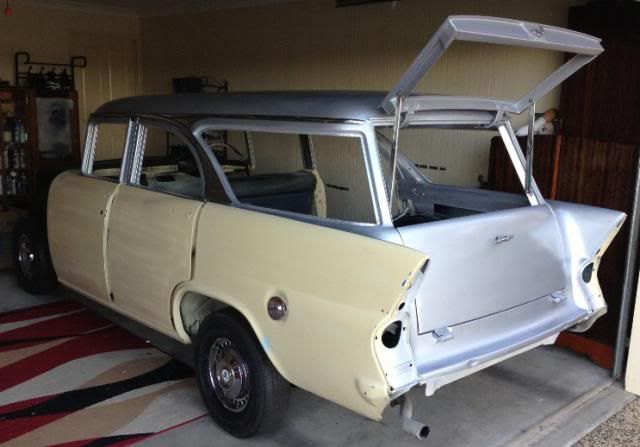
Looks alright, even without the StationSedan sign.
The only thing I couldn't work out was how to keep the ring on the tailgate handle (that sits in the hole) is place, it keeps slipping out and I can't see how it's supposed to stay in ?
It appears that finding the right bolts/screws etc will be an ongoing issue.
I can struggle to remember what I had for breakfast, let alone trying to remember how I disassembled parts 5 years ago.
And where I put them ?
Anyhow I eventually reinstalled all the tailgate items and put up some trim just for looks.
Looks alright, even without the StationSedan sign.
The only thing I couldn't work out was how to keep the ring on the tailgate handle (that sits in the hole) is place, it keeps slipping out and I can't see how it's supposed to stay in ?

IT's LIKE WATCHING DRUNK MONKEYS TRYING TO HUMP A FOOTBALL.
Re: EK Wagon project - Total rebuild
Thanks TimSunnyTim wrote:Mate it just sits in. I find they take a while to bed in with newly painted surfaces as the paint is soft. I have 2 wagons here if you ever need to check something.
Tim
IT's LIKE WATCHING DRUNK MONKEYS TRYING TO HUMP A FOOTBALL.
Re: EK Wagon project - Total rebuild
Why are you putting it back together before you have cut it back and buffed it ????
I started with nothing and still have most of it left.
Foundation member #61 of FB/EK Holden club of W.A.
Foundation member #61 of FB/EK Holden club of W.A.
Re: EK Wagon project - Total rebuild
I only sat the trim on to see how it looked against the silver colour.Blacky wrote:Why are you putting it back together before you have cut it back and buffed it ????
I considered leaving the tailgate sections off, but due to the environment they are in, I thought it safer to get them onto the car and less likely to scratch them or chip corners.
That was certainly the case in the past.
The gloss on all the edges and narrow sections was great off the gun, just the roof and the lower tailgate that will benefit the most.
I considered it no different to if I had done a repaint on the car, without removing any panels.
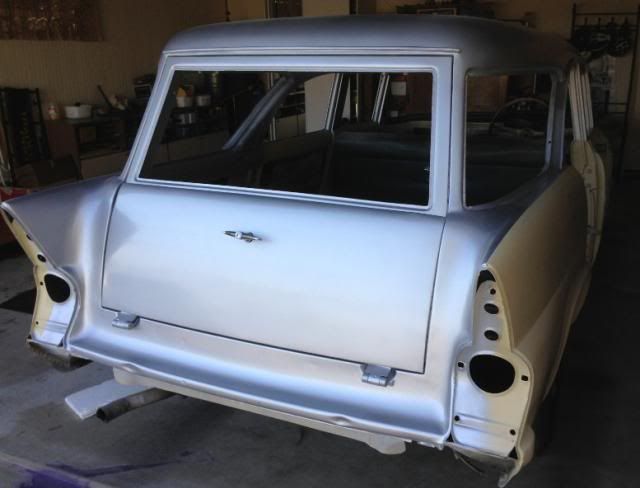
Two questions that I did have ?
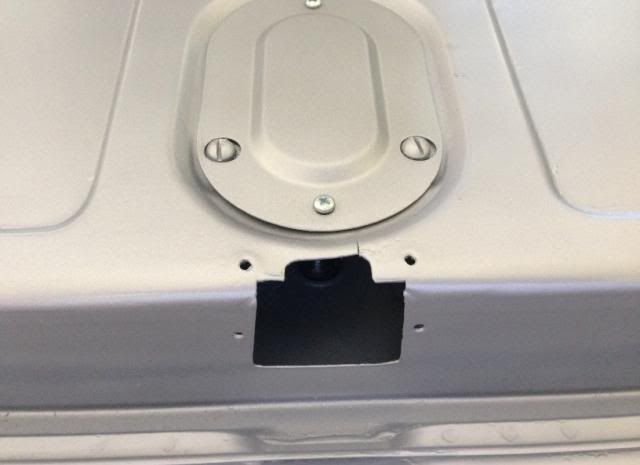
What should be attached to the two holes on the back of the upper tailgate section.
And the 2nd question. Is there a plate that goes over square this area at the top of the lower tailgate.
All the photos I have seen just show it as an open hole, but it must have some sort of cover.
IT's LIKE WATCHING DRUNK MONKEYS TRYING TO HUMP A FOOTBALL.
Re: EK Wagon project - Total rebuild
Have set myself a new goal to have the wagon completed by 19th December.
And that will really be pushing it, as there is still a hell of a lot to be done and some aspects will be outside my control.
Might do up a quick project timeline so I can track progress by stages.
So T minus 108 days and counting.

And that will really be pushing it, as there is still a hell of a lot to be done and some aspects will be outside my control.
Might do up a quick project timeline so I can track progress by stages.
So T minus 108 days and counting.
IT's LIKE WATCHING DRUNK MONKEYS TRYING TO HUMP A FOOTBALL.
Re: EK Wagon project - Total rebuild
A rubber bump stop.Finny wrote:
Two questions that I did have ?
What should be attached to the two holes on the back of the upper tailgate section.
There is a plate with a guide that the upper tail gate sits in that goes there.Finny wrote:And the 2nd question. Is there a plate that goes over square this area at the top of the lower tailgate.
All the photos I have seen just show it as an open hole, but it must have some sort of cover.
[img]http://i47.photobucket.com/albums/f177/trevwood/WOOFTOsmall.jpg[/img]
Woofto Car Club Member No3
Woofto Car Club Member No3
Re: EK Wagon project - Total rebuild
Thanks Trev, rubber bump stop makes sense now.
Can't say I've seen the plate for bottom part. I don't think it was on the car when I got it.
I hope my parts wagon comes to the rescue.
Can't say I've seen the plate for bottom part. I don't think it was on the car when I got it.
I hope my parts wagon comes to the rescue.
IT's LIKE WATCHING DRUNK MONKEYS TRYING TO HUMP A FOOTBALL.
-
Grimbo
Re: EK Wagon project - Total rebuild
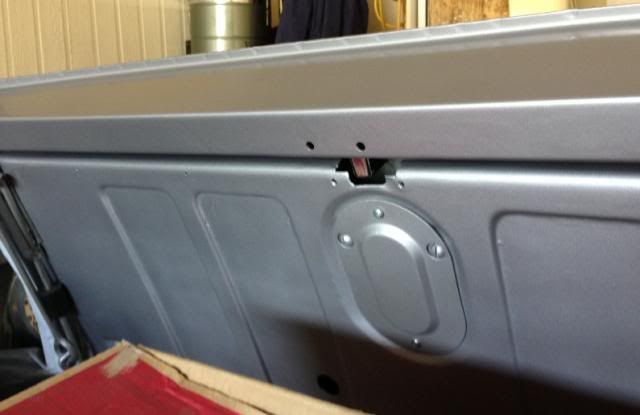
Hey Finny, great work on the wagon it's looking great. As for what goes in the holes, here are some pics of mine.
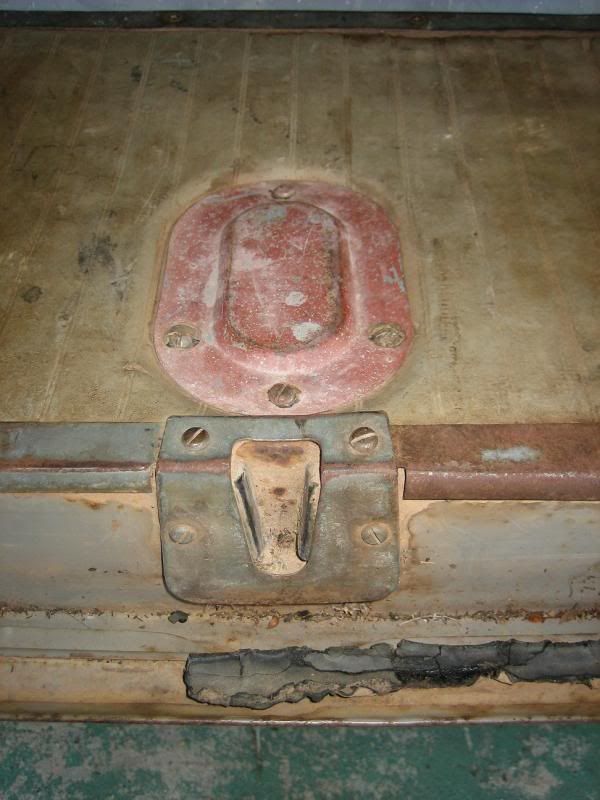
My lower tailgate, with the guide/strike for upper tailgate latch/tongue.
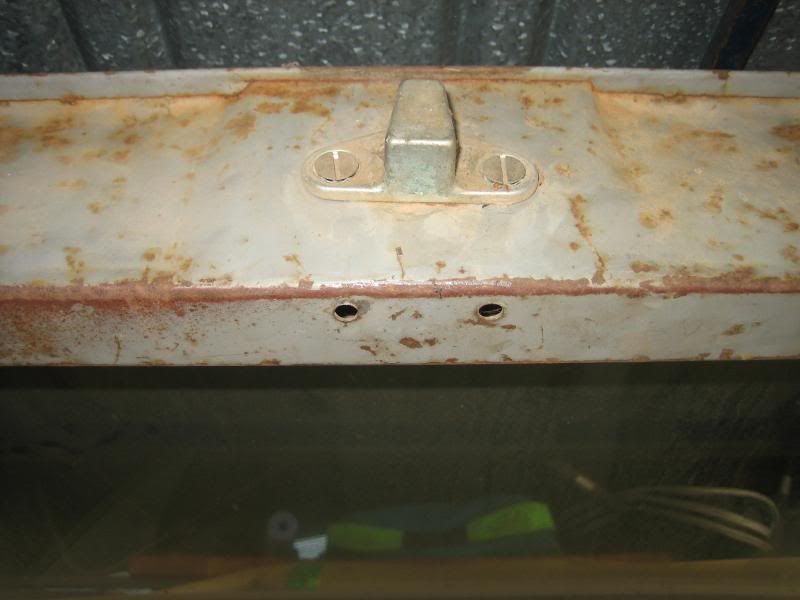
Upper tailgate with the same holes as yours. Sorry I couldn't be more help.
Cheers
Sam
My lower tailgate, with the guide/strike for upper tailgate latch/tongue.
Upper tailgate with the same holes as yours. Sorry I couldn't be more help.
Cheers
Sam
Re: EK Wagon project - Total rebuild
Thanks for the photos Sam.
104 days to go till my deadline.
Yes that's the plate I was looking for and the top holes are for rubber stoppers.
I assume so that if you drop the top tailgate onto the bottom one it protects it a bit.
104 days to go till my deadline.
Yes that's the plate I was looking for and the top holes are for rubber stoppers.
I assume so that if you drop the top tailgate onto the bottom one it protects it a bit.
IT's LIKE WATCHING DRUNK MONKEYS TRYING TO HUMP A FOOTBALL.
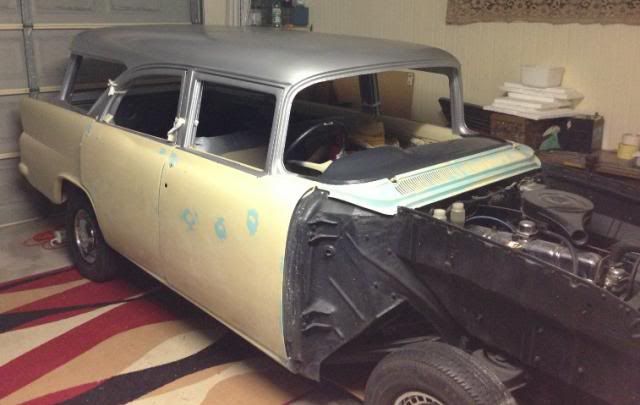
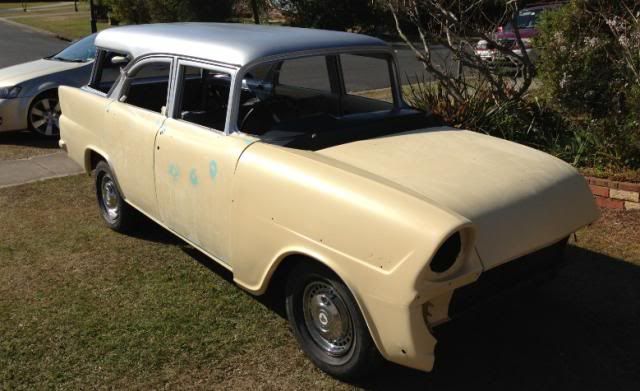
Re: EK Wagon project - Total rebuild
Starting to prepare the rest of the panels for my red.
And finding a few areas that still need to be levelled out.
Even got some help for the day from my No. 4 son.
And finding a few areas that still need to be levelled out.
Even got some help for the day from my No. 4 son.
IT's LIKE WATCHING DRUNK MONKEYS TRYING TO HUMP A FOOTBALL.
Re: EK Wagon project - Total rebuild
Down to 98 days to go.
Better finish repairing the final rust section under the front door.
Better finish repairing the final rust section under the front door.
IT's LIKE WATCHING DRUNK MONKEYS TRYING TO HUMP A FOOTBALL.