On my mustang floorpan I used a product called add-a-gel, when sprayed on it has a similar texture to the spray on proof coat. This product is a clear milky colour, this allows you to add body colour to it so as to keep it similar to the outside and is really easy to clean. I also sprayed colour over the top again just to get the gloss.
Keep up the good work, your progress keeps me modivated.
All I can say is me old mate! You've taken the cake and top job you've done there,You make feel like doing another one. I'm pretty jealous of the rotiserie. Sure hell makes easy work of the underbody.
Regards John
PS: I gotta say while I'm at it Malcolm! your's to is looking mighty impressive.
Good work guys
Hi Guys and Gals,
Just a update in relation to the battle of the body!
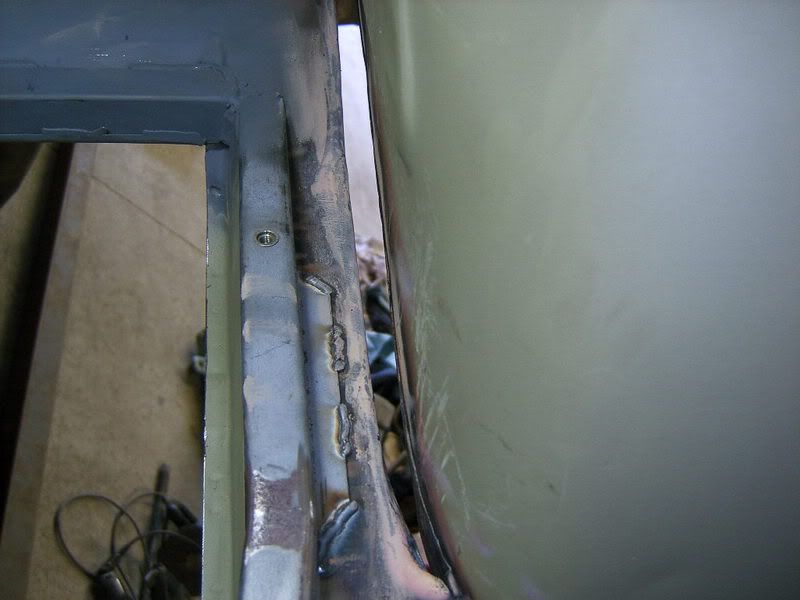
Iv'e decided to extend the wheel tub opening by reworking the inner chassis rail lip. Sorry the photos are a bit ordinary will have to work out why.
I first cut the chassis off the tub right at the edge. I then heated the chassis rail and flattened the lip out. This has now given me just over 10mm more room inwards. I was concerned that the 10mm gap between the wheel and tub originally would rub but I now have 20mm after the tub has been portapowered and rewelded. More photos tomorrow hopefully clearer.
Good to see an update. On the wheel tubs did you only cut it off along the chassis rail and push it out at the bottom or did you cut the whole inner arch out and move it over. Will the inner wheel arch endup flush with the chassis rail.
I'm still undecided yet as to do the same to mine or not. I finally got my wheels from the States last week so now I can fit tyres and see how I'll go for clearence. I've got 17 x 8 for the rear and 17 x 7 up front, with rubber bands for tyres.
Mal,
Hows it going, I cut the wheel tub just behind the spot welds right up hard against the tub. The grinder blade has a guide and will follow the curve between the tub itself and the chassis rail lip. You will also have to cut away a portion of the uprights inside the boot and where the seat goes so the tub will move across to its new location. The chassis lip is much thicker than the body so I bent it downwards took about 1/2 hour with the oxy and panel spoon. The end result looks the same but 10-15mm inwards the same as the original look. You could go further depend on how much you flatten the lip. I havent done it yet but I will push the tub over today with a portapower and weld it fully along the lip with the oxy so no water gets into the join. I will also weld the tub on the inside of the boot for strength, probably stitch. I will take some more photos today, the kids have played with the settings on my camera and the last shots turned out yuk!
Wheels are old school 14 x 7 with 235 x 60 series tyres you know the balloon look!
I have also pumped the guards slightly like I said I hate wheels rubbing!
I will just pump the inner across and flatten any high spots, the tyre shouldn't travel all the way up so I dont think its necessary to move the whole tub across.
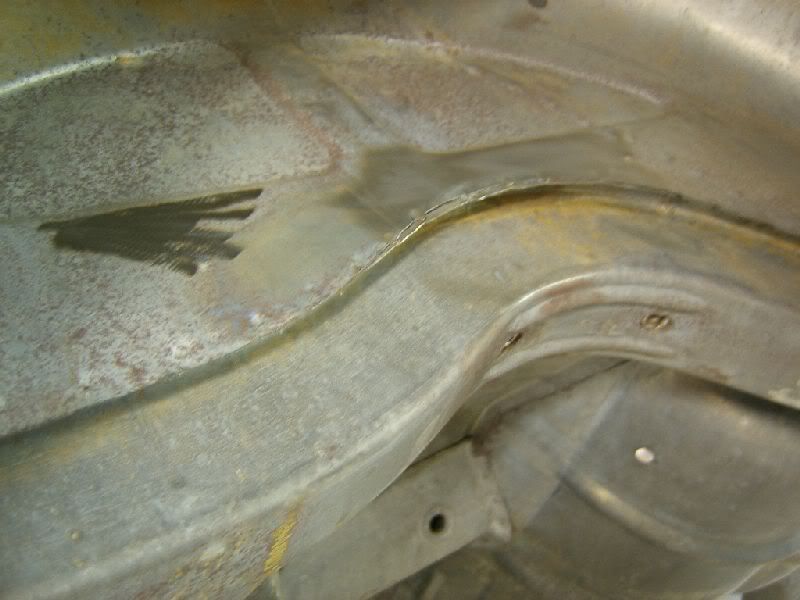
Here are some clearer pictures
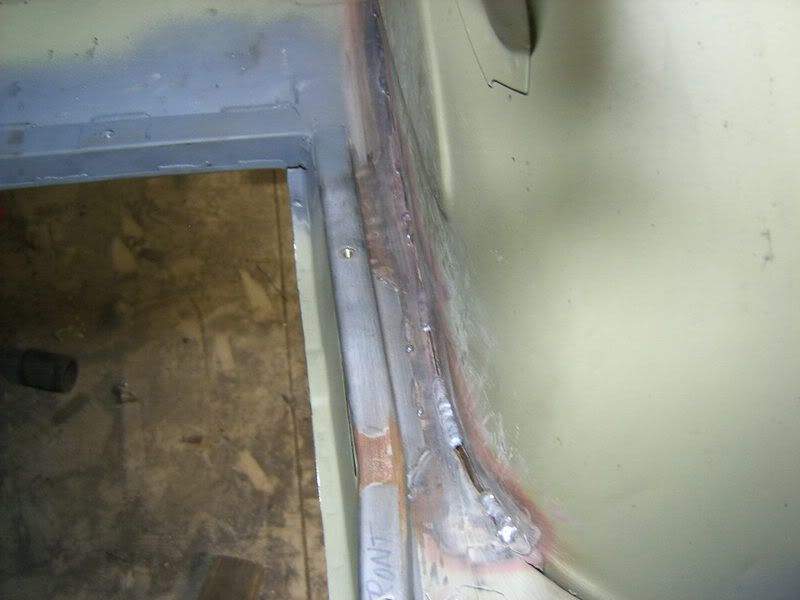
After cutting the tub away from the Chassis and then bending the lip over .
The now gap which is approx 12mm will be closed when the tub is pumped across.
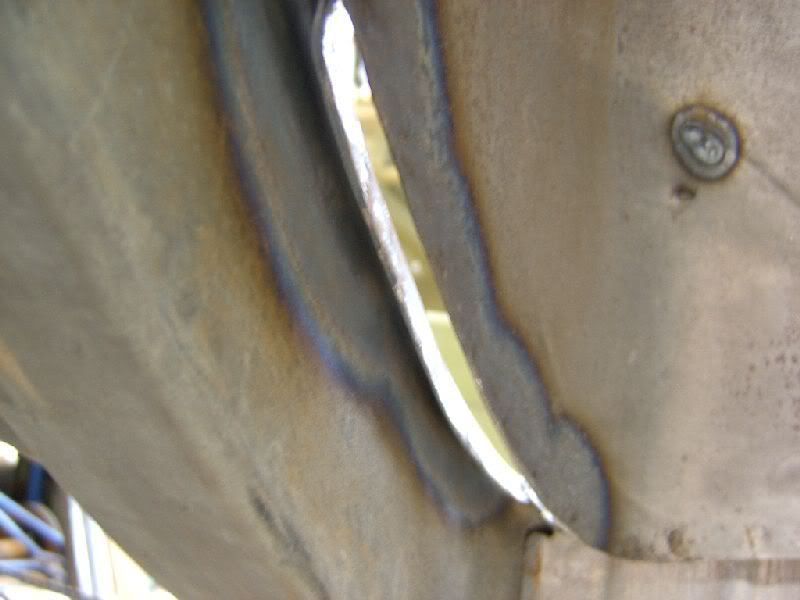
This mod is legal in NSW because the chassis rail has not been moved at all.
Although it dosen't look much it is the difference between the tyres rubbing or not. My wheel arch is now 300mm from the tub to the lip of the quarter ( I have pumped the guards a little as well ).
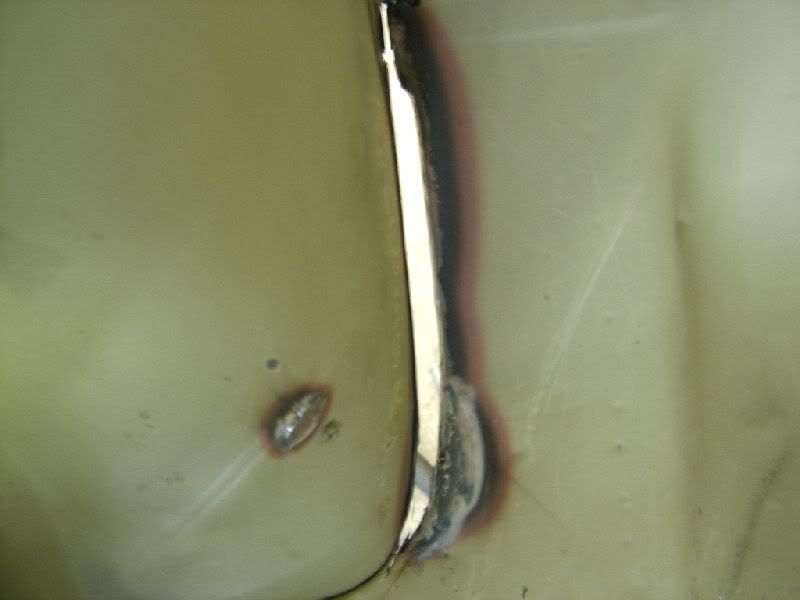
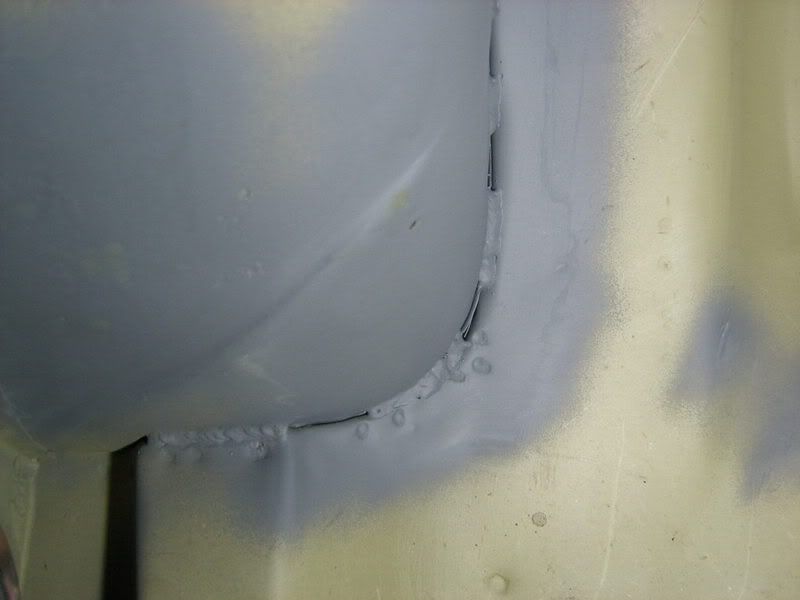
I have completed the tub jobs yes I did say tub .
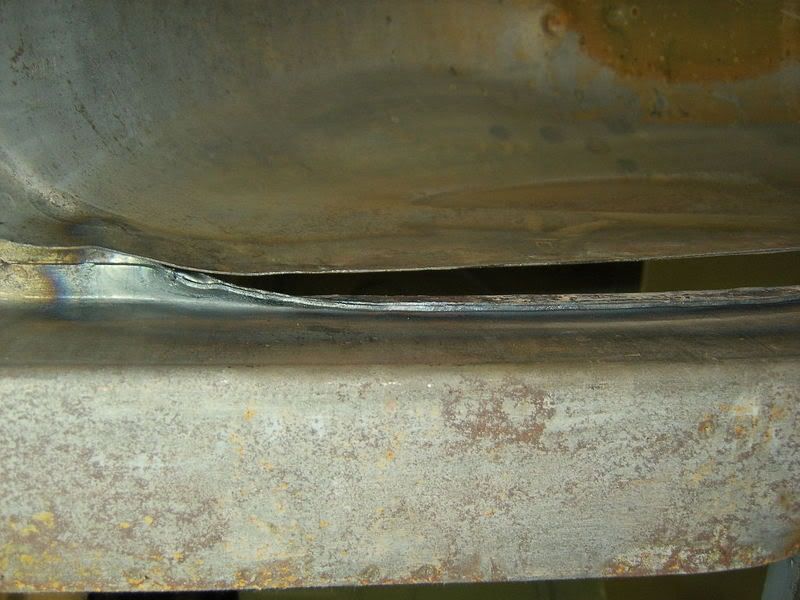
The inner tub was stitched into place and the new edge fully oxy welded. .
Total amount gained just under 15mm. I originally had just 15mm from the tyre and inner tub but now its 30mm. Im hoping this will be enough for the tyre not to rub. I suppose it depends on how hard it gets driven!
Guys,
No progress at the moment cause Im moving house (and you thought building a car was a hassle)
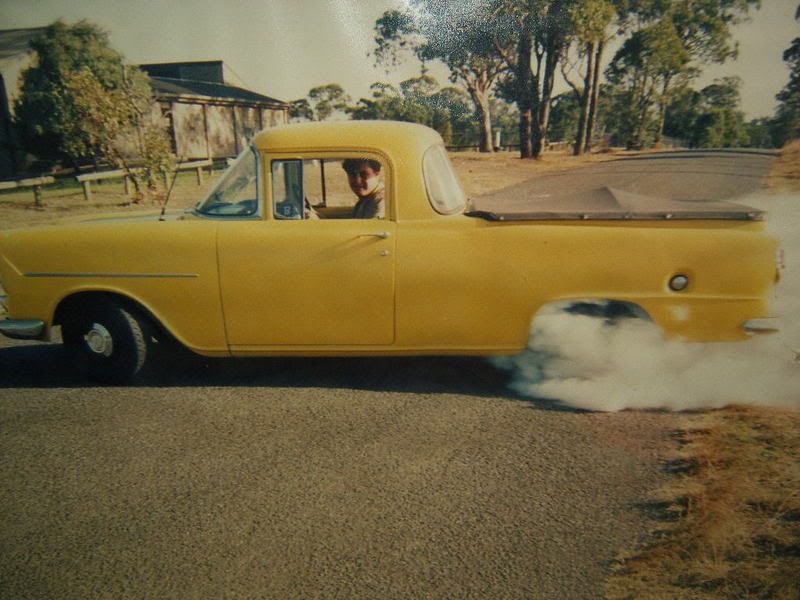
Anyway I've uncovered an old photo that I just had to post.
The FB ute was a standard and believe it or not at the time I didnt even know. I just thought they were like that for the farmers you know no frills? So chrome went on the rear lights dash a big block 186 and the old trusty 4 speed and HR disc front. I eventually put a 5 speed in it from a commodore by memory then sold it for, wait for it, a ring for the girl (what was I thinking!)
Have not seen the ute since, 15 years now. I wonder if its still alive?
Yes mate,
Actually very lucky in this department she lets me do what I want with the cars (you know I still remind her that shes wearing my car on her finger!)
Any way will update as soon as the car is in its new home and I get stuck into it again.
Hi Greg,
You must be nearly ready to post some more updates hey.
Just a quick question, what are you doing for exhausts. I'm having problems with mine as the hump in the rear of the diff centre is hitting on the front of the fuel tank and the tanks is to wide to get tailpipes past it out to the back. I'm running a full twin 3" system.
I may have to pull the tank back out and adjust the size.
Hey Mal,
I am right in the middle of moving house at the moment so no time for the car, however I have moved the old girl to its new domain and hope to get back into it soon ( the car that is )
To be completely honest I haven't given the exhaust a thought at this stage.
I have mucked around with exhaust on the race car and believe it or not have gained the most power from a single 3 inch system that has a join in the middle a bit like a balance pipe. The funny thing is it is quiet but the chev likes this set up ( dyno graphs ).
I will post some photos soon both of the new location (shed) and pipe system on the baker.
I f you stick with 3 inch you will allways suffer clearance problems. Because the car is low you may have to run the pipes under the diff. Not a good look in my books but may do the job. My tank has been relieved to fit as far back as possible but I havent lowered the car yet so not sure if it hits the diff.
Regards Greg
I wouldnt be so sure on getting back into it straight away
I moved house 7 months ago and Im still painting and renovating Im enjoying it though because its kinda like customising .
Good luck with the move - I lost 4 kgs doing mine....
Ok Guys,
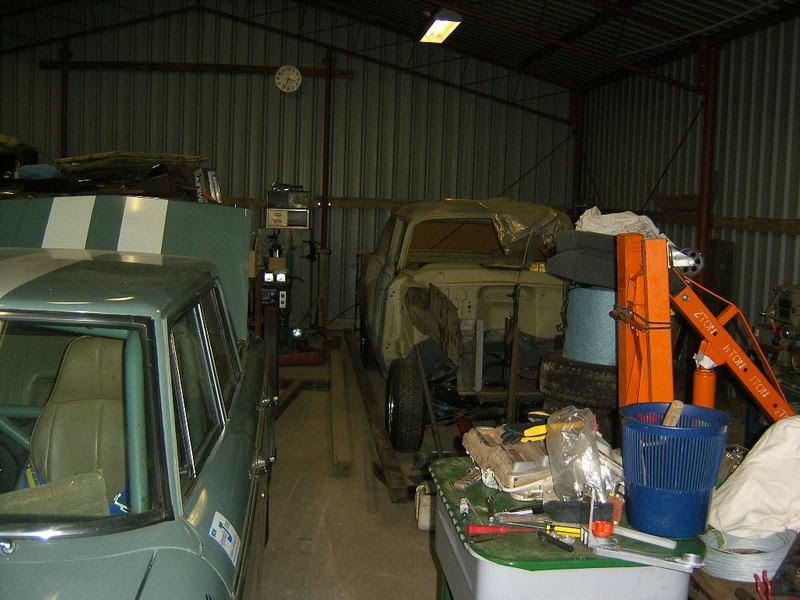
Im almost settled in to the new house just need to sort the garage a little more and I will back on the car.
Heres a sneak shot at the shed.
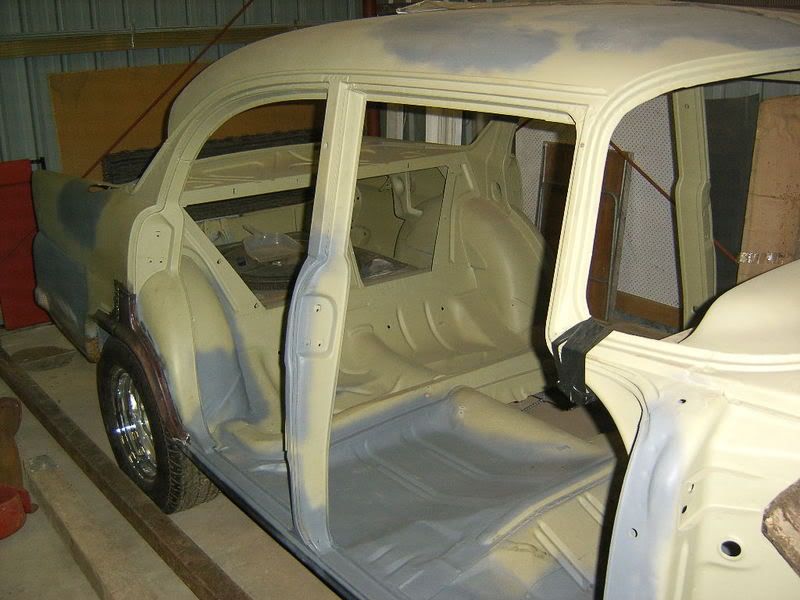
The car at present
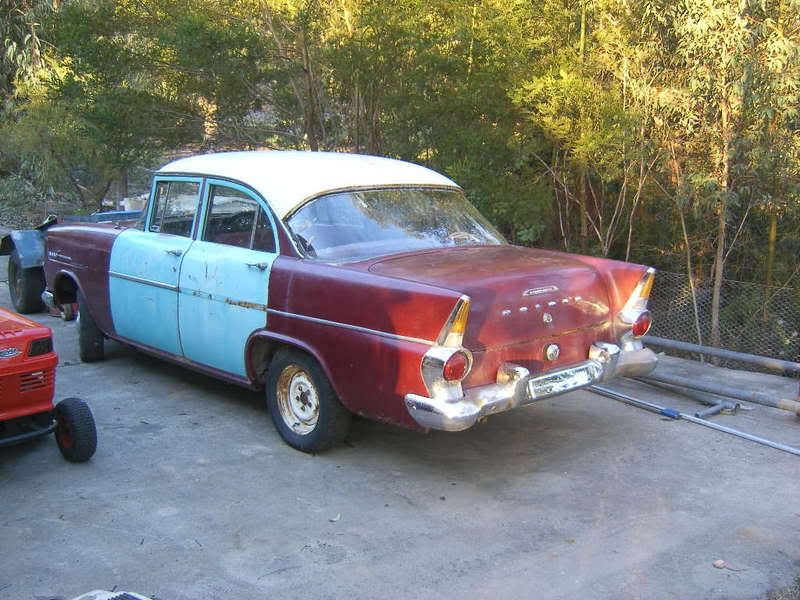
Finally got hold of a parts car at the right price. Dont be fooled the car is worse than what it looks (rust).
Will update in the next month or so. I know have 2 roofs MMMMMMM!


 .
.
 .
.