Naaa wasn't me...don't do the local car show thing anymore, kinda gets boooring after a while. Van Nats,Newcastle,Barmera Rod Run,Uraidla...
You might have seen a black Ek wagon or a black Ek van with Fc tail-lights.
Chev EK
-
classic_62
- Posts: 195
- Joined: Tue Jul 18, 2006 8:36 pm
- State: NOT ENTERED
- Location: Radelaide S.A
Hi dudes,
Well im slowly moving in a foward direction with the old girls cancer problems (not that it was bad im just to fussy).
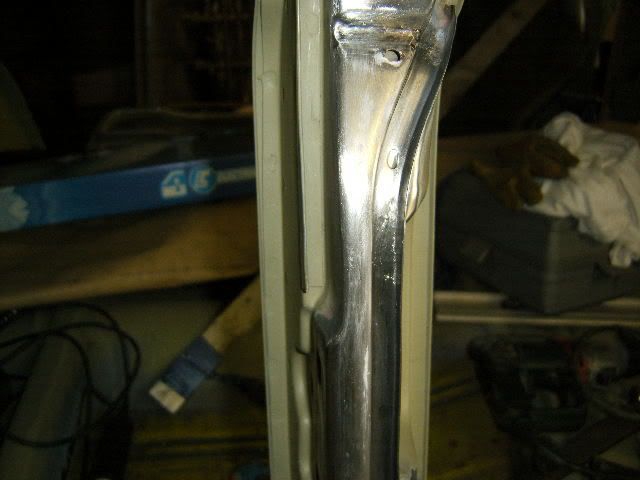
Finally finished the drivers side sill, its actually the first sill I have ever replaced on a car! Good fun.
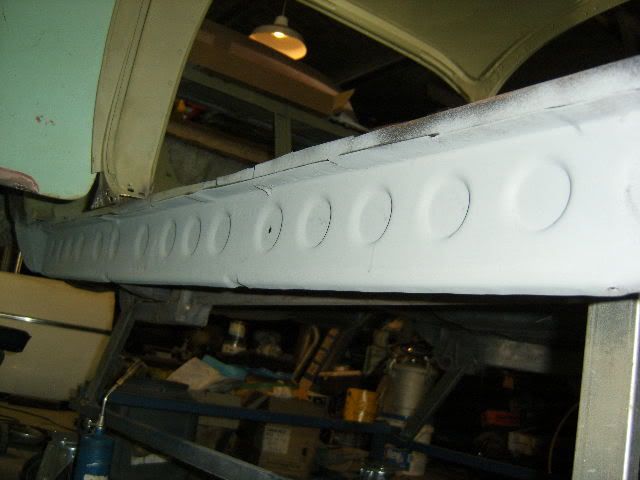
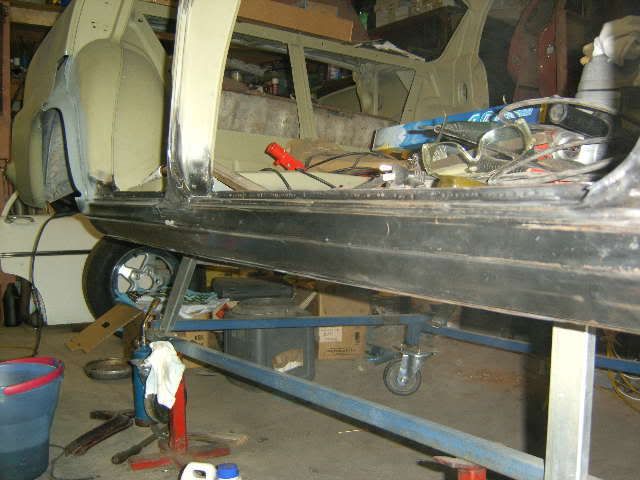
I have spent a lot of time doing as much as possible in steel I want this car to be bog free if I can!
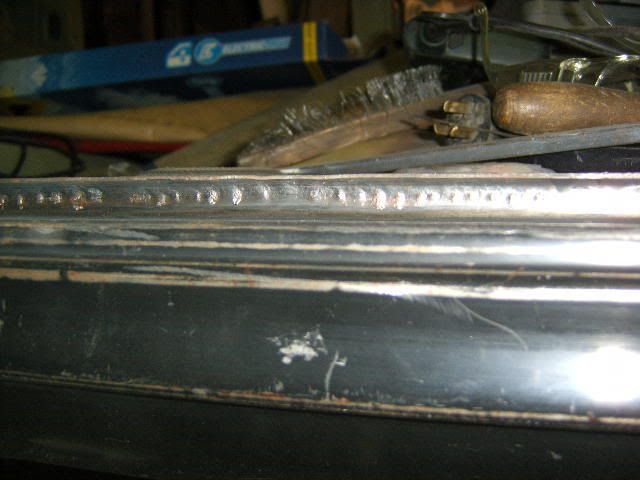
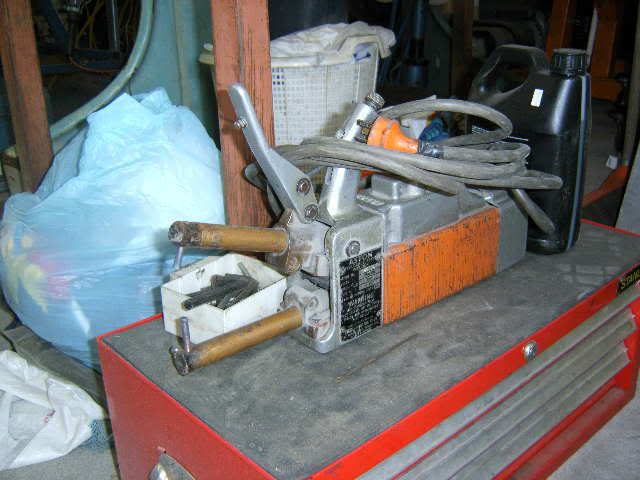
Im am extremely lucky to have some friends in the panel industry you just cant beat the factory finish a spot welder can achieve.
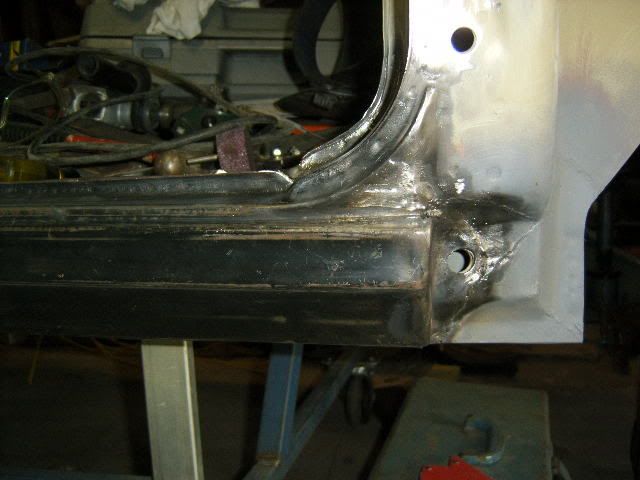
I have cut the divider strip away oxy welded then file finished.Thanks for the idea John and Mal. Just got to extend the doors now oh well another couple of days in the garage,until next time
Greg
Well im slowly moving in a foward direction with the old girls cancer problems (not that it was bad im just to fussy).
Finally finished the drivers side sill, its actually the first sill I have ever replaced on a car! Good fun.
I have spent a lot of time doing as much as possible in steel I want this car to be bog free if I can!
Im am extremely lucky to have some friends in the panel industry you just cant beat the factory finish a spot welder can achieve.
I have cut the divider strip away oxy welded then file finished.Thanks for the idea John and Mal. Just got to extend the doors now oh well another couple of days in the garage,until next time
Greg
So many cars so little time!
chev ek
Hey Greg,
The car is looking great. It definately makes things easier when you have such things like spot welders to use.
I've replaced quite a few sill in my time on all different cars, but the one I did on my FB was the first old Holden one I've done. I couldn't believe how easy it was, especially when you have a NOS sill to replace it with.
I think thats the only thing I miss about not having my panel shop anymore is that I don't have the tools and equipment to use to make the job easier.
What did you end up doing with the fuel cap???
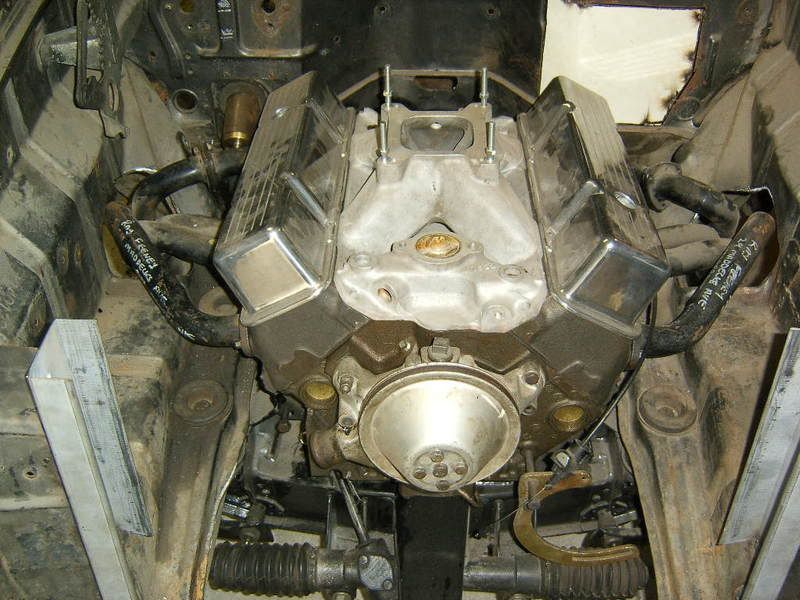
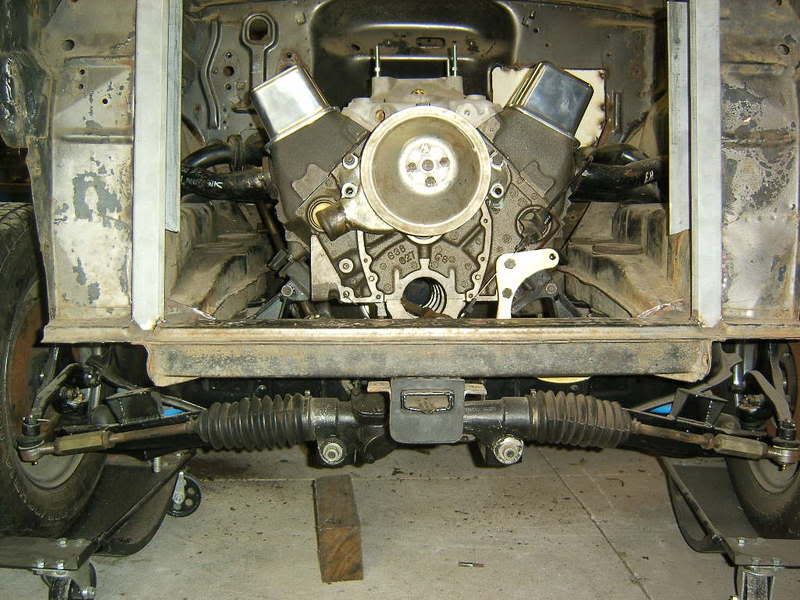
Have you already fitted the motor and trans prior to starting on the body work??
Keep up the good work
Cheers
Mal
The car is looking great. It definately makes things easier when you have such things like spot welders to use.
I've replaced quite a few sill in my time on all different cars, but the one I did on my FB was the first old Holden one I've done. I couldn't believe how easy it was, especially when you have a NOS sill to replace it with.
I think thats the only thing I miss about not having my panel shop anymore is that I don't have the tools and equipment to use to make the job easier.
What did you end up doing with the fuel cap???
Have you already fitted the motor and trans prior to starting on the body work??
Keep up the good work
Cheers
Mal
Malcolm W.
Hey Mal,
Funny enough I just bought a Jag fuel cap (original hey!). I have noticed on one end it has a very small breather what did you do with that tube back to tank or atmosphere?
Yes I had installed everything prior to starting the body hopefully reasssembly wont be so time consuming.

Mal Im also picking up some panels Ive had stored today will let you know tonight about guard section.
Regards Greg
Funny enough I just bought a Jag fuel cap (original hey!). I have noticed on one end it has a very small breather what did you do with that tube back to tank or atmosphere?
Yes I had installed everything prior to starting the body hopefully reasssembly wont be so time consuming.
Mal Im also picking up some panels Ive had stored today will let you know tonight about guard section.
Regards Greg
So many cars so little time!
chev ek
Greg,
I haven't given much thought as to where that small tube on the Jag cap goes. I've just fitted the cap and tank and thats as far as I've gone with that so far, but I was intending on running all the pipes the same as the VT Commodore has that my motor came out of. The XC tank has a series of tubes / breathers on the top, what did you do with them??
What brake booster set up are you using. Is your trans auto or man.
Is the primer you used on the body PPG Highfill??
Sorry about the 100 questions.
Mal
Malcolm W.
She's looking the goods Greg.
I hate to be the next bloke thats got to remove them sills, you made well and truly sure shes not going to come of in a hurry with all them spot welds, about six hundred more of them than the factory, and thats what I saw in the front door section and yes I'm jealous because you had a spotty and I didn't.
Anyway she's comin on now, good to see your getting stuck into it.
Regards Reedy

That small hole in the jag filler cap is a drain tube! Make sure you run, otherwise you are inviting rust. Just make sure you keep the hole clear so it can do its job. I had one on my FC and beleive me its needed. It only takes one wash and you'll know why you need it.....
BTW looking good.
BTW looking good.
Speed and Style........... One day I'll get the speed bit.
Ok guys more questions and answers,
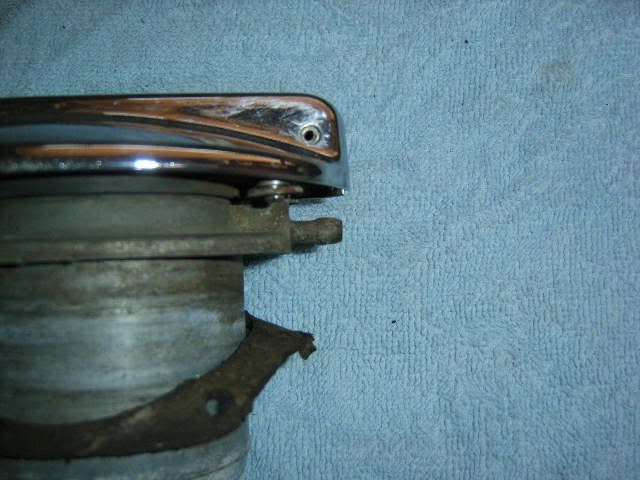
1/ Delvilrod, The tube on the jag fillercap that i am talking about goes from under the hinge bit into the filler tube itself with a very small hole Maybe for pressure or fume release or overflow?(can anyone help?)
2/ Mal,The body is prepped with 2 pack etch primer that will be covered with primer once the repairs are done so my mate the spraypainter tells me. With the tank I was going to use one of the vent holes for the jag cap unidentified tube, and the rest I was going to block off. I am also using a throttle body injection unit so I may need a return line but haven't worked it out yet. Brake booster will be Gemini with a &*#@ XB dual cct master cylinder be careful cause there is 2 types of booster only one fits the xb master cylinder.I will probably delete the springs on the hinges and use gas struts to gain room or new hinges altogether haven't decided at this stage. I am running a T700 auto that fits very neatly into the stretched floor pan.I was going to cut it out but I had done this mod years ago for a aussie 4 speed and the turbo just fits as is.
3/Reedy its got to be strong to handle the beast engine, wouldnt want to twist the old girl would I (thats coming from my race days he he )
)
Regards all Greg
1/ Delvilrod, The tube on the jag fillercap that i am talking about goes from under the hinge bit into the filler tube itself with a very small hole Maybe for pressure or fume release or overflow?(can anyone help?)
2/ Mal,The body is prepped with 2 pack etch primer that will be covered with primer once the repairs are done so my mate the spraypainter tells me. With the tank I was going to use one of the vent holes for the jag cap unidentified tube, and the rest I was going to block off. I am also using a throttle body injection unit so I may need a return line but haven't worked it out yet. Brake booster will be Gemini with a &*#@ XB dual cct master cylinder be careful cause there is 2 types of booster only one fits the xb master cylinder.I will probably delete the springs on the hinges and use gas struts to gain room or new hinges altogether haven't decided at this stage. I am running a T700 auto that fits very neatly into the stretched floor pan.I was going to cut it out but I had done this mod years ago for a aussie 4 speed and the turbo just fits as is.
3/Reedy its got to be strong to handle the beast engine, wouldnt want to twist the old girl would I (thats coming from my race days he he
Regards all Greg
So many cars so little time!
Greg, its been a while since I owned the FC, but from memory that was the breather/vent/overflow and it ran out in the rear wheel arch. Isn't it funny how much clearer a pic refreshes your memory. I also had a drain hole plumbed beside it...
Speed and Style........... One day I'll get the speed bit.
chev ek
Hey devilrod,
The Jag filler has 2 holes, the 1 at the bottom is the drain, the 1 at the top is a vent.
Greg,
Hope you have enough time to answer everyone's questions as well as working on the car. You know we'll be expecting another update next week.
Cheers
Mal
The Jag filler has 2 holes, the 1 at the bottom is the drain, the 1 at the top is a vent.
Greg,
Hope you have enough time to answer everyone's questions as well as working on the car. You know we'll be expecting another update next week.
Cheers
Mal
Malcolm W.
Hey Aristos.
Your only putting a 327 arn't you!?. Your going to a lot of trouble for such a small donk.
Are you going to fill her up with the old mate (Ahla: Olive Oil)
Regards Reedy.
PS: That barb fitting at the lower section of the flap is the breather and spill vent, run a drain tube off that one down the inner rear guard and out through under the lower rear 1/4 somewhere neat. The filler tubes on jags had there tank vents plumbed about 3 inches lower than the filler cap.
Mr Reed,
Three things,
1/You use olive oil for cookin mate! No wonder you blow motors all the time
2/ Its not the size that matters its the way you use it
3/ My nine inch is nearly ready for pick up cant wait to install it
Have you got any of those rice burners left from the old so called racing days?
Regards Greg
So many cars so little time!
Aristos.
1/ You use extra light olive oil for Excellent fuel economy
2/ You can use extra virgin thick olive oil on engines that burn a lot of oil to reduce smoke.
Thats my cooking tips for the day.
Regards Reedy
PS: At least you can cook your motor the right way, as long as you have the right ingrediants.
1/ You use extra light olive oil for Excellent fuel economy
2/ You can use extra virgin thick olive oil on engines that burn a lot of oil to reduce smoke.
Thats my cooking tips for the day.
Regards Reedy
PS: At least you can cook your motor the right way, as long as you have the right ingrediants.
wow matey looks like you're motoring along with you chevyness.
I'm still stagling along.
but I'm deciding to take my time with it, and build it over a few more years..
Which should see my FB, alot schmicker then i intended.
I'll keep everyone posted

-- Rowan
I'm still stagling along.
but I'm deciding to take my time with it, and build it over a few more years..
Which should see my FB, alot schmicker then i intended.
I'll keep everyone posted
-- Rowan
[img]http://i48.photobucket.com/albums/f208/row1/sign.jpg[/img]