MI60FB

Post photos of your pride and joy, or updates on your rebuild!

Moderators: reidy, Blacky

baker12
Posts: 151
Joined: Mon Sep 20, 2010 7:21 pm
State: NOT ENTERED

Re: MI60FB

Post by baker12 »

SC00BB wrote:
baker12 wrote:Yeah will keep it satin for now I do like the hot rod look mid life crisis!!
The guy doing the machining was Steve Hambridge so he comes very well recommended but they are flat out with drag racing and my little 253 was probably used as a door stop keeping the door between the office and the factory open for 18months untill they realised it was for a customer and not there to be used for a boat anchor.
Can anyone recommend a trimmer I am looking at recovering the seats as the springs are a little tired and need some lift and if I am going to do the springs may as well get the seats done as well at the same time.
I am in Picton and would like to use someone local or if not local real bloody good who will turn it around quick and who is real bloody close.

Daniel did my trim at Rooty Hill - 0419 226 061

heres a link to my trim

http://www.fbekholden.com/forum/viewtop ... &start=300

very happy with the result and reasonably priced
That looks real nice! love it! did he re spring the seats etc?

Thanks!
User avatar
SC00BB
Posts: 590
Joined: Sat Nov 15, 2008 11:37 am
State: NSW
Location: in Tha Hills, Sydney

Re: MI60FB

Post by SC00BB »

baker12 wrote:
SC00BB wrote:
baker12 wrote:Yeah will keep it satin for now I do like the hot rod look mid life crisis!!
The guy doing the machining was Steve Hambridge so he comes very well recommended but they are flat out with drag racing and my little 253 was probably used as a door stop keeping the door between the office and the factory open for 18months untill they realised it was for a customer and not there to be used for a boat anchor.
Can anyone recommend a trimmer I am looking at recovering the seats as the springs are a little tired and need some lift and if I am going to do the springs may as well get the seats done as well at the same time.
I am in Picton and would like to use someone local or if not local real bloody good who will turn it around quick and who is real bloody close.

Daniel did my trim at Rooty Hill - 0419 226 061

heres a link to my trim

http://www.fbekholden.com/forum/viewtop ... &start=300

very happy with the result and reasonably priced
That looks real nice! love it! did he re spring the seats etc?

Thanks!
No the seat springs were good, nice and bouncy :wink34:
Mick
Posts: 4101
Joined: Sun Sep 26, 2010 8:47 am
State: NSW
Location: Coffs Harbour NSW

Re: MI60FB

Post by Mick »

any trimmer should redo the springs if needed or requested, only guy i know is central coast but he is good
sometimes yor just better off shitting in yor hands and clapping

W.S.C.C.A
Woodstock chapter
baker12
Posts: 151
Joined: Mon Sep 20, 2010 7:21 pm
State: NOT ENTERED

Re: MI60FB

Post by baker12 »

Have done a bit last week but couldn't update because my Mac book died. Apparently as Kerri the friendly apple store genius pointed out "beer and macs don't mix"
So here's what I have done
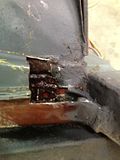
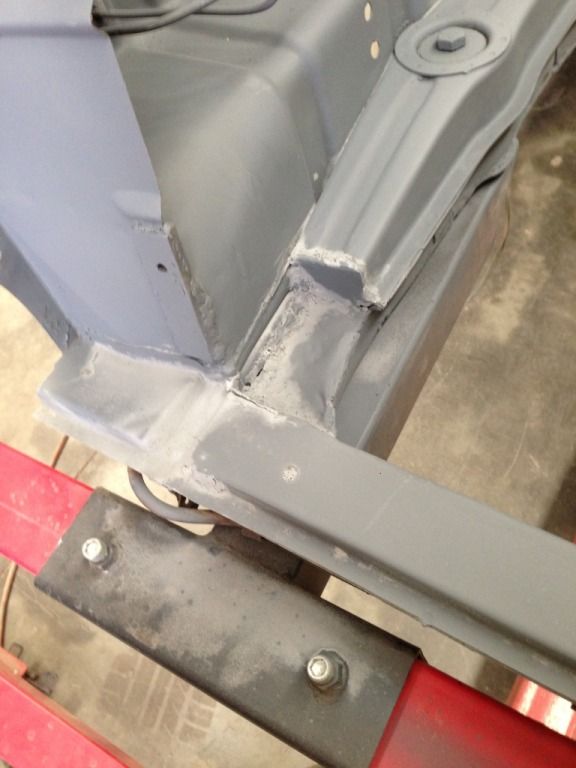
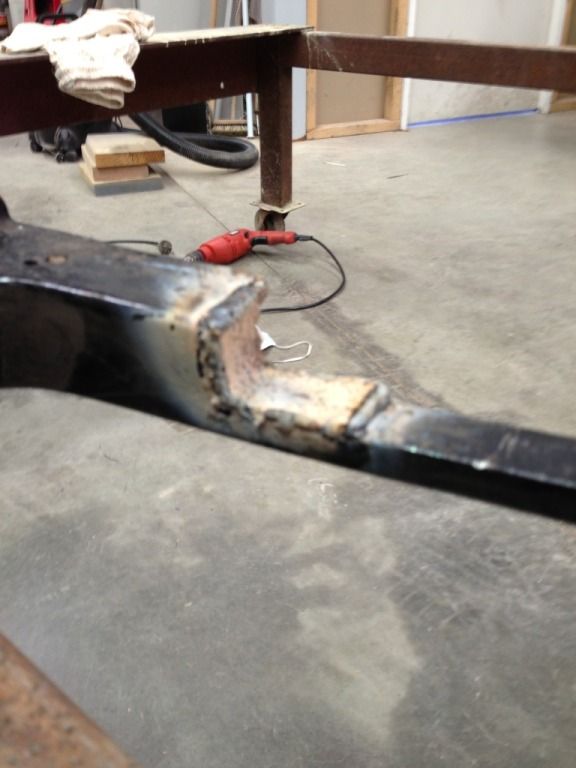
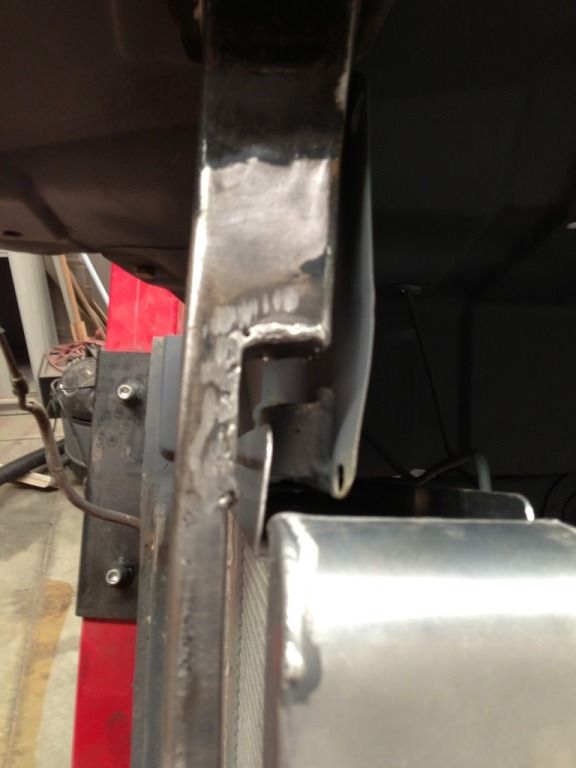
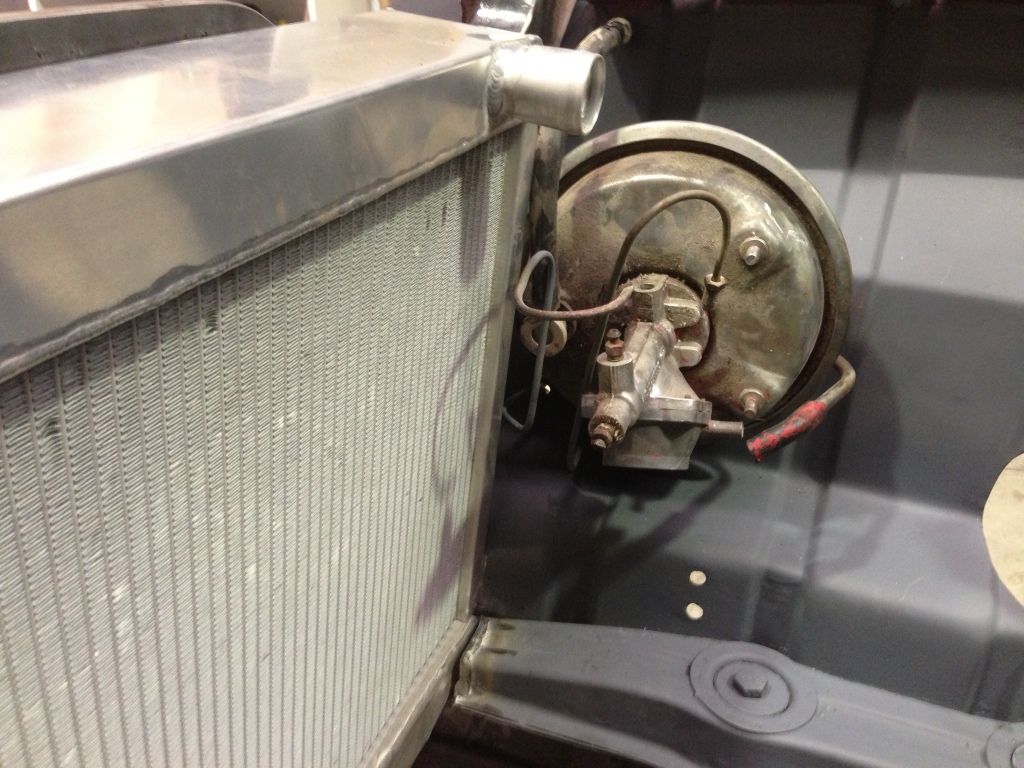
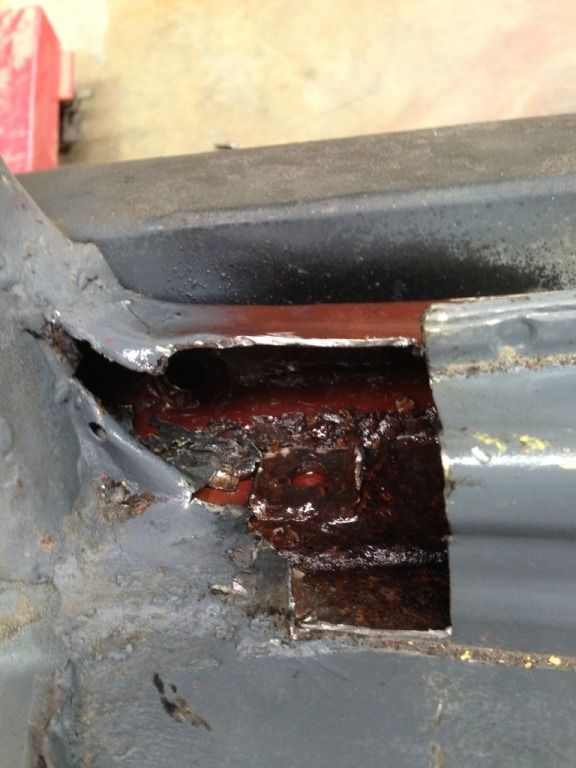
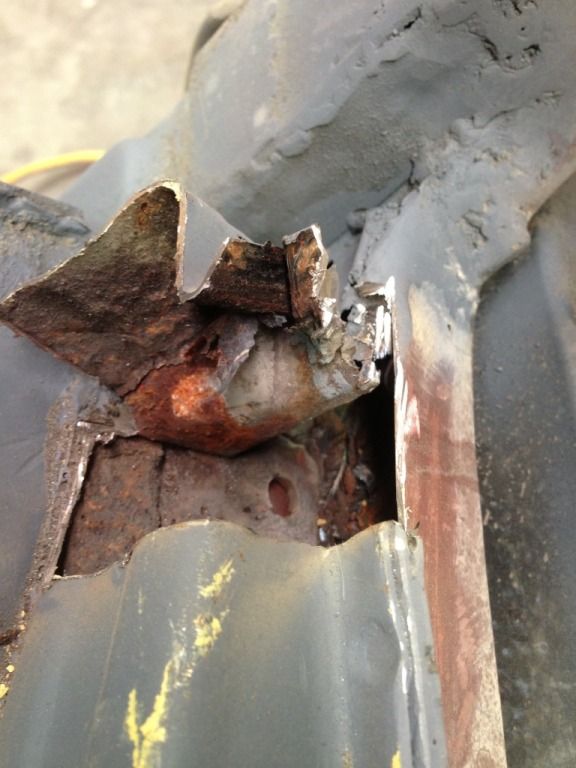
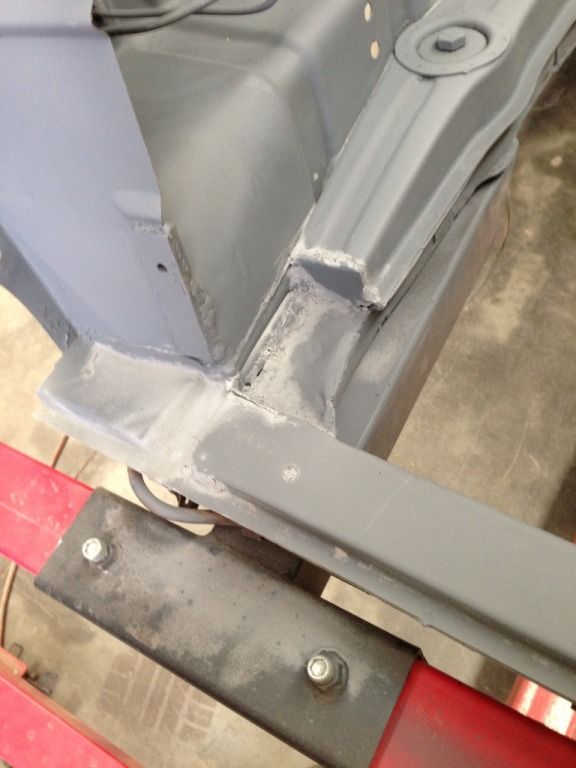
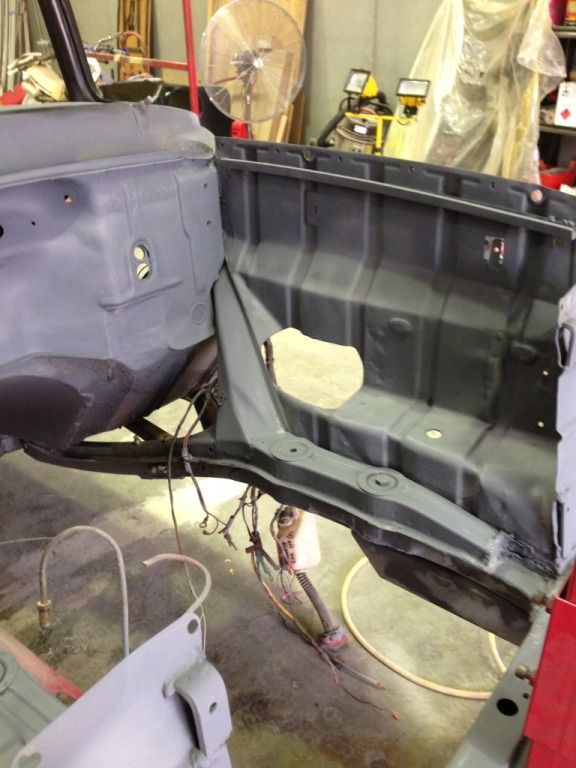
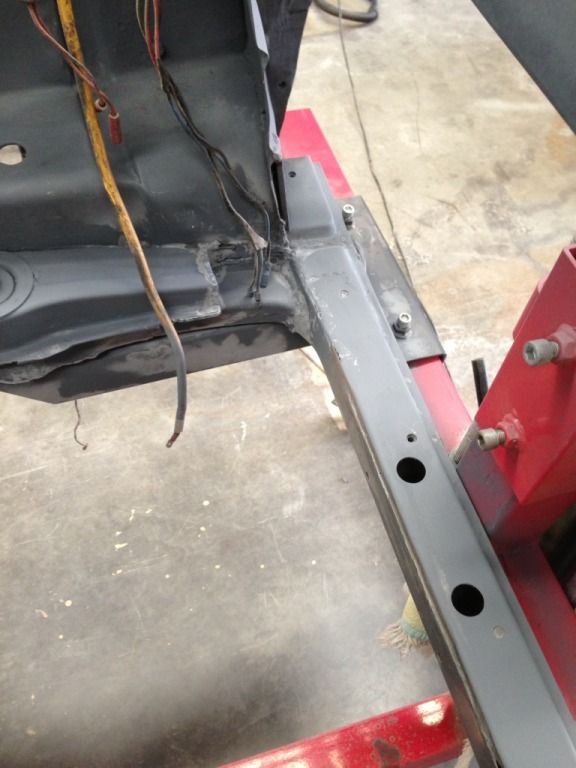
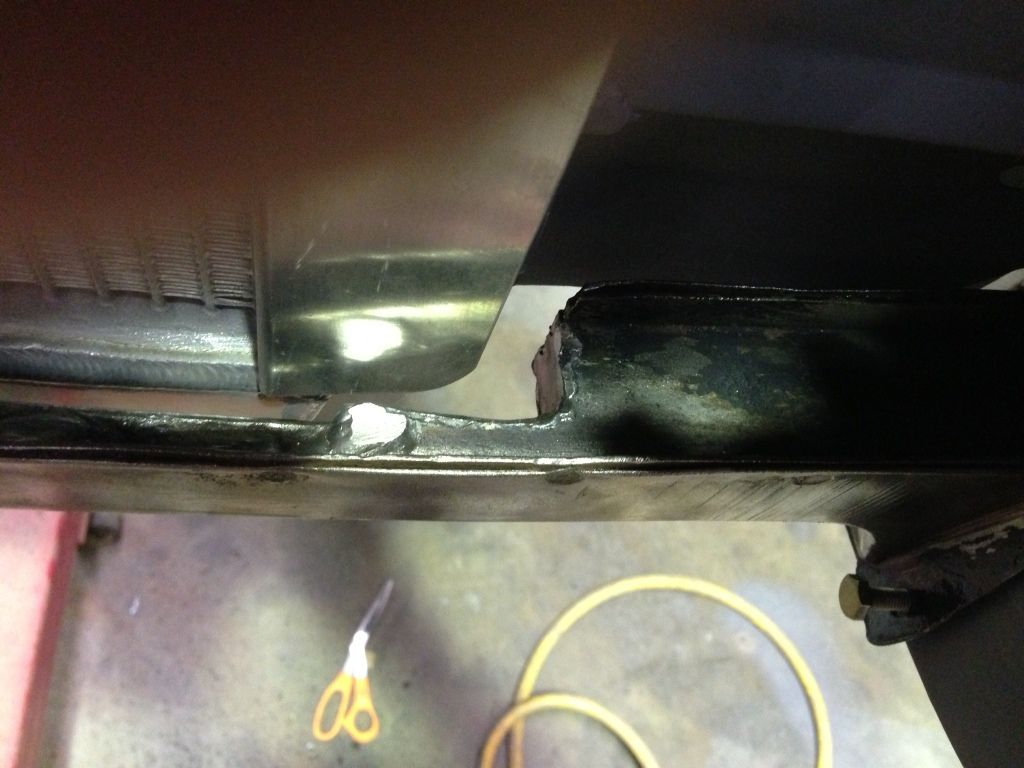
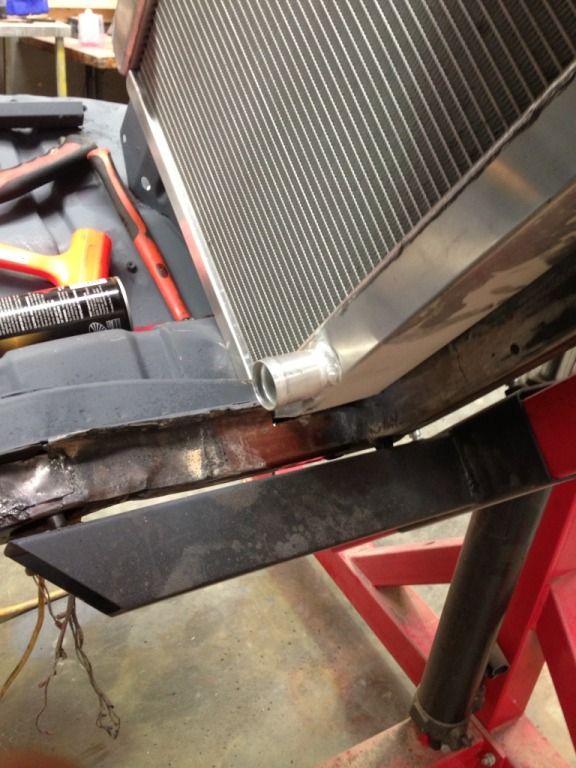
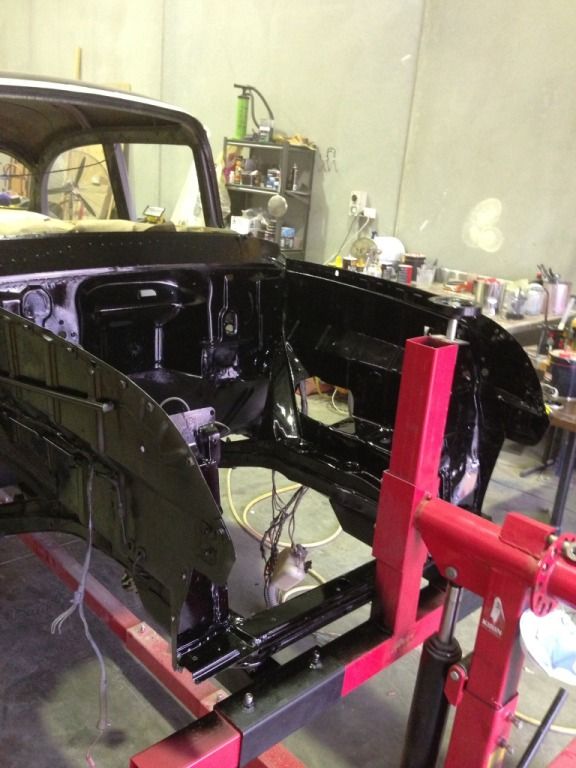
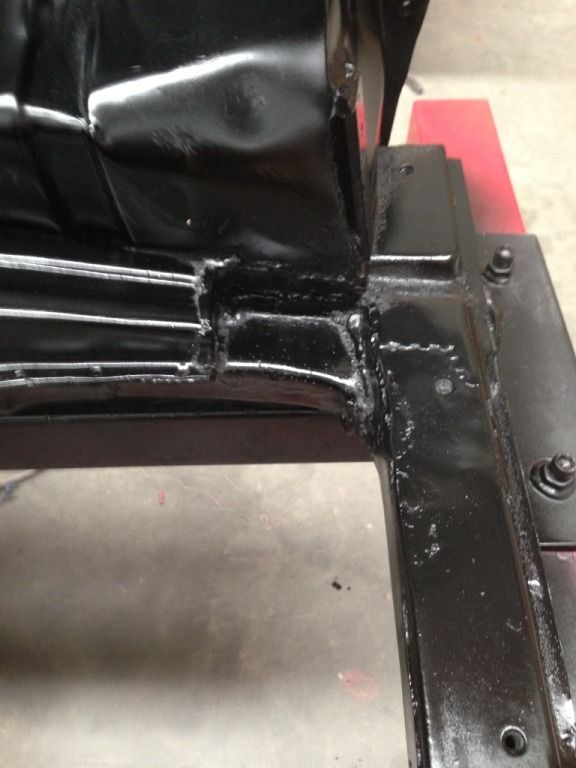
1. Cut out front members where the bigger radiator will fit.
Image
Image
Image
I realized in all of my excitement getting ready to paint the body that there were a few cuts and welds that needed to be performed before I could paint.
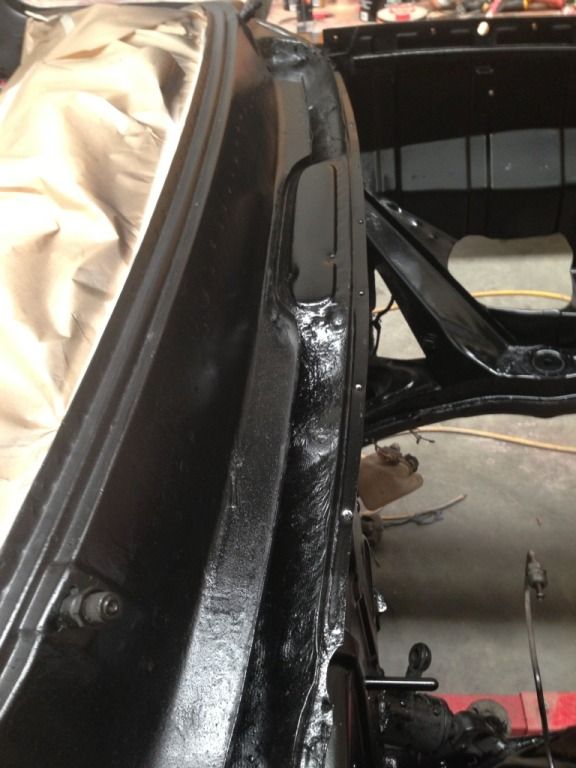
also forgot about the radiator upper support as well it needed to be cut as well
Image
Using my daughters iPad andnhaving no joy will try to post again later
Image
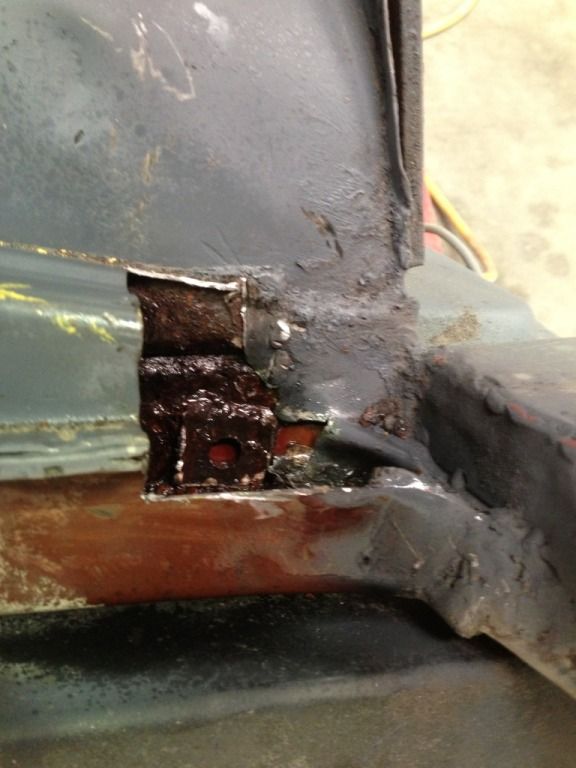
as you can see there was a shit load rust in the front members the only way to deal with it was to spray por15 into the cut that i made wait for it to dry and then weld it up.
2. Fitted new radiator and checked clearances from brake booster and bonnet
Image
baker12
Posts: 151
Joined: Mon Sep 20, 2010 7:21 pm
State: NOT ENTERED

Re: MI60FB

Post by baker12 »

OK so I have gone back to a PC so will see if this is any better.
Image
you can see the rust inside not much I can do Sprayed inside with POR15.
Image
Image
Image
Image
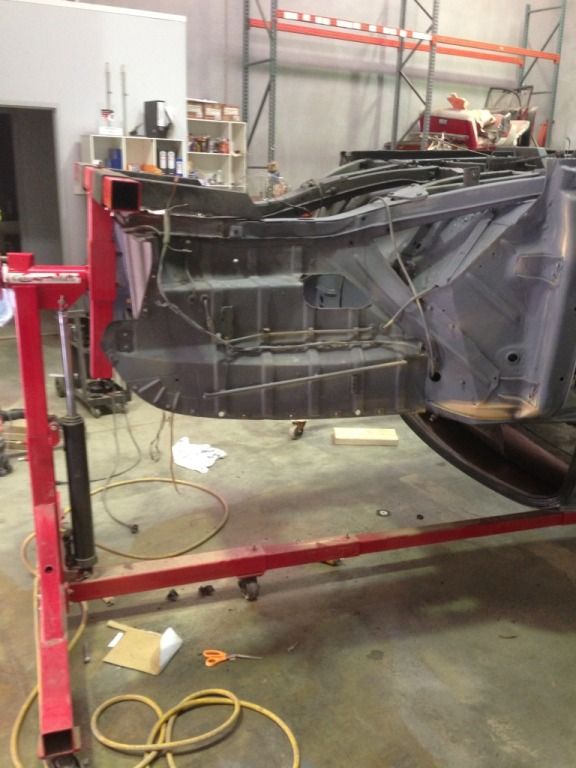
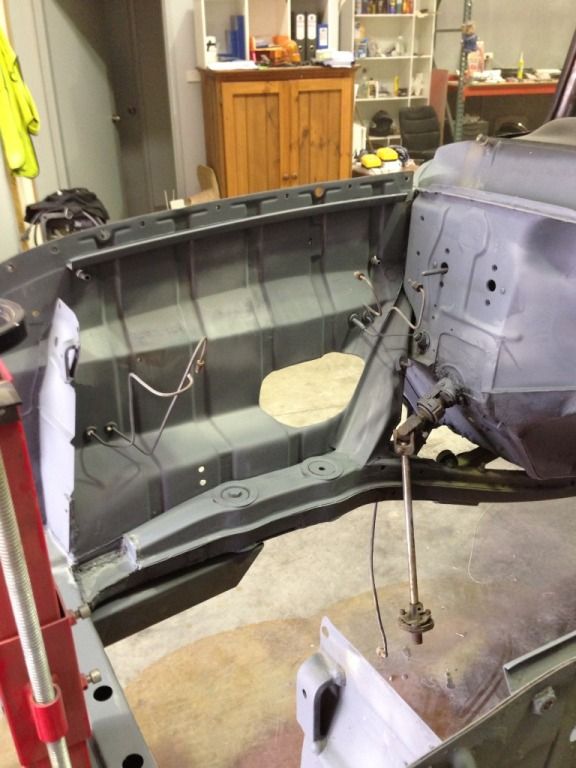
So I cut and shut the front members so the radiator would fit.
Image
Image
Image
Cut the upper radiator support
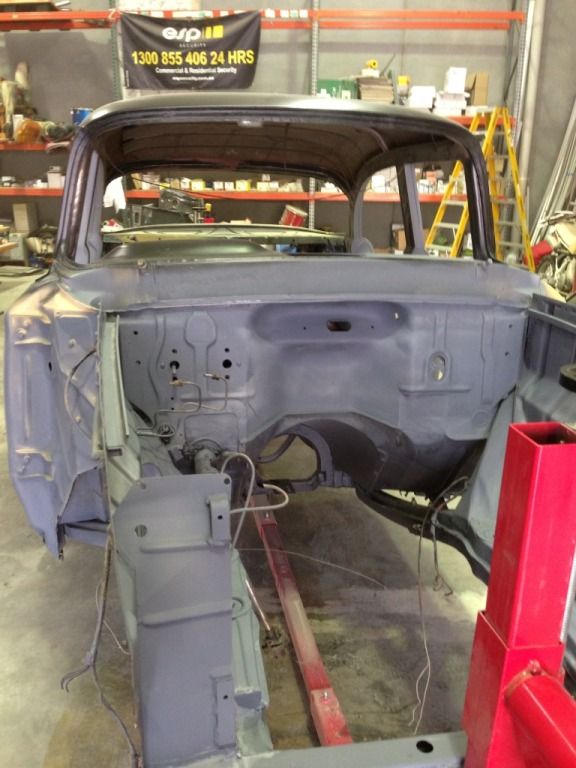
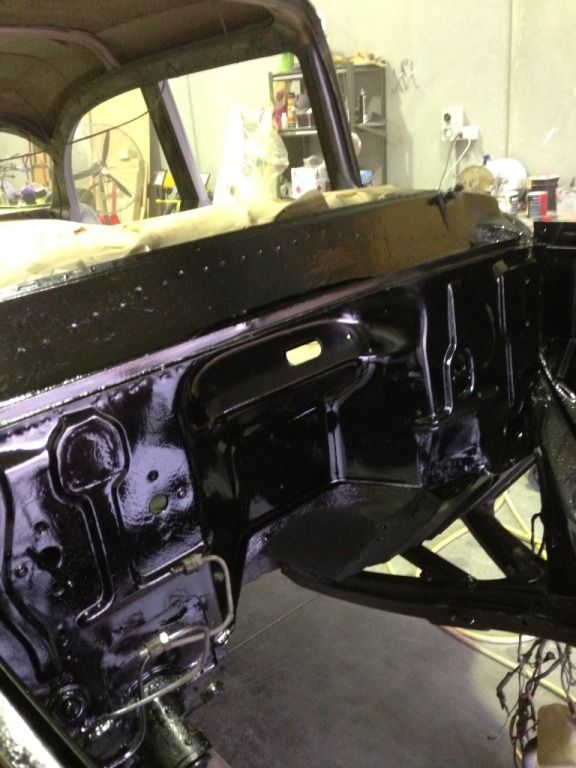
Sanded and etch primed the engine bay
Image
Image
Image
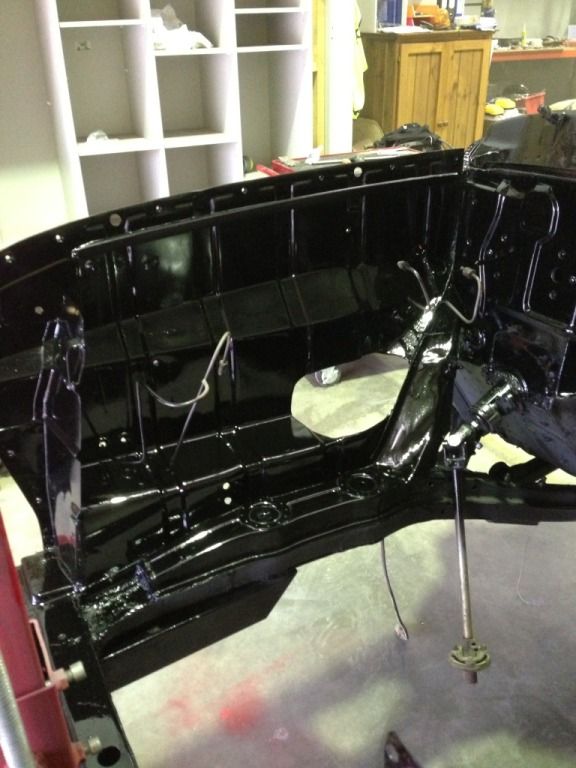
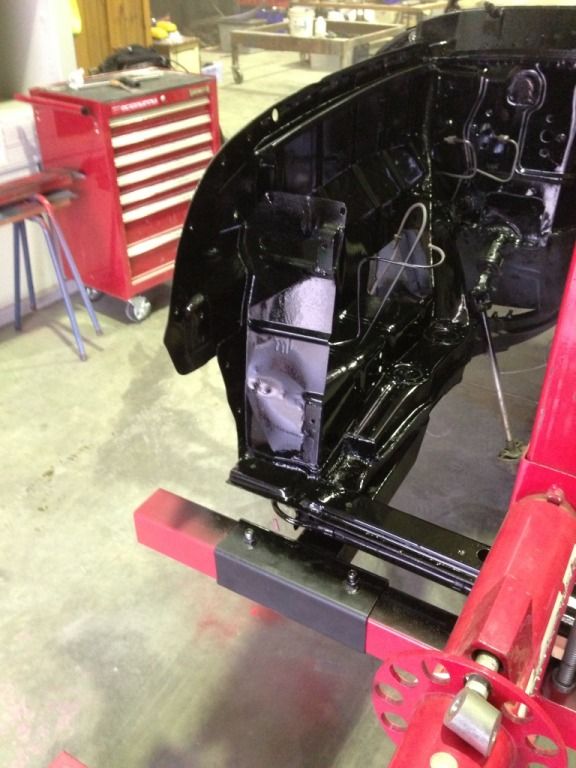
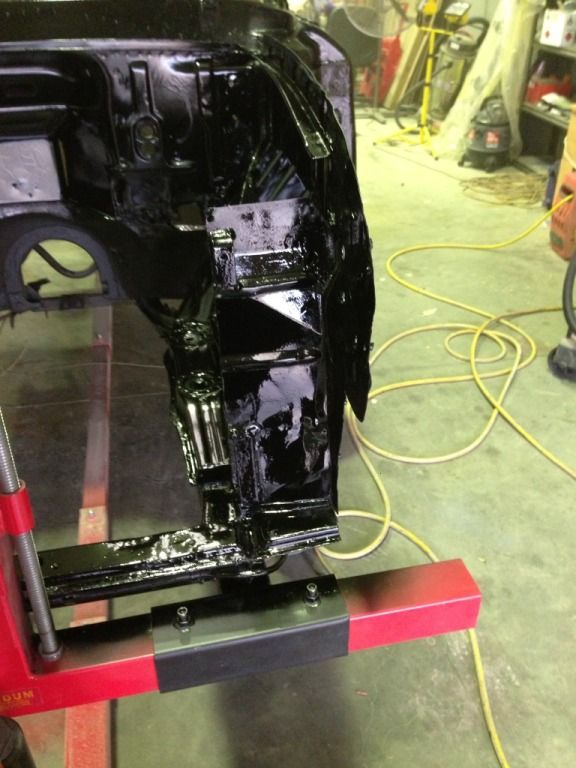
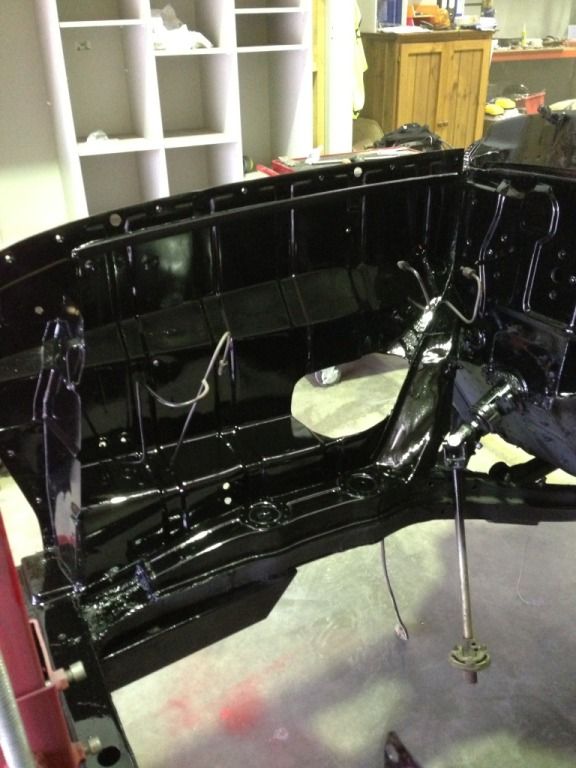
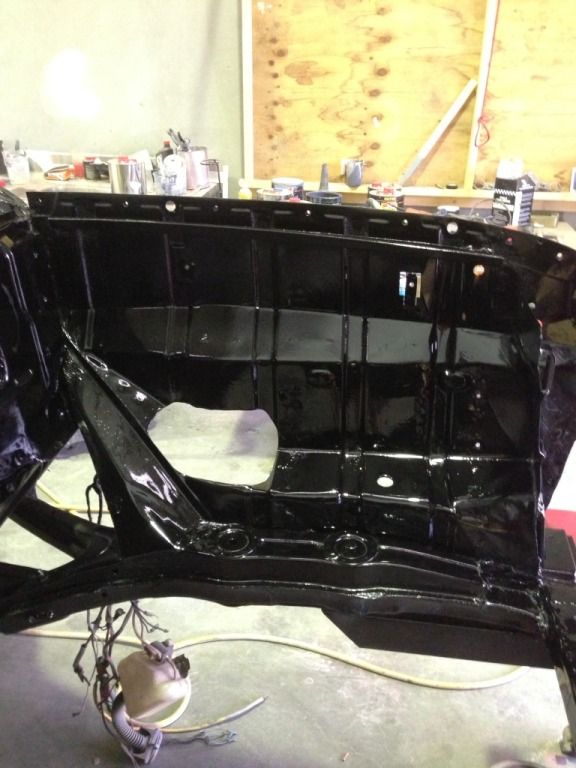
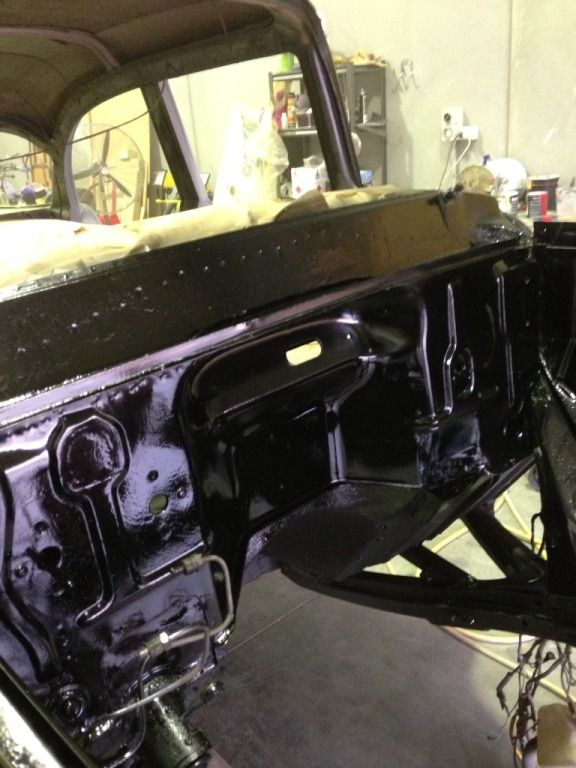
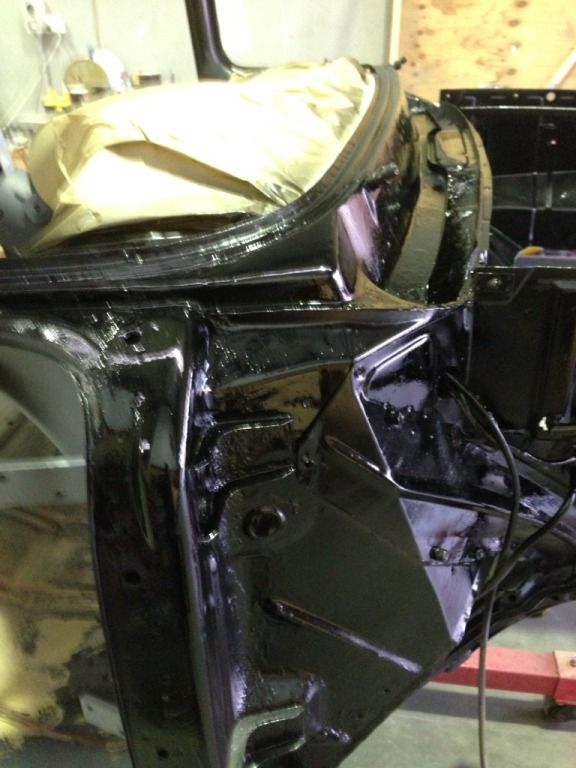
then painted in satin black 2pac
Image
Image
Image
Image
Image
Image
Image
Image
Image
Image
Image
Image

I was so happy with the result the paint went on like a dream I gave it a little heat mixed it up nicely the gun was performing like a kings cross pole dancer everything went great.
I cracked a beer and inspected my handy work taking photos and thinking how good is this! THEN IT HAPPENED!!!!!!!!!!!!!!!
WH#T THE F#$%!!!!!!!!!!
NOOOOOOOOOOO!!!!!
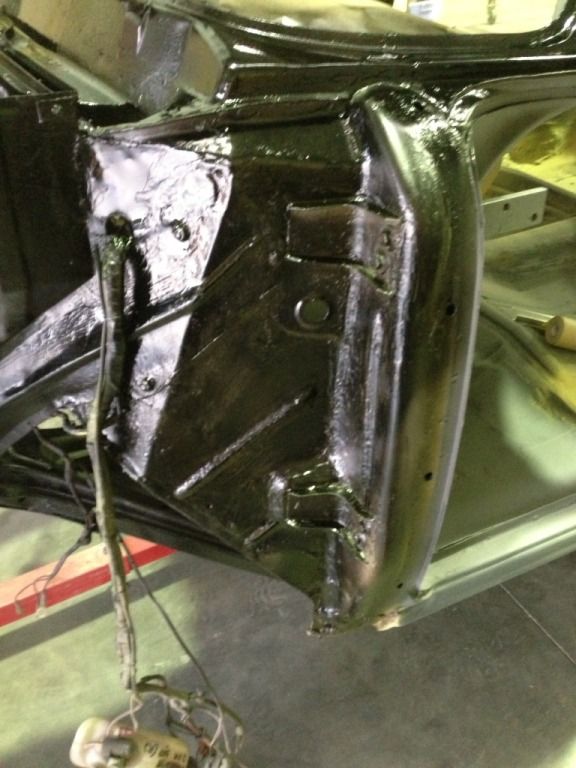
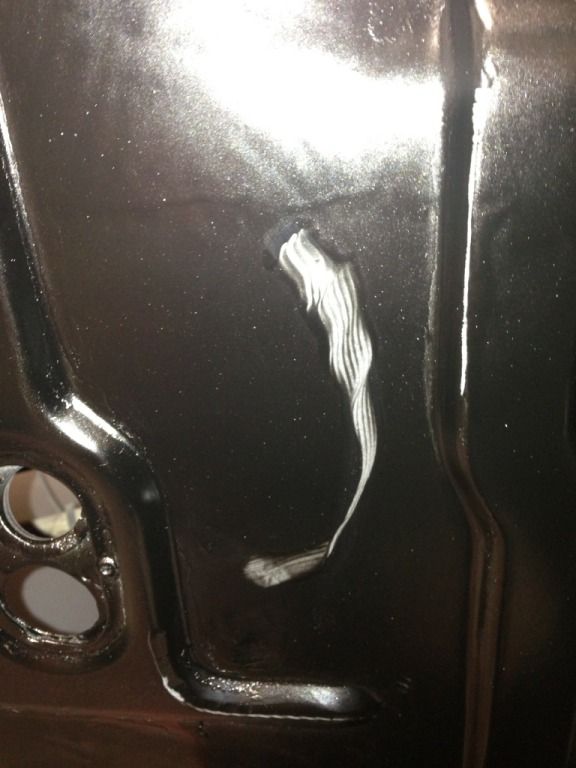
the last piece I layed the final wet coat over was the inside of the radiator support panel on the passenger side.
I must have scraped the firewall with the hose that was supported over my shoulder because this was the result!
Image
So now I have to sand back to bare metal where I stuffed up etch prime and key in the firewall then respray the whole firewall again.
What a massive pain in the arse.
So plan is next week I will do the above repair and then its off to work to do a final prep on the body then paint the whole car.
I keep noticing little bits and pieces that I need to fix up the satin isnt very kind to imperfections.
So I want to get it right.
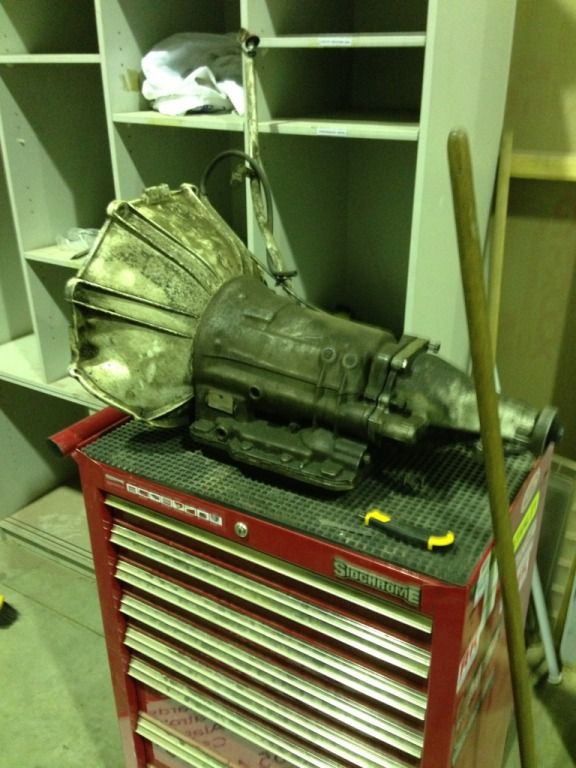
On the engine front I have had the tranny rebuilt and the block sits on a stand ready for the end of what I have termed the worlds longest engine rebuild.
User avatar
Cal
Posts: 2796
Joined: Sat Nov 08, 2008 8:07 pm
State: NOT ENTERED
Location: Sydney

Re: MI60FB

Post by Cal »

Looks the goods :thumbsup: .

Amazing to look at where the car is now compared to when you started
User avatar
SC00BB
Posts: 590
Joined: Sat Nov 15, 2008 11:37 am
State: NSW
Location: in Tha Hills, Sydney

Re: MI60FB

Post by SC00BB »

Know how you feel with the firewall

Scratched my finished firewall installing the motor, had to respray whole firewall again :evil:

I feel your pain
baker12
Posts: 151
Joined: Mon Sep 20, 2010 7:21 pm
State: NOT ENTERED

Re: MI60FB

Post by baker12 »

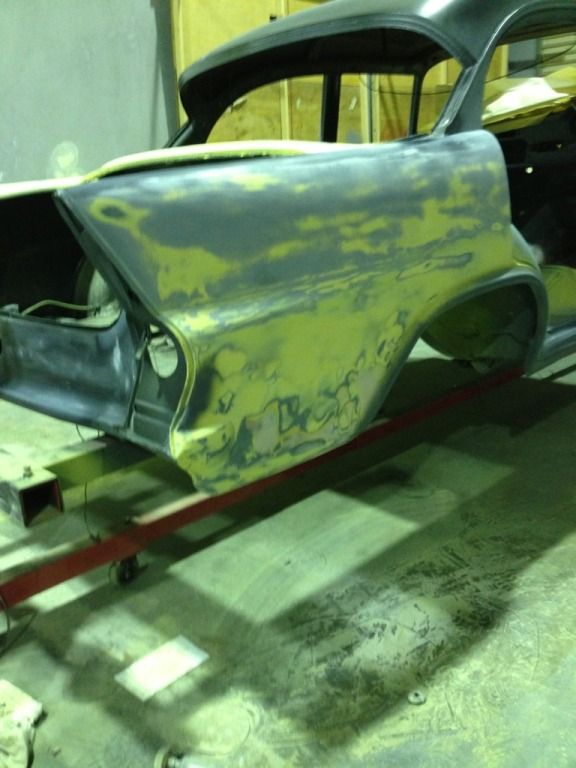
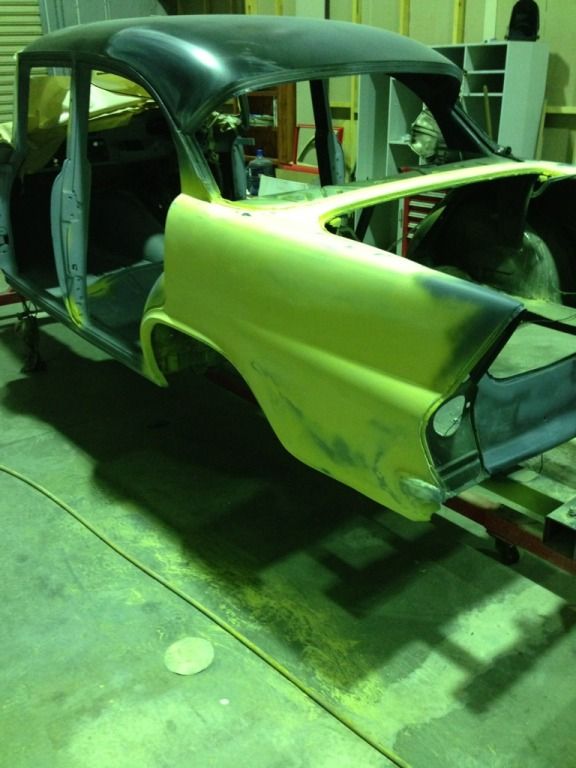
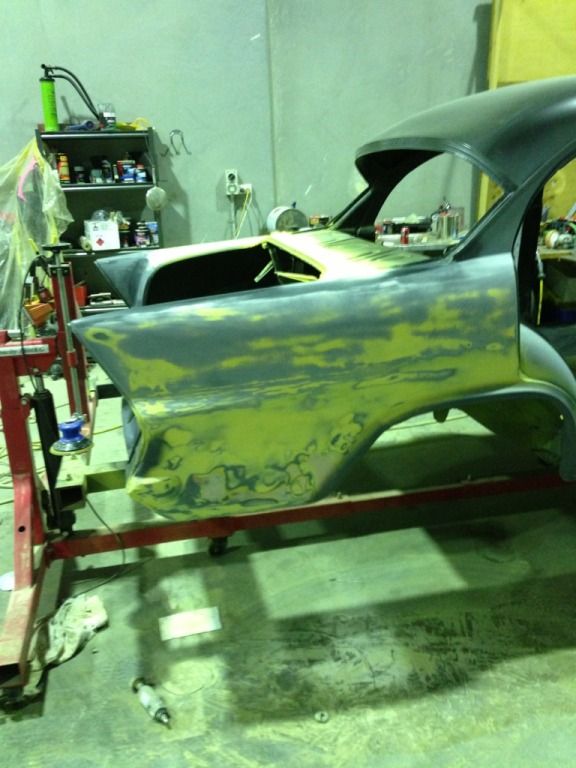
Just spent a day redoing the rear end of the car sanding and fixing up little bits and pieces.
Everytime you get one thing perfect you spot something that you haven't seen before and so on and so on.
I dont know how some guys work 40+ hours a week and get their cars done in a year I also understand why there are so many unfinished projects on ebay.
So i have sanded and rubbed and am now very happy with the result so prepped tonight and will prime AGAIN!!! tommorrow night and hope to paint in full friday afternoon or sunday depending on weather.
I have learnt about how moisture can really effect the quality of the paint and your preparation. even painting primer if there is a drop of moisture in the line the primer wont stick, What a science painting is!!
I must say that having learnt so much about welding and fabrication now I am learning paint the hard way!
Part of the journey I guess no wonder car builders have such strong feelings and attachment to their cars I have told my wife that I want the FB turned into a coffin and I want to buried in it finished or not.
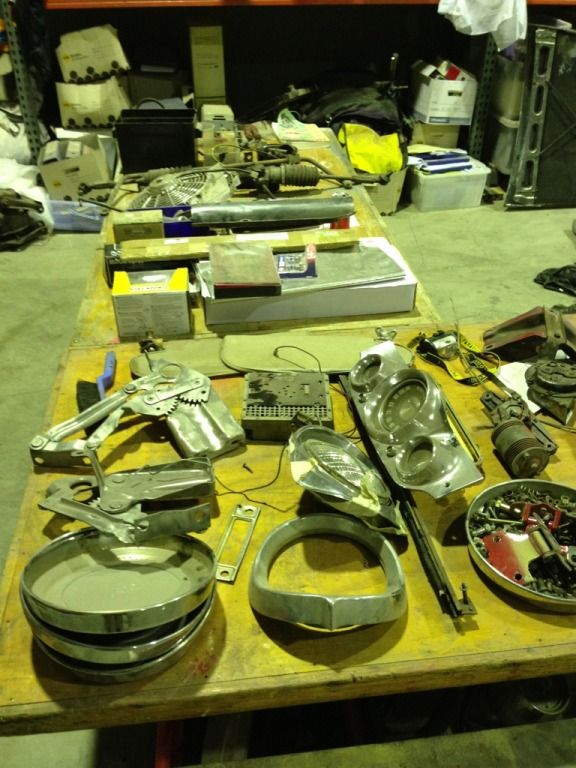
I have added some pictures of the blocked finish prior to primer and also have started to collate parts for the put together.
Picked up some door hinge bonnett and boot screw kits today from rare spares very happy!!!!:)
Does anyone have any recomendations for a chrome steering column I know rocket do a flaming river one but would like to hear from other FBEK owners who have upgraded.
I would also like to get some fedback regarding the pealcraft steering wheels I have an original wheel that I want rebuilt are they good value etc will post in questions as well.
Image
Image
Image
Picked up the tranny from my mechanic and am sending it to a specialist it was reassuring to see my motor being bolted together on the rebuild table.
Image
My tables of parts to be put on after paint I cant wait to rip into it.
Image
Will send my seats out for upholstery in the next 2 weeks I am aiming for my birthday in may as a deadline! Hang on I think that was the deadline 2 years ago? Maybe it was 3years ago? :lol: :lol: :lol: :lol: :lol: :lol: :lol: :lol: :lol: :lol: :lol:
User avatar
WayneXG95
Posts: 2565
Joined: Wed Sep 07, 2011 9:42 am
State: NSW
Location: Sydney

Re: MI60FB

Post by WayneXG95 »

Funny you mention pearlcraft.
I posted a wheel to them yesterday quoted $600 restored and pearl painted.
Russell (Rustydungers) on here has a fantastic blue one done by pearlcraft.
I'll see if he can send me a pic and ill post it up

8)
Wayne Chambers
President
FB EK Holden Car Club of N.S.W
baker12
Posts: 151
Joined: Mon Sep 20, 2010 7:21 pm
State: NOT ENTERED

Re: MI60FB

Post by baker12 »

WayneXG95 wrote:Funny you mention pearlcraft.
I posted a wheel to them yesterday quoted $600 restored and pearl painted.
Russell (Rustydungers) on here has a fantastic blue one done by pearlcraft.
I'll see if he can send me a pic and ill post it up

8)
I went to their webpage and asked for a quote their is some real nice work on there.
Would like a red and black swirl type.
But saw trevs post and not sure If I go the ruby red 2pac and kneed it restore option?
Would like to see the pics.
I asked for full restore wheel chrome and button did you get all that for 600??
User avatar
WayneXG95
Posts: 2565
Joined: Wed Sep 07, 2011 9:42 am
State: NSW
Location: Sydney

Re: MI60FB

Post by WayneXG95 »

Nah just the wheel mate
Wayne Chambers
President
FB EK Holden Car Club of N.S.W
EKjimmy
Posts: 1070
Joined: Sun Aug 30, 2009 2:44 pm
State: NOT ENTERED
Location: Hills, Sydney NSW

Re: MI60FB

Post by EKjimmy »

Just keep an eye out for a good button, chroming a horn bar wouldn't be too pricey i'd imagine. Definitely go with pearlcraft - I've got one on my EK and they're a beautiful centrepiece for the interior - quite the talking point
'The best engine in the world is a vagina. It can be started with only one finger. It is self-lubricating. It takes any size piston. And it changes it's own oil every four weeks. It is a pity that the management system is so f*$king temperamental.'
baker12
Posts: 151
Joined: Mon Sep 20, 2010 7:21 pm
State: NOT ENTERED

Re: MI60FB

Post by baker12 »

Primed the body and doors today 2 coats nice and wet.
Went over it again low and behold found 3 obvious faults.
1 x Deep scratch to passenger rear quarter
1 x dent to paassenger front door
1 x crack in primer putty coat to beaver panel

So guess what I will be doing tomorrow?????
High Filling and sanding I was told no one will notice when you paint it!
I will notice and I will forever look at that piece and say I should have give it another high fill coat.

On a side note I bought an old bedford truck what a beast, mate is going to build the tray and the rest is all good so no distractions for me.
Will make it my hillbilly shop truck!! YEEEHAHHHHH
baker12
Posts: 151
Joined: Mon Sep 20, 2010 7:21 pm
State: NOT ENTERED

Re: MI60FB

Post by baker12 »

Back on the FB today.
Sanded the repairs to the rear quarter and also to where I replaced the parcel shelf.
Painted the whole rear and inside of the car as well as left side doors front and rear.
Sills, Pillars and Parcel Shelf has come up pretty good.
Have still found some blemishes and valleys in the finish but as it is satin black I am not to worried it isnt a show car if they bother me I will attack once the car is back together.
My plan is this:-
1. Finish the Paint
2. Put all of the body panels back on
3. put the new rubbers on
4. Drop the body onto the rear and front ends
5. Re wire
6. Re fit the interior
If I can get to item four on my list by june I will be happy.
Lifting the masking tape and paper tommorrow and I will post some photos.
Then off to Fiji wednesday for a week in the sun.
User avatar
SC00BB
Posts: 590
Joined: Sat Nov 15, 2008 11:37 am
State: NSW
Location: in Tha Hills, Sydney

Re: MI60FB

Post by SC00BB »

baker12 wrote: Then off to Fiji wednesday for a week in the sun.

Nice :thumbsup:
Post Reply